When I first shared plarn information here, I was under the impression the term applied to anything cut into strips and in turn used as “yarn” in knitting or crochet. Now, however, it appears the term “tarn” is in use when t-shirts or fabric are used. There are many ways to create tarn easily found online, including youtube videos by several authors, and even commercially dyed and prepared skeins/balls for purchase. Since I machine knit, I am interested in producing “tarn” that may knit on the bulky KM, which results in limitations that do not apply if one is to knit it by hand or crochet, where needle and hook sizes are far less limiting.
In my sewing stash of “rulers”, I had one product by June Tailor which since my purchase appears to have evolved. Its closest cousin by the same manufacturer is the shape-cut-ruler. It is a convenient cutting guide that I have also used on felted wool to produce even slits for later manipulation such as chaining.In this case, I began by cutting off the sleeves and upper body from armholes to neck, resulting in a tube, which in turn I pressed and folded in half, leaving a single fold edge for later cuts to produce the continuous strip.
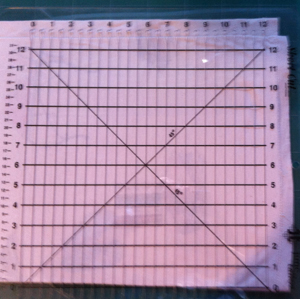
Below the ruler is positioned over T-shirt tube folded almost in half in this case, with single fold border at top for later continuous cutting into tarn yardage
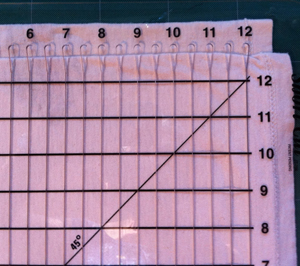
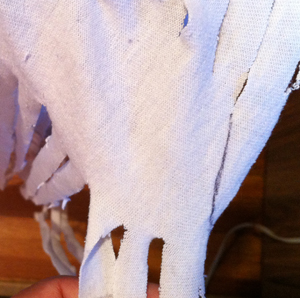
this is a better view of upper edge; rotary cutter moves within slits, inverted “teardrops” at the top serve as stops for the cutter, leaving an even, upper border intact, I tend to use rotary cutter moving from bottom up; this is not a hard and fast rule and may be adjusted to suit your preference
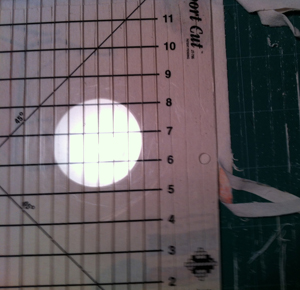
follow cutting guides through slits across the piece; a sharp blade helps considerably; when finished with the first pass, move ruler along each cut line, and make a second pass with the cutter to eliminate any areas skipped on the first pass and thus uncut while applying even pressure on the ruler; this is quicker and neater than using scissors; in turn, release the strip and lift away from the ruler, move ruler one strip over ( I am right handed, so moving from right to left), repeat process across fabric width
one T shirt down!
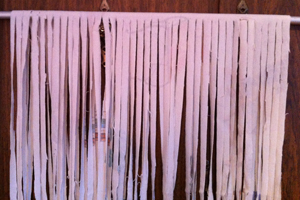
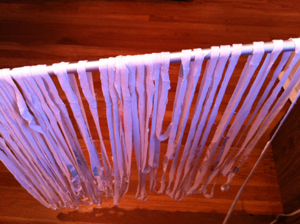
here I like to use a long curtain rod, broom handle, or anything else on hand and slip the slitted but partially intact tube onto it
here is the above rod, perched with ends resting between my kitchen table and the opposing countertop. The black marking line indicates the location of the first border cut from right towards left, and cutting (with scissors) continues in the same movement across the width of the fabric
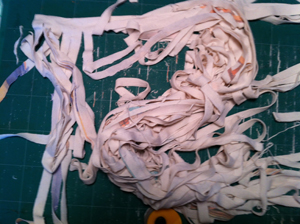
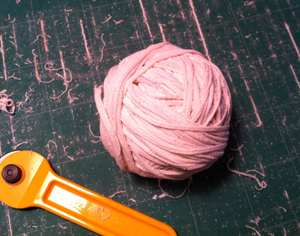
time to make a ball! beginning in this case with “yarn end” on right, “milk” about an arm’s length of the strip (as you pull on the fabric it narrows and curls inward), and begin winding the result into a ball. As you move across the supporting rod the ball will have to be moved over and under it at regular intervals to keep the fabric flowing easily. I did so at the end of each loop circumference, which was easier for me than lifting the right end of my rod to free the “yarn”. The result:
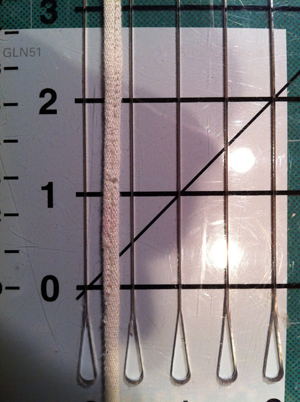
the “yarn” superimposed on the ruler for an idea of the change in fabric width after pulling/stretching