Factory “drawn” Studio mylar sheets ie for 560 model KMs will work on the Brother 910 with some adjustments. Just as when using punchcards, the card reader drum as well as the mylar scanner “see” a different row as row 1 than the alternate brand KM.
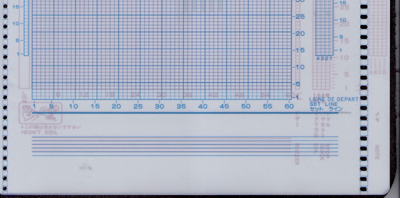
The image below is a quick scan of positions of black/white squares on Studio mylar with a superimposed, unmarked one for Brother.  The holes for movement of the mylar occur in just about nearly the same location. The first issue at hand is to draw a set line in the proper position for Brother pattern reading (traces of pencil line on the red studio mylar may be seen underneath the blue brother markings). Some machines are fussier than others with the set position, and I found drawing the line by placing the denser studio card over the brother one on a light_box surface made that very easy.
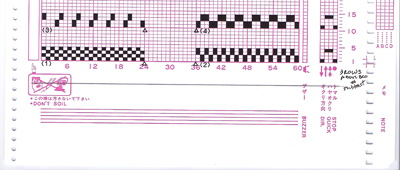
The second issue is that as can be seen above, the first design row on Brother is actually 3 rows below that on Studio, so when programming the repeat 3 rows should be added to the first row of studio repeat, and 3 also added to its top. For example in the studio mylar #1 segment below #4 pattern in Studio programming would begin on row 11, ending on row 14, to program same in Brother beginning row is 14, ending row is 17; stitch locations remain unchanged, but a reminder: Brother sheet is marked in 5X5 blocks of squares, Studio in 6X5.
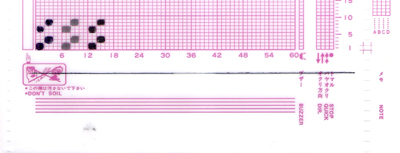
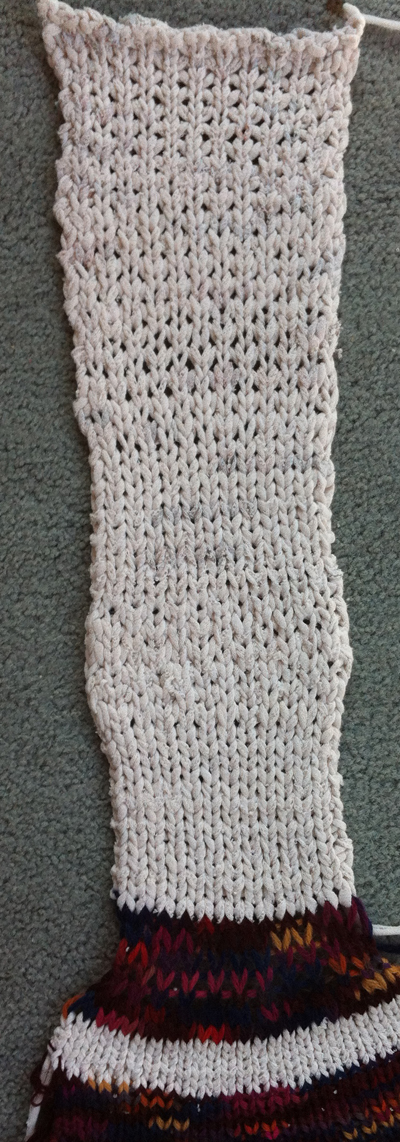
Hand drawn studio mylars when using the pencil appropriate for them will not read, so sheets need to be marked with any tools you have used for doing so in brother markings in the past. One oddity I encountered is that with the drawn repeat below I had no needle selection until I programmed rows beginning above row 5, using rows # 9-12 as top and bottom of the repeat, not an issue with the factory mylar. I used a sharpie to draw the first pair of squares (has never worked for me), number 2 pencil on the reverse of the sheet for the second (my preferred method), and template marking pencil on the mylar front for the third. Drawing with the latter over hand-drawn studio mylars enabled those markings, in turn, to be read by my 910. One problem with the template pencils is that small pieces of the coating they produce may shed with use.  The issue with bottom rows not reading did not repeat when I used a different blank mylar sheet and drew the identical repeat, nor did it occur with factory drawn. Sometimes there are no explanations…


 The holes for movement of the mylar occur in just about nearly the same location. The first issue at hand is to draw a set line in the proper position for Brother pattern reading (traces of pencil line on the red studio mylar may be seen underneath the blue brother markings). Some machines are fussier than others with the set position, and I found drawing the line by placing the denser studio card over the brother one on a light_box surface made that very easy.
 #4 pattern in Studio programming would begin on row 11, ending on row 14, to program same in Brother beginning row is 14, ending row is 17; stitch locations remain unchanged, but a reminder: Brother sheet is marked in 5X5 blocks of squares, Studio in 6X5.