Related blog posts:
2022 More buttonholes and slits with illustrations including ribber variations.
I have previously shared posts exploring assorted meshes including some with large eyelets.
The formation of eyelets is sometimes offered as a buttonhole option in publications, a review of the stitch movements involved and the associated symbols:  The first knit row will form a loop on the empty needle, while the second row knit with the next carriage pass completes the stitch
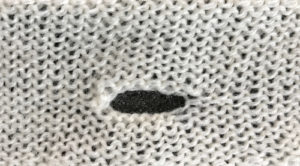
 A larger eyelet, with directions found in most manuals, is not really the best option if used as a buttonhole. That said, these 2 methods render round, clean-edge larger eyelets
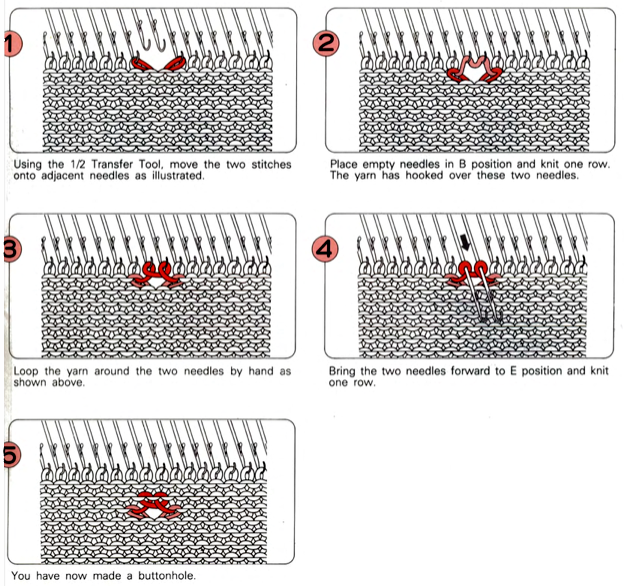
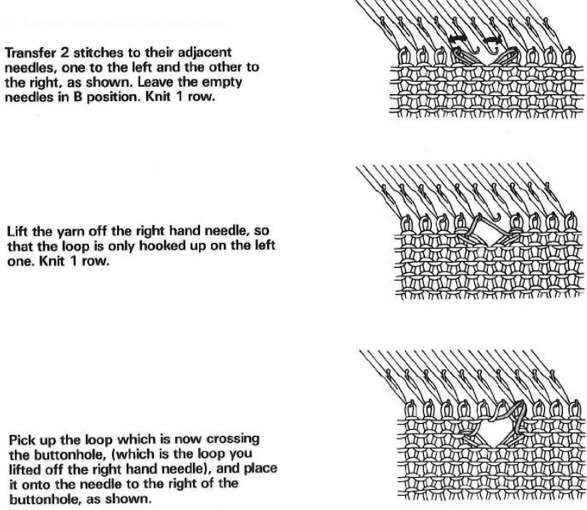 This version is from the Brother Knitting Techniques Book, begins to address wider openings in knits
 Many hand-knitting patterns are published, often in garter stitch, using slits that one may think of as larger “buttonholes” to create a range of interesting fabrics. Trying to produce such slits single bed, without the use of additional strands of yarn and in turn, having yarn ends to weave in, leaves few options.
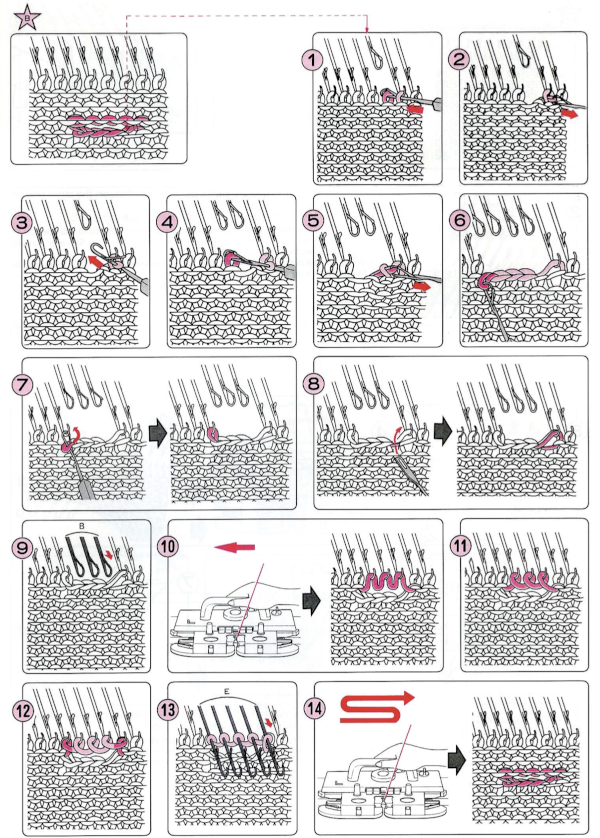
This method may also be used when creating multiple slits across a row. Holding is used to break the knitting into segments. The drawn illustrations show steps are taken, not needle positions.
COR, for the bottom of the slit:
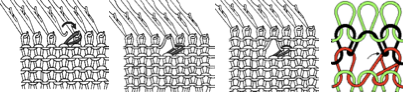
1. transfer the first stitch in the buttonhole group onto the adjacent needle to its right 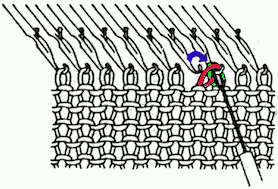 2. transfer the pair of stitches together onto the now empty needle to their left. The knit carriage, holding the yarn, will be on the right
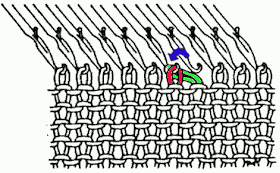 3. push the needle forward until the first stitch (green) passes over the needle’s latch
 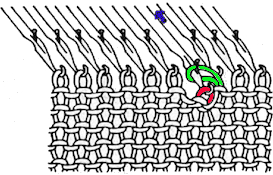 4. push the needle back to the work position5. the forward stitch (red) is now knit through the one behind the latch
 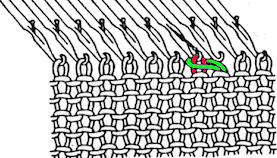 This essentially binds off a stitch.
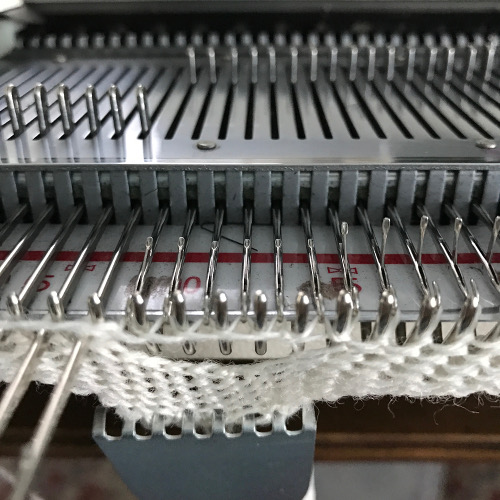
Repeat steps 1-5 until the number of bound-off stitches required is met; the last stitch in the group is then transferred onto the adjacent needle to its left. The bottom edge of the “buttonhole” is now complete. 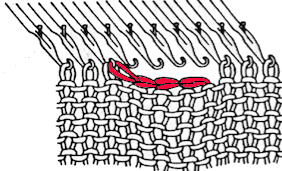 To make the top edge of the buttonhole/ slit bring its corresponding needles out to hold, and cast on the desired number of stitches with the latch tool from right to left.
 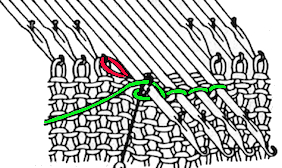 In order to best accomplish this with COR set KM for holding, push empty needles back to A position, knit up to now empty “buttonhole” needles
  bring empty needles out to hold
  insert latch hook from back to front through below the last stitch now knit on the right
 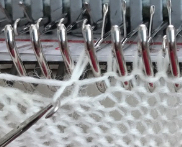 twist tool clockwise
 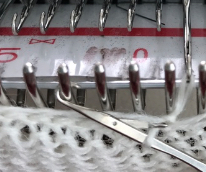 bring empty needles out to hold
 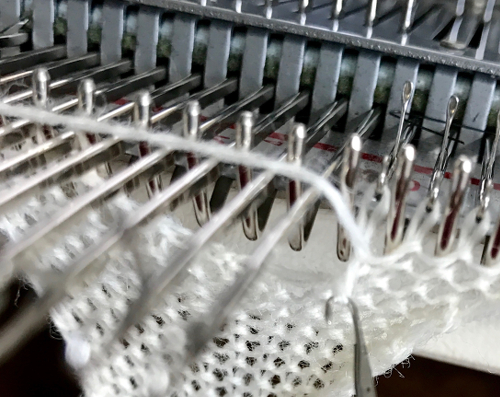 come up between the first 2 needles on the group’s right
 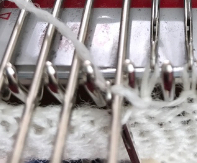 continue with latch tool bind off, the last loop in the chain is hung on needle already holding 2 stitches from the last bind off transfer
 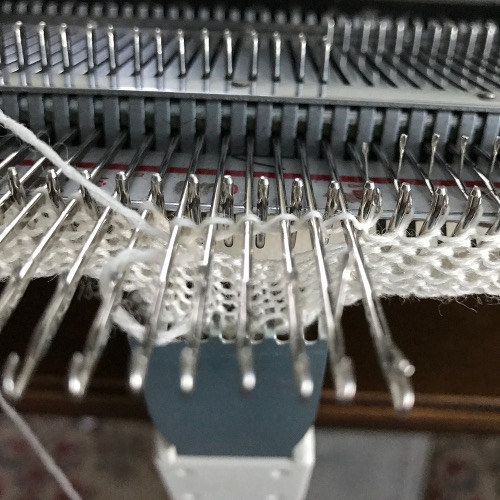 tighten up the loop
 return “buttonhole” stitches into needle hooks, back to B position
 COL: set KM to slip in both directions and move to right
 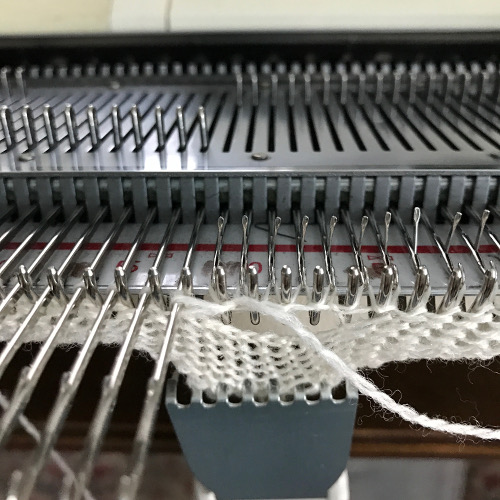 COR: cancel holding, adjust tension, knit across remaining stitches to L
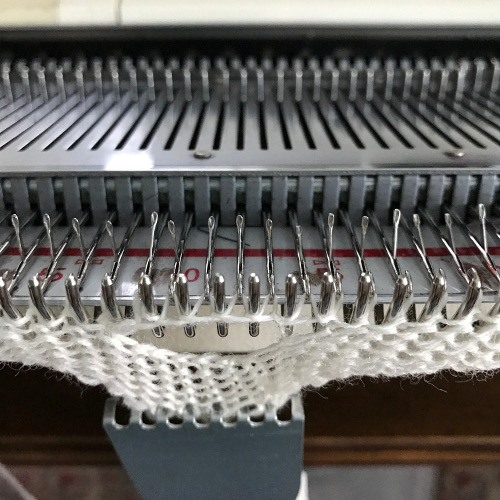 COL: cancel slip <–>, continue knitting
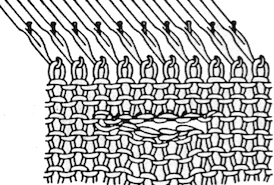
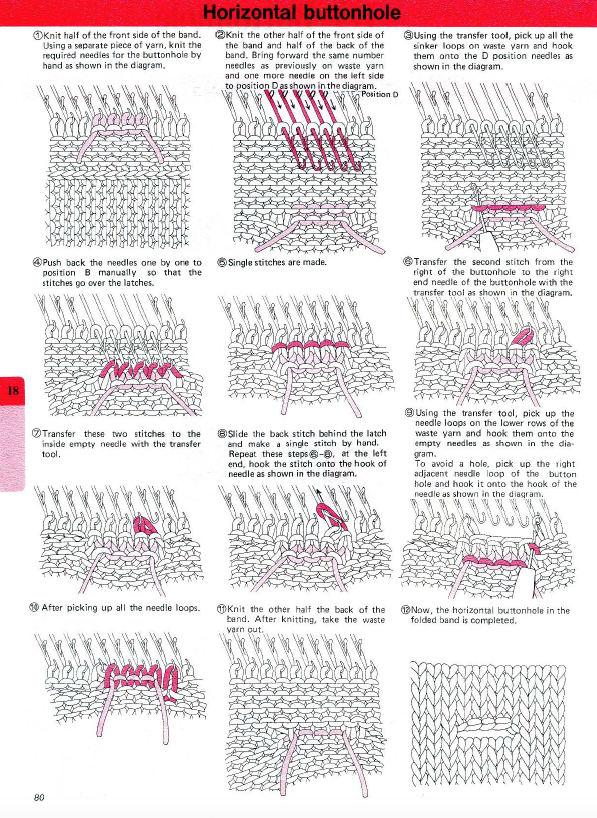
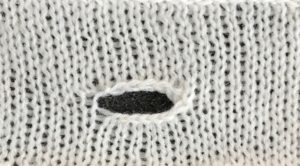 This version is from an ancient Brother manual, always test techniques on swatches using the yarns intended for the final piece