Decades ago UKI used to offer 92 colors in a 3M elastic, and for some time lots of folks were experimenting with using it as the second color in fair isle. A company now defunct called Impresario used to even sell pattern books for garments using the technique, with the no stretch ground yarns creating ruffled details in cuffs and sleeves. One of my students during that time made a whole collection where the elastic was used in shaping segments of pieces and even in a whole dress. Since pleating, folds, blisters, bubbles have been intermittent themes in my blog posts the elastic and “unusual” fiber use seems to be a natural follow up in my swatch knitting experiments.
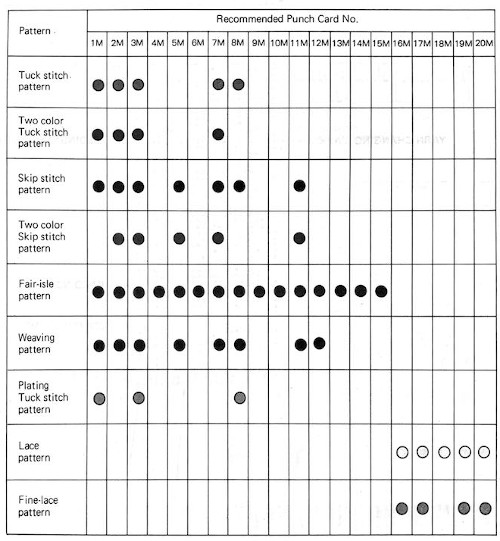
Early published designs can be found using elastic in patterning. Thread lace was an early feature in Silver Reed machines, so if that is a fabric that is attractive, downloading Studio specific punchcard books or those for their electronic designs is well worth it and provides a wealth of inspiration for the related knits. The knitting technique is often referred to as punch lace in early pubs If a clear color contrast is desired, FI is the better option. One such source:
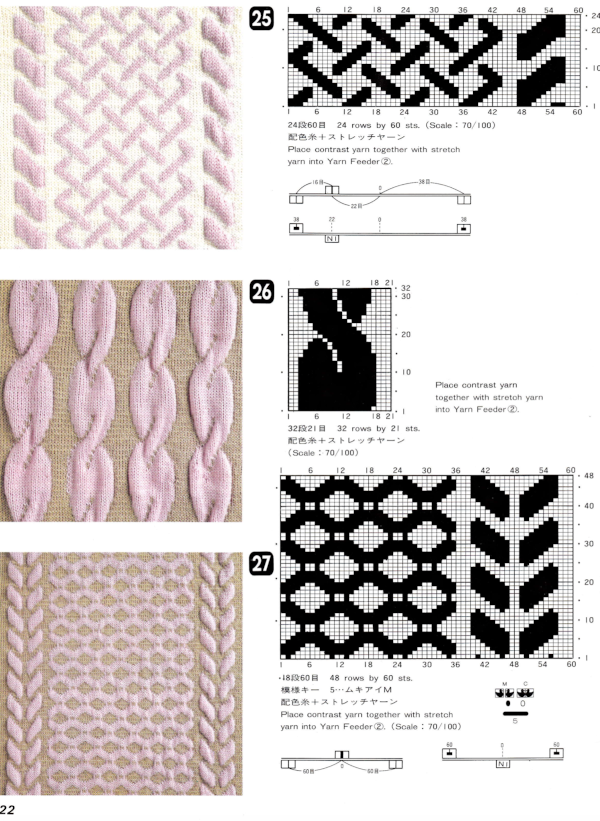
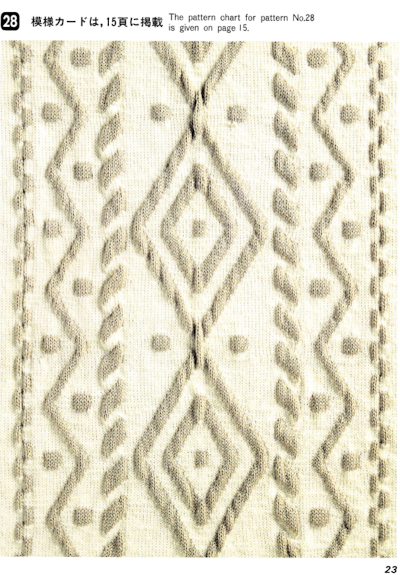
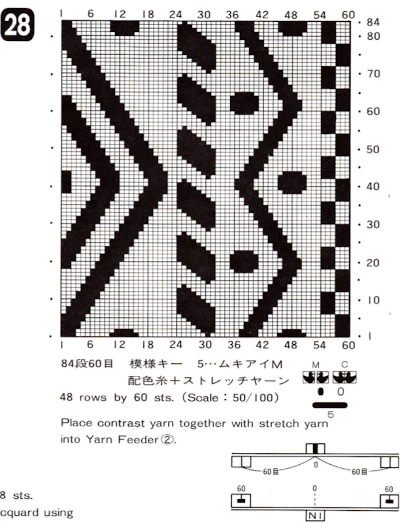 The above patterns are decoded for use on Brother electronics in a subsequent post
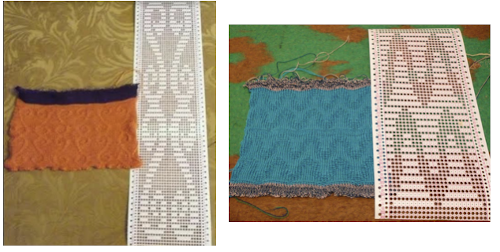
In an earlier post on “pretend cables” I shared a demo swatch from my teaching days (shown sideways) that became the springboard for the mentioned student collection
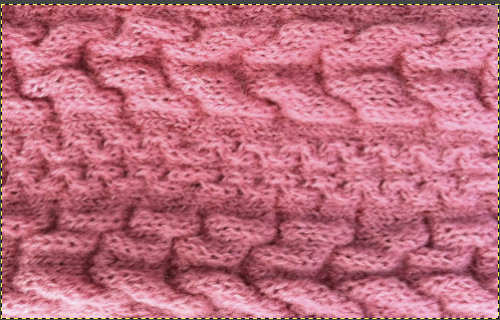 and its accompanying punchcard repeat:
 UKI is no longer available. I recently acquired some Yeoman elastomeric nylon-lycra yarn. The latter is supplied on 1450 yards per pound cones in 23 colors.
There were several things to be sorted out for the elastic to feed smoothly. The first was to separate it into more than one cone with the intent of using at least 2 strands since one did not seem to work predictably. After trying a variety of trial methods including bypassing the tension dial in the yarn mast, ultimately the best results were obtained by threading the elastic as any other yarn but taping the metal disks spaced apart in the assembly thus reducing the pressure and upper tension on the elastic as it advanced through the mast for knitting.
The normal threading
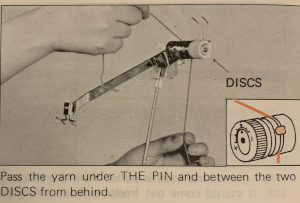 Here the white yarn shows position beneath the pin
 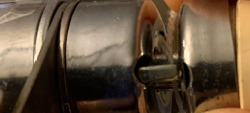 and scotch tape in place to adjust the amount of pressure exerted on the elastic.
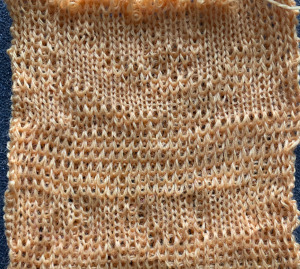
 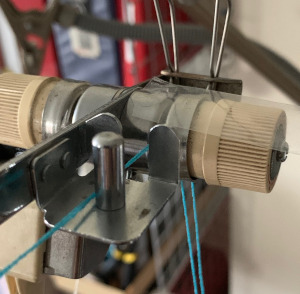 As a matter of routine, even if the goal is to knit the fibers double bed, it is always best to make certain one gets familiar with yarn feeding, tensions, changes when larger widths of knitting are attempted, etc. on the single bed. The first tests were knit using the fair isle and thread lace settings single bed. Though I am using img2track to download to a 930, I do not have a 930 carriage (910 ones do not have a thread lace option), so I worked the swatches using a punchcard model carriage. The repeats used were planned to include borders on each side to ensure those stitches would knit in the second, B feeder color in fair isle (black squares, punched holes), or together in white squares (unpunched holes) in thread lace. Fair Isle produces a double set of floats on the purl side.
 ![]()
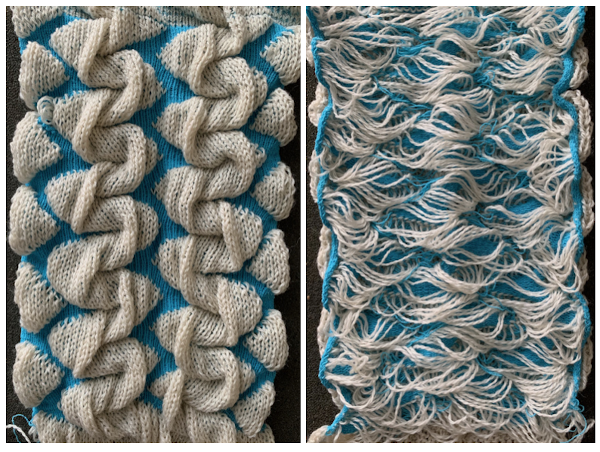 Thread lace produces a single set of floats (in this case the elastic), the white border is not visible in the repeat below, it is the same as the above fabric, with colors reversed. I prefer the single float backing. In addition, for these fabrics the elastic is placed in the A feeder, the yarn in B
![]()
 I found the standard sinker plate kept having issues with the thread lace option, getting needles caught up in it as it attempted to move across the bed. The sinker plate that was provided with the punchcard machine was actually different, and when I switched to using it I had no further problems. Arrows point to differences, I have long since replaced all brushes with wheels on all my sinker plates. Be aware when purchasing any of them that the bulky KM ones are slightly larger.
  A second thread lace variation:
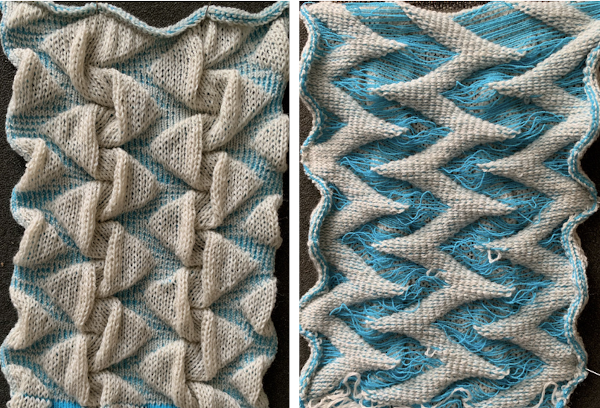
![]()
 The multiple folds and creases, as opposed to smooth blister in all the above, are very interesting to me.
There are many scientific papers being written on 3D knitting that explore pleating achieved by using knit and purl combinations which to some degree could be emulated on home knitting machines equipped with a G carriage. Other work explores properties achieved by using elastics in the mix, they can be found by searching for “axometric knits”.
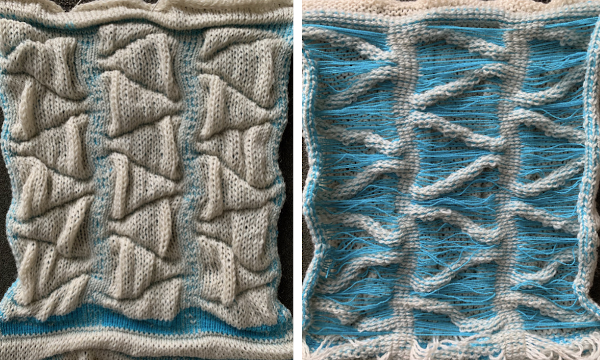
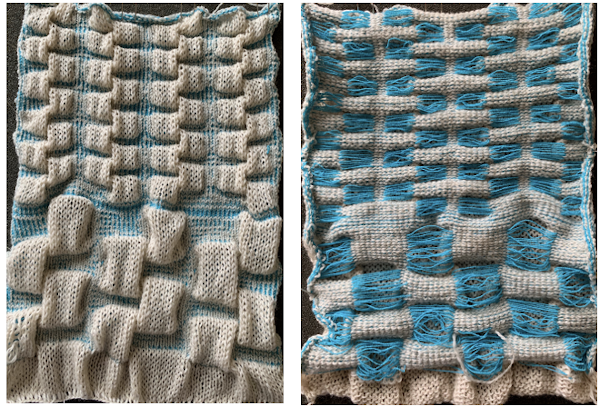
Many interesting pleating effects may be achieved by using knit and purl combinations. Unless one has a mechanical aid such as a Gcarriage transferring between beds can be tedious and hard to do correctly for lengthy pieces of knitting. I illustrated one sample in the post 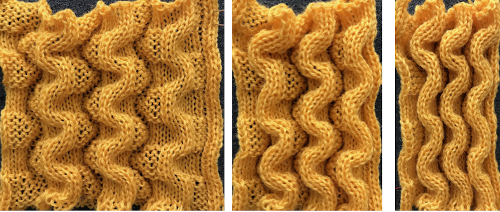 I decided to now test a similar block structure using the thread lace setting, first with a large check and then a far smaller one
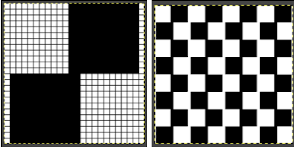
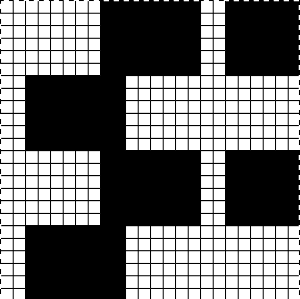 The spots, where the elastic and yarn knit together, are compressed, so the results are quite different than what might be expected from studying the chart
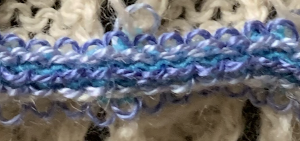
  A quick, imperfect sample using a fine cotton and a single strand of the elastic, each with its own upper tension disk adjustments.
 a close-up of the elastic and cotton, though they are knitting stocking stitch together, the cotton does not have the same stretch factor, so the loop formation as viewed on the purl side is different
 What of knitting on a double bed? An axometric shape, a tentative repeat worked out and in turn elongated X2 and tiled to check alignment.
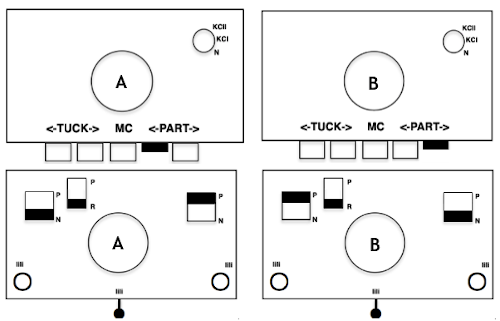
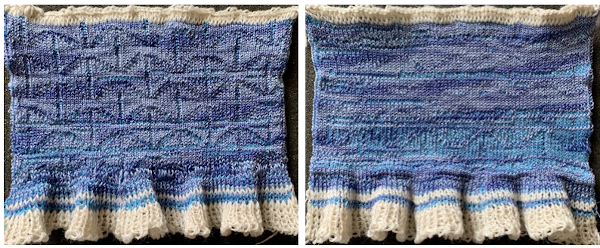
 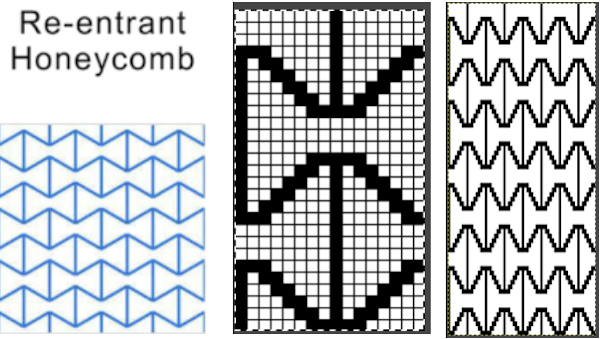 The original repeat is composed of an odd number of rows in height. Usually, double bed knitting relying on color changes or automatic DBJ KRC separations require an even number of rows in the motif. The first sample was executed using single-ply cotton and elastic yarns respectively, fed through separate upper tension disks but knit together as a single color. The swatch is 72 stitches in width but measures only 14.5 mm (5.7 inches) in width, producing a gauge of nearly 13 stitches for inch, not achievable when knitting with standard fibers on a standard 4.5 mm machine. The pattern is subtle, more visible on the knit side, hard to tell there are pockets in the knit. The cotton is space-dyed, and as true when using such yarns, that causes some confusion in immediately identifying a clear pattern. The ruffled effect is simply from a plain knit start and color-changing stripes to test tension and knittability on the planned needle width. Machine settings: opposite part buttons, no lili
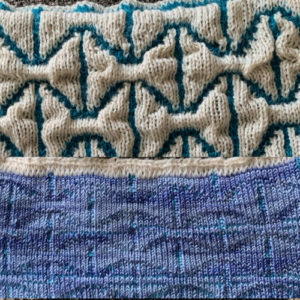
 Here the same pattern was executed on the same number of stitches with the white wool used above, but the elastic was plied with a 2/24 acrylic yarn and knit as DBJ with the blue, stretchy combination creating the solid color backing
 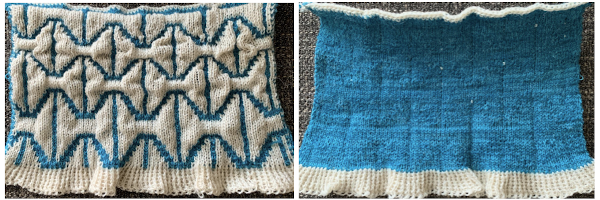 a comparison in scale
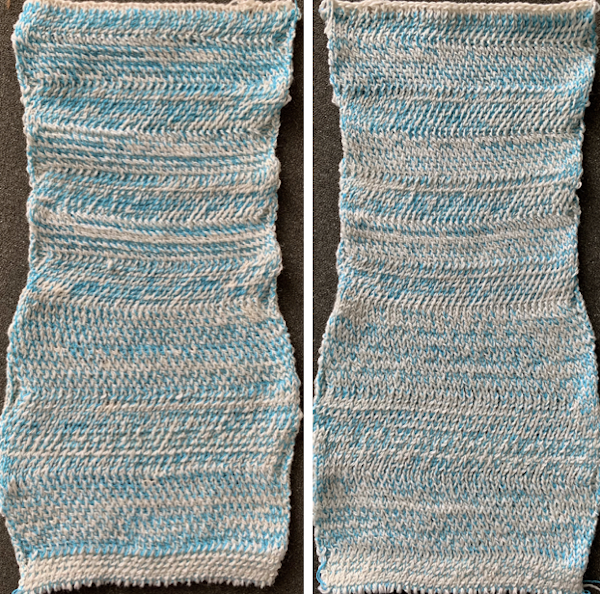
  My future intent is to try for some of the 3D shapes obtained with racking, but prior to that, I tested the yarn and tensions on some simple every needle rib racked patterns. Because of the movement required across the metal bed for racking to occur, I chose to continue using the same wool as above, rather than thin cotton likely to break from the stress of those movements. A plating feeder would do a better job of distributing the colors, which here become muddied as seen any time 2 contrasting colors are knit together and are used as “one strand”. Racking every 2 rows (swatch bottom) will stress the yarn less than every one row (swatch top). The knitting was fairly easy at tension 4 and 3 respectively. Both carriages were set to knit in both directions. The weighted rib on the machine measured 16 inches, 10 when off it and relaxed. The width nearly doubles when fully stretched.
  I was curious to try a pattern previously tested in an all wool
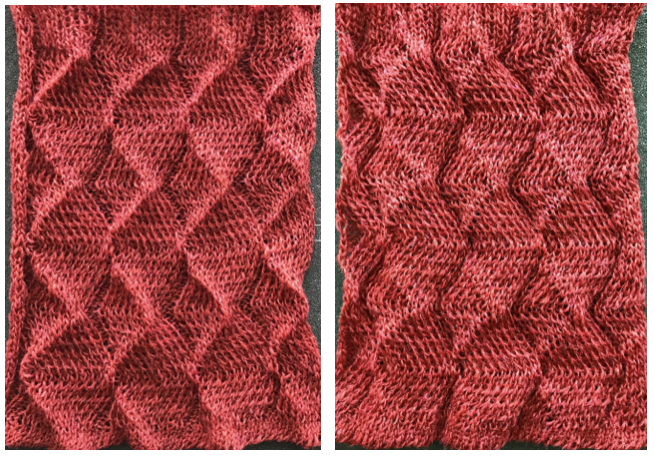
 The stitches were quite compressed, the color mixing makes the shapes harder to trace, the fabric measures nearly double in width when fully stretched in width, the needle arrangement is more visible at that point.
 The needle arrangement was changed. The finished swatch measured 24 inches when weighted and on the machine, approximately 18 inches when off and relaxed. The maximum width was expanded from 4 to 12 inches
 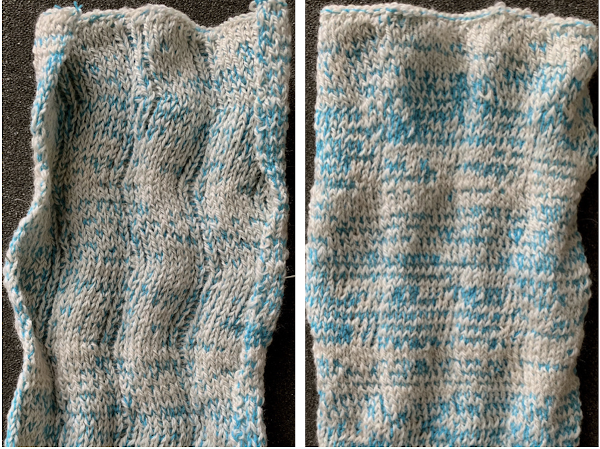 The “pleating” arrangement is noticeable in this view
![]()
 Working with a similar arrangement I decided to try having patterning on the top bed, with the aim to tuck on the single needles in work in the repeat (bottom line of black squares). Not all ideas are an immediate success. Wanting to see the effect on the single-ply wool I began with that at the tension that appeared to be required for knitting it along with the elastic and stitches were far too loose.
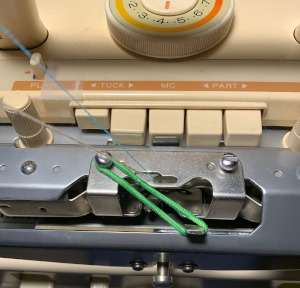
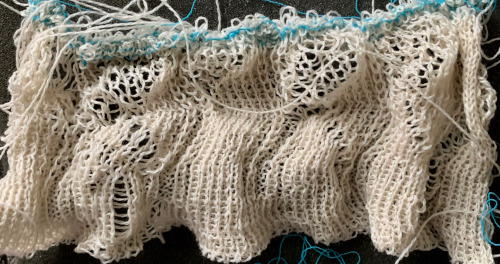 I had more success and a bit better definition of the fabric by knitting with both strands together from the bottom up. In an effort to attempt to have better color distribution I used the plating feeder and had some issues with stitches not knitting off properly. The result was not significantly different than that obtained by simply feeding both yarns together. When using plating feeders both on the single and the double beds one of the yarns may have a tendency to jump out, to prevent that from happening here is one “hack”.
 The tuck stitches do help with the definition of the shapes, as do the dropped stitches, a fact worth keeping in mind with a return to pleats and their formation, but likely in another post. Likely the last test in this series, I attempted a version of dragon scales at first using a yarn I knew would be too thin for the effect alone, then added the elastic. The combined yarns did not tolerate tuck and racking combined, so I then used slip stitch <– –>. The yarn alone sample was too loose and thus nearly flat and when the elastic was added the resulting knit became compressed and lost any semblance of 3D
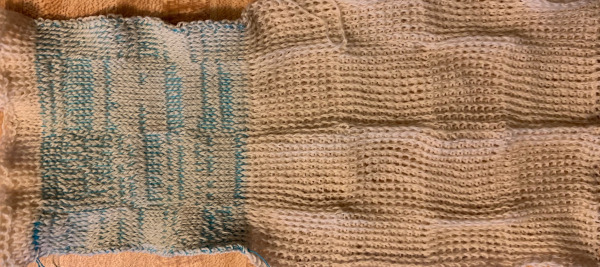 The same yarn as above, also knit in tuck setting, showing the difference in size and dimension between slip setting on left, tuck on right
 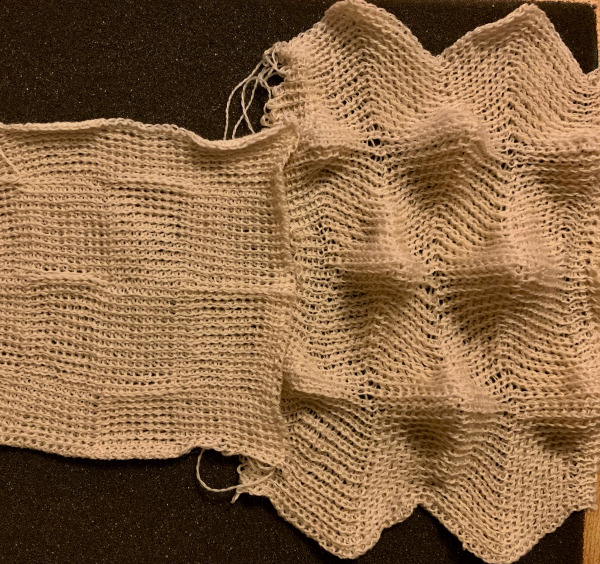 As with any knitting, keeping an eye on what your yarn is doing still matters. Such as this will lead to a series of circumstances that may bring your project to a far earlier end than planned ;-(
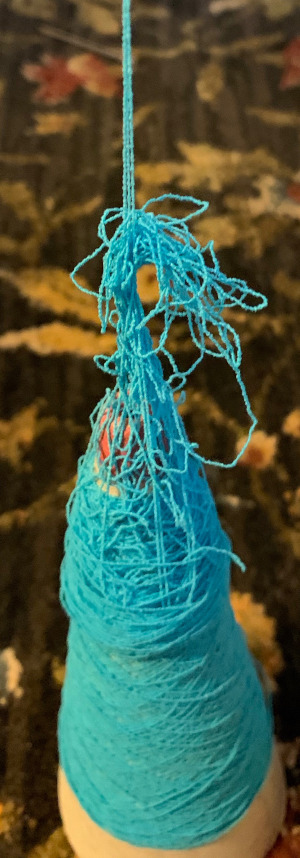 A very last effort at attempting the scales with elastic and wool knit at a far looser tension that in previous tests, ended when elastic broke as a result of above, IMO an unremarkable fabric
 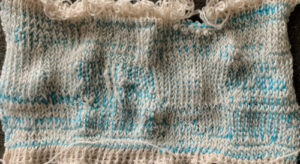 For more swatches and information see post on knitting with elastic 2
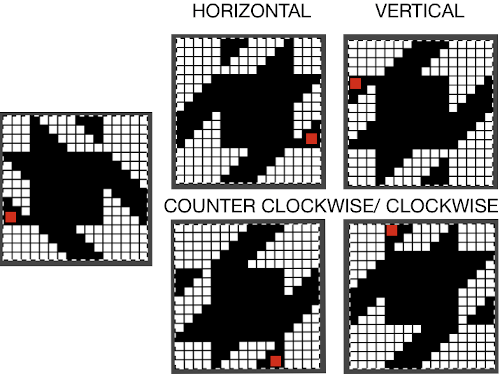
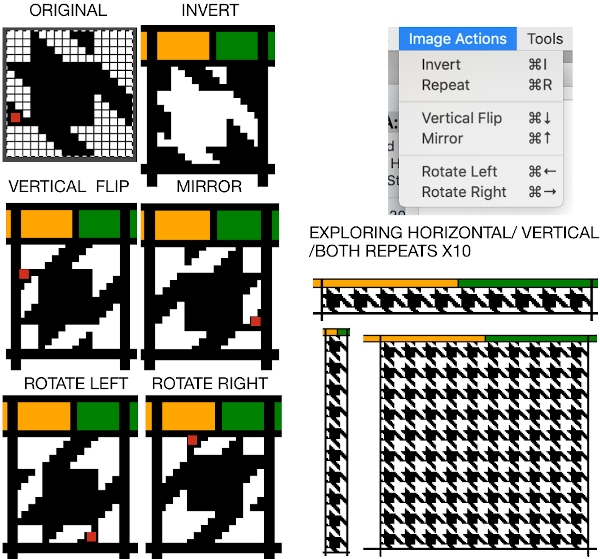
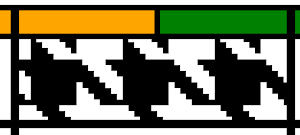

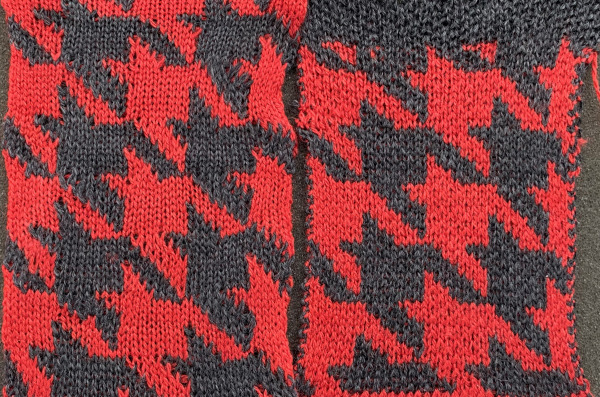
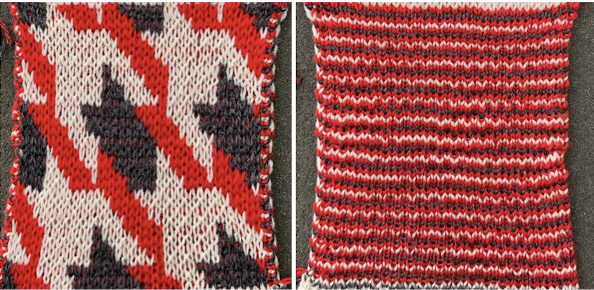
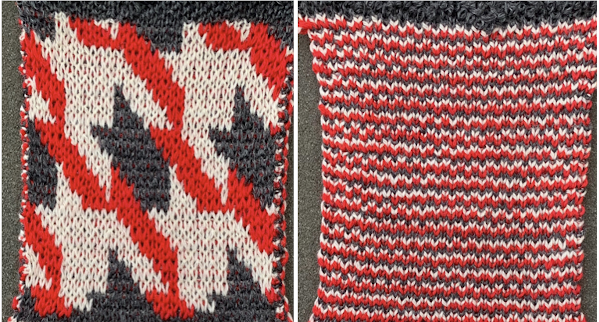
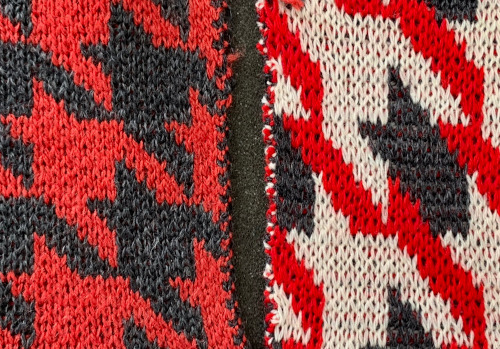
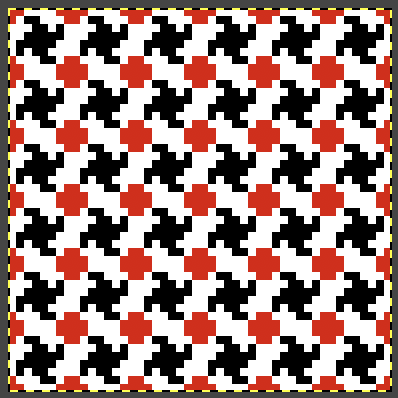
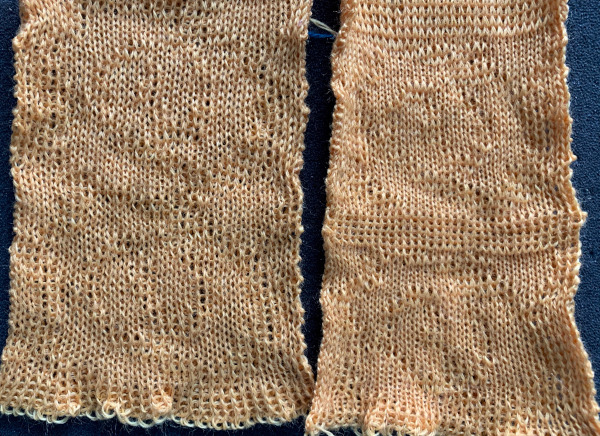
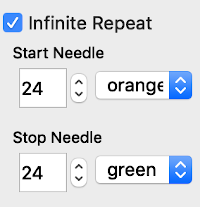 The FI results are shown on the left, the first dbj test with lili buttons engaged and both carriages set to slip in both directions appear to the right. Note the difference in width and height of the resulting knit. The floats in FI are overlong, and there are some separation and lengthening of the stitches along the diagonal edges of the houndstooth shape
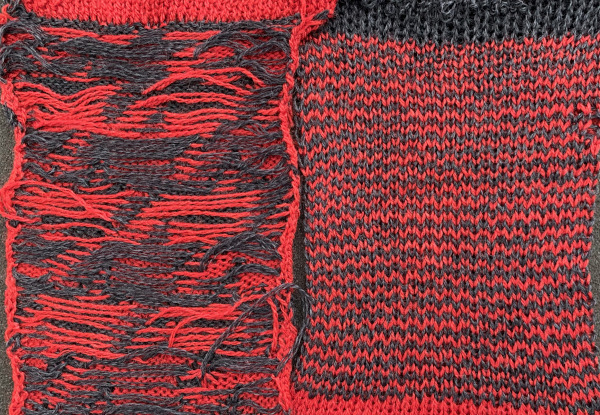 The program does provide prompts as to which color should be picked up next, and clues as to where one is in the repeat, they are found at the bottom of the Ayab window. I happened to grab content with color B upcoming both times.
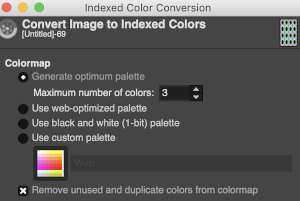
 When preparing images for download, they should be indexed to 3 colors
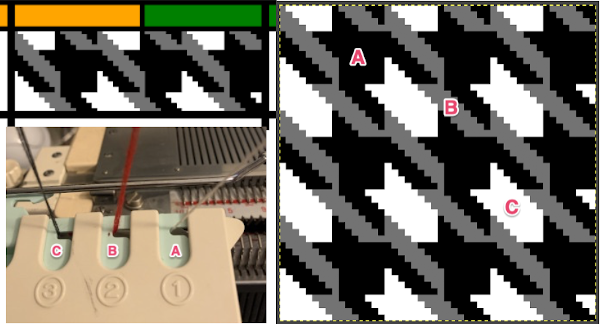
 It takes a while when knitting double bed knits before one can assess whether the results are correct in terms of patterning since the knit is hidden for some length as it drops between the beds. Because the Ayab prompts for color changes were altered sometimes when the carriage on the right, sometimes on the left, I dropped the first sample off after slightly more than one repeat, found its patterning to be correct, and that the prompts when on the color changer side for the following row to be knit from left to right were reliable, as shown in the knit swatches. In turn, I used an indexed greyscale image. The lettering on the right indicates where colors were placed following the give instructions, rather than where they were assigned in the original design. The manual states that the color sequence for the separation is: white, grey, black, gray, however, if the prompts for changing colors as given are followed, which is very valuable in tracking them, the knitting occurs in reverse order.
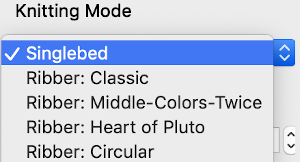
  Knitting mode options for DBJ are listed below the single bed one,
  The main bed is set to slip in both directions, the ribber as well, with lili buttons engaged. The number of colors is not altered automatically by Ayab, the change needs to be made manually.
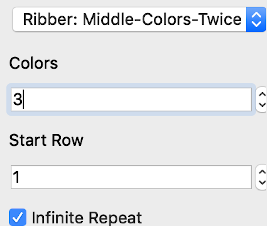

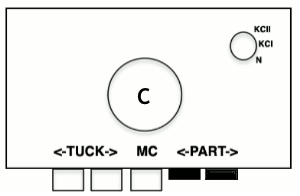
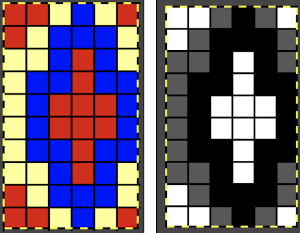 This was the set up in the color changer
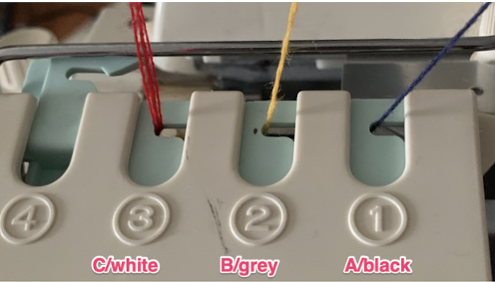


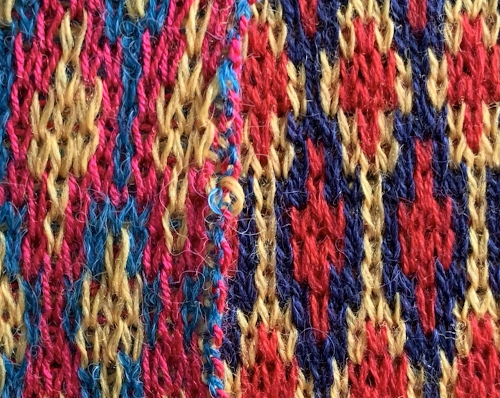 Planned possible use of the middle color twice may be seen in this image
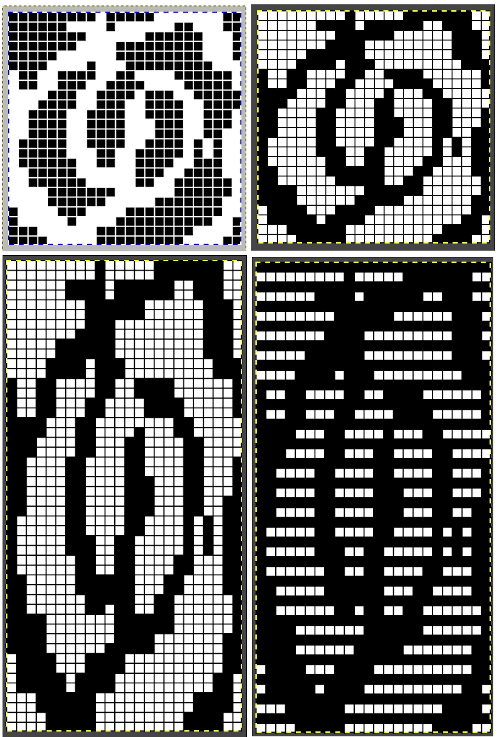
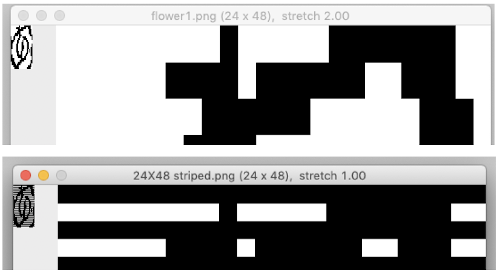


 The “striped” repeat produces essentially the same fabric. The knit carriage may be set to slip in both directions when using it since the row of all punched holes or black pixels will knit every stitch on every needle selected while in the previous samples the cam button set to knit in one direction performed that function regardless of any markings on the design repeat. The ribber is set to knit in one direction, slip in the other. Reversing sides for cam button settings produces the same fabric
 The
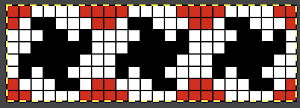
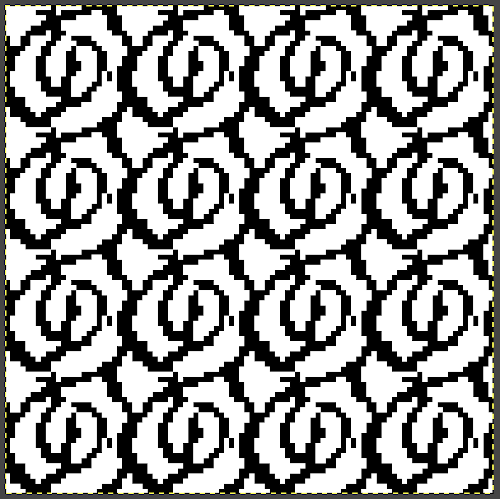
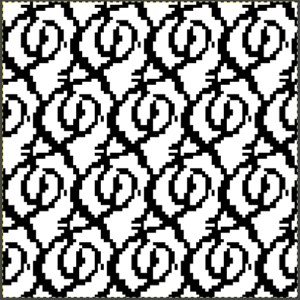
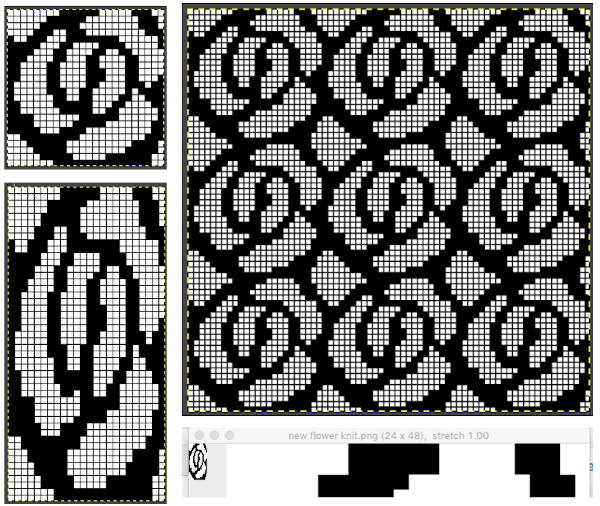
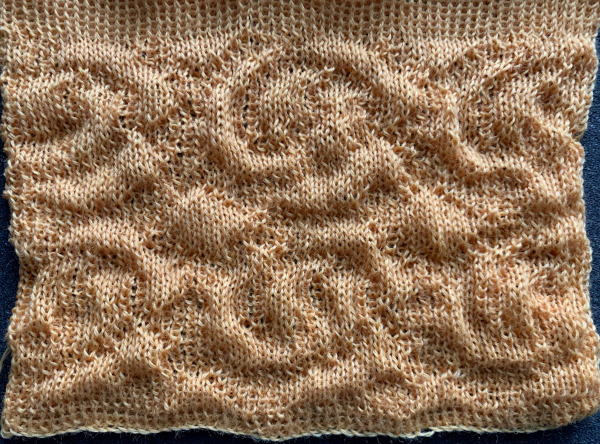
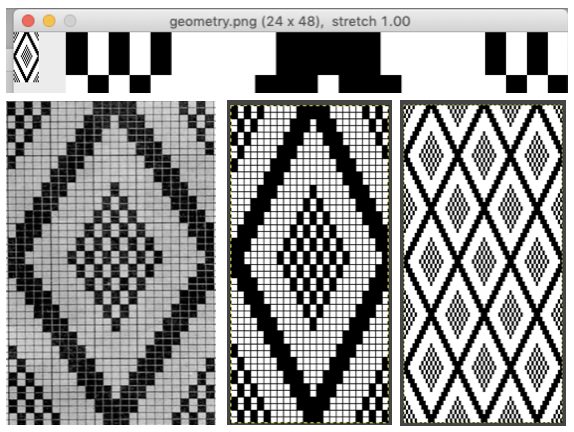
The 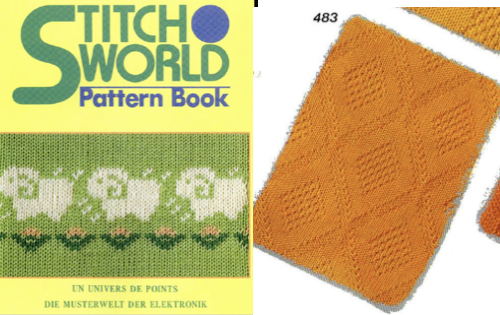 The repeat I chose is designated as suitable for the Garter Carriage. It is 24 stitches wide by 48 rows high, shown below as provided, charted in Gimp as .png for download, and tiled to help visualize how continuous repeats might line up. The image .png was downloaded with img2track to my 930, with a stretch factor of 1.0, retaining the original repeat size
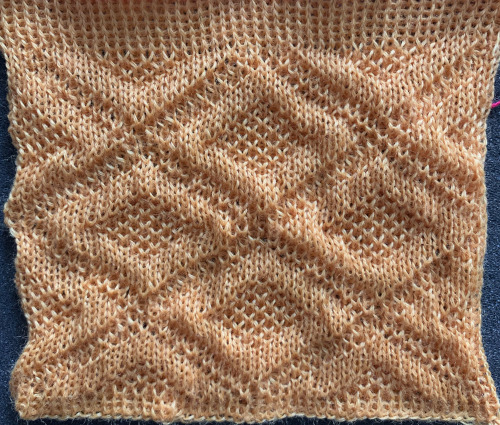
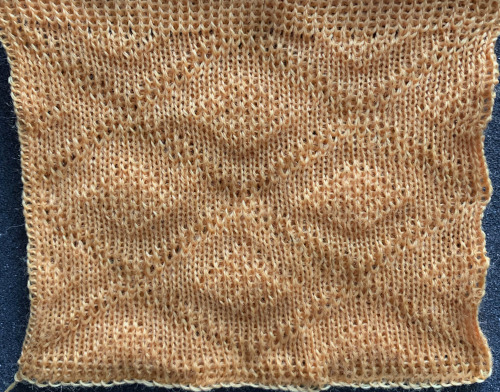
 Test and gauge swatches
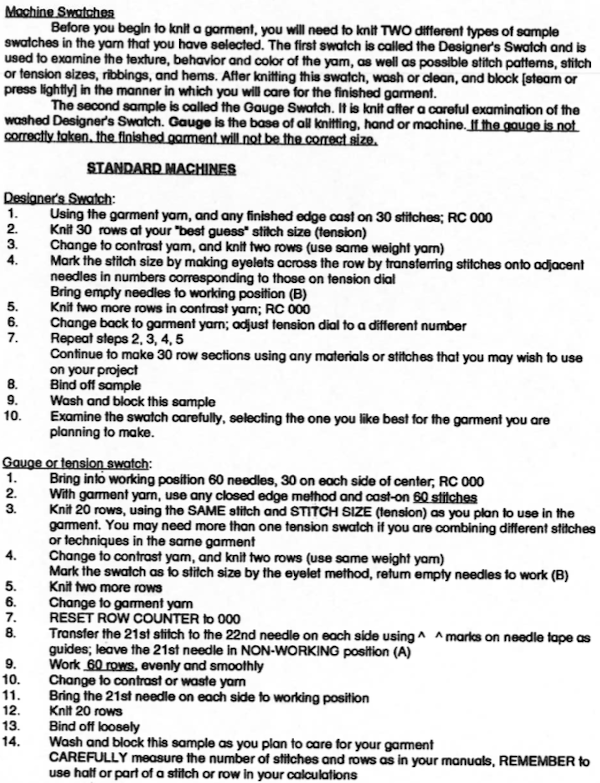
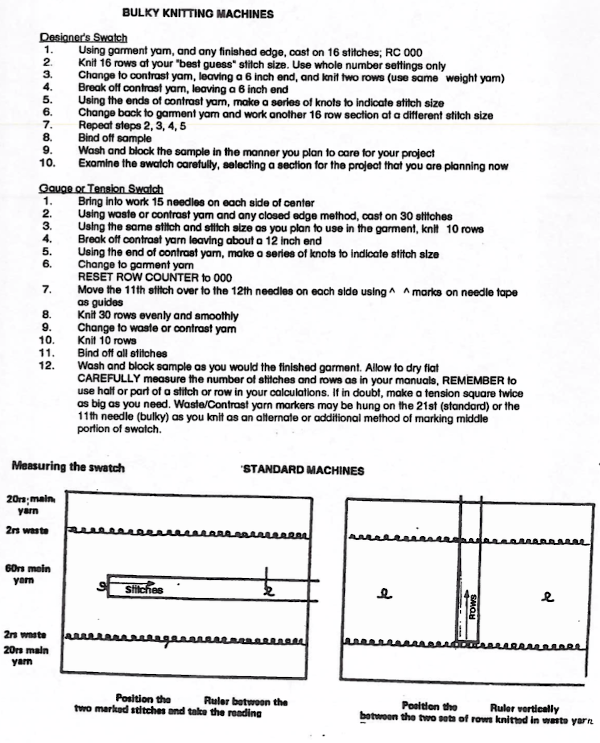 From the
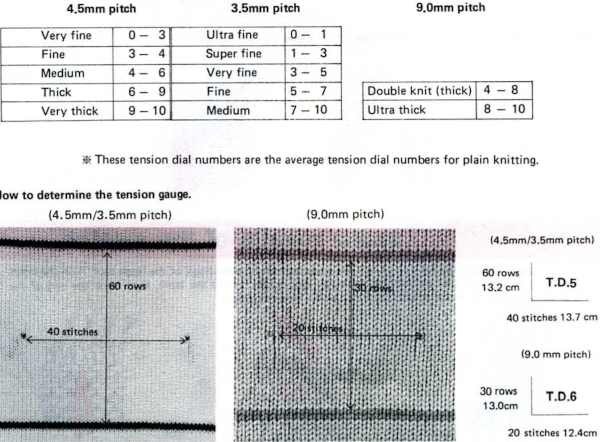
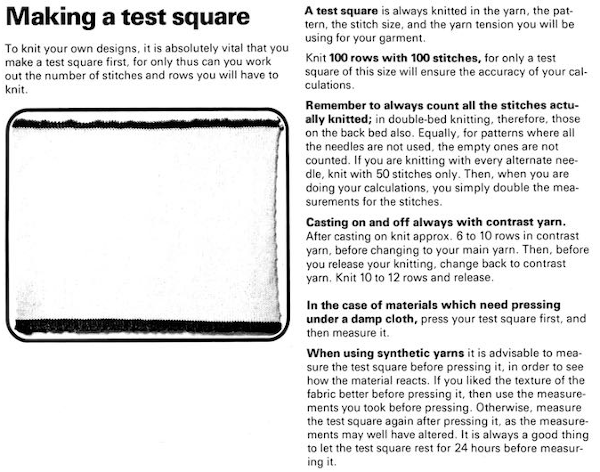
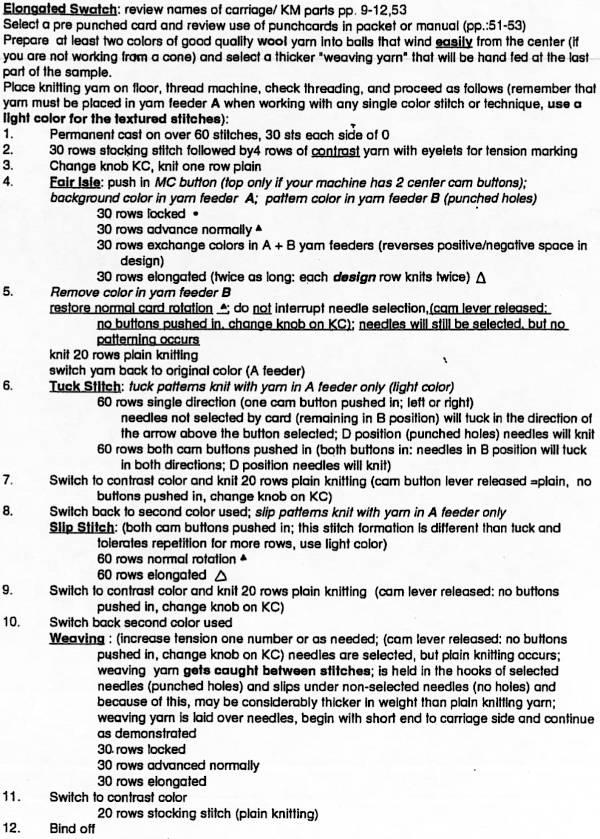 In KM model manuals a list was sometimes provided suggesting what cam settings might be suitable for each card