Ruched or manual pull-up effects can be created by rehanging stitches at regular intervals in a straight, diagonal, or random arrangement on plain knitting or patterned fabric. The pattern below could be considered a “fern pretender”, but is considerably quicker to knit. Again, for any textured fabric a yarn with “memory” is recommended for texture retention over time or after pressing, washing, etc.
Depending on how far over whether in this fabric, cables, etc, or how many stitches are moved on the needle bed, adjustments may have to be made either in tension or in the number of stitches moved. Adding striping and changing its sequences or combining different yarn weights may vary the look of the fabric considerably, and because it is a hand technique, motif repeats may be varied in size, scale, or location of hooked-up stitches. The working charts represent the side that is facing one on the machine, so by default, all stitches are purl. Dark grey represents needles out of work, which will create ladders in the final fabric. All other squares are knit stitches. Green illustrates the location of needles where the top purl bar of the stitch will be in turn picked up (in this case with a 2 prong tool), and where the tool will rehang those same stitches to create the desired texture. Red lines outline the repeats.
smaller repeat 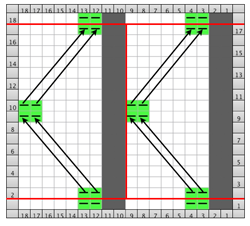 the larger.
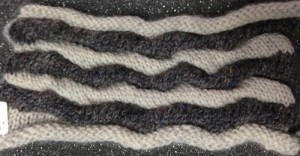
 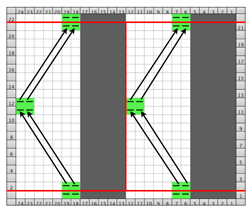 The swatches are pictured below as they came off the machine, with no pressing or steaming. The smaller repeat curls considerably, the larger lies much flatter. The longer ladder “floats” bear watching when rehanging the marked stitches to insure free gate pegs and stitches knitting off properly. I prefer to knit nearly all fabrics without any additional weight, using my fingers to pull down on what needs it as I move across the knit. The larger swatch required a tension change of + 2, in addition to the longer span of knit rows.
 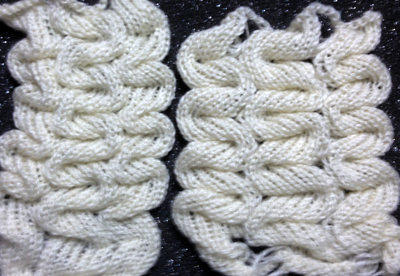 The purl side, with notable curling on the smaller repeat sample.
 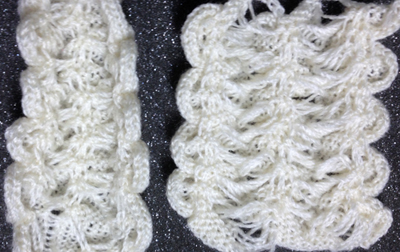 In any fabrics requiring needles OOW, unless waste yarn and weights are a necessity, one may simply do a crochet cast-on across the required number of needles, then drop off cast-on stitches where NOOW are needed, pushing them back to A. In binding off using the latch tool bind off, treat empty needles as though they had stitches on them, and top and bottom edges will match in width.
Working with larger stitch groups and color changes: the pattern stitch is in groups of 5; knit 9, 10, or 11 rows (depending on yarn and tension). Beginning on the left-hand side pick up 5 stitches from the first row, and hang them on the next group of 5 needles to their right on the last row knit. Skip the next 5 stitches, pick up the next 5 with a transfer tool, and hang them on the next group of 5 needles to their right, repeating across the row. After the whole row is hooked up, repeat the process, reversing the direction of hooking up. Starting side may be based on personal preference, consistency throughout is helpful. This pattern may be worked on an inset, resulting in ruffling on either side or on a fixed edge as well, with ruffling on one side.
The groups of 5 colored squares indicate each set of stitches and needle placement, the arrows the direction and order in which the stitches are moved. 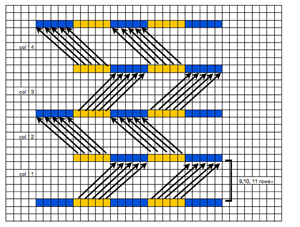
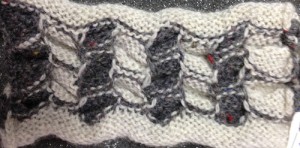 The same technique, used as a band rather than an all-over pattern
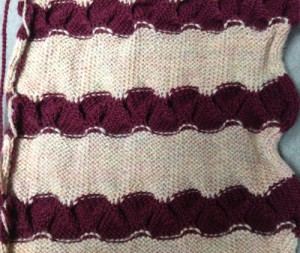
…