Eons ago I owned a BitKnitter for my Passap machine, and to this day I miss it and some of the other Cochenille software that is no longer available, especially when working with multiple colors for color separations of any sort. When using it for downloading the resulting motif, picking the same exact color for each “square” on the grid was a necessity for accuracy. If “only” black was involved, the same guide applied. Working in GIMP one can set the color mode to fewer colors to start with, reducing the palette. This can limit your editing ability sometimes, and switching between modes may be required. I tend to go autopilot when I work on color separations for any purpose and work with built-in colors rather than custom.
It is helpful to have previous experience with any program as well as with basic knitting before tackling and combining large scale designs and fabrics such as lace. This is not a step by step how to use GIMP (search for my other posts on the topic), merely an illustration of my experiment in working with superimposing an image onto a mesh grid.
To start with: a 1 X 1 grid is set up. “Black squares” become single pixels in downloads. For the single stitch 1 X 1 grid to be visible, I prefer to work in at least a 500X magnification. Because I do not own a hacked machine I am unable to provide a corresponding test swatch to the final chart.
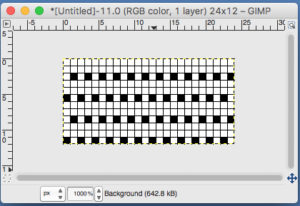
The resulting image may be tiled to produce a large enough mesh ground, the grid needs to be turned off for this step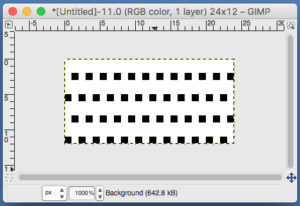
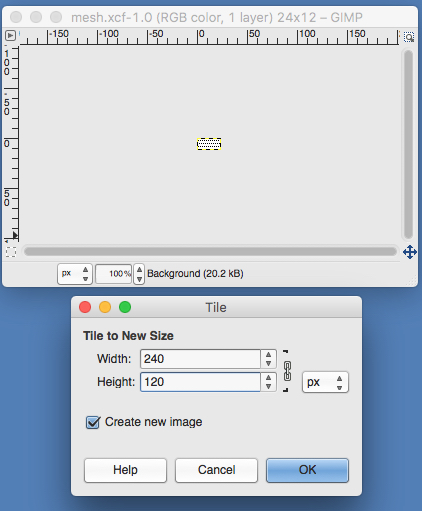
The tiled image will appear on a different part of the screen, shown in both versions below, I realized reviewing the above that the width was for more pixels than could be programmed on a 200 needle machine, I resized its width to 120 pixels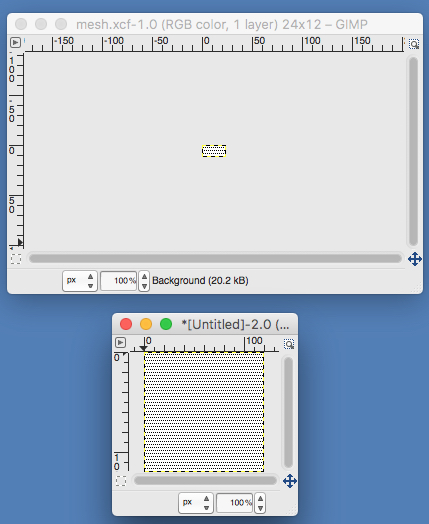
here the grid is removed for further processing 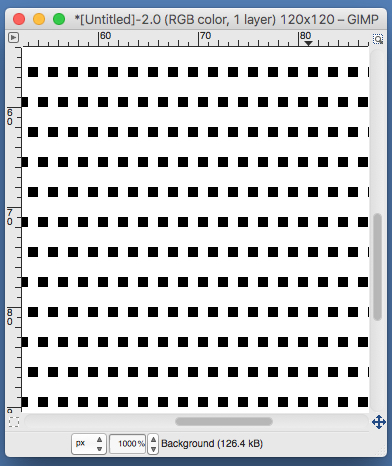
the goal is to retain the black squares for the end bmp, so the ground is filled with a color that will later be removed 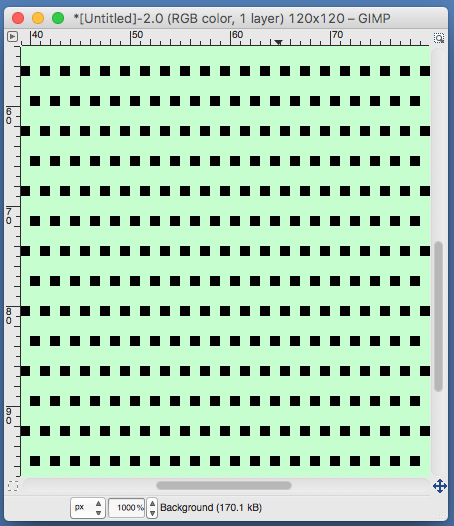 gridded again if and when needed
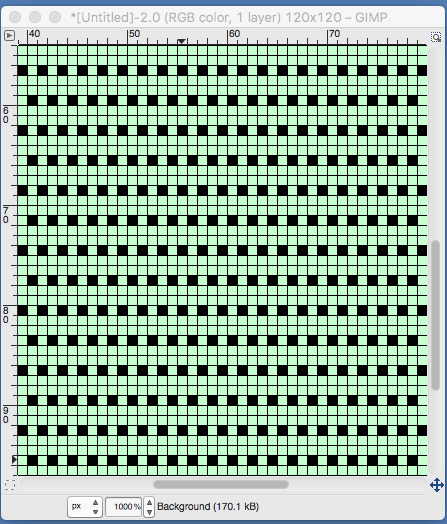
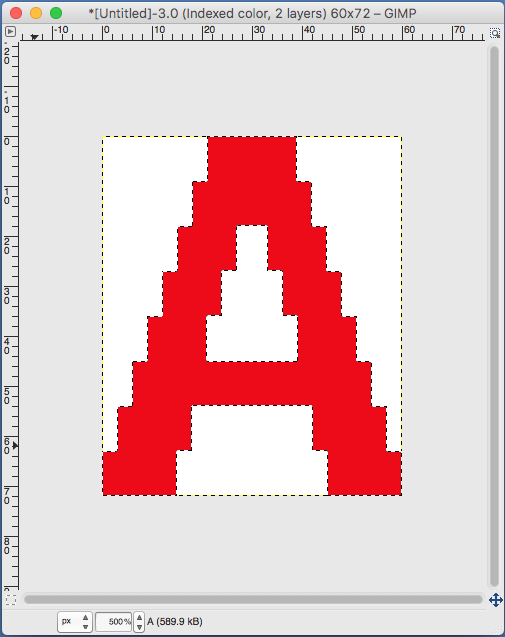
Today’s image is a letter (20 pixels by 24), produced in a new file with text from one of my built-in computer fonts. I happened to be working in RGB mode  the same image as it would appear in indexed mode
 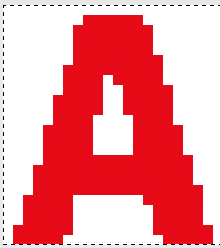 Here some edges “clean up” has been worked with the grid on, then removed for tripling the motif length (now 72 pixels) and pasting on the “mesh” ground
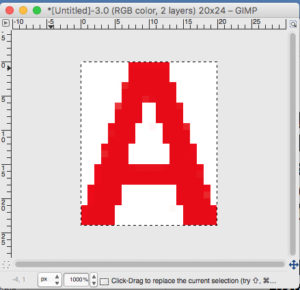
Switching to indexed colors (6) if you have worked in RGB to this point, it may make cleaning up of edges easier. I flood filled the A to insure only one red was in use. Below the A is selected (fuzzy selection tool) and copied for paste onto the “mesh”. Magnification reduction to 500X makes the whole file more easily viewed on my mac
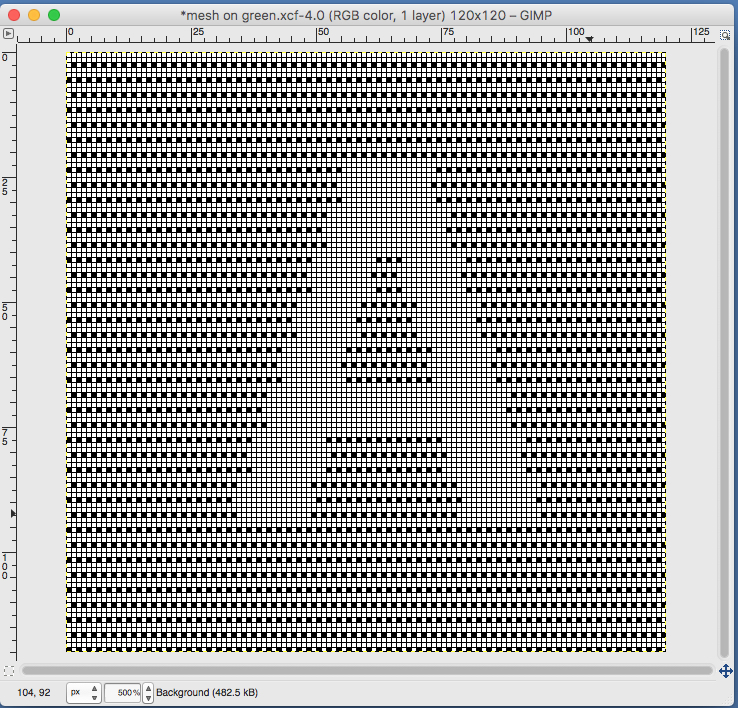
 the A pasted in place
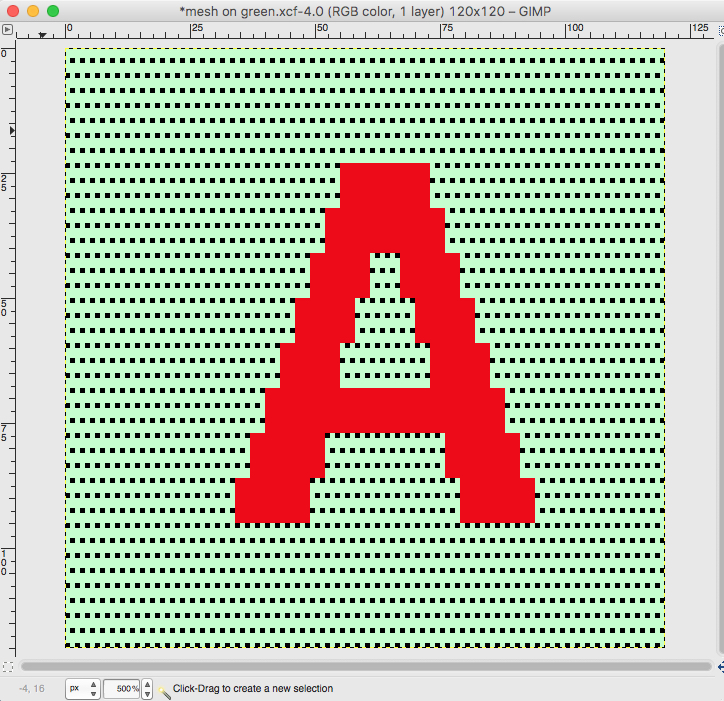 white color fill leaving only black squares of letter and ground
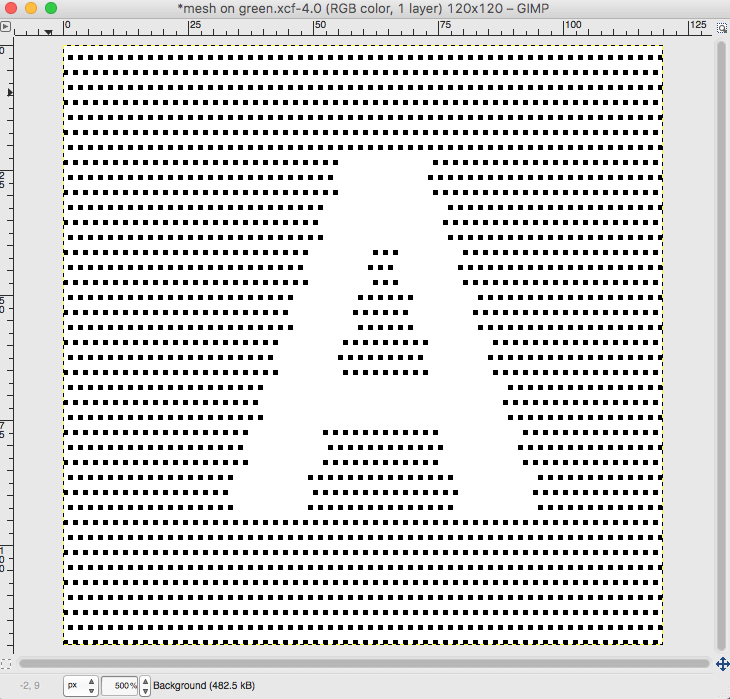
Superimposing may be used in some machines, but eliminates the choice of editing when one is “not happy with edges” until after sampling the knit, has several parameters and limitations. Above image gridded for editing:
 feeling better, with the exception of the left side bottom of right leg of A
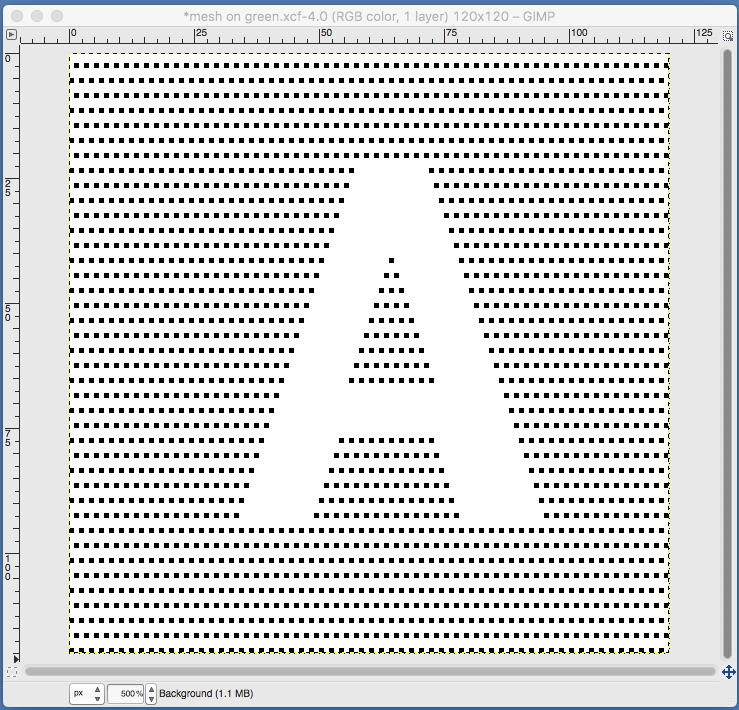 one last bit of clean up, switching between magnification as needed
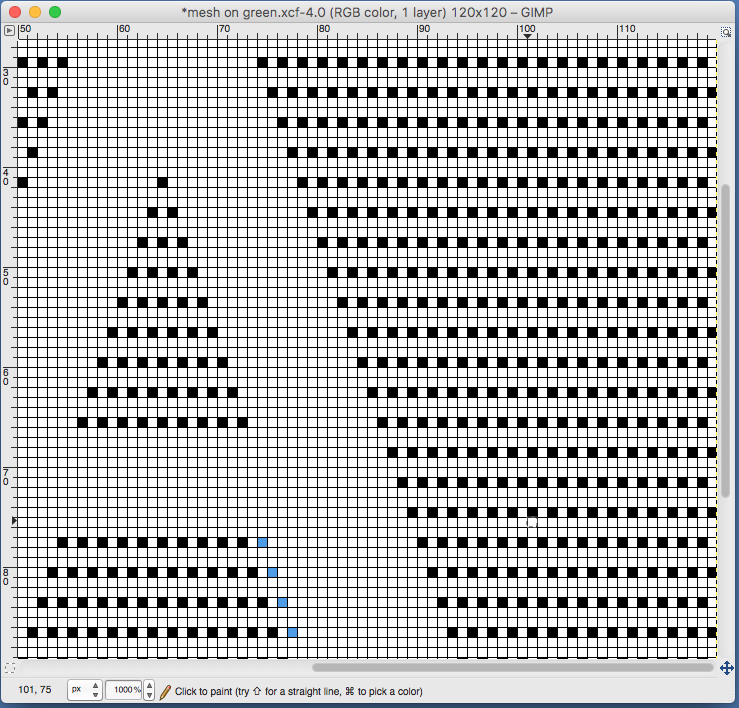 happier
 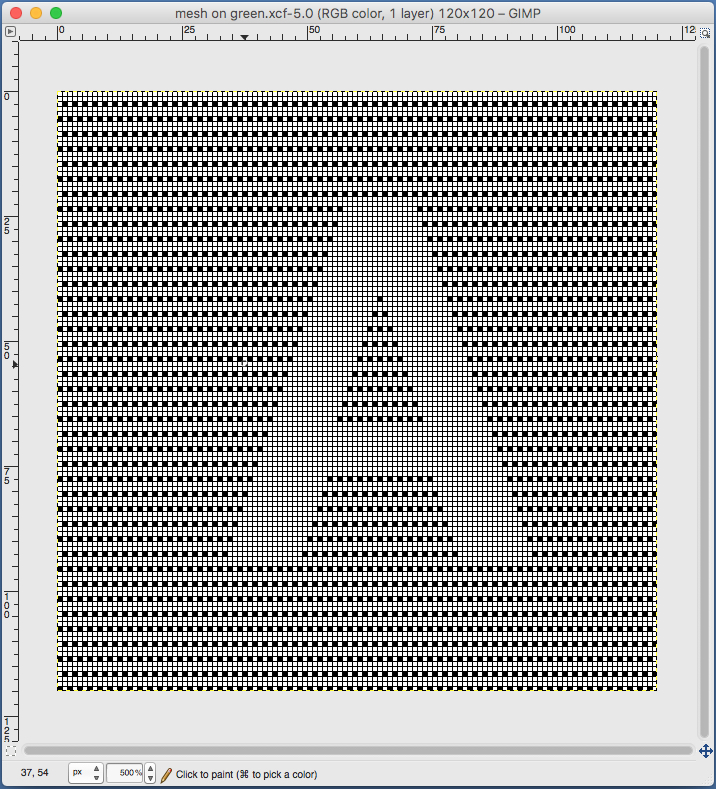 grid removed, image magnification reduction to 100X for export as bmp and download to KM
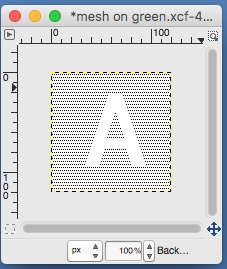
When downloading a large image that constitutes the width of your piece, programming an extra square or 2 vertically for the height of the pattern in “white” on each side will insure that stitches in those areas are not selected for transfer by the lace carriage, and a knit border will be created.
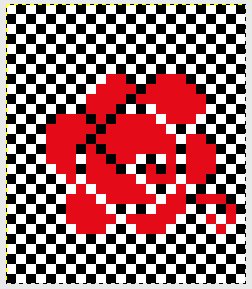
Things become more complicated with more complex shapes. This is part of a filet crochet chart, and a rose now becomes my goal

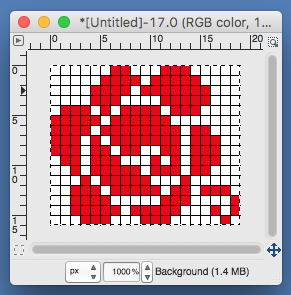
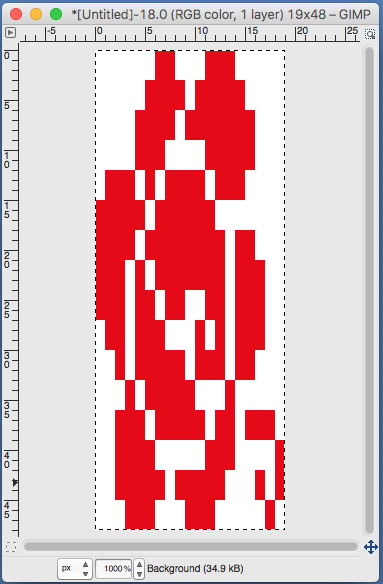 use selection editor or fuzzy select
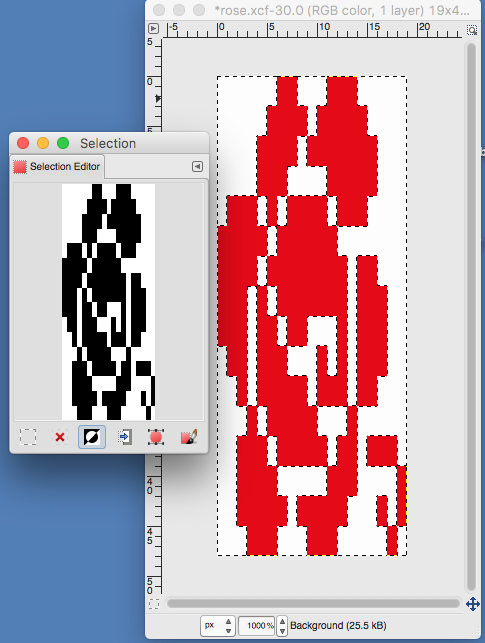 paste and move to “best” spot
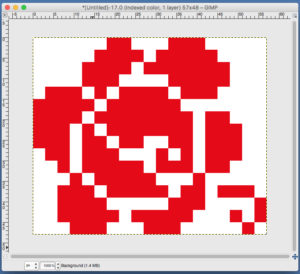
 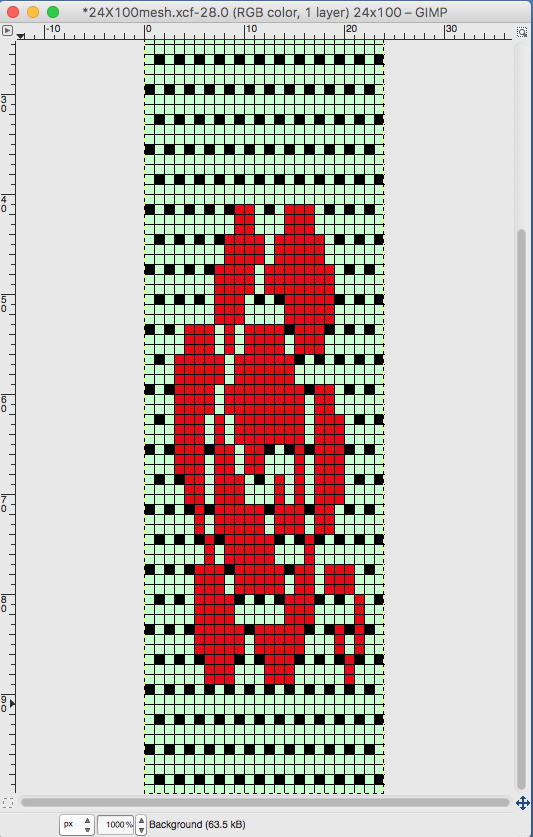 not quite a rose
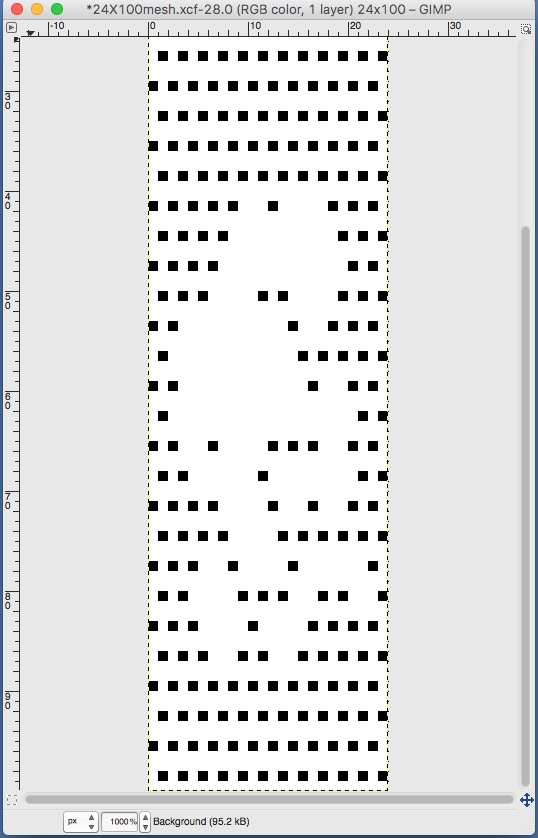
8/9/18. From the Brother electronic lace pattern book, worked out in a much larger repeat 
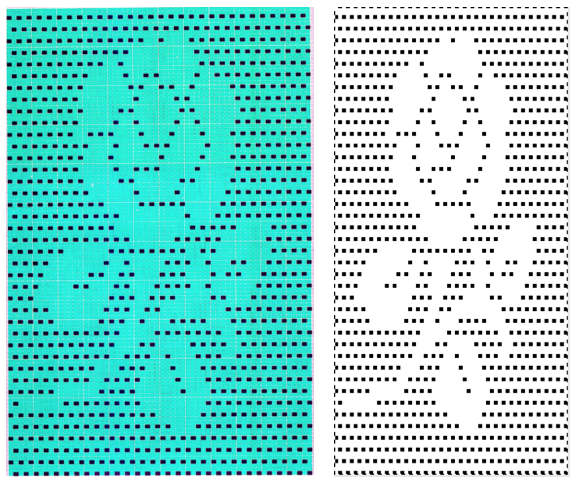
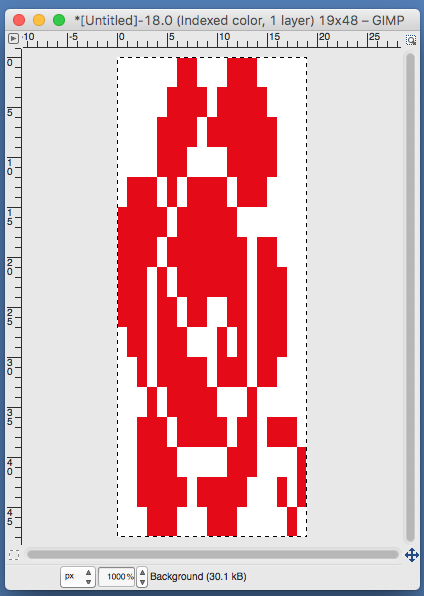
Back to the drawing board: the mesh and knitting method are altered. For a possible knitting method option see https://alessandrina.com/2017/07/28/unconventional-uses-for-punchcards-2-thread-lace-cards-for-filet-mesh/ The ground “mesh” is now composed of every other stitch, alternating every other row. The “rose is not lengthened. “Stitches” need to be “cleaned up” to approximate a more recognizable shape.
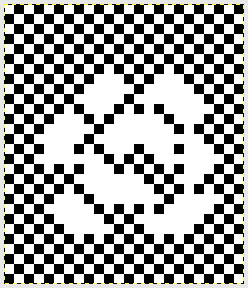 When satisfied, export in format for download.