2/2020: Please note: the Mac version of GIMP has been updated and features and appearance. I have begun another post, hoping to illustrate some of the new tools and features over time, it includes links for download of the program and to its manual.
If my only goal is to create illustrations for my posts rather than to produce programmable designs for download to any knitting machine, my go-to program in the past was Excel. Depending on my charting needs, now that Excel is no longer available to me, I am using Mac Numbers or Pages.
My computer is an iMac, with OS High Sierra installed (Mojave update 2019). Last December my 910 was altered to work with Ayab, as mentioned in other posts, via a USB connection to the Mac. For generating files for download I like to work primarily in GIMP (Photoshop is no longer available to me as well). It is freeware. The latest stable Mac Version is version 2.8.22. Windows users have an option to download a later release. Another freeware option is Paintbrush, a smaller, user-friendly program.
I began sharing my GIMP explorations in mid-2013. Some topics included charting 1, 2, 3, color reductions for 2 color portraits, generated mazes 1 and 2, lace mesh, lace mesh and superimposing, 2 color drop stitch lace
I am using one of my drop stitch designs throughout this post to illustrate steps taken for altering the original by using options such as scaling and tiling. It is intended as a partial quick start guide, not a complete tutorial. The program’s manual provides keyboard shortcuts etc. for anyone wanting to explore more options to obtain similar or other results. That said, the manual is not recently updated or Mac-specific, and Mac vs Windows appearance of windows and menus differ.
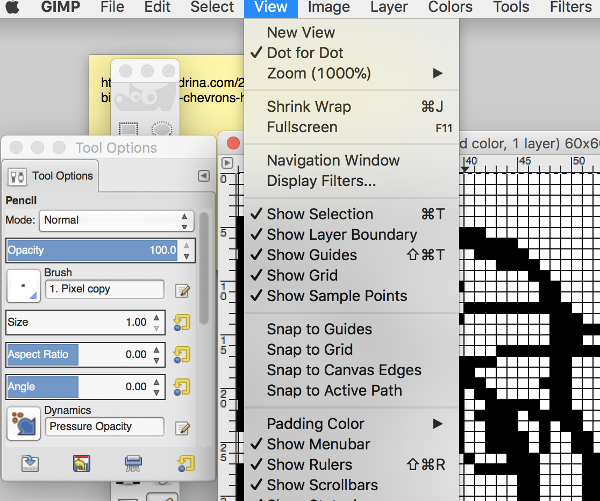
To alter and set pixel per stitch options double click on pencil tool, choose square single-pixel highlighted in brush shape menu
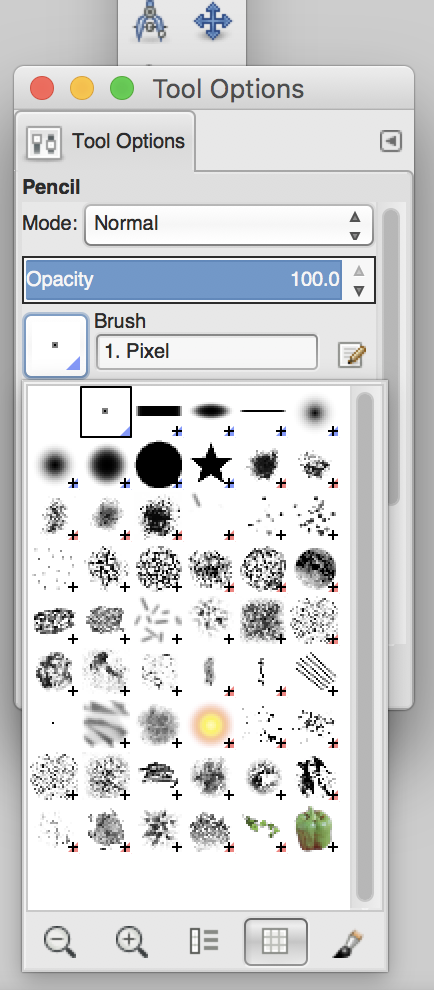
to draw in single pixels, choose show grid, snap to
There are limitations as to how low the magnification may be set before the grid is visible or disappears. I often work in 1,000 magnification. The magnification value numbers, seen at the bottom of the charts in progress, may be typed in, or use arrows to scroll up and down in value 
If your document size is larger, it is sometimes quicker to work in larger pixel size blocks. Here one meets limitations
GIMP large square brushes: numbers indicate desired pixel count 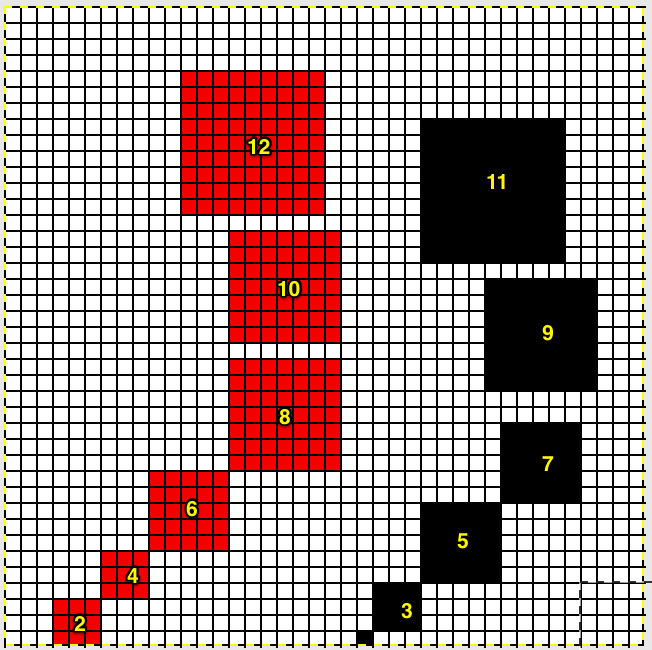 and if you are using Paintbrush instead, the “square” is lost
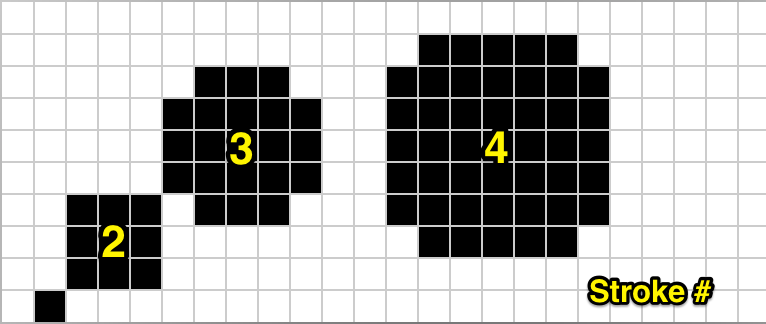
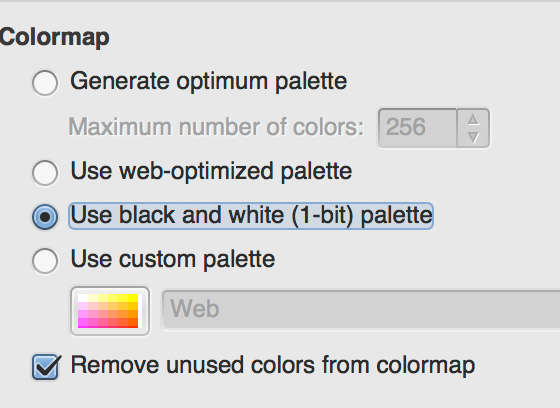
To scale images in height or width without color distortion, change color mode
Image, mode, select Indexed
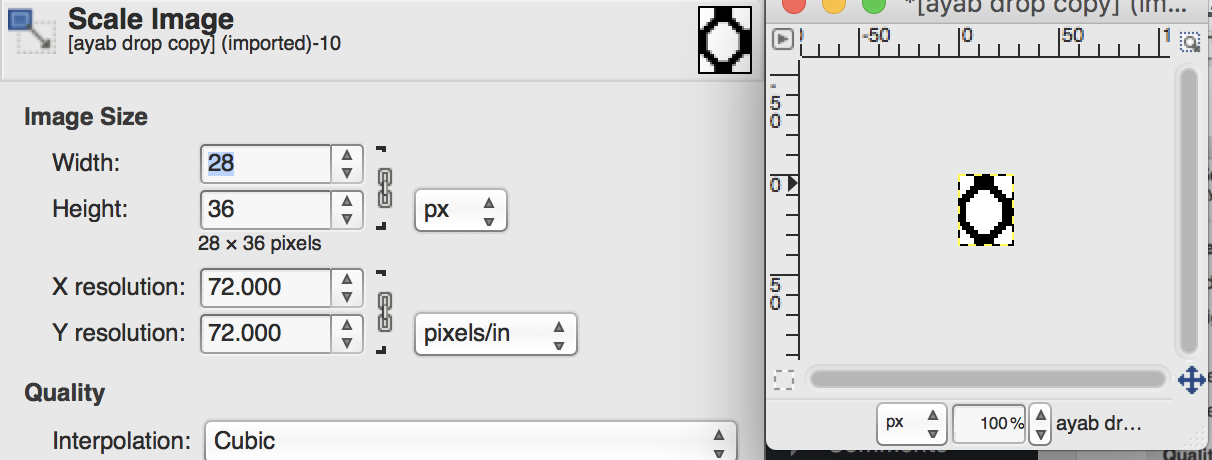
 choose Scale Image
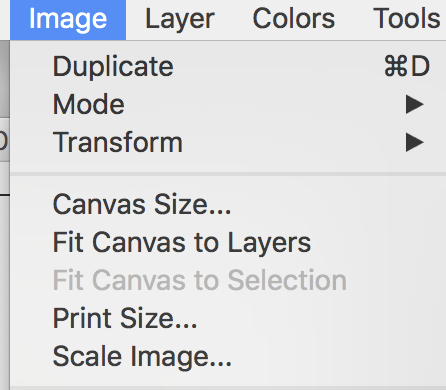 highlight number you wish to keep constant, whether width or height
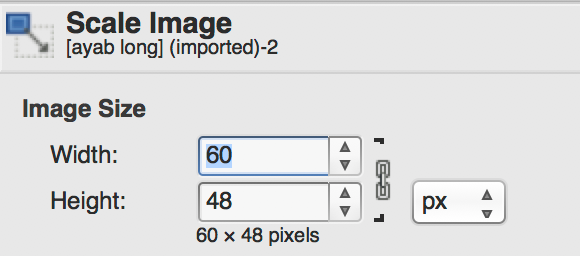 to break aspect ratio and control one of the 2 values, click on the chain like symbol on right, it will appear “broken”
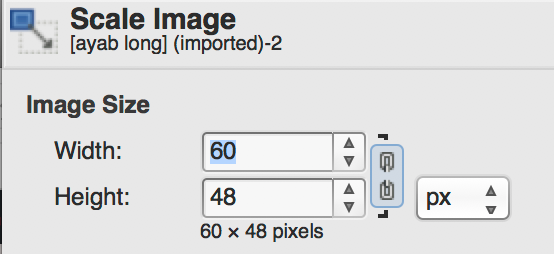 change the alternate value to the desired number
Click on scale image. If the intent is to continue editing by using the pencil tool, the image mode needs to be returned to RGB before proceeding with editing![]()
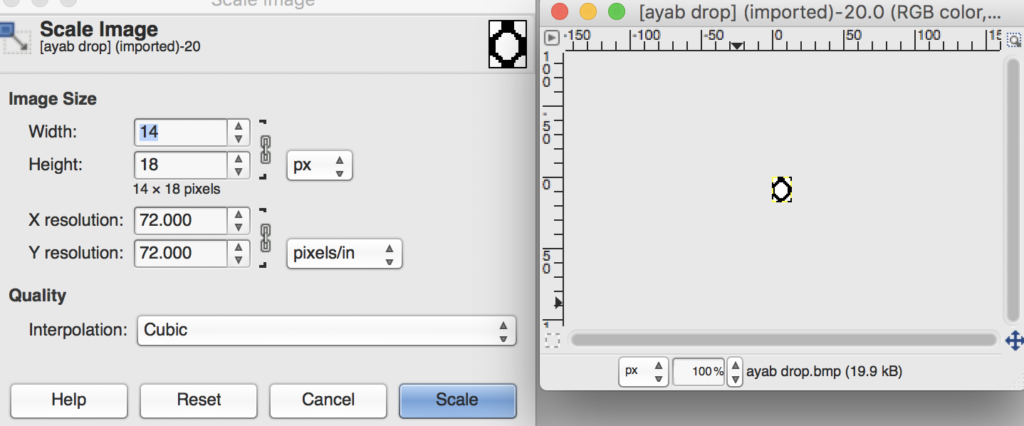
You can verify finished image size by choosing scale image again, at that point the chain like symbol on the right of the numbers is “whole” again, awaiting further editing choices
 double height
 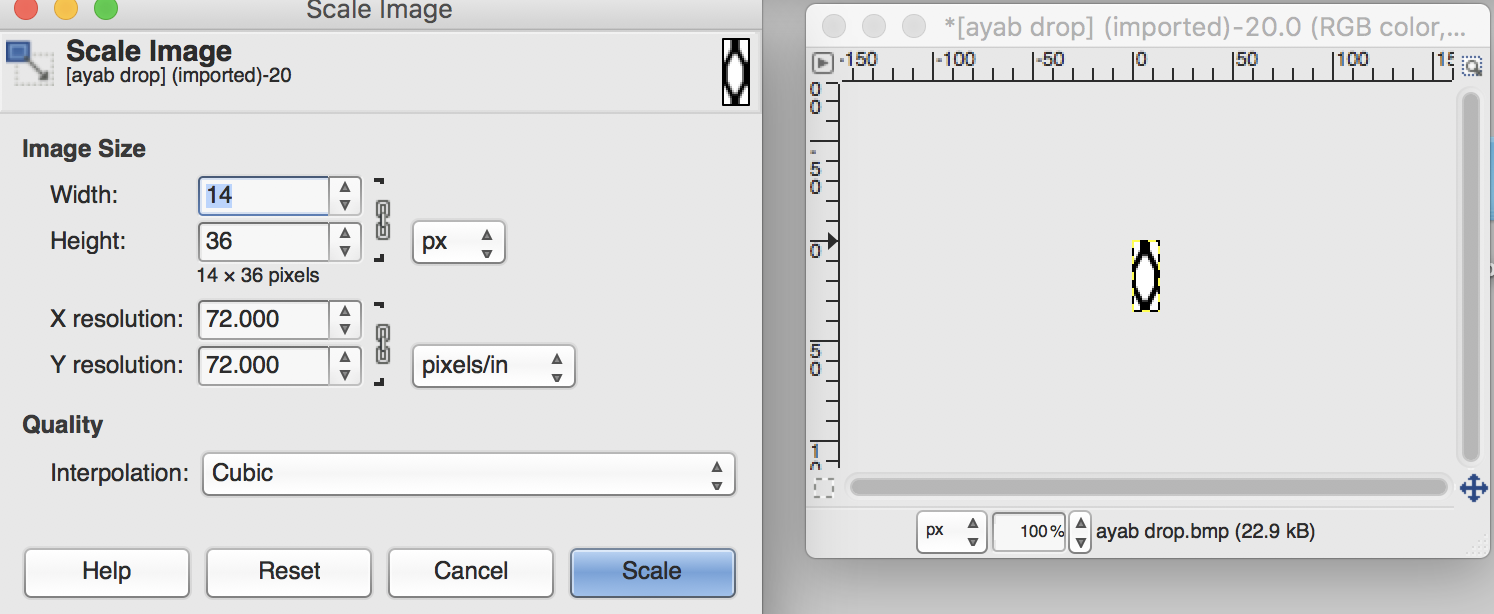 double width
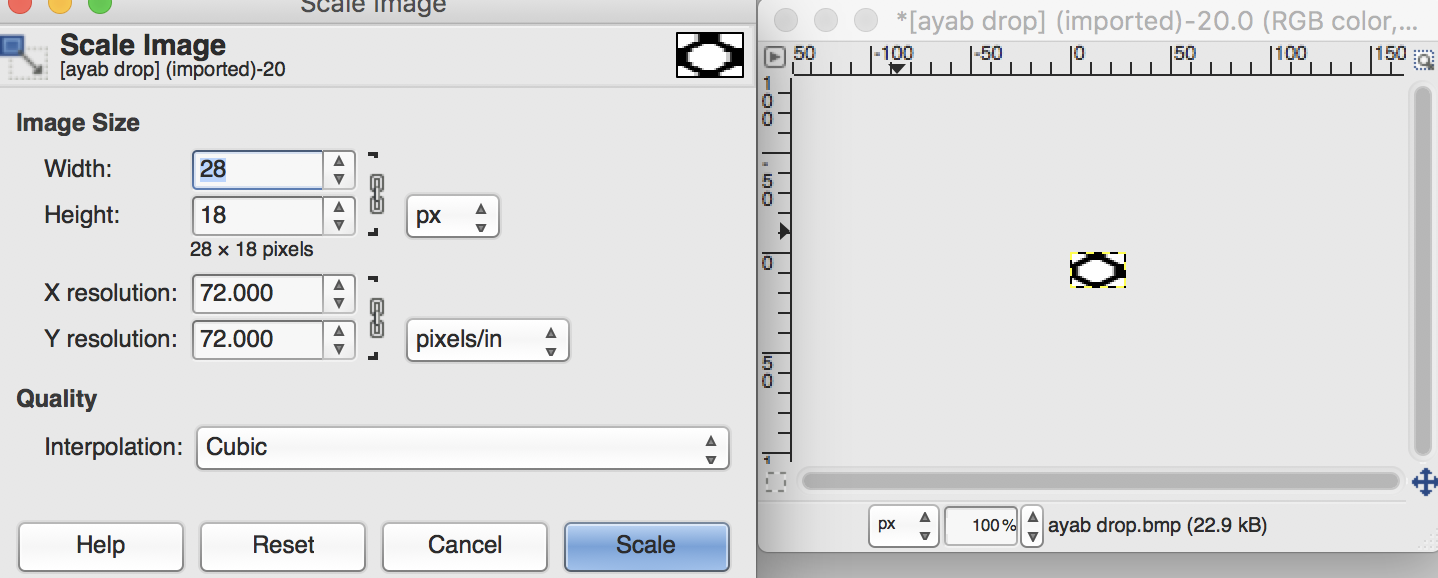 scale may be performed again on the last image created
 the appearance if the image mode is set to RBG, and not indexed prior to scaling

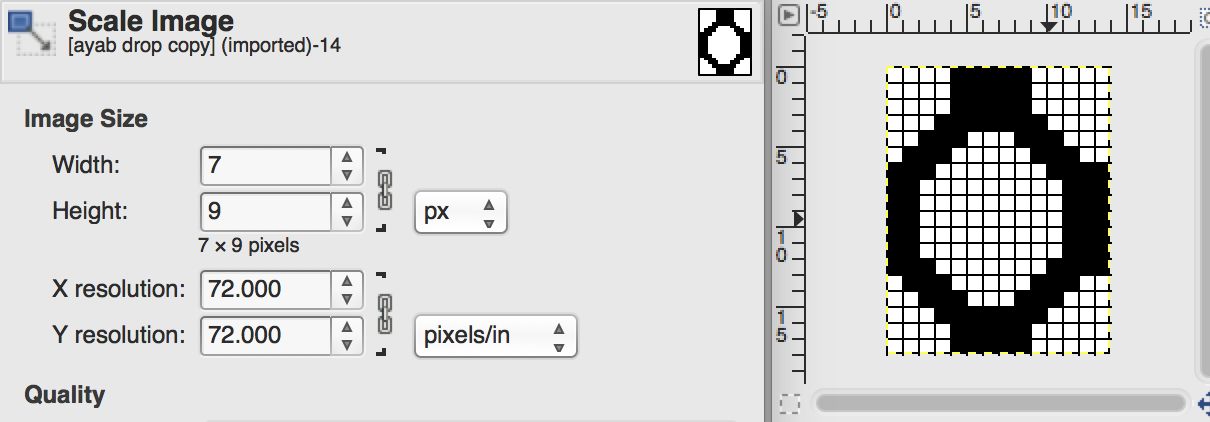
scaling down by half for mylars or for machines that can alter motif to double-wide: 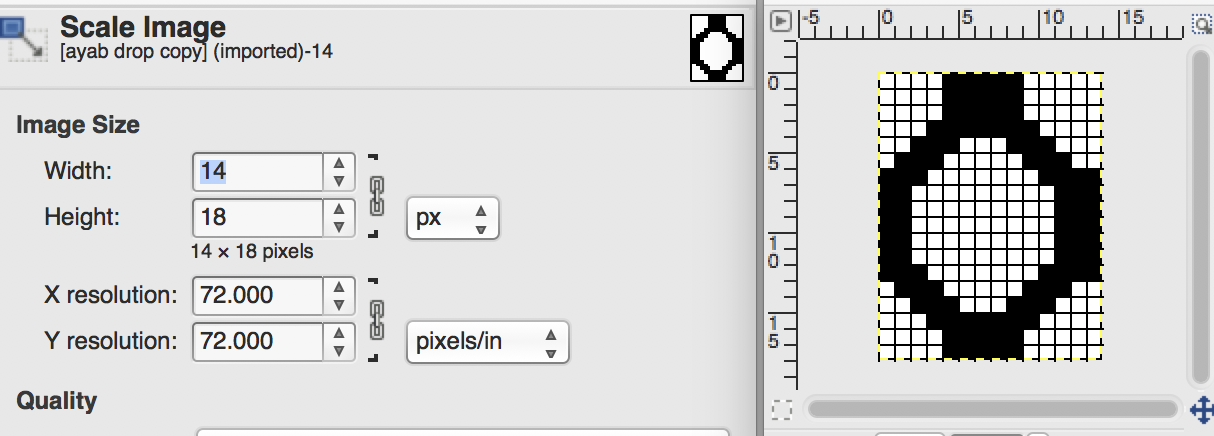
click to the right of the highlighted number, the “chain” symbol on right remains intact 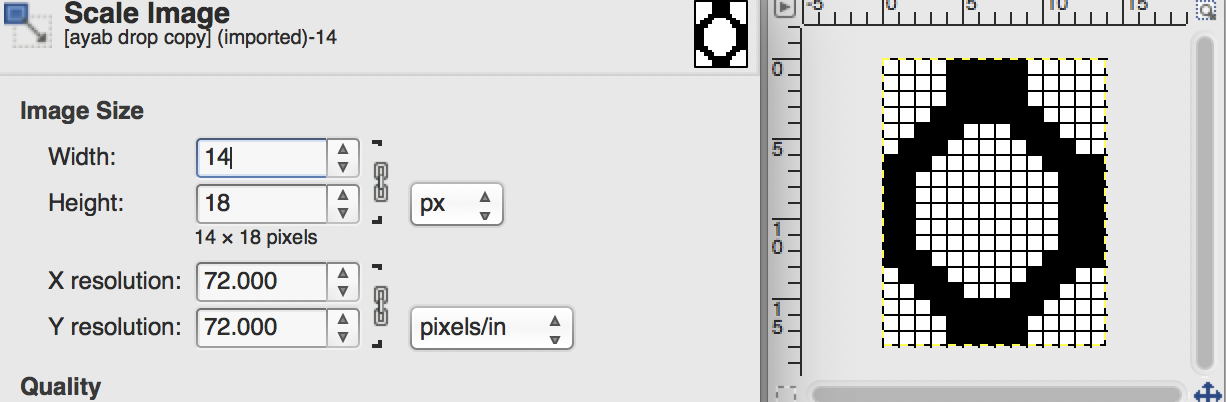 replace the width value, click to the right of the height value and the number will automatically change
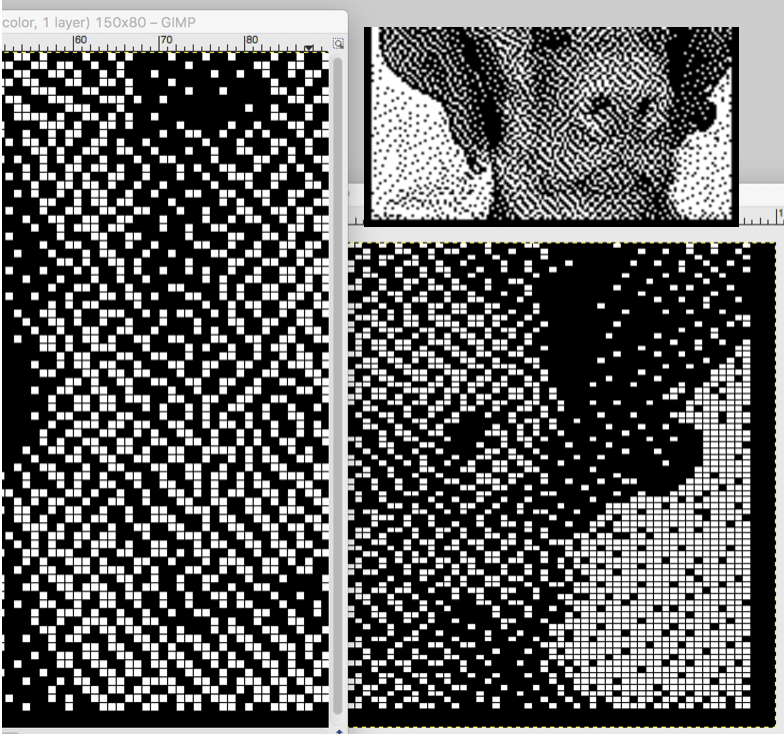
Click on the scale option; remember to change image mode prior to doing so if needed; on the left is the image scaled in RGB, on the right in the 1-bit palette
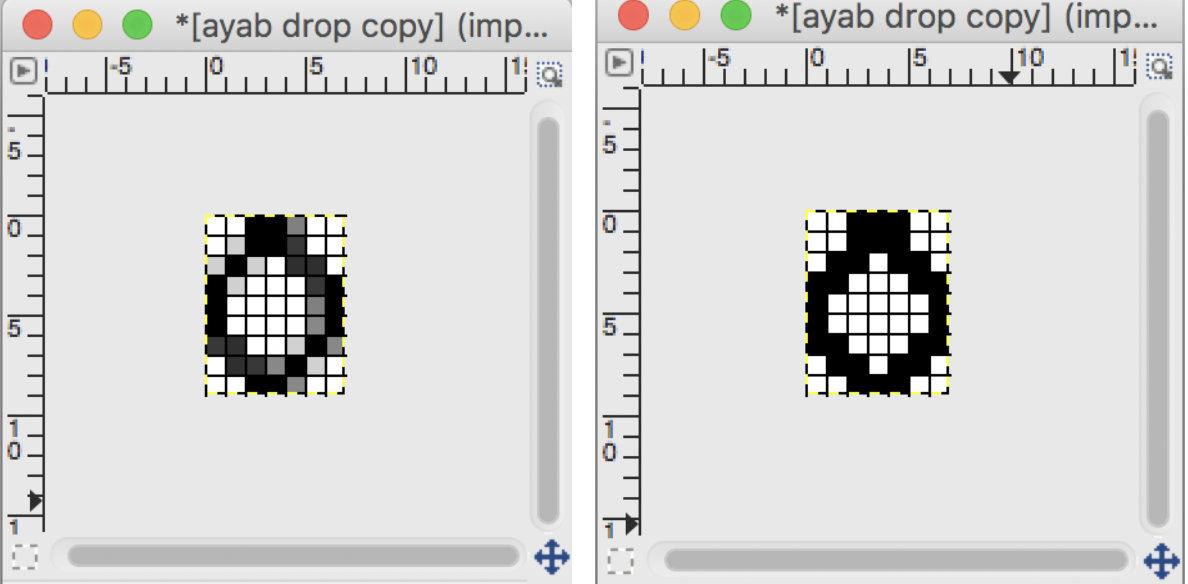
If the image has numbers that have odd numbers in stitch width, the software makes the choice, in assigning values, since no half pixels can be rendered. For design details see previous post
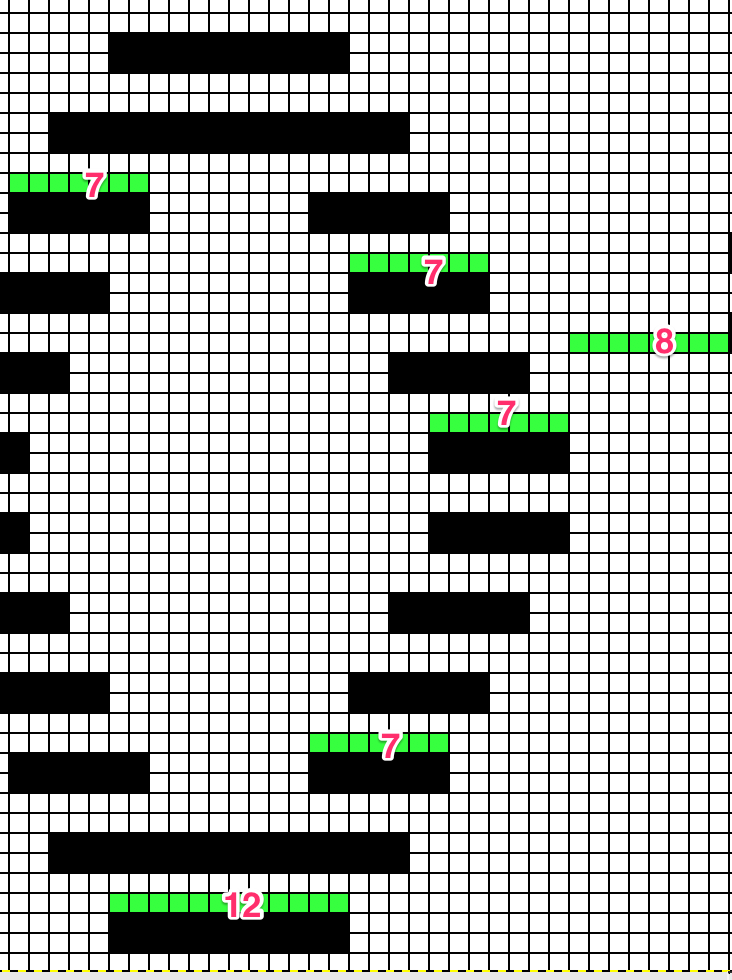

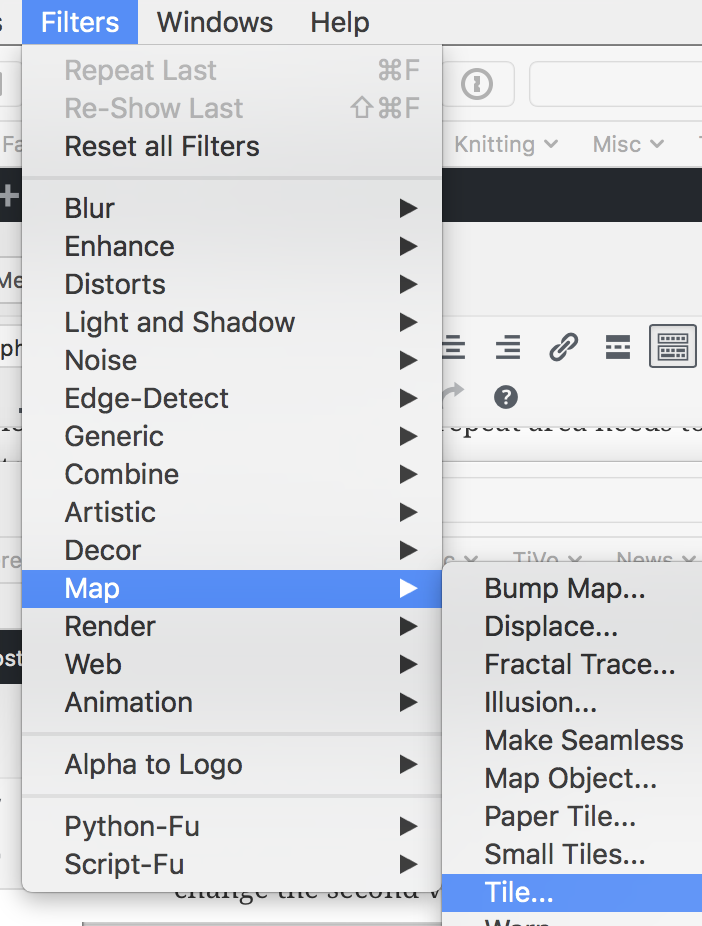
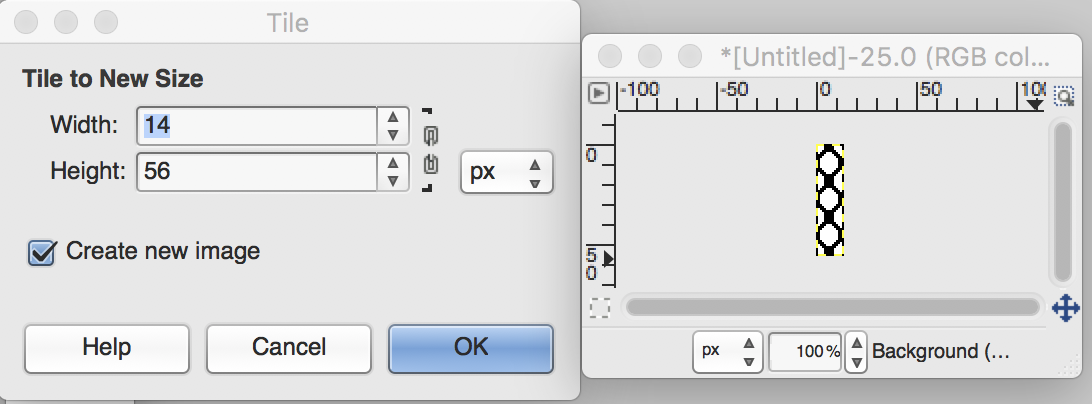
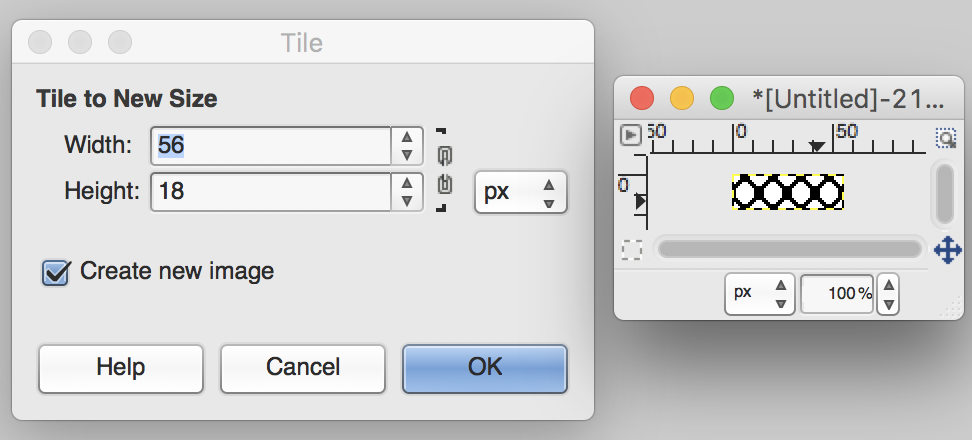
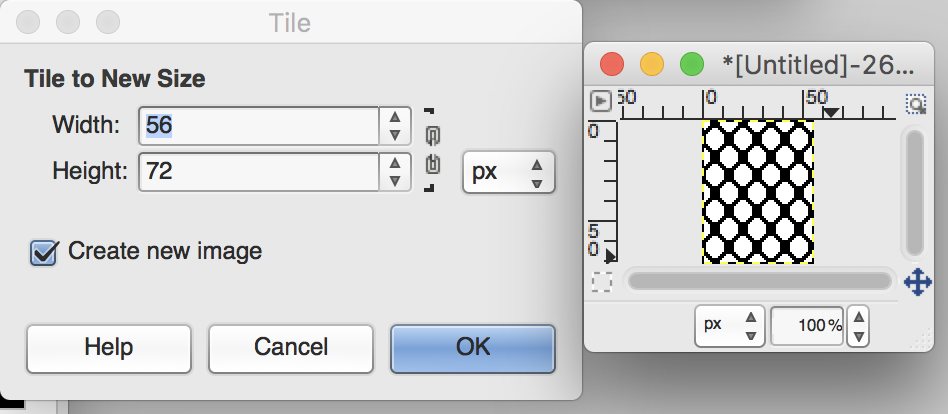
Tiling is useful to check how repeats line up when applied to all over the surface of a knit, choosing to alter the horizontal repeat in width or vertical in height, adding borders, and other variations. Ayab software, in particular, requires the individual repeat to be programmed for the number of needles you wish to knit in a pattern on the main bed. Depending on the size of the original motif the tiling function may be used on nearly any scale, with or without a visible grid
To keep aspect ratio, the chain-like symbol on the right of width and height values should be kept whole (first image). It will appear “broken” on side of values from screen grab after the image was tiled when by pulling up the scale option again, to verify pixel counts for the newly created repeat (images 2-4)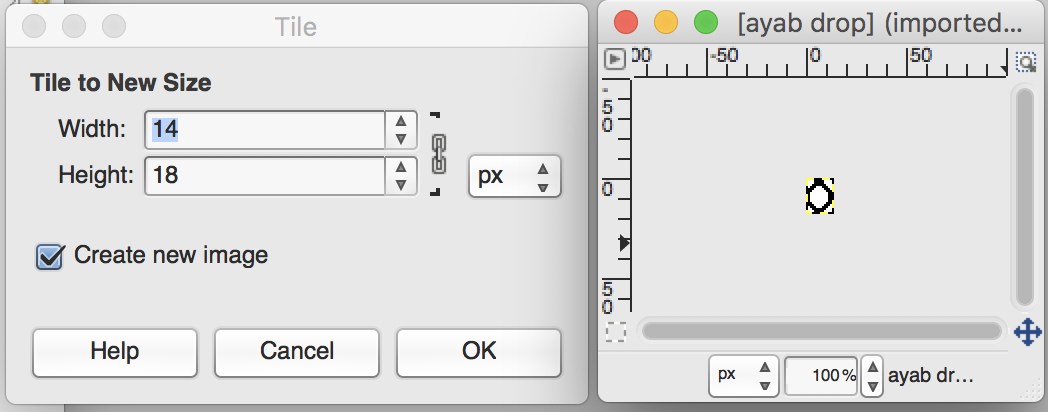
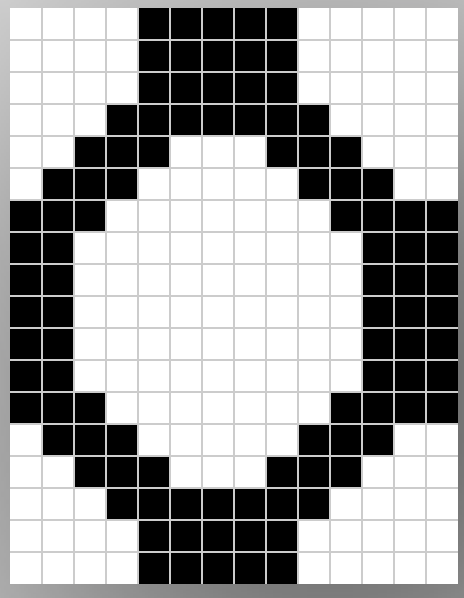
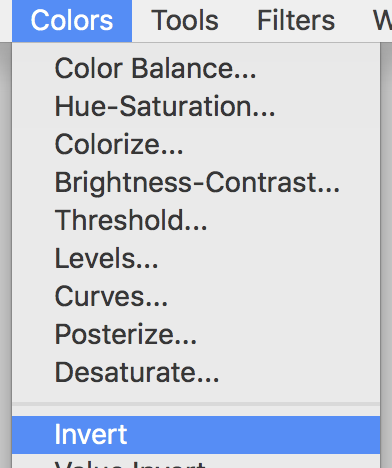
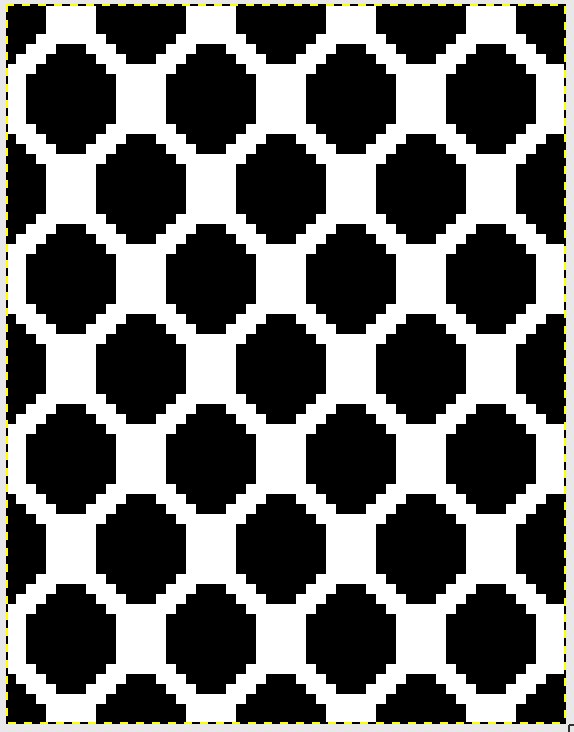
to color invert a single repeat or a tiled one

A Facebook Ayab Group share and tip by Claudia Scarpa brought up a discussion on using Gimp to rescale knits with the intent of estimating distortion in the design as a result of stitch gauge. In many knits aspect ratio is forgiving. In representational knits, it can start to matter significantly. I played with numbers from 3 different gauges, getting back to a simple circle square first, then following up with a much larger image. Starting with pixels per inch setting in scale menu:
![]()
doing a bit of math: if the gauge is 5 sts, 7 rows, divide 7 by 5 = 1.4, 6 divided by 4 = 1.5; use the quotient (division result) to modify the respective X and Y values
keeping the X value constant, multiply the Y value by 1.4 for 5 X 7 gauge
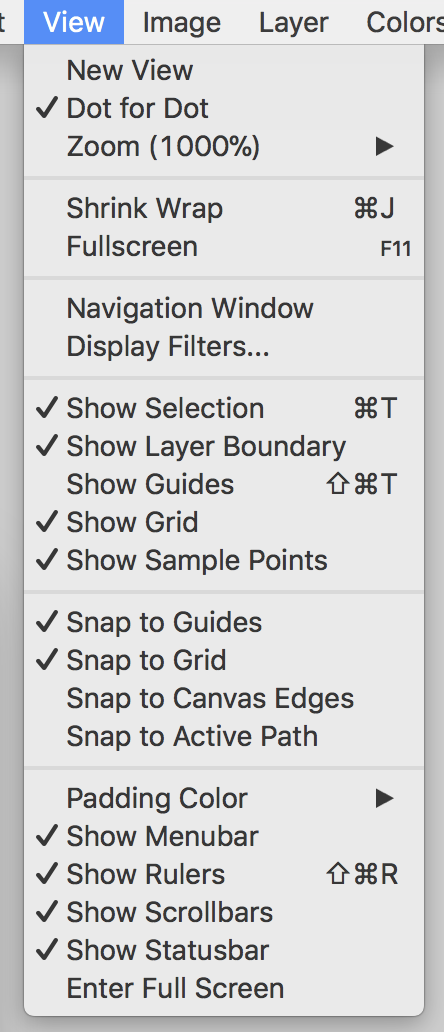
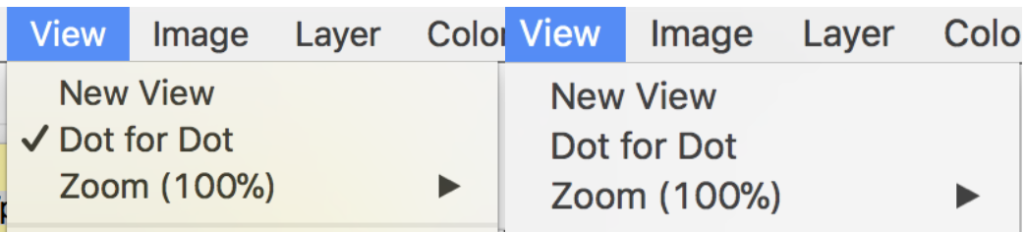
in the view menu, uncheck dot to dot prior to selecting scale
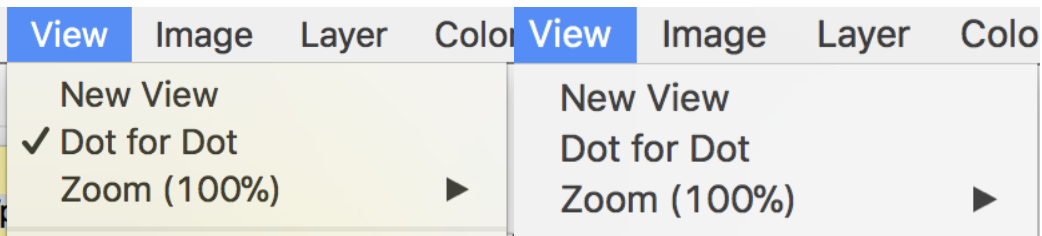

keeping the Y value constant, multiply the X value by 1.5 for the 6X4 gauge, uncheck dot to dot if it is available in the view menu 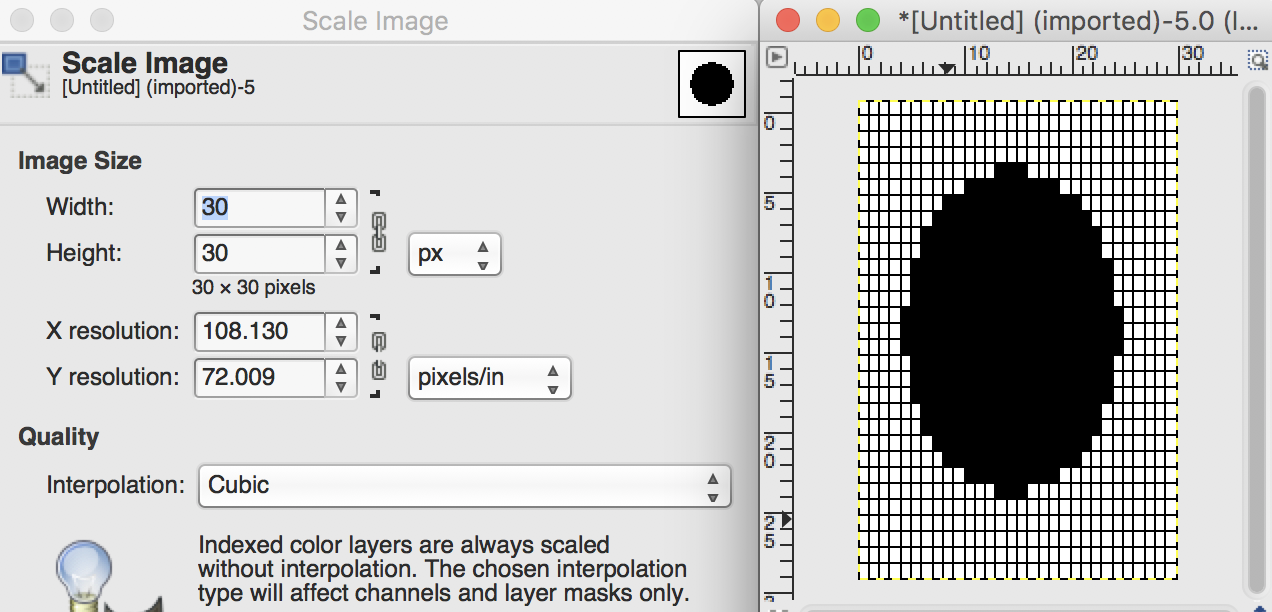 to get rid of the math, simply switch to pixels /mm and plug in your gauge. The starting image:
![]()
change X and Y resolution to match your stitch and row gauge, breaking “chain link” on right to disable aspect ratio. In order to show the altered scaled image, the dot per dot feature in the view menu needs to be unchecked prior to selecting scale
knitting gauge 5 stitches, 7 rows per inch 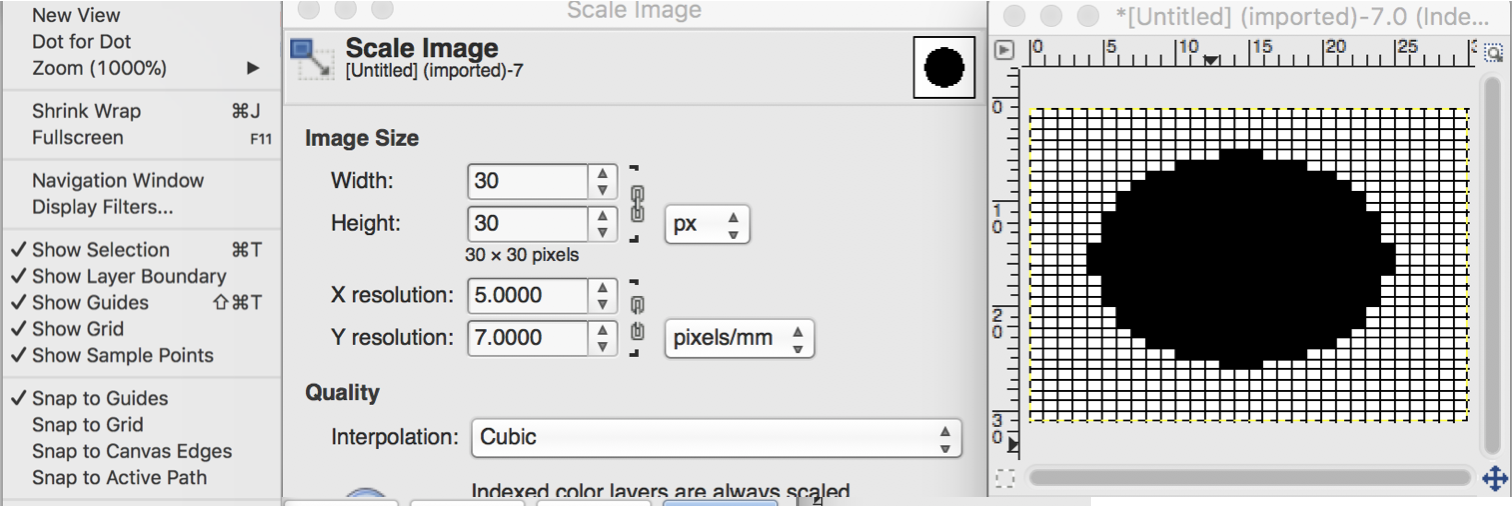 4 stitches, 6 rows per inch
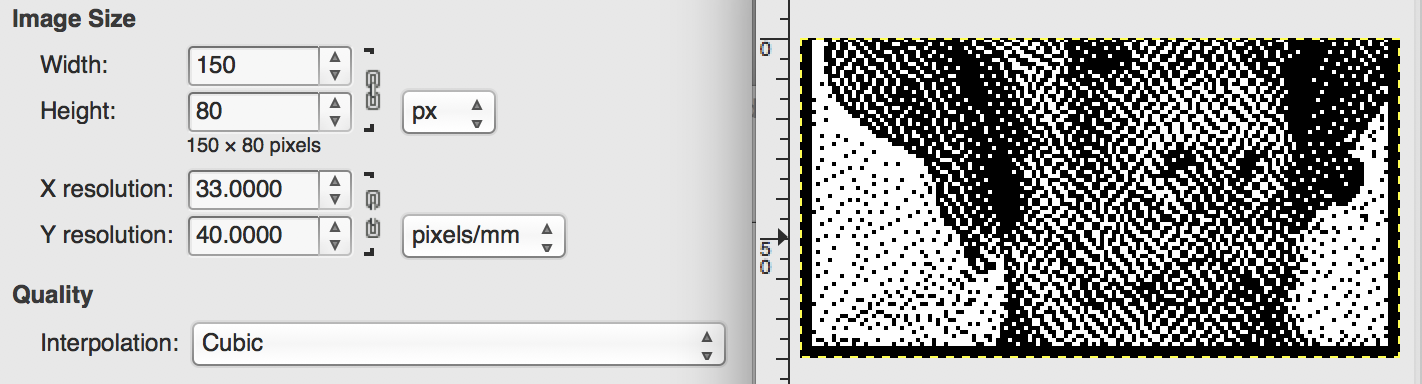
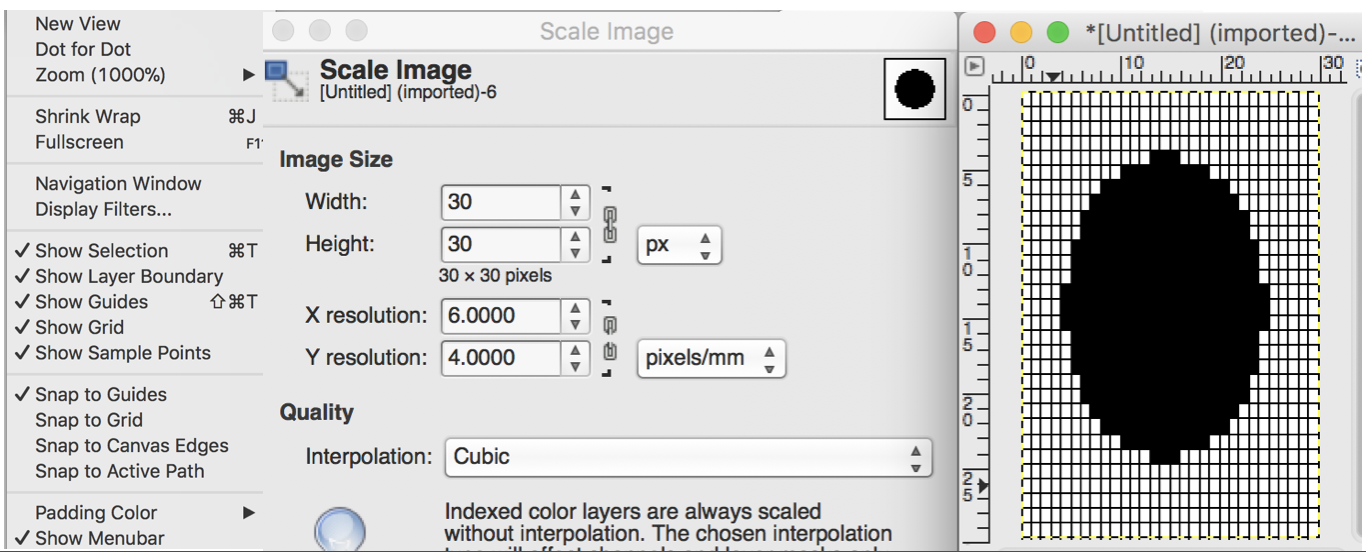 and going much larger, using Rocco again: the original version
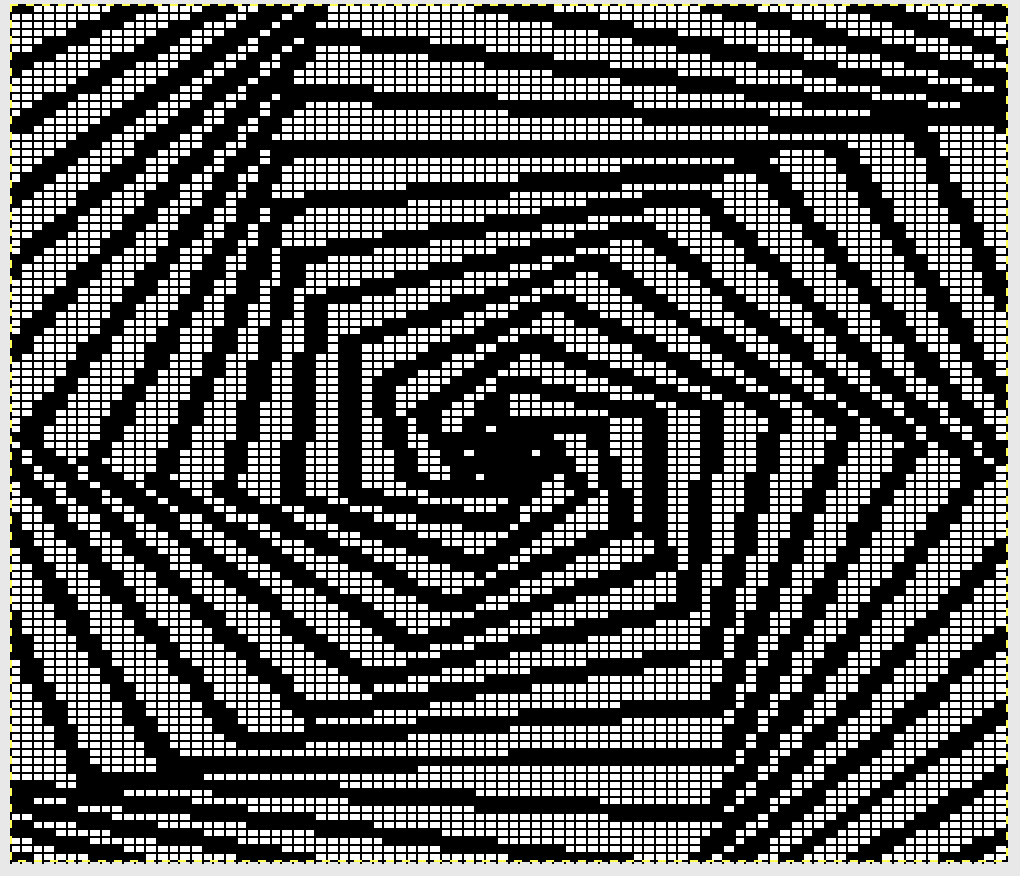
  scaled for stitch gauge of 33 X 40
a large geometric .bmp edited with the same process
Claudia Scarpa has created a document on “how to edit a picture with GIMP for “Oknitme software” that she has given permission for me to share here: 03-ENG-gimp. The tutorial has clear instructions for anyone wishing to explore photo editing for use in knits with GIMP, and the Oknitme online tool helps punchcard knitters participate in the process.
If freehand drawing suits your needs, you may find it easier to work with the view settings shown below and adjust pencil pixel size to suit