This fabric is beginning to appear in runways again, is fairly easy to construct on any machine.
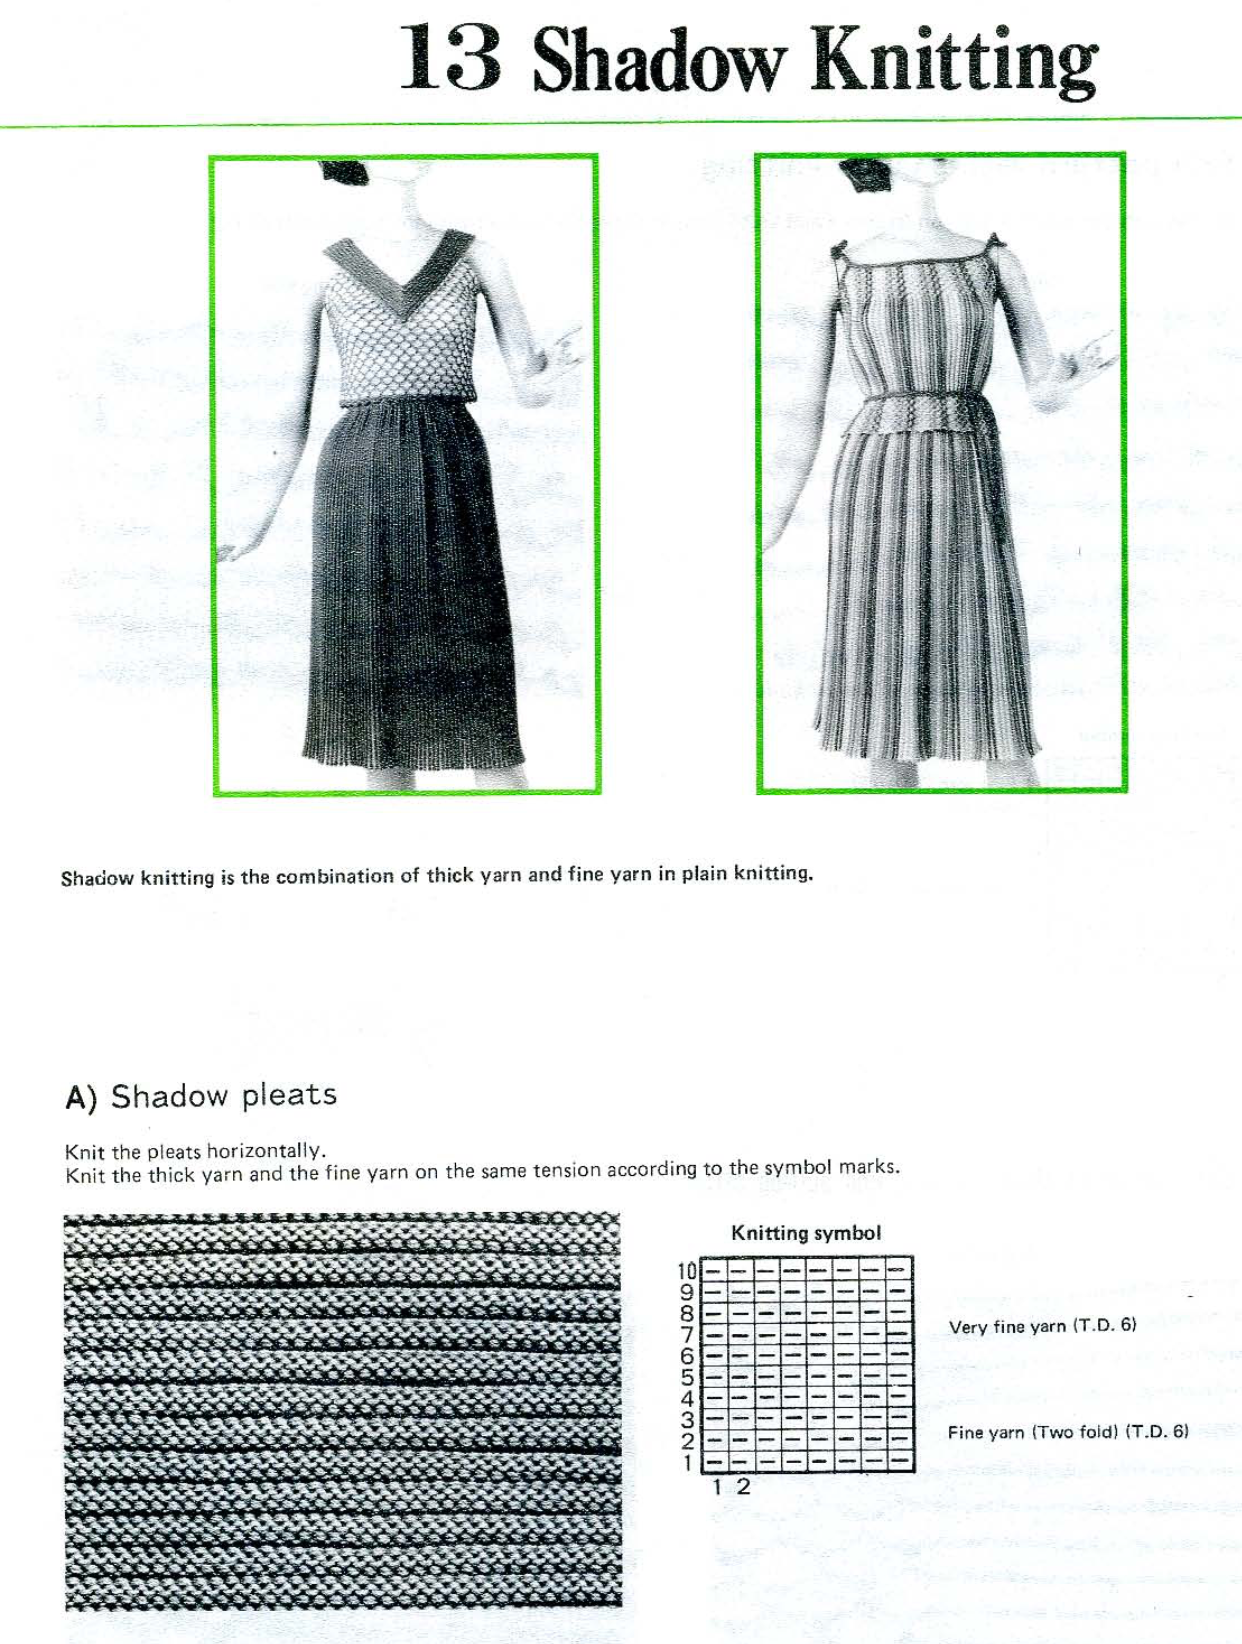
Select two yarns of different weights and textures, the heavier being approximately two to three times the thickness of the thinner one. It is possible to use multiple strands of the thinner yarn to achieve the difference in weight. The “thicker” yarn is the one you will see on the “right” side of the fabric.
Select a tension suitable for the thicker yarn, it will remain fixed throughout the piece.
The knitting sequence can be varied. To begin with, test an equal number of rows of each color/ thickness i.e. 6 and 6. Adjust as needed for the desired effect.
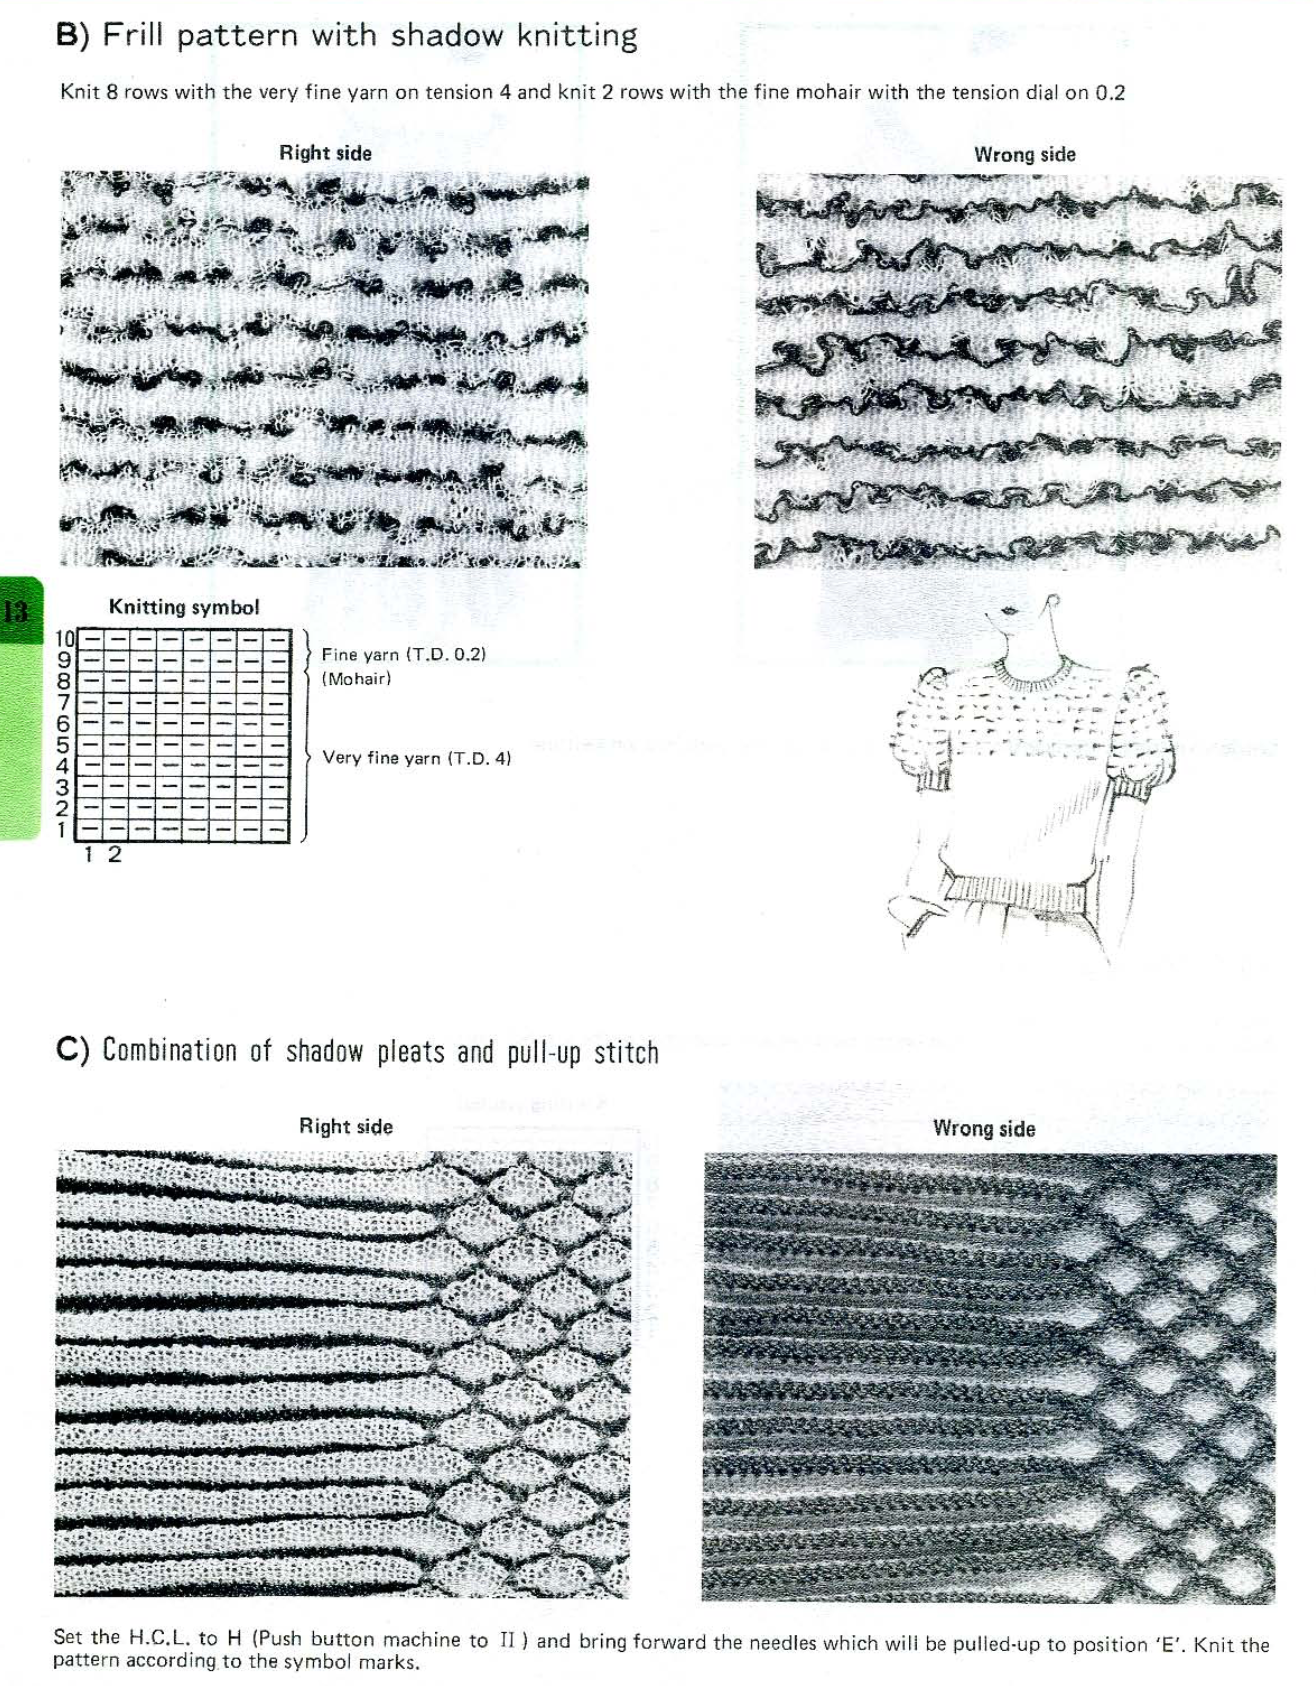
Rows of weaving or slip patterns can provide the “thicker” areas of knitting, with plain stocking stitch the “thin”. If plying yarns and Fair Isle patterning is preferred, it is sometimes necessary to elongate the design. One option to try is to knit the pattern in alternating sequences, with a single or double strand in the front feeder to produce the “thick” and the plain knit “thin” with yarn in the back feeder only. Other variations are possible depending on yarns and designs used.
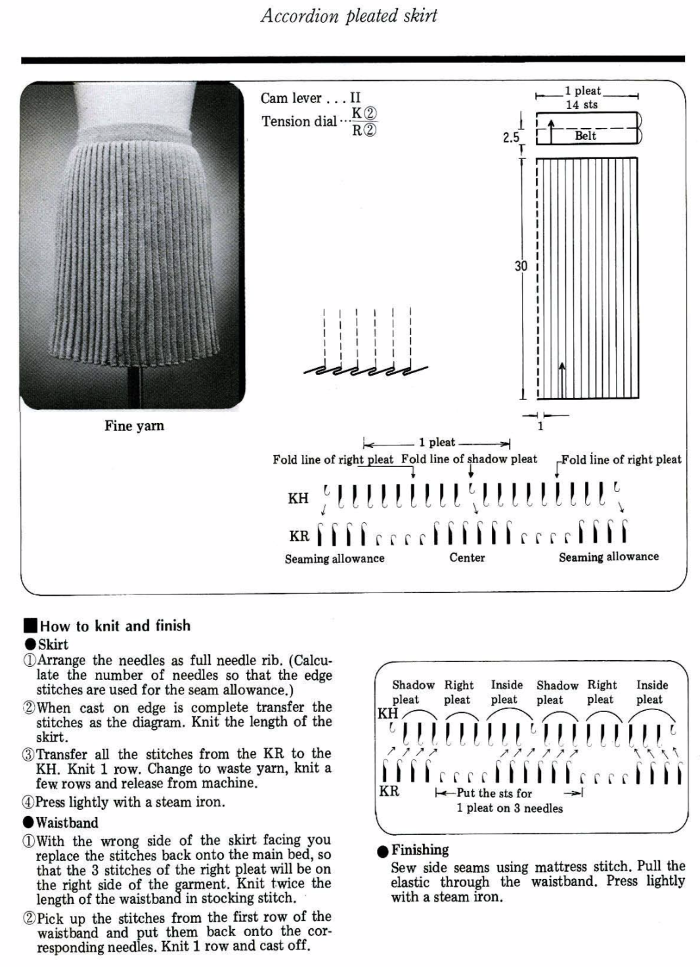
In items such as skirts, the knit fabric is turned sideways. Caution needs to be taken so as not to use yarns that can be “killed” when blocked flattening the knit permanently.
For a while, skirts in shadow pleats were very popular. One of the tips for blocking them at the time when acrylics were very popular, was to hang completed pieces with the bottom evenly weighted inside a large trash bag “sealed” as tightly as possible at the top, with steam entering from the bottom of the bag ie from a teapot. I always had a hard time imagining the specific activity. Simply using a yarn with memory in the rows composing the outward folds seemed a more viable option to me.
Instructions below are from the Brother Techniques book, which is now available for free download online
1. begin with every needle rib, at a tight tension, working at least one closed row
2. follow by setting either bed to slip, and knitting 4-10 number rows in stocking stitch on only one bed. The tension for those rows will have to be adjusted to the same used for stocking stitch for that yarn.
3. Return to every needle rib for at least one or 2 rows forming the backing and locking the knit together after reducing the tension. The “locking” stitches will be elongated.
Repeat steps 2 and 3.
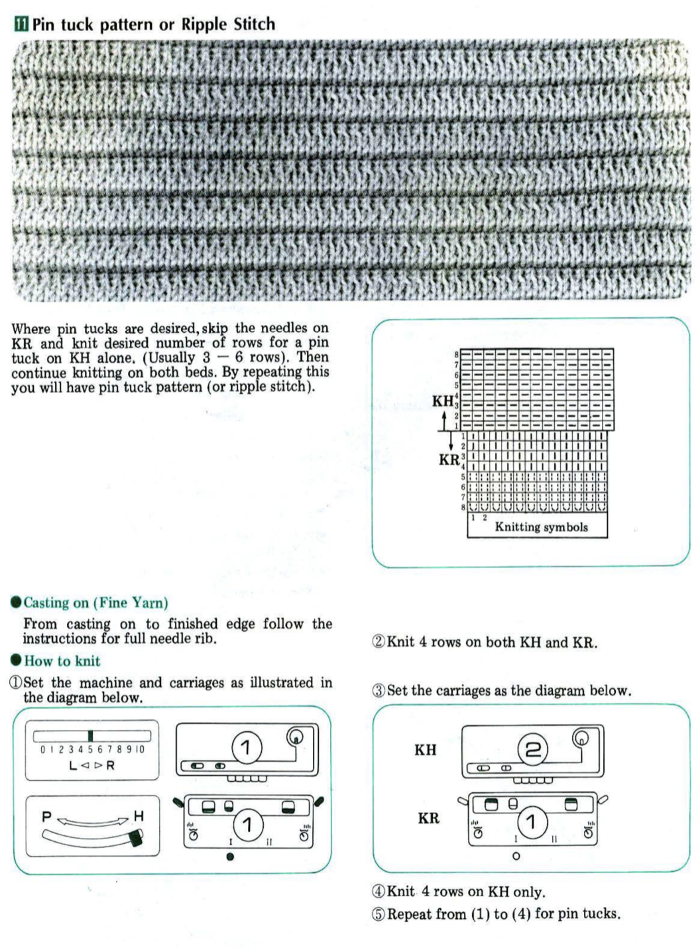
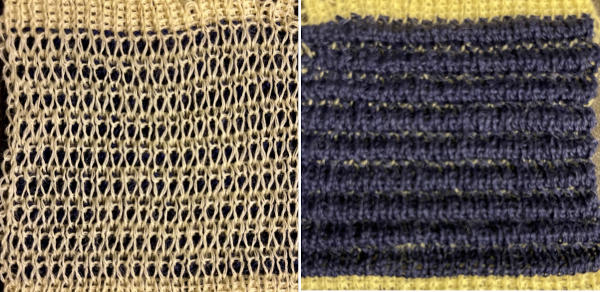
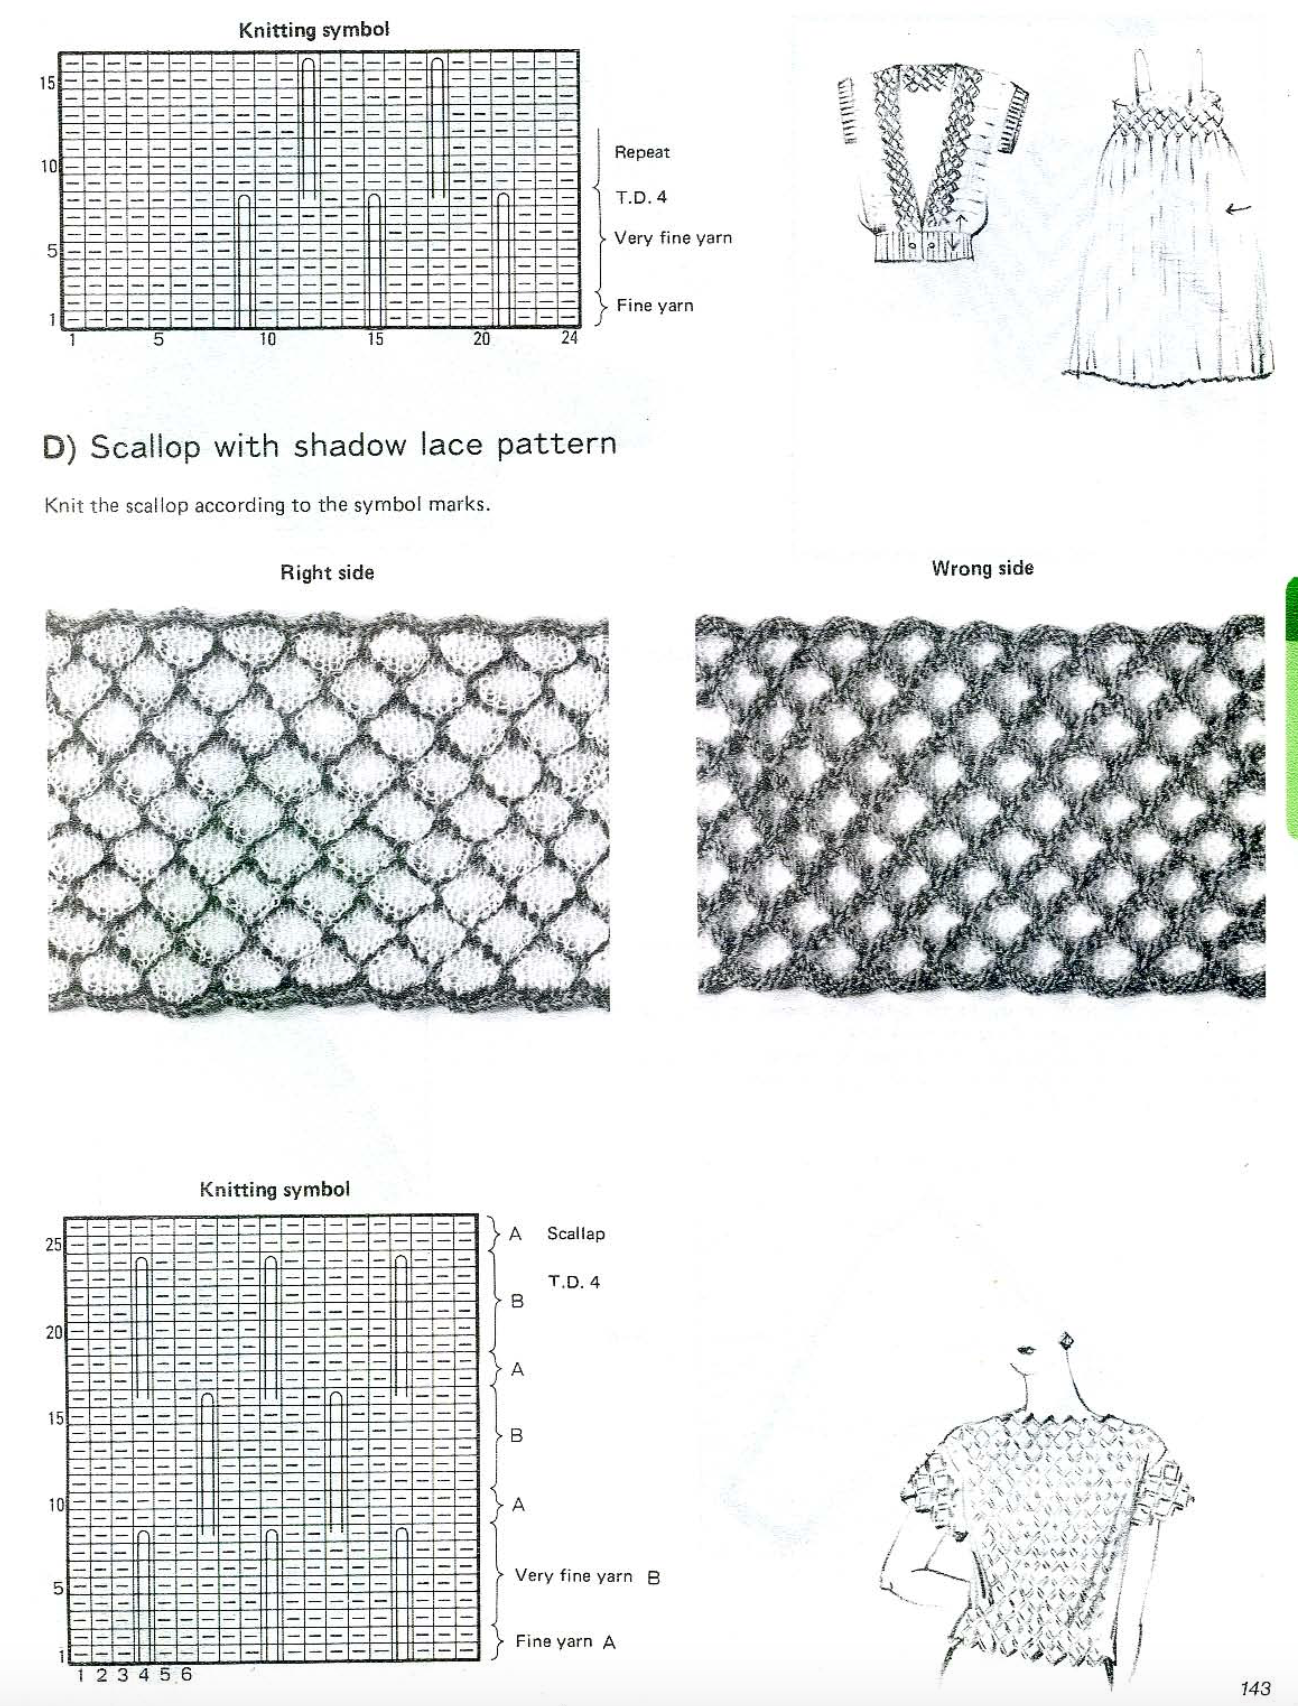 I would classify the results as ruching, a different knit category
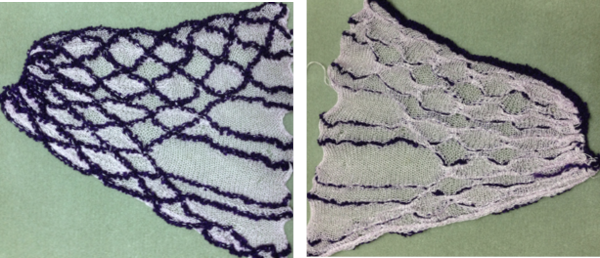
 Some samples: fishing line and wire
 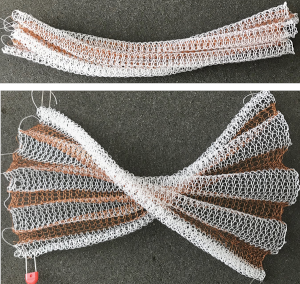 wool and cotton
 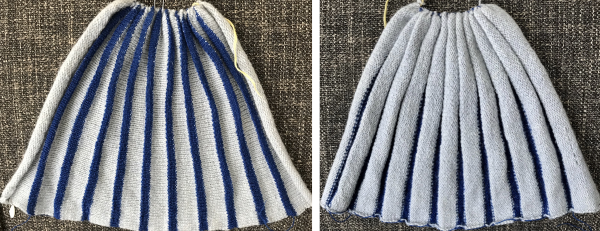 thin cotton and boucle
 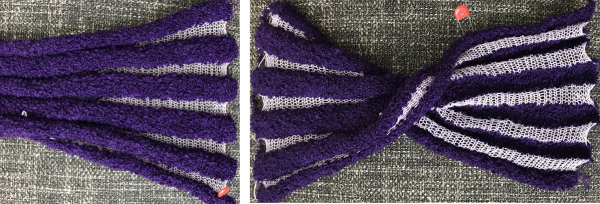 the same cotton and chenille
  wool and raffia
 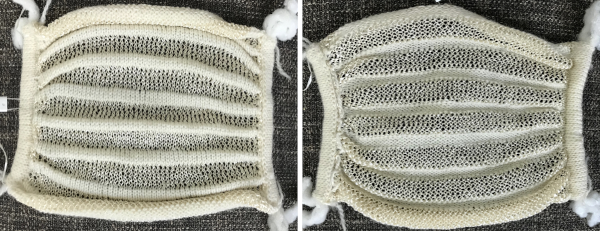 wire and vinyl
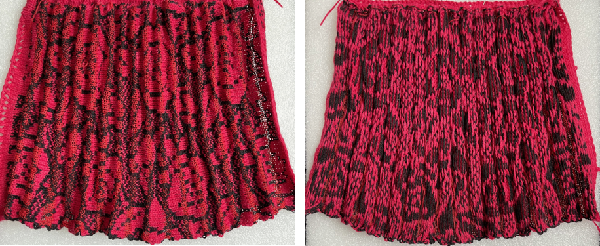
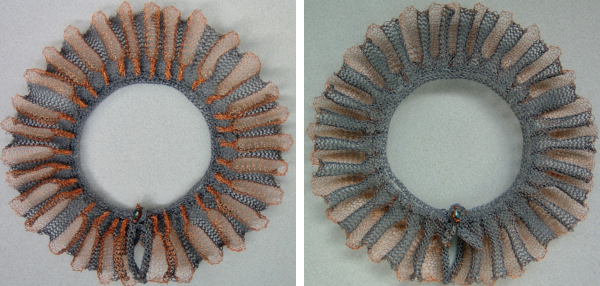 combined with fair isle patterning
This is fabulous! Another seldom seen technique to try. I can’t wait. Great post, Sandy.