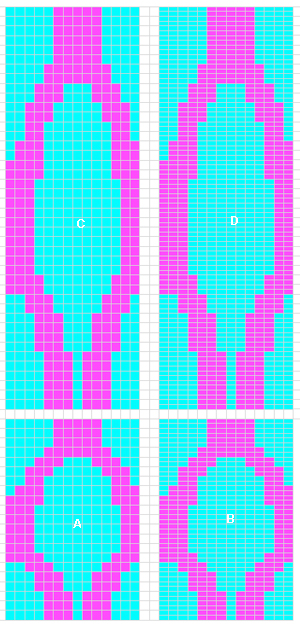
A lot has been written on the use of excel in knit charting, I don’t believe there is anything “out there” on doing the same with Numbers. After my latest OS upgrade, I thought I would revisit playing with the updated program. This is not a tutorial as such, just a sharing of some results and observations on this particular effort. For the design, I used the same motif as in the last post on 2 color drop stitch on Japanese machines. Under the table menu, there is an option to split rows or split columns. This can be achieved in any selected area, without affecting the remainder of the spreadsheet. Copying and pasting the split image over an area of full-size cells will change its format, and in turn, allow for splitting again. In the image below A is the original motif, B the first split after selecting only those colored cells, C repasting B in an area of full-size cells, D selecting and splitting C to achieve elongating the original motif X 4.
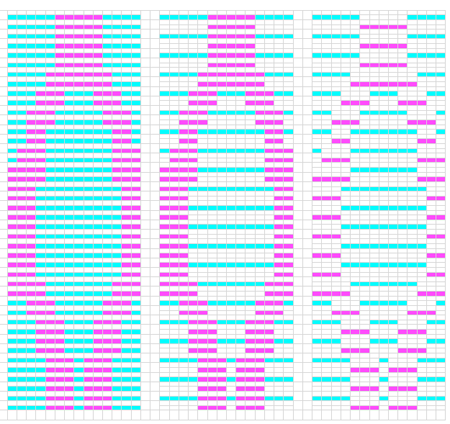
to separate the colors for the 2 color drop stitch using white “erase” every other row: these rows will result in no pattern selection, and will be the rows on which stitches are dropped. Select and copy and paste again. Choose either of the 2 colors and white-out that color (I chose to start with cyan) on the first and then every other colored combination row. Note there are 3 blank rows between each “erasure” after the first. Once the process is completed to the top of the design, select, copy, and paste again. On alternate rows that are still in 2 colors, the magenta can now be whited out, and this repeat when complete, visually be checked for any errors. Colored squares remaining in either color now translate to punched holes or black squares on mylar depending on the size of the original motif
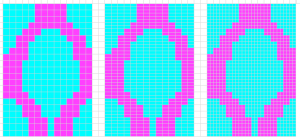
This particular method works on even motifs with an even number of colors, as splits double existing rows. Row and stitch numbers, text, etc may all be added. The image below does not refer to color separations. It illustrates the ability to go twice as long, twice as wide through using splitting rows, and in turn, splitting columns. Twice as wide used alone comes in handy for any knitting on every other needle, sometimes used for thicker yarns on the standard machines that do not have the ability to do that via electronic programming.
WordPress will not allow uploading a numbers document; here is a numbers document exported as excel .xls that should open in Numbers on a Mac for anyone wanting to play with charting a bit. The extra color square on the far right is a “place holder” of sorts, needed to avoid cropping of all empty cells to the right of the motif in the software’s exporting the file numbers_test_doc
4/30/2018: the feature described below in 2012 disappeared from later versions of numbers, I am presently using version 5.0. Later versions offered these options for working with rows and columns. The highlighted row will be duplicated, a slower process than simply splitting cells. A positive feature is that an individual table may be changed while still within view on other tables on a single sheet, without globally affecting the document. 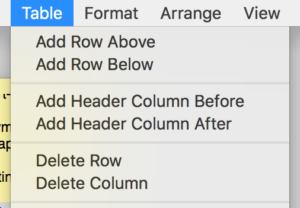
While playing with more table options today I sorted out a way of creating blank rows between design ones, possible charting uses still TBD. Though the results from such charting are not capable of being downloaded directly into knitting software, they are a good way to sort out repeats and begin to understand and create any necessary color separations. By holding the command key, rows on the table can be highlighted and hidden as a group. I chose all the even-numbered rows. The repeat then is drawn. When it is complete, rows originally targeted for hiding are “unhidden”, leaving the design motif with a blank row between each design row, at twice its length. Hiding could take place at irregular intervals as well. 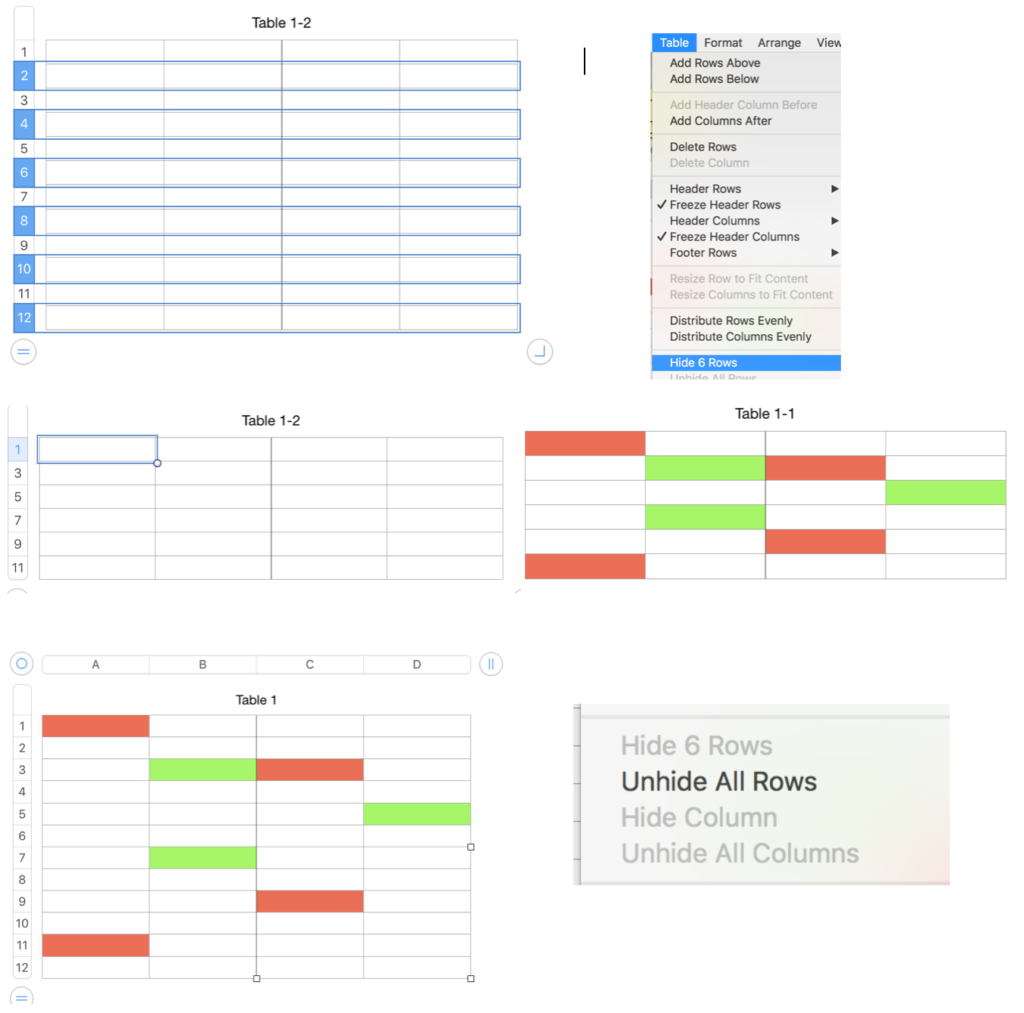
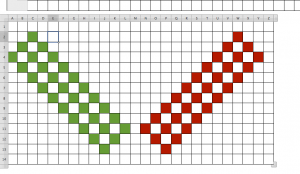
December 8, 2012: in writing my latest post I found an easier way to deal with split rows and columns. If the motif area is copied and pasted on a “blank” part of the spreadsheet a new table is created, which can be altered without concerns about affecting the remainder of the document. It’s like working with small pieces of graph paper rather than a very large one. The motif area is chosen and pasted, creating a new table
the table, split into row option is used
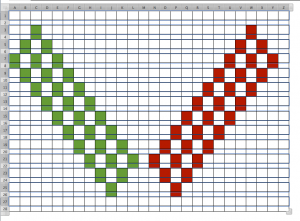 simply select all, click on the line at bottom of any numbered, grey row cell on the left of the table, and resize to match the remainder of your document, when the desired measurement is achieved, release the mouse and the document cells will be uniform in size.
the same process may be applied to split columns, may well have to try this on some of my huge excel charted spreadsheets
Appreciate it for helping out, wonderful information.
It’s nearly impossible to find experienced people about this topic, but you seem like you know what you’re talking about! Thanks
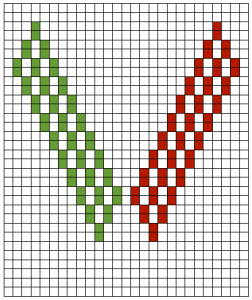
versions in Intwined and Gimp post
This is super interesting to me. I have been working with different ways of separating rows for color for some time. One thing I’m working on is developing a way to split rows for shadow/illusion knitting for which I would like to use the Brother Garter Carriage to knit it automatically. This shows great promise for that effort.