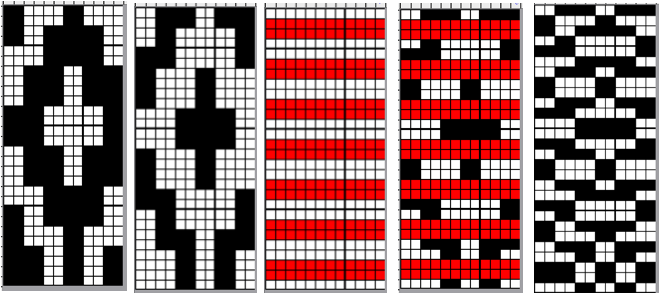
Double jacquard using punchcard machines discussed how to separate a design for use in DBJ. Early pubs and manuals suggested punching several template cards to use as a guide in marking a third card for punching, a very slow low-tech process decades before presently available computers and software.
The design must be composed of an even number of rows. When developing DIY ones in the present software, the original PNG is doubled in height, meeting that requirement.
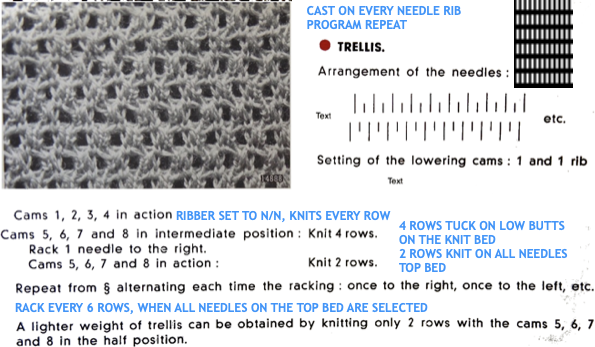
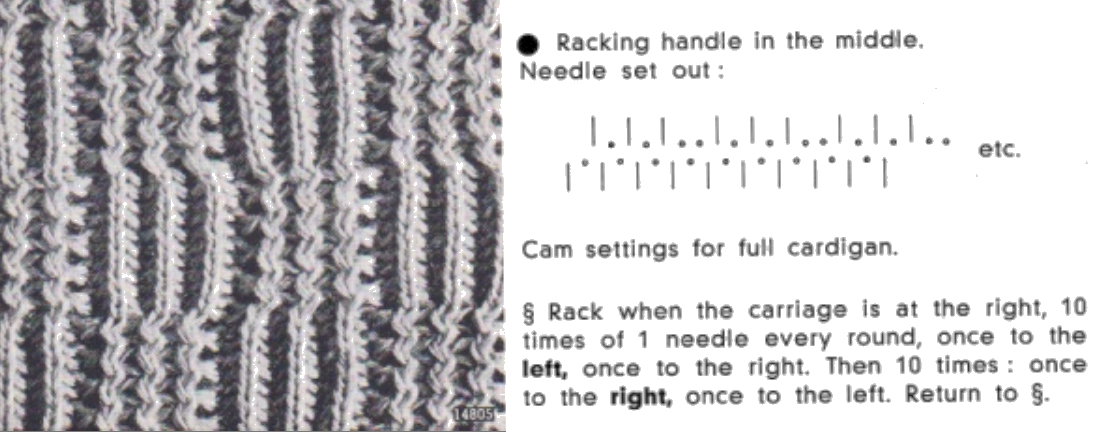
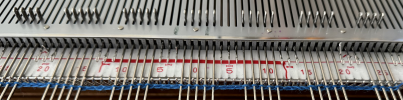
A review of ribber settings including for DBJ knitting, includes an explanation of the lili-buttons function.
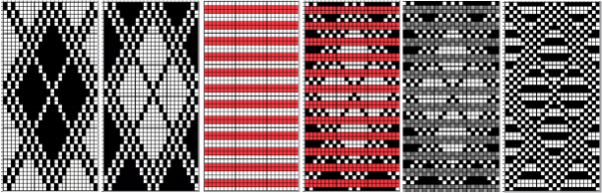
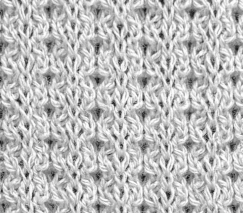
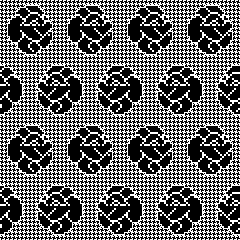
The goal for this particular knit fabric is to knit each color in each design row only once, limited to designs containing only two colors per row, achieved automatically by the push of a button on electronic machines, ie in Brother, selecting the KRC button.
Double Jacquard and color separations: some previous posts, links, hints  DAK users know this as method B.
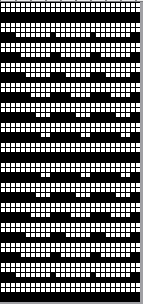
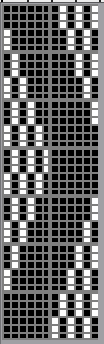
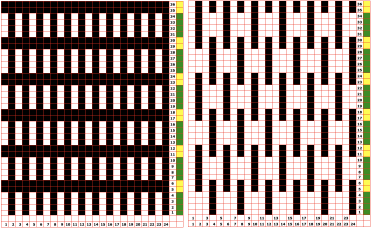
One design row of pattern requires 2 rows of punched holes in the card, representing two carriage passes from and back to the color changer. 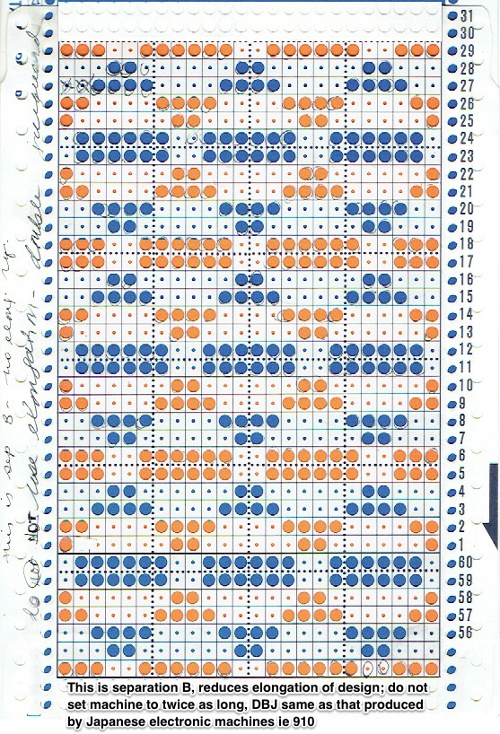 Machine knitters often begin with a single bed and become familiar with knits that are worked using color changes every two rows ie tuck, slip, mosaics, and more with the first preselection row from right to left toward the color changer, and with each color in each row knitting with each pass to the opposite side.
In this DBJ separation, preselection begins from the left, with the first color knitting in the pattern only on the first pass from right to left.
The change can be a source of errors for new dbj knitters, resulting in stripes if preselection is made from the right side, or if the knit carriage is not set appropriately.
I am presently working on a Mac with OS Sequoia 15.4.1, Gimp 3.0.2, and ArahPaint 6.0.3375.
Rendering colors transparent in both Gimp and ArahPaint makes quick work of custom color separations for DBJ and many other both single and double bed fabrics.
Gimp: update hopefully with bug fixes May 26 https://www.gimp.org/downloads/
with each new update, it appears there are enough bugs in designing one-bit images that more than once I have reverted temporarily to older versions of the program.
This repeat posed no problem for me, using the subsequent 24X24 plaid repeat the program repeatedly failed to render the expected results, even after a computer restart. The process worked seamlessly in the previous version.
 Issues were also encountered with a 2024 update.
The workaround ultimately, in this case, saving the inverted image filled with the blue brush, opening it with Gimp, and checking for the transparency alpha channel, finally enabled the conversion of the blue color to transparent to complete the separation, #7.
1: 24X24 image, RGB Mode, check Layer>Transparency, click to add alpha channel if not greyed out![]() 2. scale, broken link, to 24X48
2. scale, broken link, to 24X48![]()
3: open new, 24X48, color invert![]() 4: open new brush, 8X4, white color to alpha, copy
4: open new brush, 8X4, white color to alpha, copy![]()
![]() 5: fill #3, with brush
5: fill #3, with brush ![]() at this point, the result looked odd, but copied and pasted on #2 it produced the desired results.
at this point, the result looked odd, but copied and pasted on #2 it produced the desired results.  The alternative, producing a more familiar appearance,
  was to save this, (#5), as a PNG, open it with Gimp, check for the alpha channel,
6: blue color to alpha![]()
7: copy and paste #6 on #2, ![]()
- converted to BW mode at this point will produce this
 saving the file, and opening it again with Gimp will produce the correct separation
 For more on developing custom palettes see ArahPaint and Gimp in knit design 3
ArahPaint
the punchcard steps summarized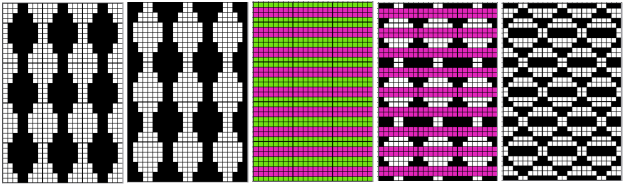 The larger repeat step by step: working in multiple windows, toggling as needed
1: 24X24 2: multiply YX2, 24X48
 3: #2, colors, invert all
 4: Tools, layer –> brush, 8X4
  5: fill color 24X48 with brush
 6: copy the brush filled image, 5, paste it on the color reversed, X3, after rendering white color transparent
 7: copy # 6 and paste it on #2, the elongated image, after rendering the color transparent,
 and save the after making certain the number of colors is set to 2 for a programmable PNG.
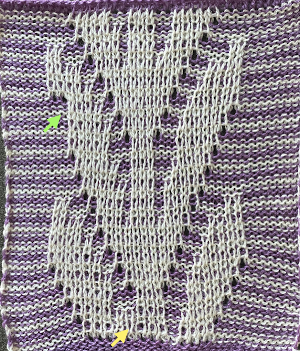
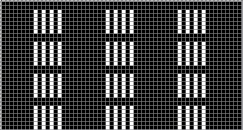
 When shapes are drawn with simple outlines, in as few as single stitches, some of the stitches may disappear into the ground or not knit properly if the gaps between them are very wide.
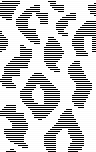
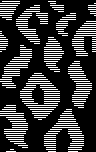
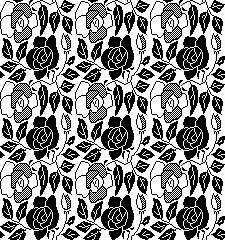
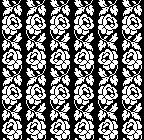
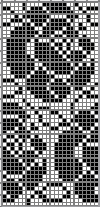
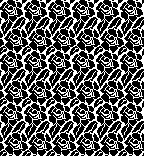
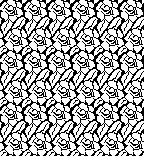
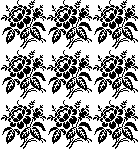
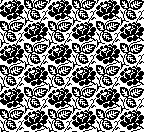
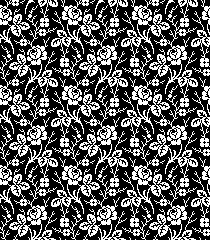
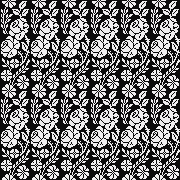
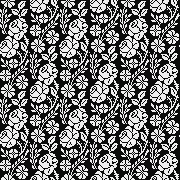
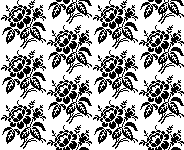
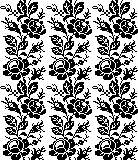
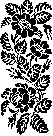
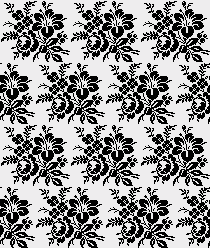
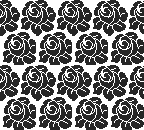
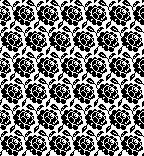
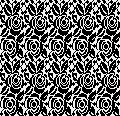
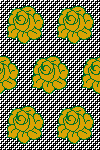
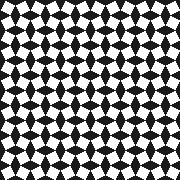
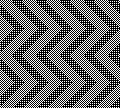
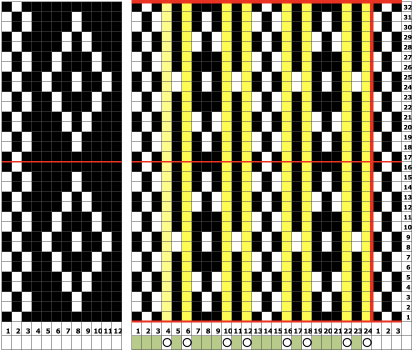
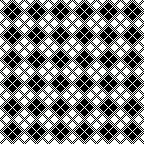
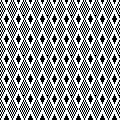
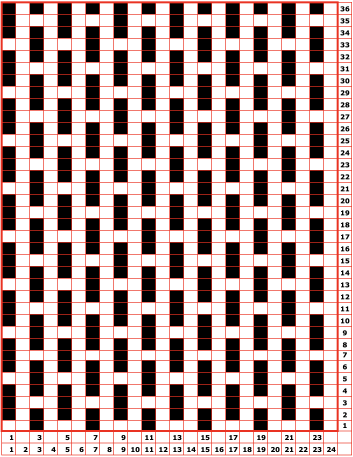
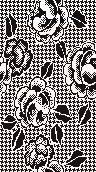
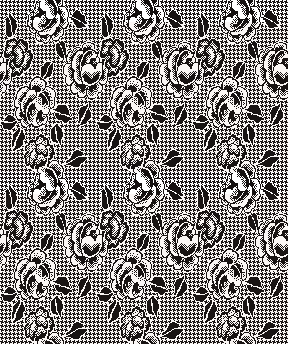
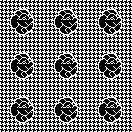
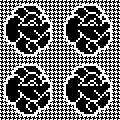
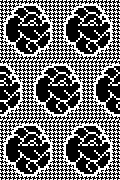
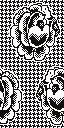
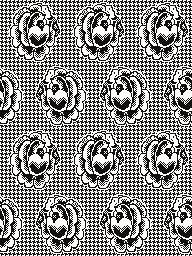
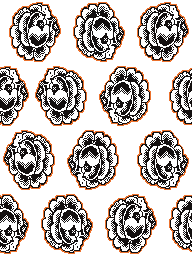
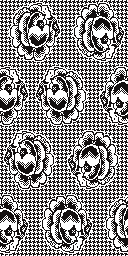
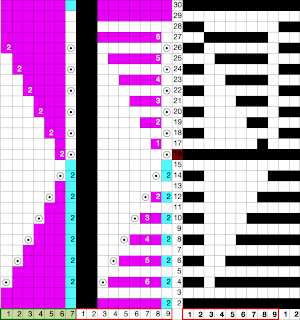
Borrowing a motif from the last post, 24X52 following the above sequences: the file doubled in height to 24X104
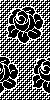
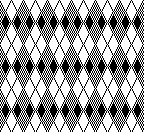
 colors inverted
  brush-filled 24X104
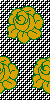
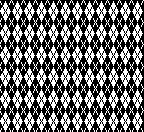
 copied, white rendered transparent, and pasted on the color inverted image
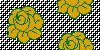
  copied, red rendered transparent and pasted on the original 24X104 image produces the color separation
  check that the number of colors is set to 2 if it will be used to program an electronic model.
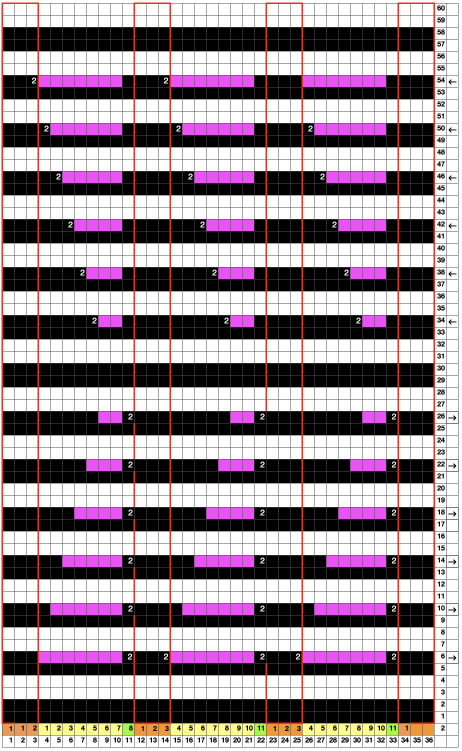
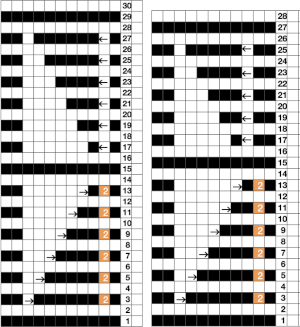
 The separation reproduces the electronic KRC, which starts preselection for row one from left to right, with the first pattern row of color knit from right to left, followed by color changes every 2 rows.
In DIY one may design for personal preference. It is possible to move that last single row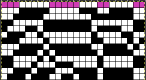 to the start of the repeat
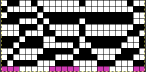 and then begin with the carriages on the right for the first preselection row followed by color changes every 2 rows.
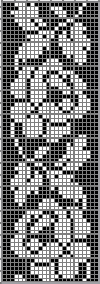
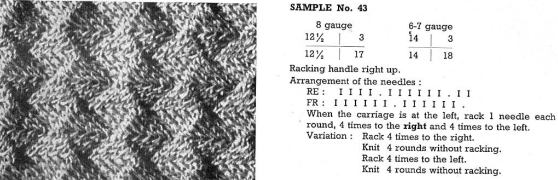
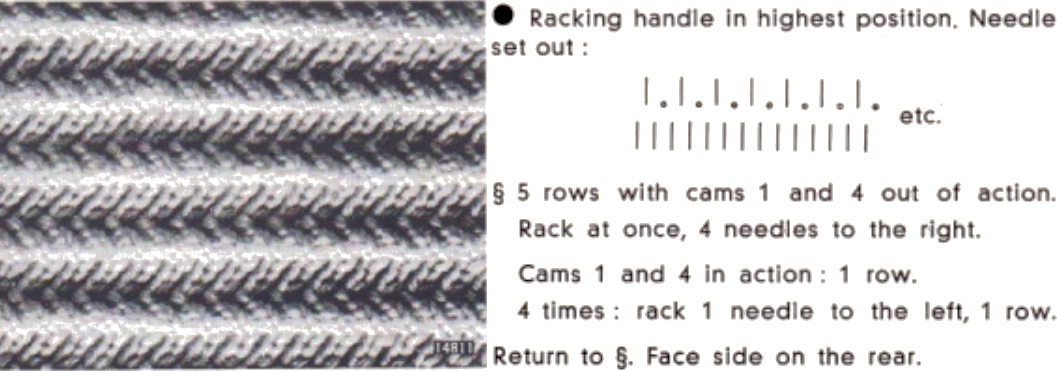
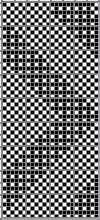
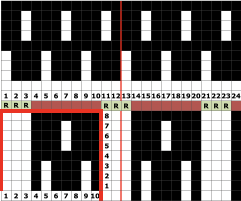
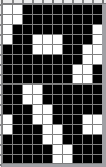
The repeats on a punchcard model are fixed in place, if a different arrangement is planned, the knitting needs to be on specific placements on the needle bed.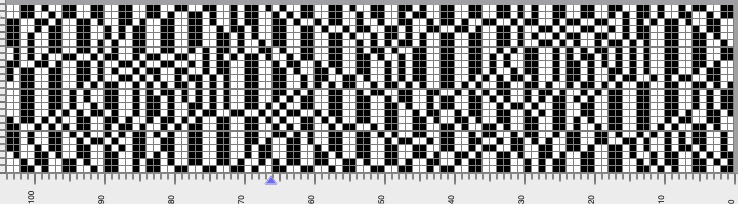
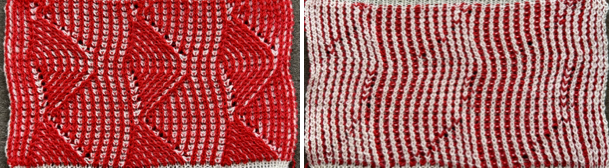
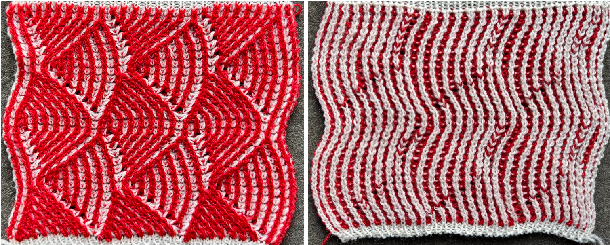
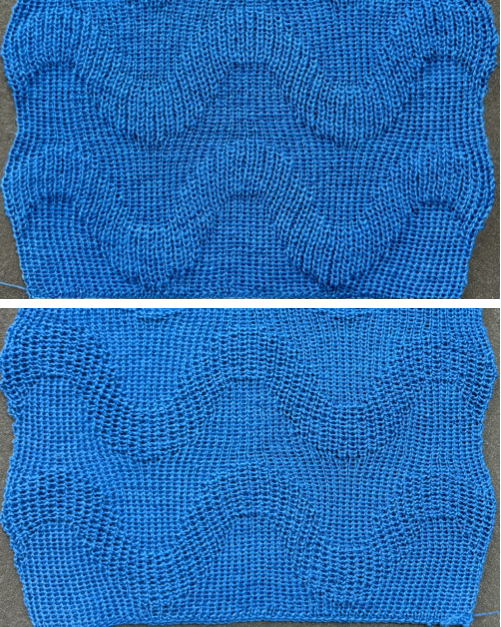
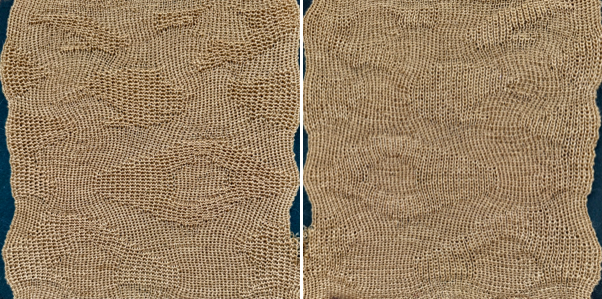
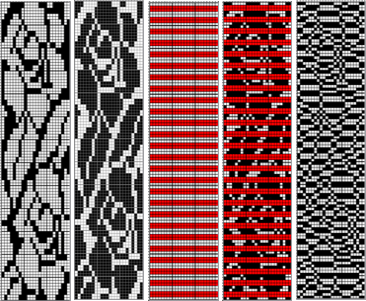
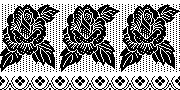
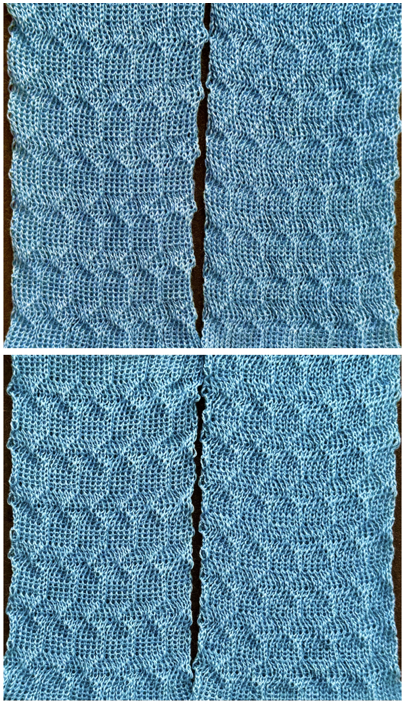
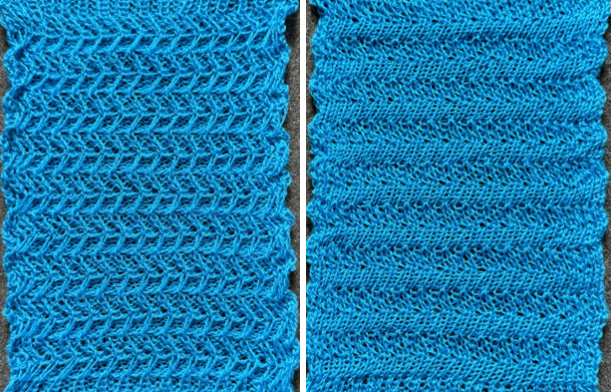
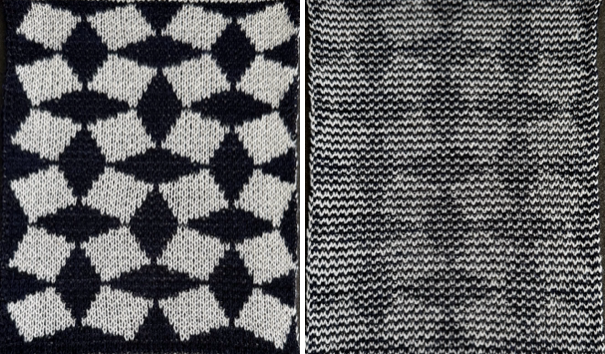
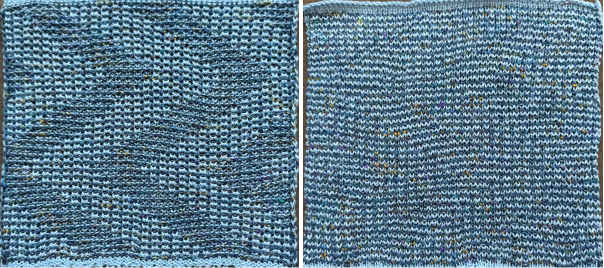
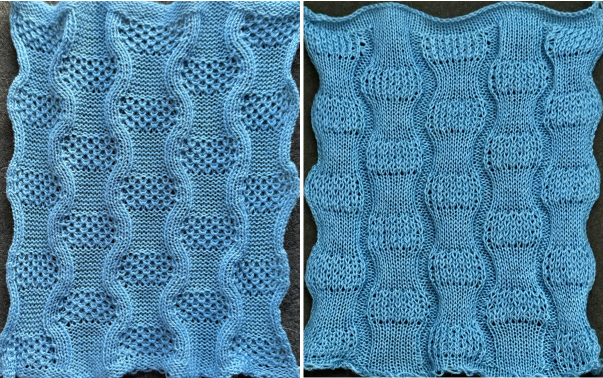
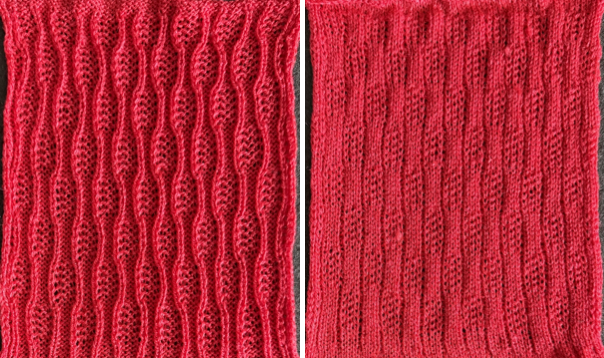
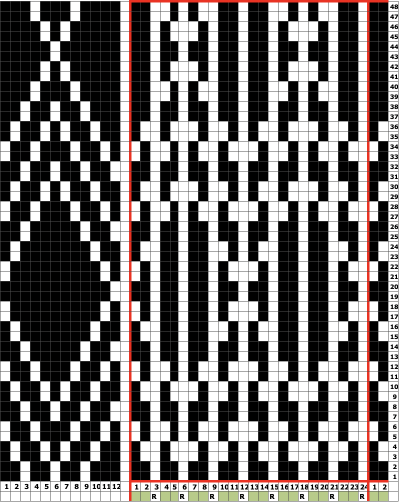
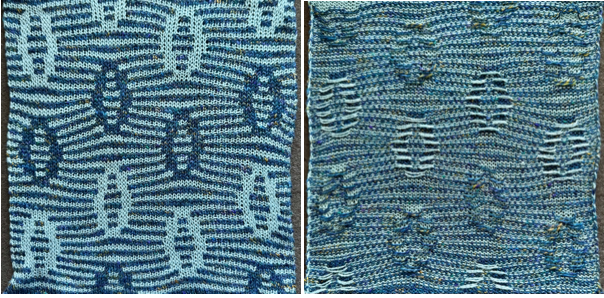
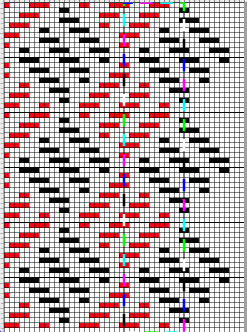
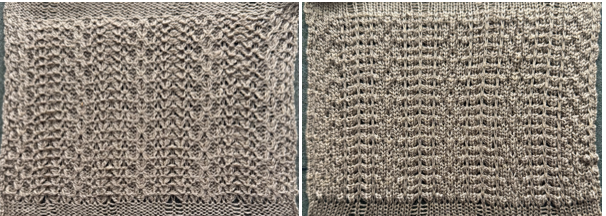
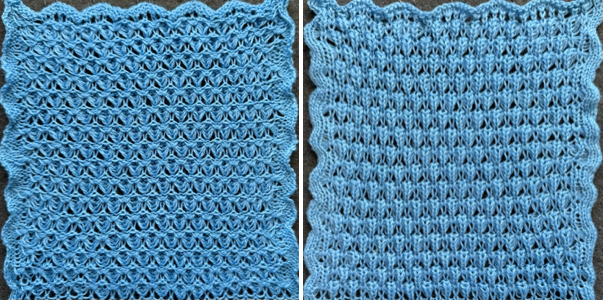
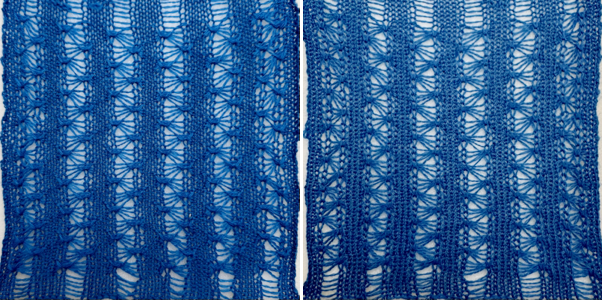
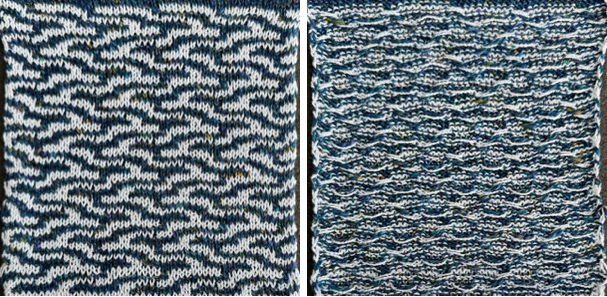
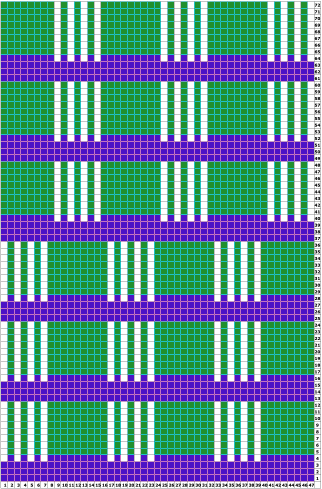
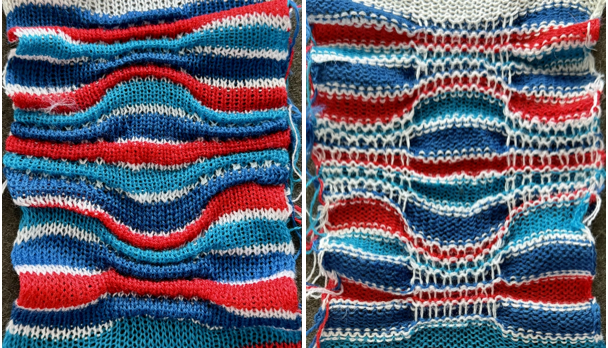
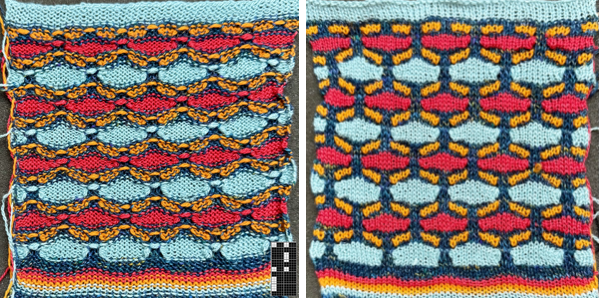
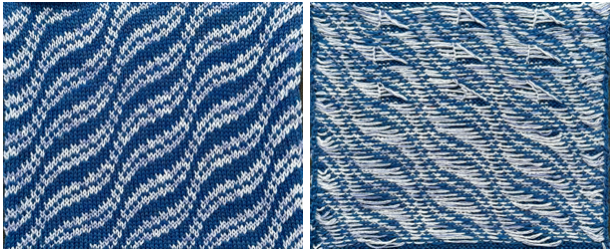
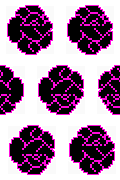
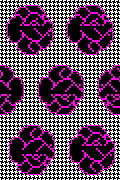
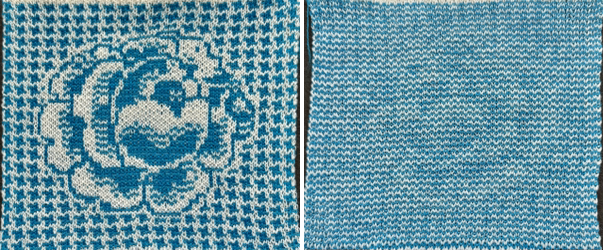
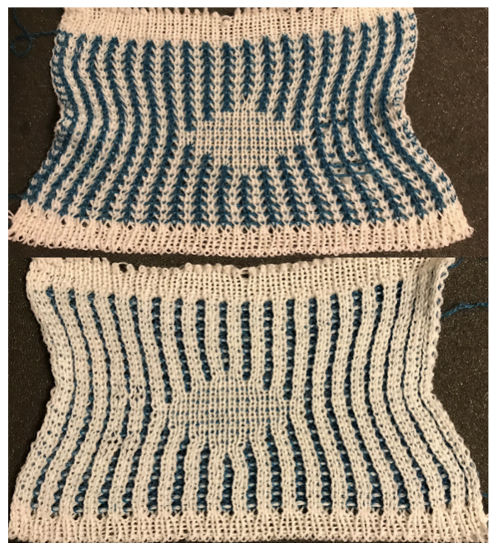
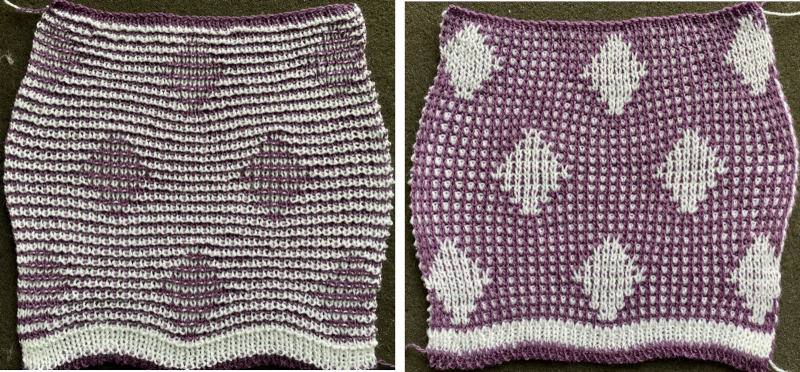
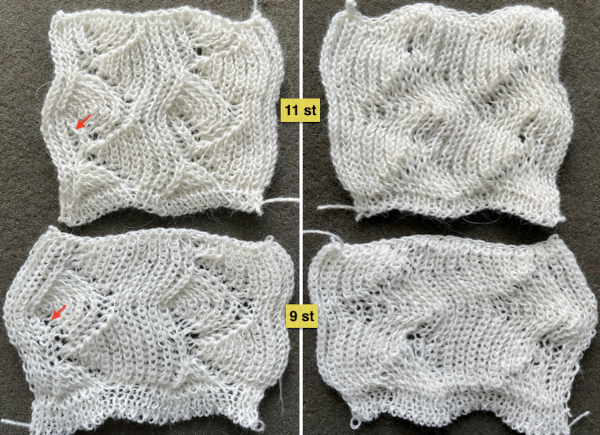
 The proof of concept with a full first repeat knit in striper backing and the second using birdseye.
 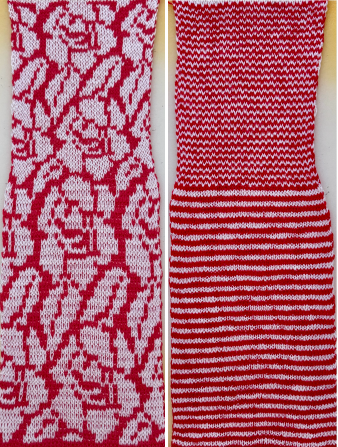 Beginning with a far smaller, randomly drawn repeat suitable for a punchcard model, 12X14
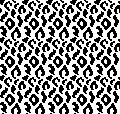
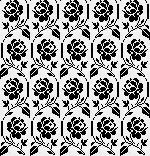
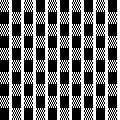
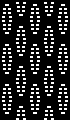
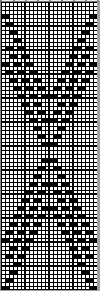
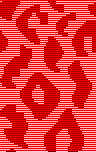
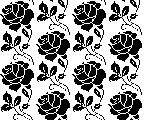
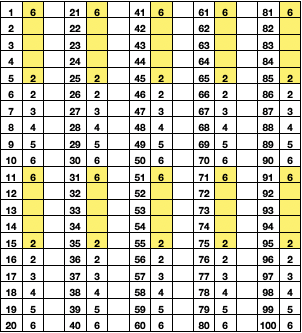
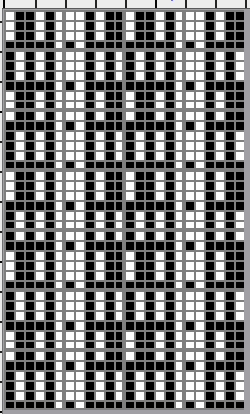
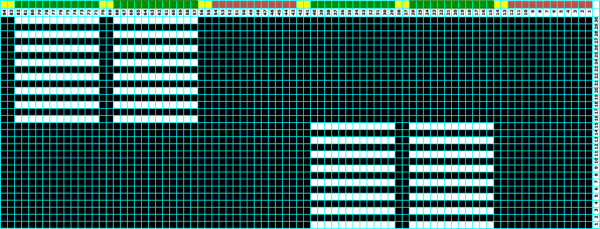
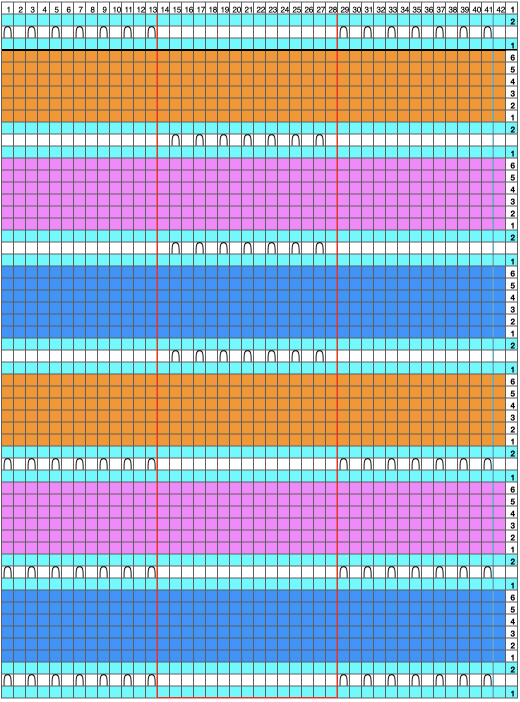
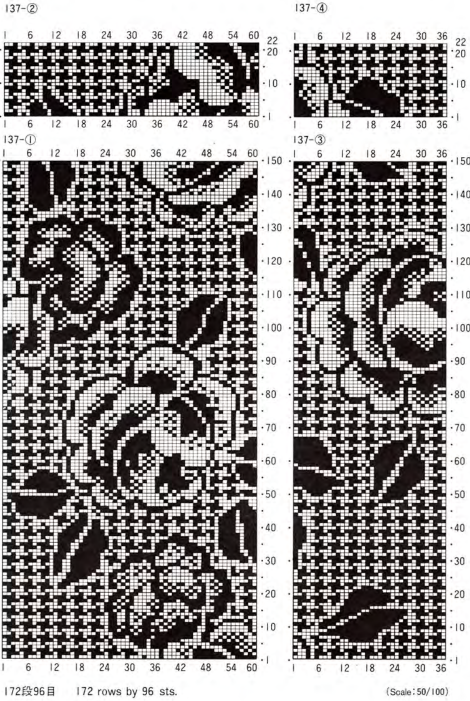
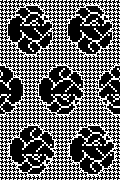
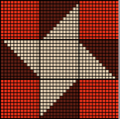
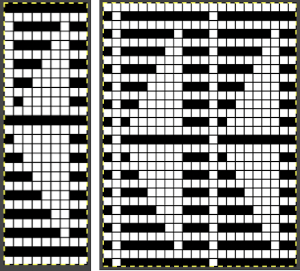
 a full FI card, 12X42
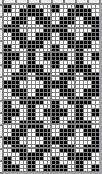
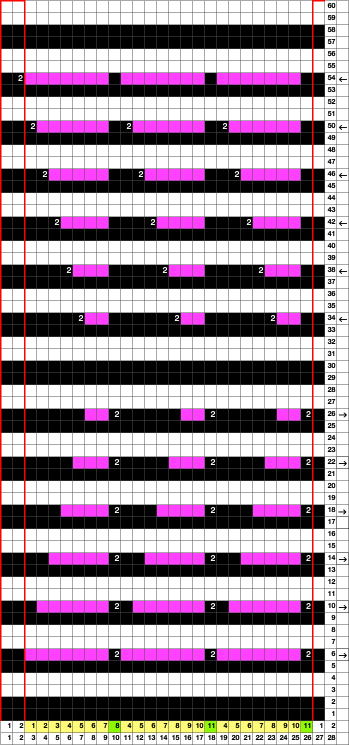
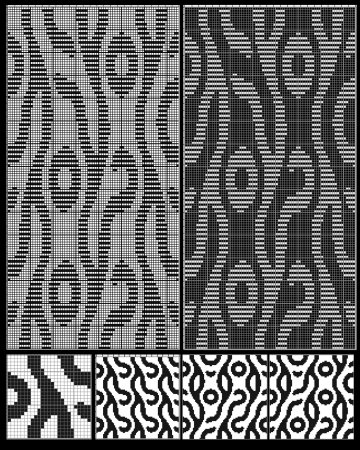
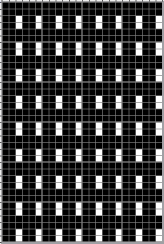
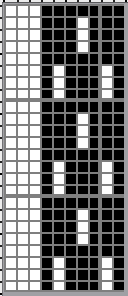
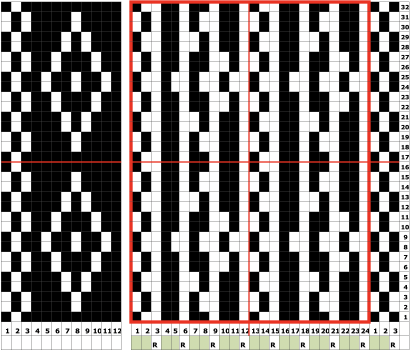
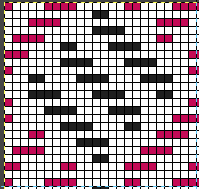
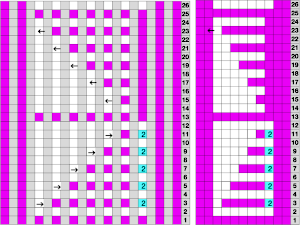
 Separation for DBJ in the traditional method
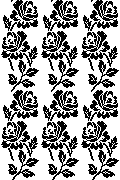
the initial design double height, 12X28 color reversed
  the same size file brush filled
  copied and pasted on the color reversed image, with white color to alpha
  in turn copied and pasted on the first elongated image, red color to alpha
 compared with the amended color separation shown in repeat
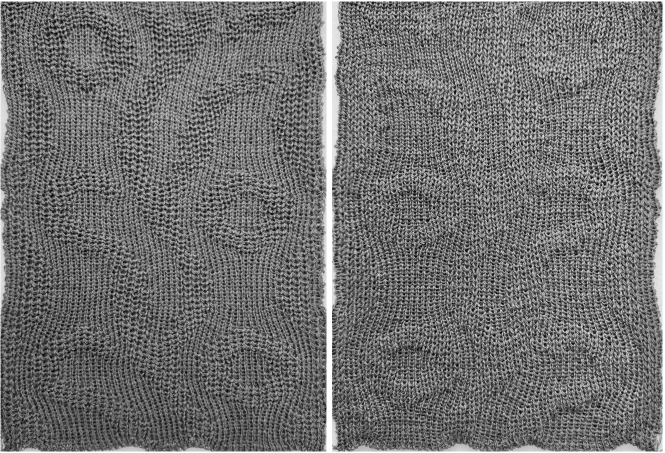
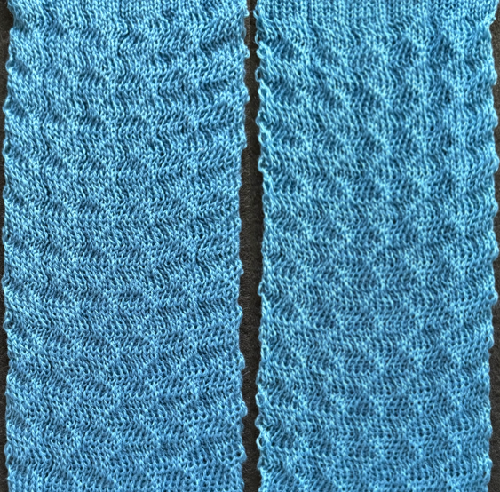
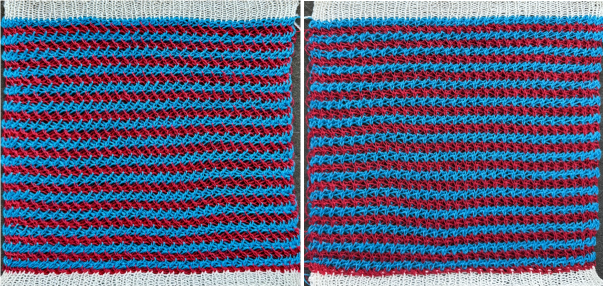
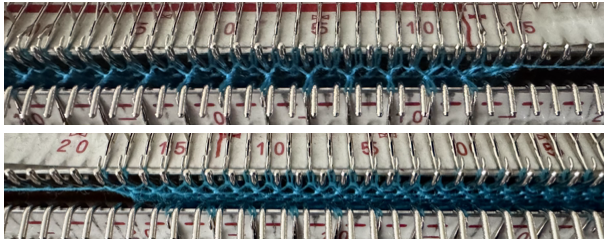
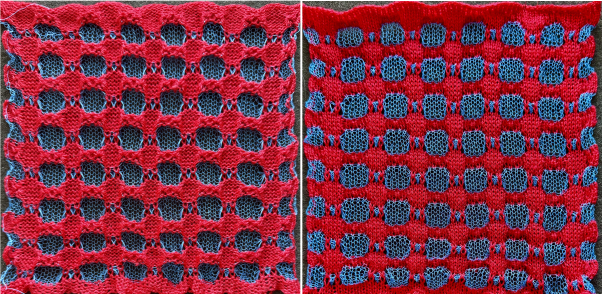
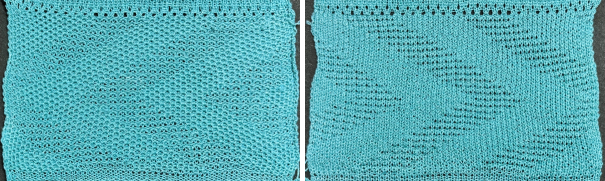
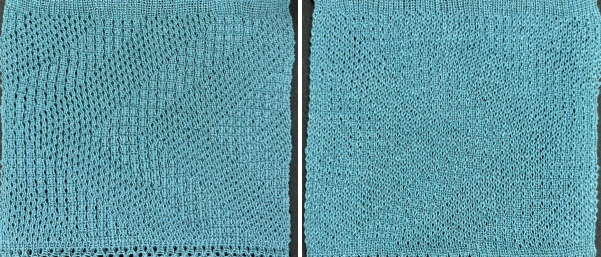
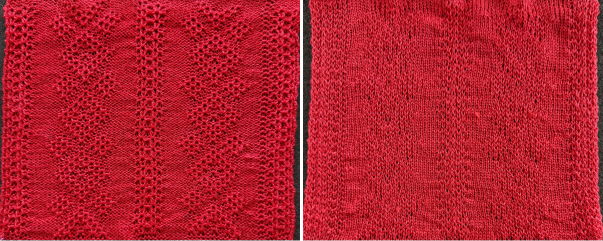
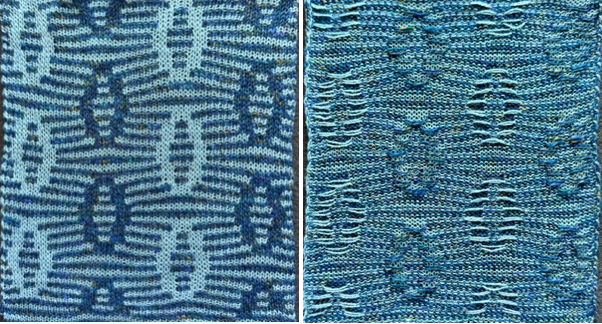
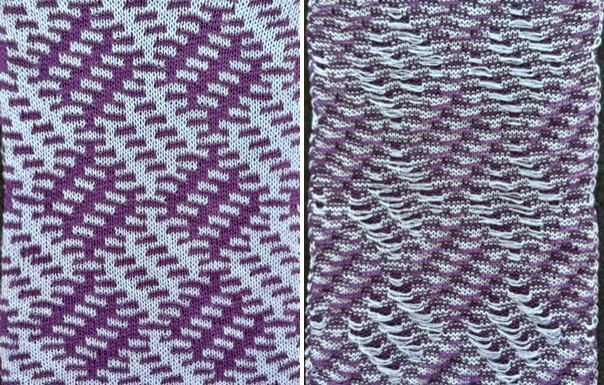
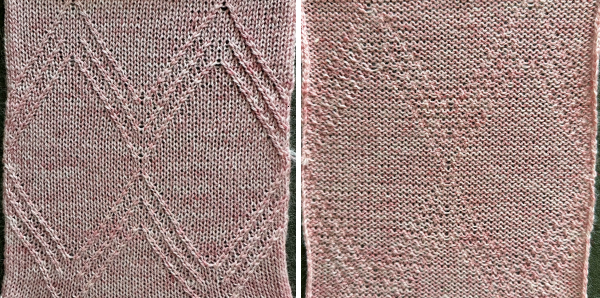
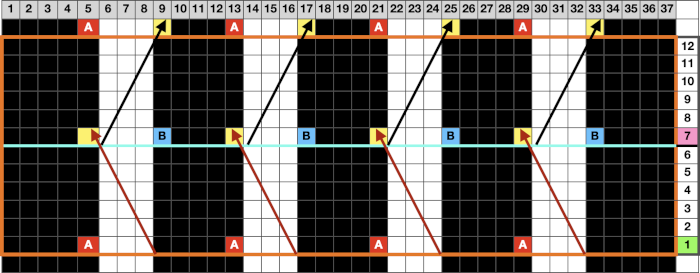
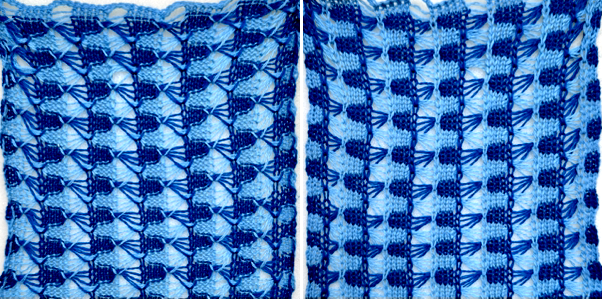
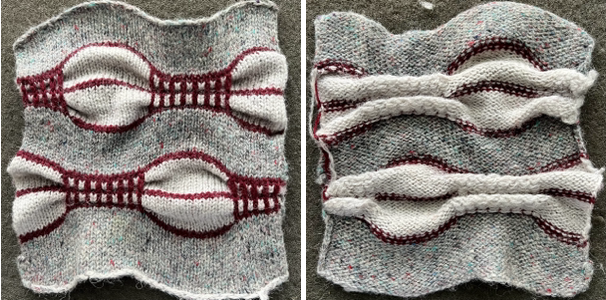
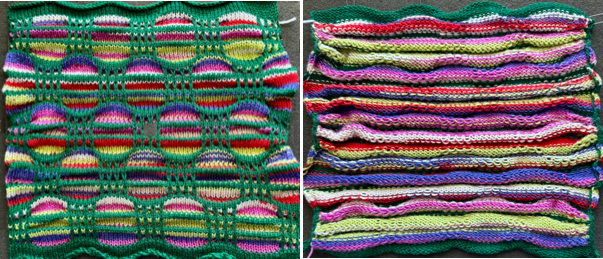
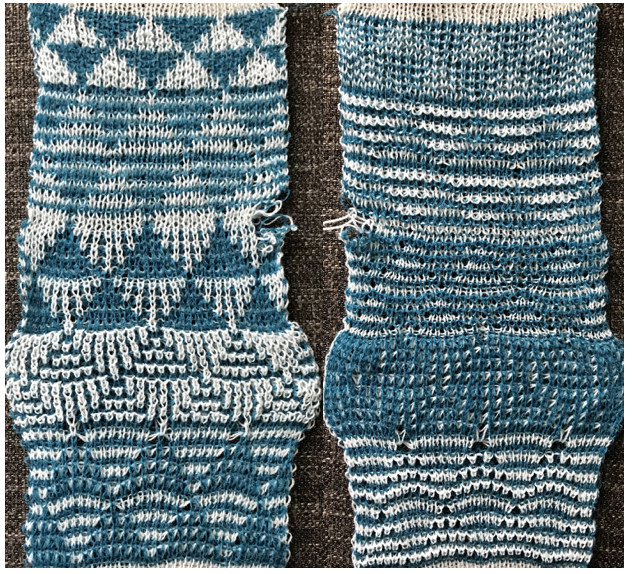
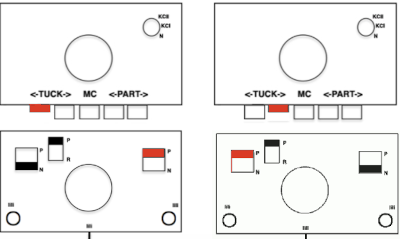
 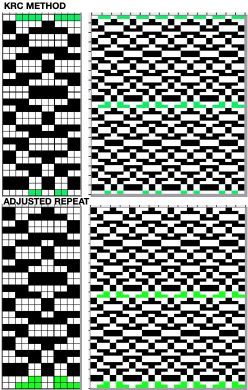 The difference in the results with the full separation repeated in full height twice: the swatch on the left was knit on the 930 programming the 12X14 repeat across the bed and selecting the KRC button, so the placement of the repeat on the needle bed differs from the card version although the same number of needles were used. The first preselection row was from left to right, with the knit carriage set to N as in many knits worked single bed with a start from the right. With the carriage on the right, the knit carriage was then changed to slip in both directions. The combination resulted in the first line of solid color knitting to the right and the first pattern row in the same color knitting from right to left. See below the swatch for suggestions as to how to eliminate the solid color row.
The swatch on the right uses the shifted repeat, in fixed 24 stitch widths, with the preselection row from right to left in the cast on/ base color, followed by color changes in pattern every two rows.
Both methods will produce a single row of the design repeated at the bottom of the piece.
The amended repeat allows for the use of the more familiar approach.
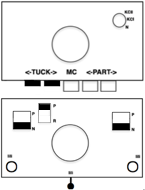
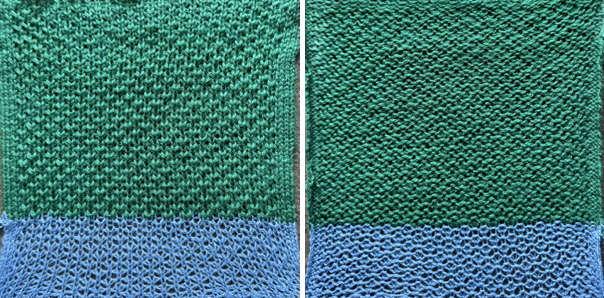
To knit, choose your backing technique ie striper, or birdseye.
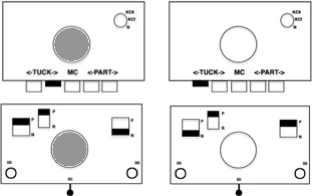
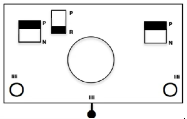
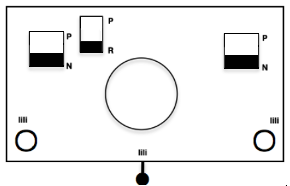
Cast on the appropriate number of needles using the base color, and knit at least 2 rows in the chosen technique ie with ribber set to knit in both directions or to slip in both directions using lili buttons. The knit bed is also set to knit.
Ending on the right, program the pattern, preselect it to the left, change color, set the knit carriage to slip in both directions and continue knitting changing colors every 2 rows.
 The workaround to eliminate that extra solid color row as seen in the first swatch if using a previously published or factory-supplied card with this separation, advance the card to the very last row of the repeat, lock it on that row remembering to release the card after the preselection row.
Similar steps apply to the electronic KRC separation as well.
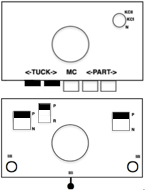
Choose your backing technique ie striper or birdseye.
Cast on the appropriate number of needles using the base color, and knit at least 2 rows in the chosen technique ie with ribber set to knit in both directions or to slip in both directions using lili buttons.
End with carriage on the left, change color, the ribber setting remains unchanged, and the main bed is set to slip in both directions.
As the carriages knit to the right, the ribber will knit on every needle for striper backing or EON in the new color for birdseye, the top bed needles are preselected but no knitting occurs.
With movement from the right and back to the left the first row of the pattern will be knit on the top bed, the ribber also will continue to knit on every needle or EON depending on the type of backing chosen.
The settings on both beds remain unchanged as color changes continue to be made every 2 rows from the left.
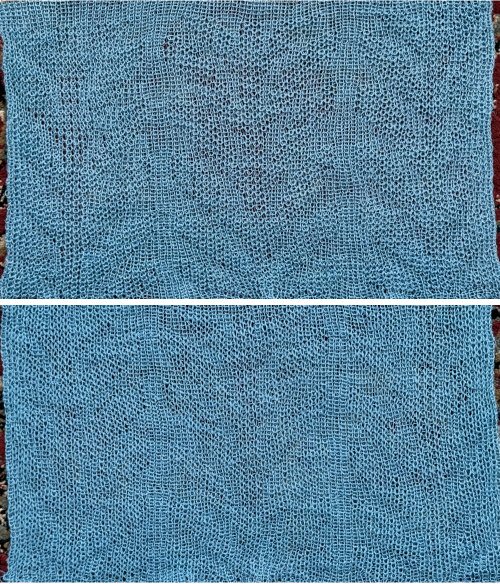
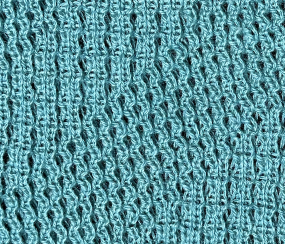
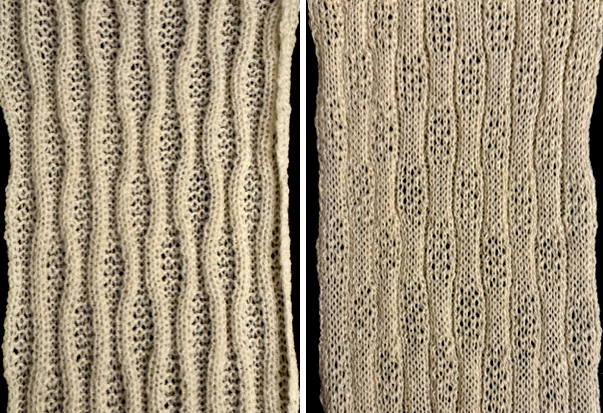
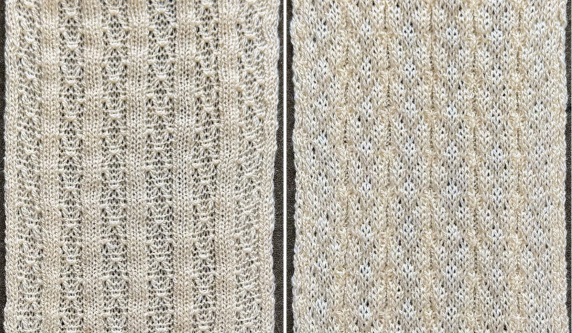
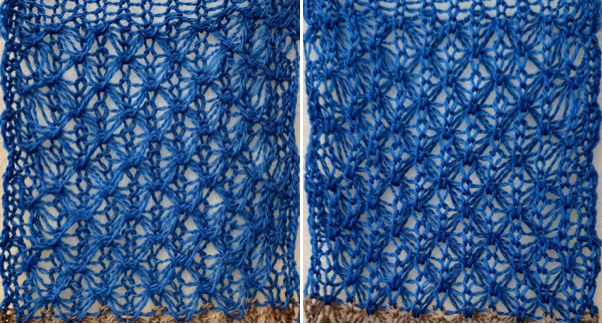
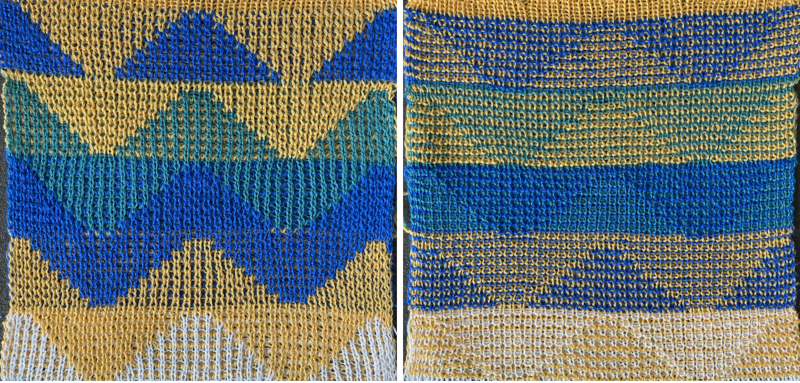
A very mini sample proof of concept in birdseye backing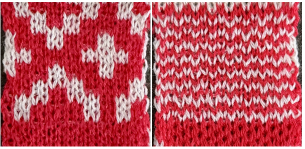


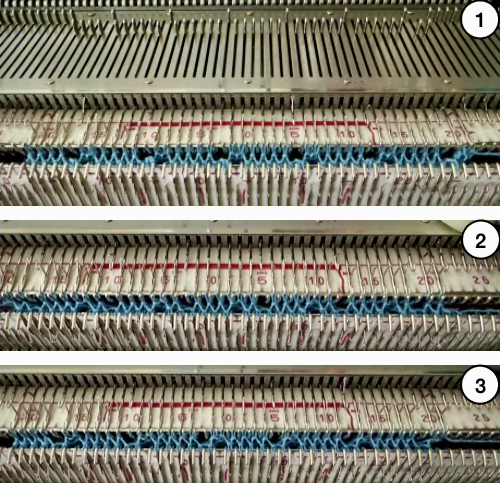


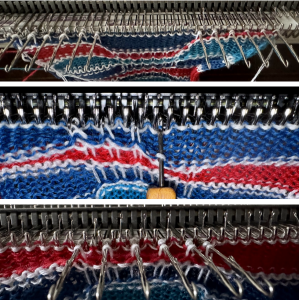
 in executing it, although the electronic repeat does not need a row adjustment, there are other factors to consider.
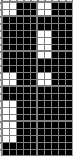


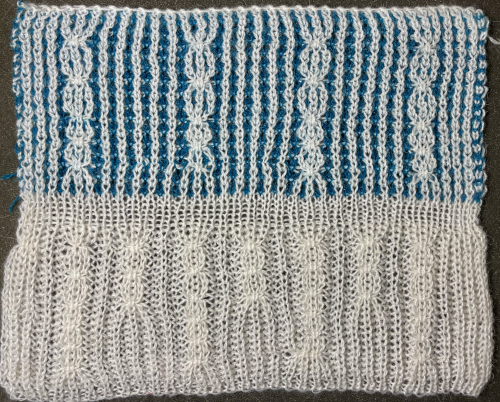


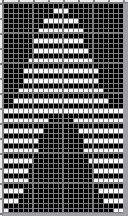
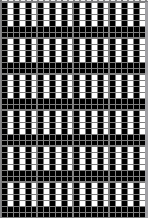
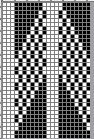
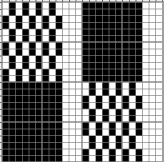
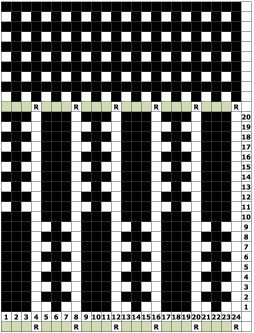
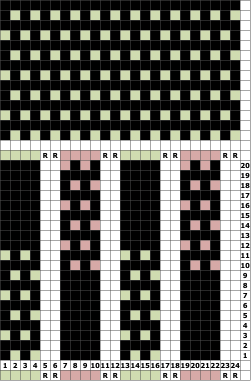
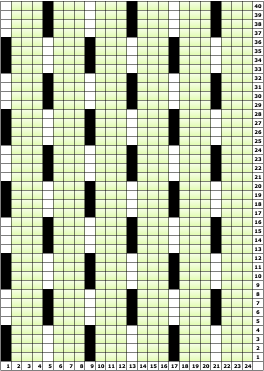
 When needles are selected on the top bed (black squares), the ribber is set to tuck in both directions.
 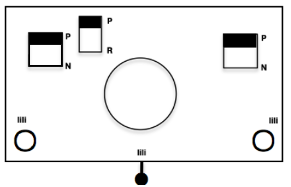 Brother preselects needles for the next row to be knit, on rows with partial selection and some needles in the B rather than the D position, with an appropriate transfer tool, move the stitches on the non-selected needles to the adjacent selected needles to their right after pushing it (them) back to the B position.