This cast-on (on any ribber) is capable of giving a softer, looser start and is good for fabrics that stretch. It is described in most machine knitting manuals.
When experimenting, check the alignment of needles physically before proceeding for knitting ribs on all needles. In Brother machines, the racking grip handle is used in creating “racking patterns”. By turning the grip handle the ribber bed is moved to the right or to the left. 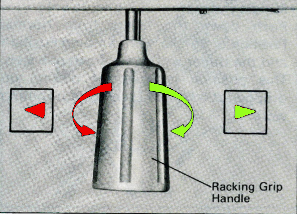 The racking position is indicated on the racking indicator.
 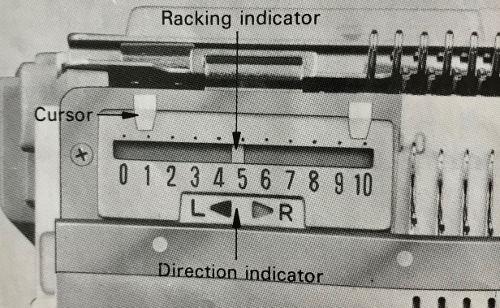 Usually casting on is begun with the indicator in the center position, #5. As indicator numbers rise the ribber moves to the left, and as they decrease the ribber moves to the right. The two cursors can be moved and set to use as an index of the racking range. I prefer to track racking positions in other ways ie. with punchcard markings when possible. The arrows L and R indicate the racking movement and will change position after each handle turn reversing direction is completed. The pitch is set to accommodate rib configurations.
 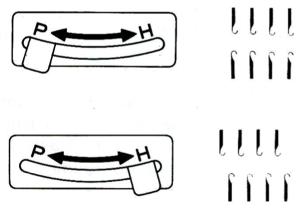 In the P position needles on each bed “plain and purl” are directly opposite each other and in a collision course. If EON (every other needle) on each bed is in use, then this position is used to center needles on opposite beds between each other. In position H the ribber needles are centered between two main bed needles.
If observing a suggested needle rule, set up needles using it.
Rack one full number to put the needles out of the rule, and knit one row at about 2 numbers tighter than the final setting.
Hang the comb and wights, and rack again to the original position. Add any edge stitches that may be needed for the specific knit fabric. Knit one row across stitches using the final tension setting.
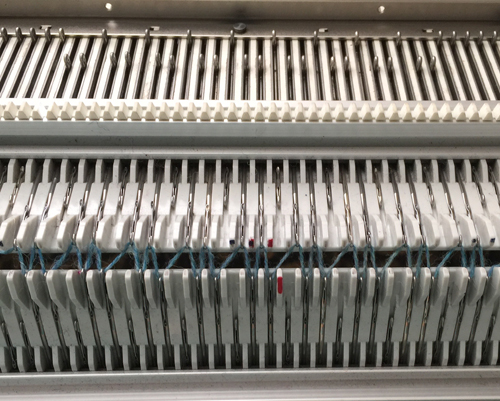
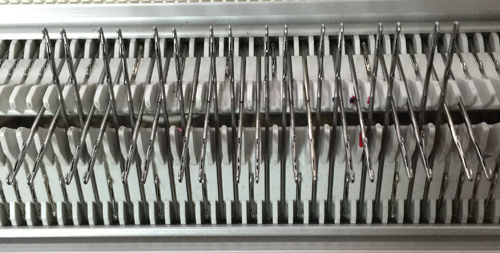
For every needle rib cast on in my sample I began with the racking indicator on 6, COR, knit zigzag row to Left. Note: at the start of the process, on the left side, the first needle is in work on the top bed. 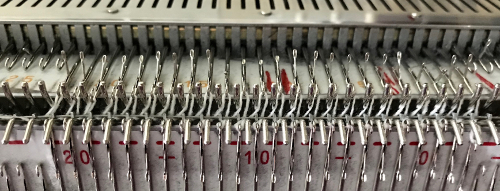 The ribber is then racked to position 7. The first needle on the left is now in work on the ribber. A row is knit from left to the right.
 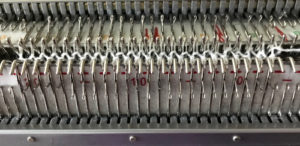 The ribber is then racked back to its original position (6). The first needle on the left will once again be on the top bed, and the first needle on the ribber to its right
 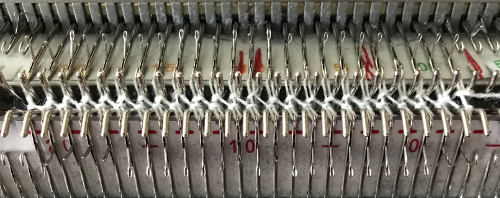 Continue in the planned rib.
Often manuals give suggestions as to the “needle rule” for each type of rib. The sequence below is knit on a Passap. It, in theory, would produce a 2X1 “industrial rib that could transition to every needle or main bed knitting without any holes at the transition point. Note here there is a needle in work between each pair of needles on the opposing bed.
 “zigzag” row, normal needle position: work slowly, make certain all needles have picked up yarn
 hang comb: the first needle is in work on the back bed on the far left
 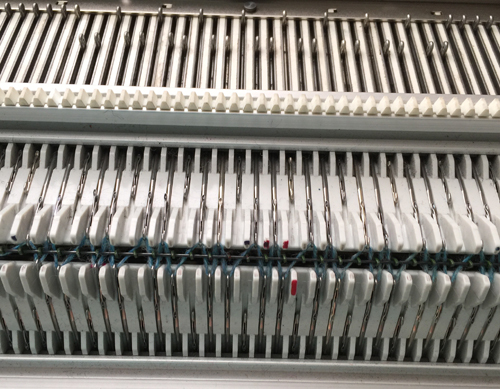 rack one full turn to the right: the first needle in work on the front bed is now on the far left
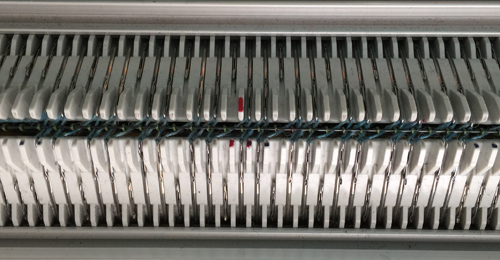 knit one row
 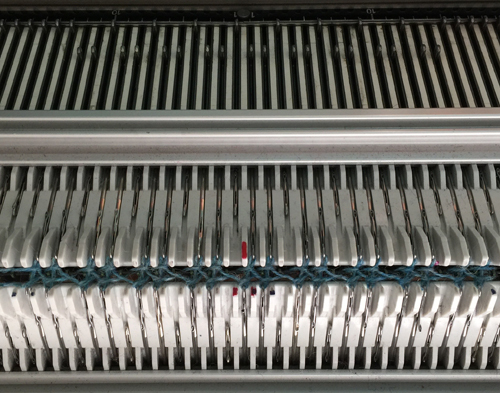 rack back to the original position, and continue plain rib
 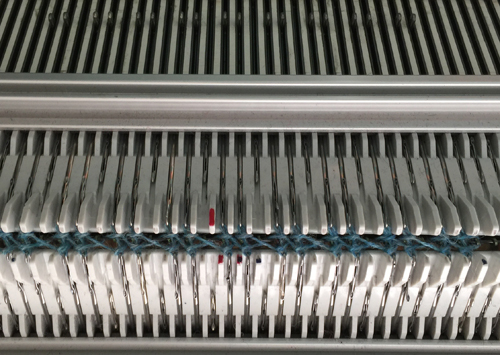 There are sources online including videos that recommend circular rows at this point, they are actually unnecessary. The other recommendation made by many after any ribber cast-on is for 3 circular rows. There is no need for the third circular row. It will actually create a visible line across one side of the rib, that is noticeable, and may not be wanted if it is on the “public” side of the finished garment.
To fill in potential holes produced when empty needles are brought back into work, bring all empty needles into work, and tuck one row across both beds, making certain loops are formed on each needle  knit 2 rows circular slowly, some needles hold 3 loops of yarn, switch to ENR rib
the result at rest
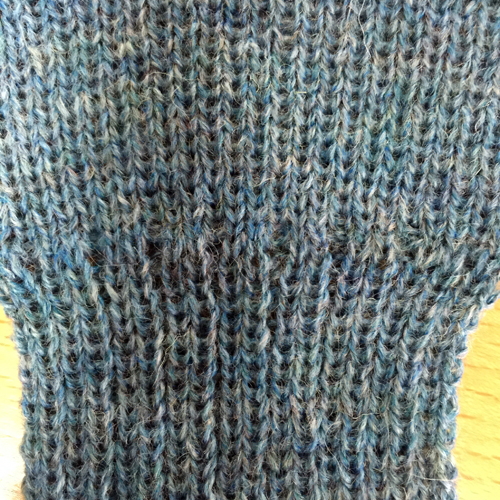 rib stretched
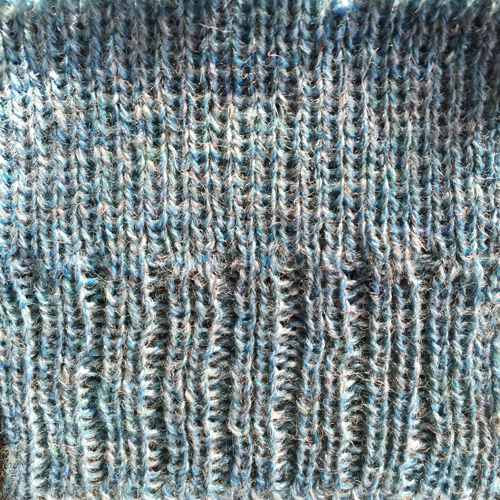 Going for a rib with more of a 2X2 look: set up needles for rib pattern, there are still 2 needles in work, one not, on each bed. The empty needle space is now at the center of each pair of needles on the opposite bed
 rack one full turn to the right, and knit one row
 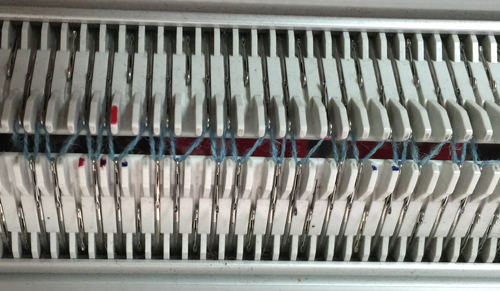 hang comb and weights
 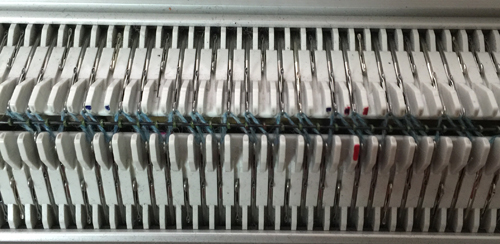 rack back again to “needle rule” position Knit one row at final setting, proceed for rib
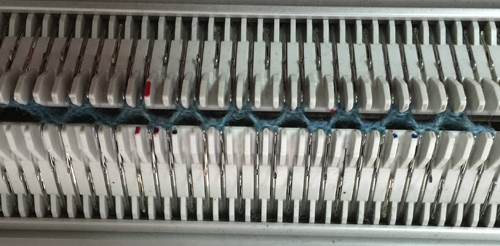 at the top of the rib knit 2 rows circular, proceed on EN rib
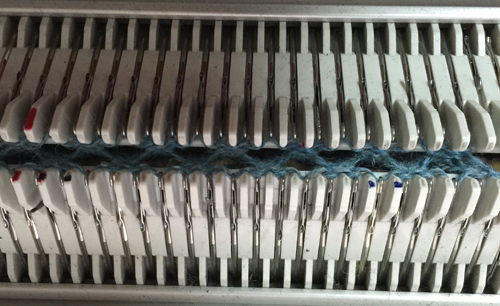
tension adjustments may make a big difference, my samples have been knit at the same tension throughout, and single-ply throughout
the first rib at rest  stretched
 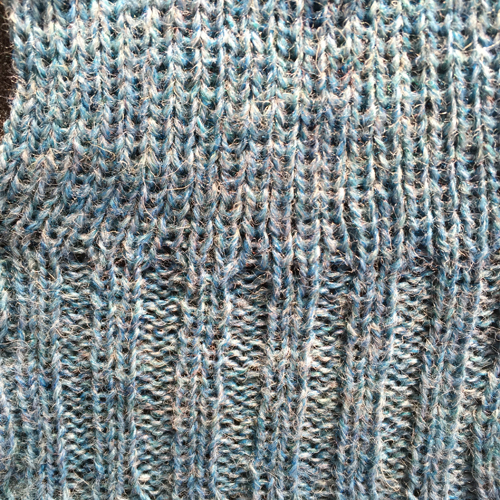 Both instances produce a reversible rib
Some experimenting is required to achieve cast-on rows in the rib that is not too loose or too tight. In this instance there has to be enough slack in the loops so that there is room for racking one full turn, too much will leave loops. Loops created by cast-ons with deliberately large stitch sizes may, in turn, be chained off with a latch tool. The stretch factor and weight of the resulting rib also need to be in balance with the remaining knit fabric. If “improvising” it is always advisable to keep good notes. Most publications and how-tos are really guidelines, starting points for investigating what may be the best method to use in any one piece.
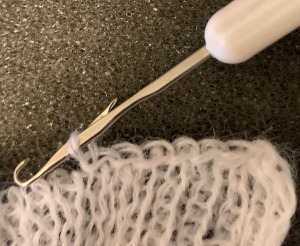
A variation: a racking cast on at a large stitch size can be chained with a latch tool after the work is off the machine to make an edge that nearly matches a chained-off bind-off. It is useful, especially in rib tuck fabrics.
Set up needles in the needle rule and rack out of the needle rule.
Knit one row at a large stitch size, moving slowly to the opposite side. Testing will determine the tension the specific machine will tolerate with the yarn being used.
Check that all needles have picked up loops.
Hang the comb and weights and rack back to the needle rule.
When off the machine, use the method described in the post Ribber cast ons: breaking the “rules”