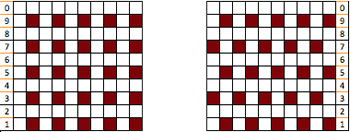
Maze patterns have long vertical and horizontal lines broken by regular gaps and the pattern lines change course from the vertical to horizontal, and vice versa. Maze cards can be identified by completely punched sections, some alternating with every other square marked for two rows, usually geometrically shaped. Areas of stocking stitch produce horizontal colored stripes, and alternating pattern stitches that slip or tuck cause the vertical stripes, which are sometimes pulled nearly diagonal by the influence of tuck or slip. The fabric will be unbalanced because the number of needles slipping or tucking will not be the same on every row. Odd rows form 2 color horizontal stripes, even rows vertical stripes, with color changes occurring every 2 rows.
Mosaics have a brick arrangement (tessellae), with clear perimeters and cores, and stepped diagonals (frets) that are partially formed bricks, their positive and negative spaces are created by the use of contrasting colors. The stripe sequence is not as obvious. The punchcard looks even less like the original design.
In single bed work, the reverse of the fabric will show the original design in the texture of its slip or tuck stitches. There usually will be no floats longer than one or two stitches.
The knit side may look like a fair isle but the back lacks the usual long floats, hence the name “float-less fair isle”
The row gauge is compressed. Tuck fabrics are short and fat, slip ones tend to be short and thin. Some patterns elongate in washing. The tension used is usually one number higher or more than that used for stocking stitch for slip patterns to reduce their narrowing, tuck patterns may also have to be adjusted to suit. Smooth yarns in contrasting colors are the easiest to establish and test the pattern, then the choices can be far more personal.
Designing your own: traditional “rules”
- if scale matters consider that the height of 2 rows may equal the width of one stitch
- start small, let each square on your graph whether on graph paper, in a design program or spreadsheet/vector program cell equal one stitch, each line on the graph represents 2 rows of knitting, when knitting the pattern double-length specific to KM may be used. The unfilled squares represent the lighter color/color1, the colored squares represent the dark/color2
- no more than one stitch to tuck, two to slip at a time
- row 1 and all odd-numbered rows (most stitches knit) can have any number of squares marked, the slipped (tuck, or slip/part tuck in alternating directions) are represented by blank grids (no more than 2 side by side for slip, single for tuck), they are generally knit in the lighter color/color1
- even-numbered rows must have single squares marked, they are generally knit in the darker color/color 2, there should be no more than 2 “light squares”/ unpunched holes side by side, the slipped (tuck or part/slip tuck in alternating directions) are represented by marked grids
- vertical lines must begin and end on odd-numbered rows
- vertical lines must always consist of an odd number of rows in total
- the finished design must be an even number of rows to allow for traveling back and forth to the color changer for picking up and carrying the subsequent color
- if the design is not to be elongated check to see that every light square to be worked in the dark color is present in the row below, that every dark square in the row to be worked in the light color is also present in the row below
Susanna’s chapter on mosaics has information on fabrics where “rules” get broken. Changing the order of the colors or introducing a third color may yield pleasant surprises. Knitting is started on a non-patterning row with first-row selection toward the color changer in Japanese machines. If you have a machine that preselects needles: color must always change when the needle selection changes. Four movements of the carriage are required to produce two rows of knitting.
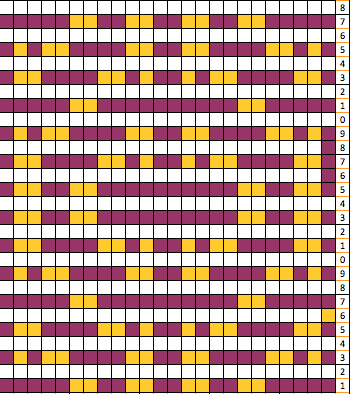
One approach with a design that breaks rules: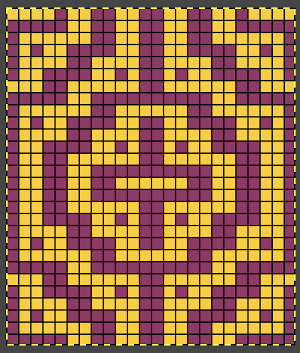
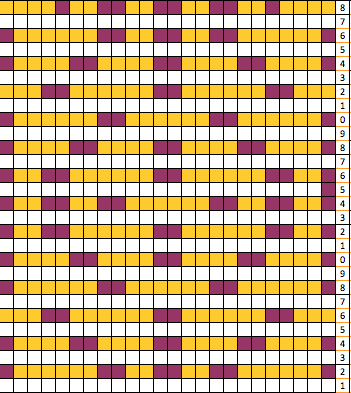
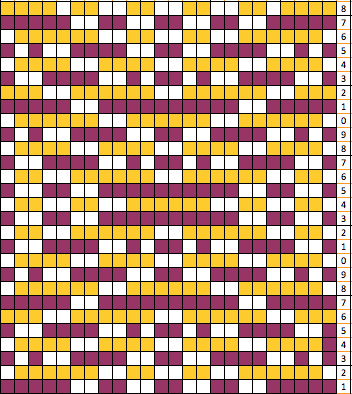
masking alternate rows and “separating them”: odd rows knitting in color 1
dark squares get punched out/ drawn, light ones tuck or slip depending on cam settings
light squares are punched out/drawn and will knit, dark squares ones tuck or slip depending on cam settings
colored areas below are those to be punched overall
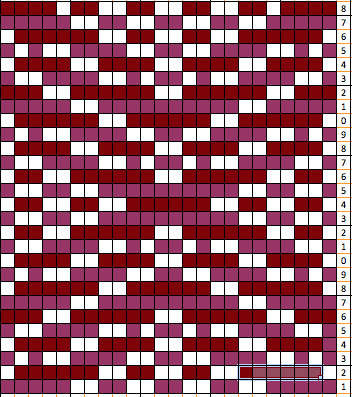
I used Excel to eliminate yellow fill on odd rows, darker fill on even. Many articles on this subject date back to graph paper, pencil, and eraser days. Quick color fills including empty make the process quicker with software. Still finding the image above confusing, it may be easier to decide what to draw on the card/mylar if all areas to be punched are dark, blank squares can then be more easily identified and marked, punching everything else or coloring them in and using color reverse if your machine has that ability. In the image below the lighter color is replaced by a darker one
the resulting card, which needs to be elongated X2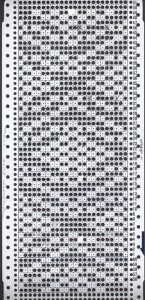
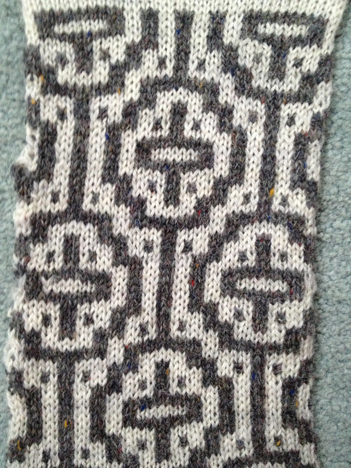
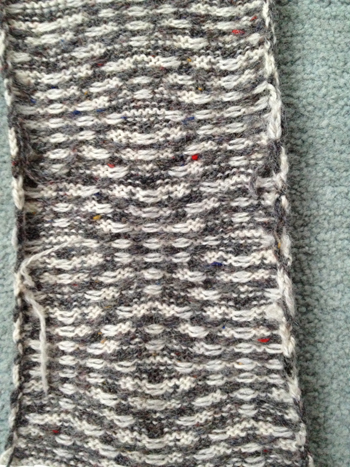
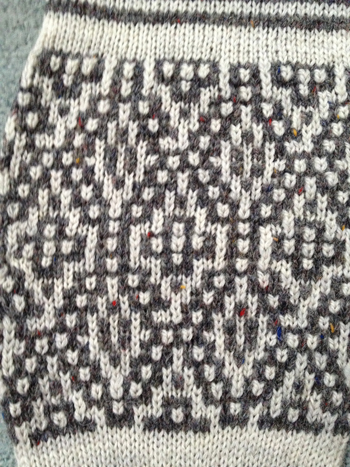
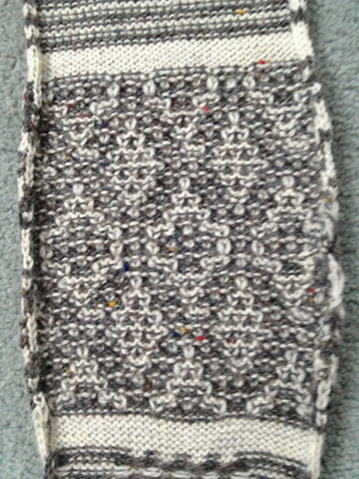
The swatches were knit using both the slip and tuck settings (also breaking the usual rule). Some of the tuck rows have a bit of color scrambling likely due to the amount of side by side tuck loops in the repeat not knitting off properly in those spots
slip stitch front
the back
tuck front shows the repeating trouble spots
tuck back
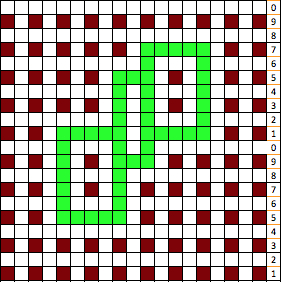
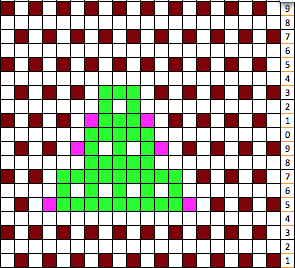
point grids for developing designs are of 2 types
in turn, the pattern may be drawn over them
staggered units may require some cleanup and “erasing”, as represented by pink squares
when the shape is what one desires, color separation follows as for the design at beginning of the post
Susanna Lewis at one time did publish a technique that could be entered in the E6000 that essentially did the separation; wincrea does not presently download techniques, there are other programs that can, and/or a combination of card reader sheet and computer download may be used, but that is for another day.
