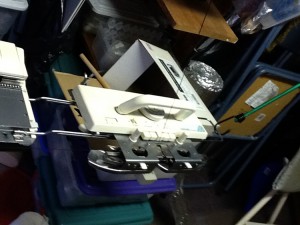
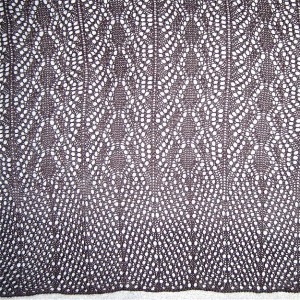
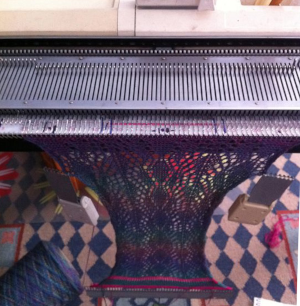
I am trying to knit a shawl in the latest lace scarf pattern repeat. Using most of the needle bed is making it necessary to take KH far off the end of the KM, ergo the bungee cord (which may keep the extension rail from going out the window with the KM if I reach the appropriate frustration level).
 Knitting in black is great on aging eyeballs! My studio is my attic space, and as can be seen, this punchcard machine is nestled at the moment in a very “neat” corner of it. I own 2 lace carriages for Bro punchcard machines, one is appropriate for this KM, the other for a later model. The usual mantra is not to exchange carriages between models without cautious evaluation, it is sometimes simply not workable. For lace, I found the “correct” carriage drops stitches easily, the “incorrect” one is harder to push, but drops far less often.
I mark the punchcard rows on which the arrow markings occur/ need to be placed by drawing across that row with a colored pencil; in addition to serving as a reminder for when the knit rows with the opposing carriage need to happen, this gives me reference points for the beginning of each transfer sequence for correcting mistakes when unraveling back to last knit row. Because this lace is much more labor-intensive than that used in the previous shawls the plan is to knit in a border at its top rather than on rehung open stitches, one at a time, sideways (this can take several hours and a lot of patience).
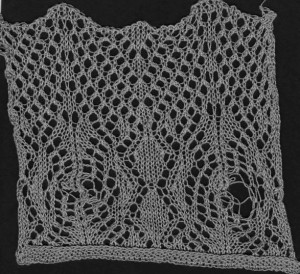
More lace thoughts: lace repeats don’t necessarily have to begin on row 1 of any repeat. Here I chose to begin on RC 33 of my card so as to “go” for complete diamond shapes centered on the bottom and top. If the first knit row of the scarf/shawl is rehung at half of the desired finished length, a vertical mirror pivot for the lace pattern is created. When this is the plan, a contrasting thread may be placed where the 0 marking is on the needle tape, between the 2 needle ones (one of the brother oddities is the 2 needle one positions, R and L of 0) on the first row knit after the waste knitting; marking the needle tape with water-soluble markers along easily identified repeat points can also assure proper placement on the needle bed. When the knit is rehung for mirroring, the loop where the marker sits is placed on needle 1L, rehanging away from the center, every needle will be “filled”. Those needle tape markings may spare the grief of missing any stitches after rehanging, before removing waste yarn. On the standard KM single-width may max out at 18-20 inches. Steaming the edge that will be rehung helps make stitches more stable and visible prior to doing so. This is an image of a small border test with dropped stitches along with the mirror point, and a 2 gate peg bind off
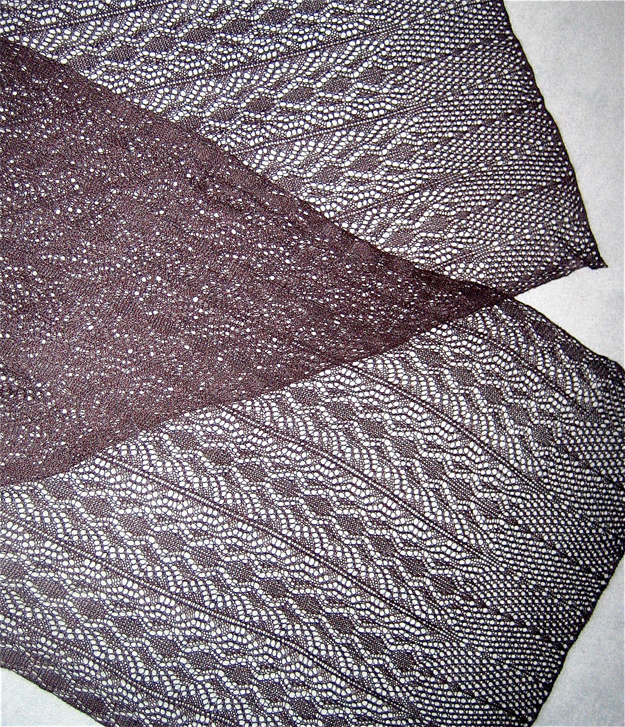 Part of half a scarf on the machine, there are added temporary markings on the needle tape for needles with specific vertical areas in pattern repeat,
Knit 2 or 3 rows, and place a yarn marker between the 2 number one needles at the very start of the piece. If 3 rows are knit, one is unraveled after the piece is rehung, being aware that the yarn end will have formed a knot that needs to be eased open before doing so
Knit the first half with LC operating from the left, add a border at the top of the planned pattern length if desired, bind off loosely
Rehang the open stitches using the marker as a guide to place the stitches back on the bed from the center marked spot out, the knit rows will be followed by transfers in the reverse direction. When stitches are rehung, a stitch is lost, so add one on the side on which that happens.
Release the card. Knit in pattern to match the length of the previous half piece, add the border if planned, bind off loosely. Lace fabrics stretch in width when blocked.
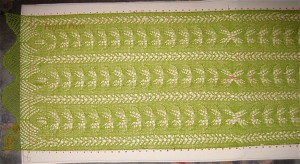
This is not a true lace repeat, the design is only for illustration purposes

