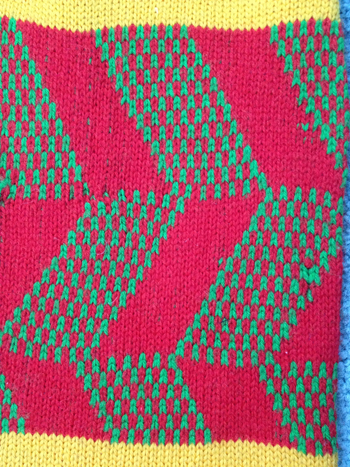
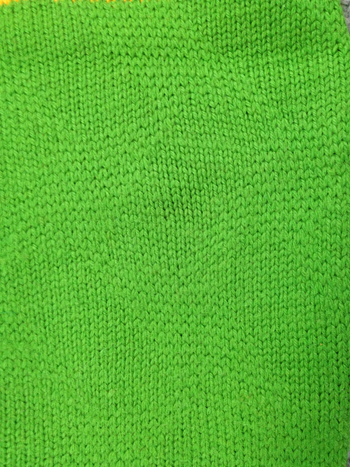
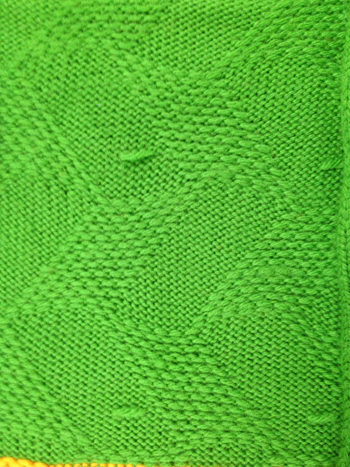
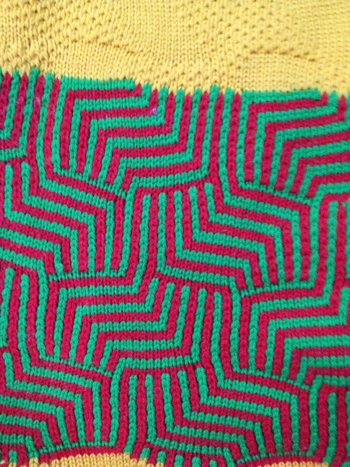
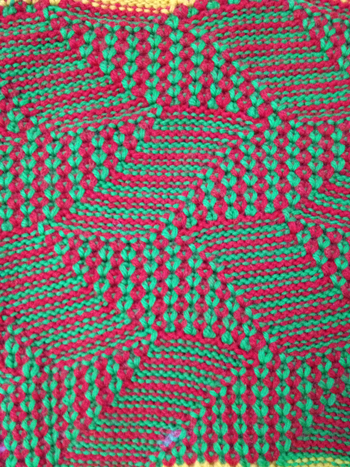
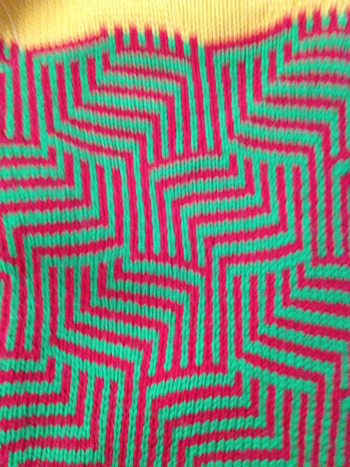
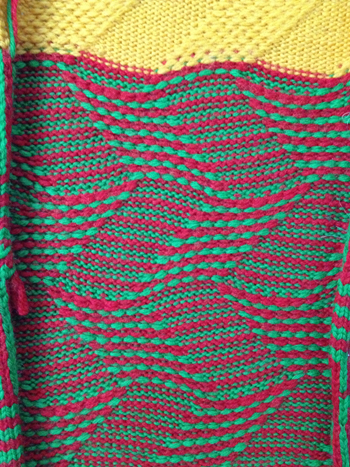
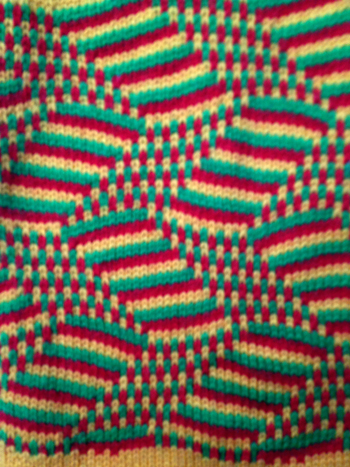
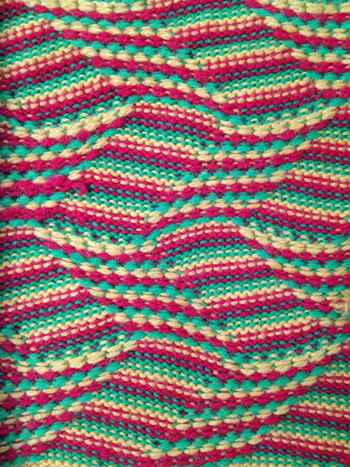
Quilting books may give inspiration for varied shapes. The illustration below is a diamond variant, another may be found in the brother ribber technique book, p. 33, different color and KC knitting sequence.
On orange rows, the main bed knits lots of needles, selects sealing stitches for the next row of knitting, on green rows, the ribber does most of the knitting and will select the stitches the main bed will knit on the subsequent row, and so on
The first preselection row direction does not necessarily matter in single color fabrics as long part buttons in both beds are set appropriately, unless double length is used, in which case KC row needs to be toward the color changer and the design needs to be in 2-row “color” repeats whether as actually punched, “drawn” and programmed, or with elongations used. The above repeat is suitable for punchcard machines as well. If knit without elongation, one may use the same carriage settings as the previous sample above. KC –> with card/pattern locked, knit one row to right, set card/pattern to advance, opposite part buttons in use, results in knitting tubular for nearly square diamond shapes. The “stuffing” below is small cut-up pieces of waste knitting.
Software eveloped in the decades after this post makes BW editing easy and quick:
the starting 12X12 PNG
doubled in height, to 12X24
with every other row color inverted ![]()
For longer diamonds or 2 color knitting, the 12X48 PNG
KC<– row is toward the color changer. Settings on the ribber need to be changed manually every 2 rows for both single color and 2 color patterning.
When lots of needles are selected on MB, knit 2 rs using settings pictured on left, the ribber slips for 2 rows. If only a few needles are selected, knit 2 rs with settings pictured on right. The ribber will knit all needles, MB only those providing the outline of the shape in the front of the knit, sealing the layers. All ribber carriage slip setting changes happen with carriage on left, prior to the next pair of knit rows, before or after the color change. Errors are less likely if a sequence of the steps involved is developed and followed.
settings, col 1 settings, col 2
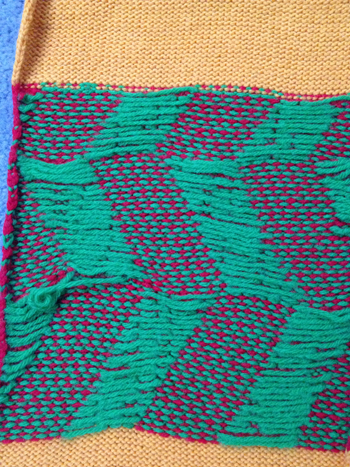
The sample below was knit in 2/48 cash wool at T 3/3 using the above repeat. The fabric is sheer, and the joined sections of fabric are lacey.
This method allows for knitting large shapes without the distortion resulting from many double bed techniques. A series of swatches using the technique:
front view
rear view

Once the principles are worked out, very thin yarn or monofilament in front may be used with a thicker or contrasting color in the back, with viewable inclusions against the ground. A wool backing and a non-felting front can achieve interesting blister-like looks without some of the issues of double bed blisters and patterning, large shapes of plain knit could be contrasted against all rib backgrounds, and so on
a few more experiments
a monofilament cocoon with paillettes in its pockets
It is also possible to use an altered knit carriage to knit rows on the main bed only, while leaving the couple carriages on the left instead of changing ribber settings from slip to knit and back with color changes, see later post on ribber-fabrics-produced-with-2-knit-carriages-selecting-needles/
A Ravelry question raised the possibility of knitting a flat tube with a different solid color on each side. This may be achieved using the same principle as quilting. The programmed pattern is for 2 rows of punched holes or black pixel rows followed by two unpunched or all blank rows.
When all main bed needles are preselected, the ribber is set to slip for 2 rows, only the main bed will knit. When there is no preselection on the main bed, the ribber is set to knit, no stitches will be formed on the main bed, so each surface remains separate. The knit carriage is set to KC1 to ensure the sides of the tube will be sealed. If two knit carriages are used to select needles, then it is possible to easily adjust tension for the alternate color if that is deemed needed. 


Not to be forgotten is appliqué, where separate shapes may be knit and joined onto the ground (knit in any desired stitch) technique by a seam as you knit method.
Automating the function brings us to another color separation of sorts. In single color quilting using simple tubular setting: Knitmaster machines work a bit differently than Brother, so cards/ mylars would have to be designed accordingly, Passap has some built-in techs that can help with this. The settings below are for brother, and the card, for narrow vertical tubes. The width between punched holes could be adjusted to any factor of and up to every 24. Every row or every other row can be marked. Cast on for every needle rib. In this repeat when rows with no needle selection occur at its top, set both carriages to knit 2 rows (or bring all needles manually out to hold) to seal pockets. MB is set to slip in one direction, will knit on even rows, to slip on odd rows as punched. The ribber is set to slip from right to left and knit from left to right. With carriages at KM’s left insert the card, lock on row 1. KC –> knit 1 row in rib from left to right, release card, and continue knitting. In Brother machines, the tucking lever must be in the down, N position as well. When possible, the tension on the main bed should be as loose as it will allow, if stuffing the pockets is planned. Without wadding, the face can have a crumpled look with a smooth back.
A small test with a 15 stitch wide pocket
Going further in automating the repeat: this card portion includes the sealing rows (1 and 2): extend repetitions of rows 3 and 4 until the length of the desired pocket is reached for your DIY repeat. The ribber is set to slip from right to left and knit from left to right, the main carriage to knit from left to right, and to slip from right to left (opposite part buttons). With carriages at right insert the card, lock on row 1. KC <–, knit 1 row in rib from right to left, release card (or mylar), and continue knitting to the desired length. Make certain there is an even number of rows between each pair of sealing rows in your own design. It takes pairs of carriage passes to complete each circular round. To use the repeat below as a continuing pattern, one row in its height would need to be removed or added. A test of the repeat
…


A sort of tune: 


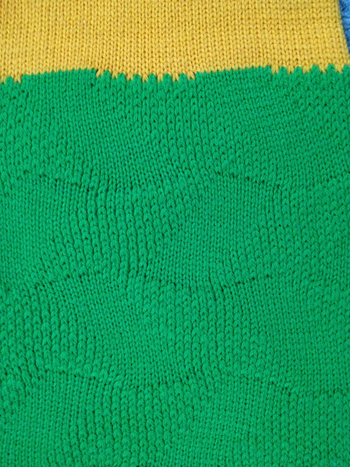
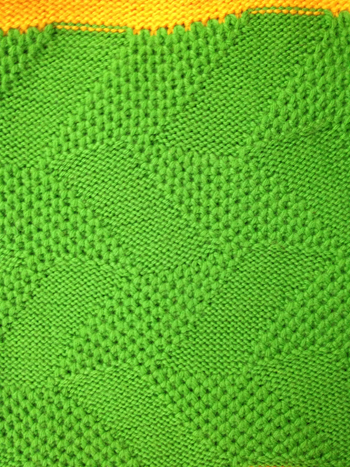
As each set of repeats for each card is completed the punchcards are exchanged. KC direction is marked on them, with knitting beginning on the opposite side. I found the fabric more manageable when I completed and began each design sequence and color change by beginning and ending with an all-knit row in that color. The bottom of the swatch shows the difference in the side edges if half repeats are not planned for. If this were a production item it would actually be possible to work out the repeat on enough cards so they could be used as a continuous roll rather than having to so frequently reinsert and rejoin them. This sample was knit in Jaggerspun wool, and since wool has memory, the resulting 3D texture remains after steaming, resulting in a noticeable difference from the previously knit acrylic swatches.
and the knit side


The execution was in a brick configuration