Felting experiments

WORK IN PROGRESS

I still have a stash of swatches from my teaching days. They range from good to bad, ugly, and do not do this,  covered the cork walls in my studio to provide a range of ideas so that each student could draw from them what they wished.
I am not including measurements or fretting about whether photos imply an accurate scale. The collection over time.

More samples in Revisiting fair isle, thread lace, 3D surface potential

Combining yarns with different properties and stitch types while knitting on a fixed number of needles  
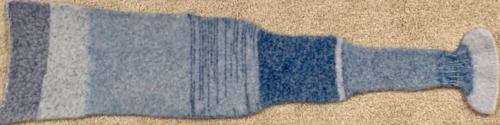
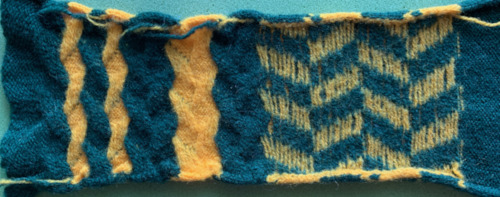
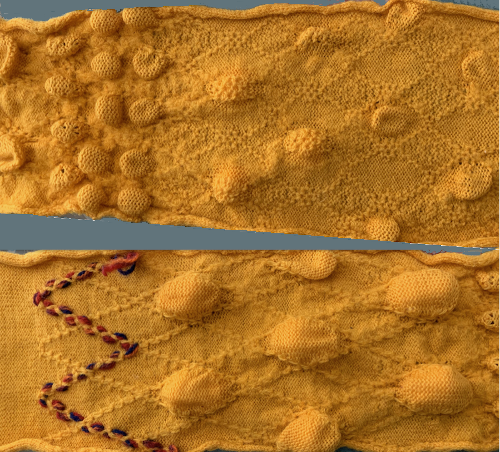
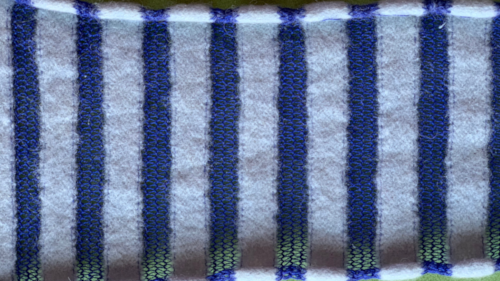
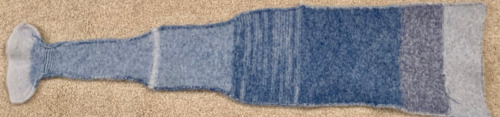
When one yarn felts the other does not: the brown is cotton, the taller stripes on the right are knit in stocking stitch, and the shorter are knit in tuck stitch, both creating dense gathers fair isle, wool and rayon/cotton slub  
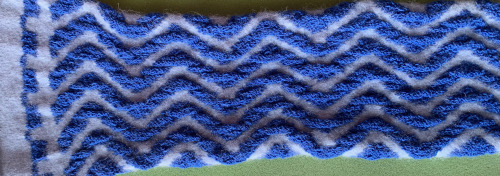
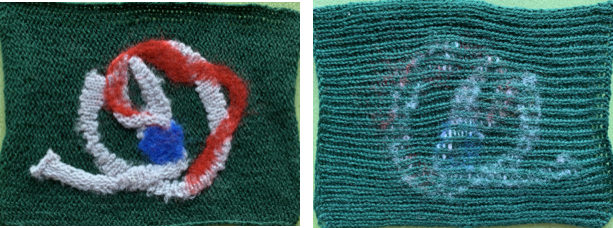
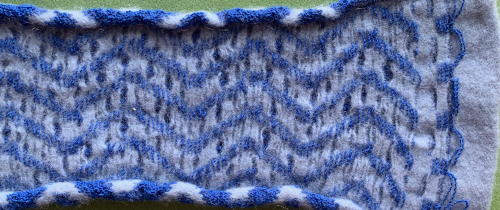
Fair isle on the right, thread lace on the left with floats cut to release the shapes created by the slub yarn

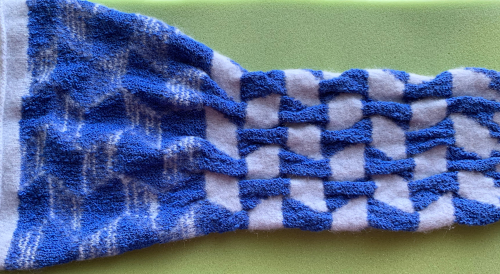
Slip stitch patterning 
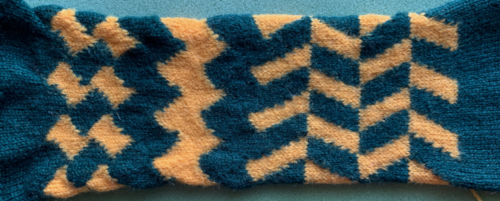
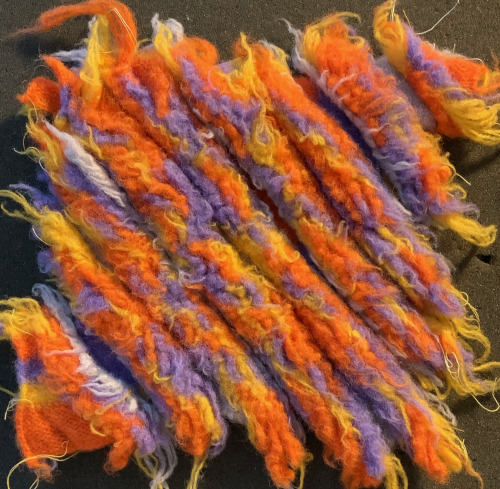
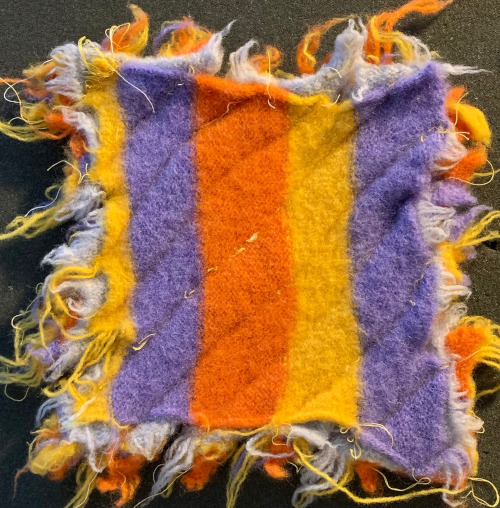
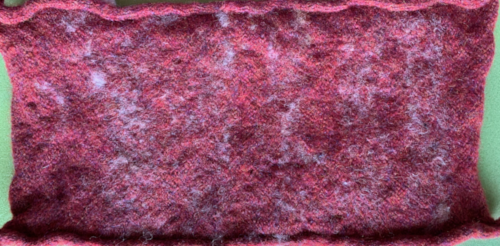
Cutting into felted knit results in stable ribbons of fabric 
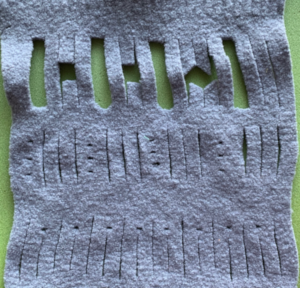
Shibori techniques 

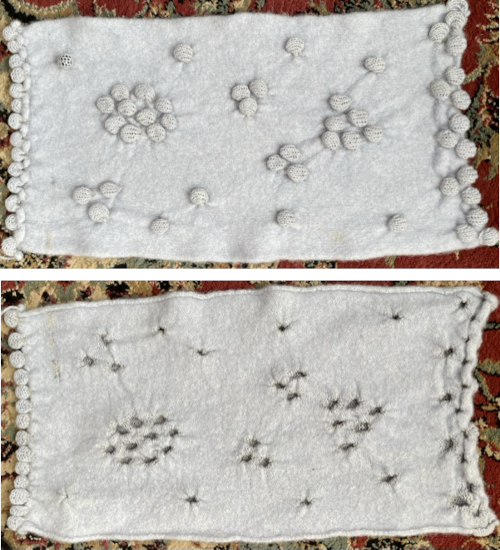
A purchased woven insert joined during the knitting of the piece  
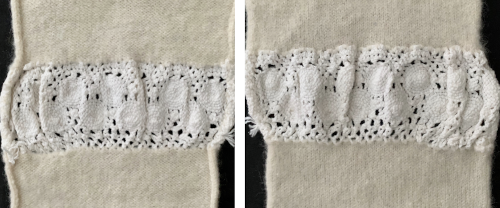
Sewing machine involved in the process:
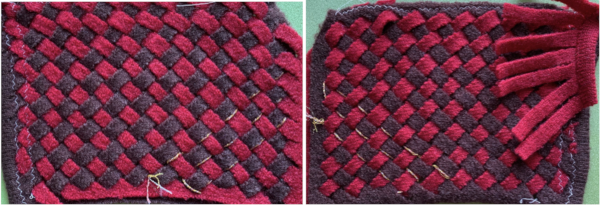
stitched-on crochet after felting, followed by trimming the opening on the reverse.

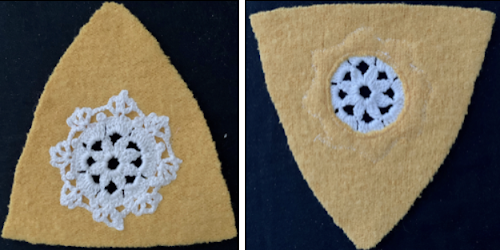
This mimics a woven fabric “chenille” technique, for sewing how to see https://sewguide.com/faux-chenille-fabric-slashing/

Needle felting 
Using the ribber: drop stitch in the dark cotton 
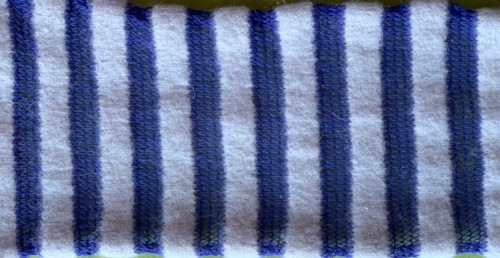
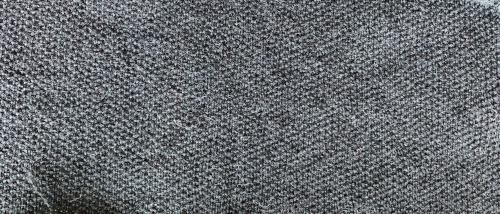
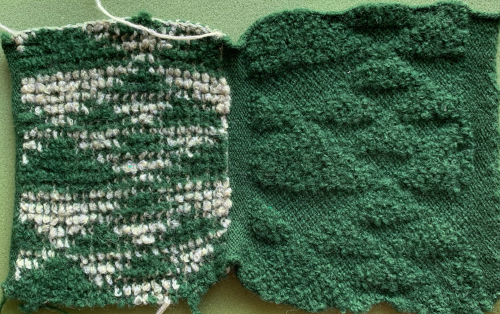
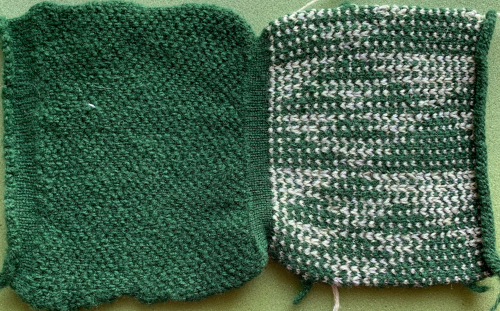
An attempt at carpet stitch, on Passap (grey), and in turn on Brother (green). The method creates a loose-knit, both versions were lightly felted to compensate, the Brother fabric stayed unacceptably so and will definitely be the only one-off ever  
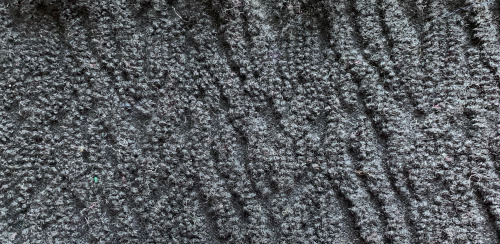
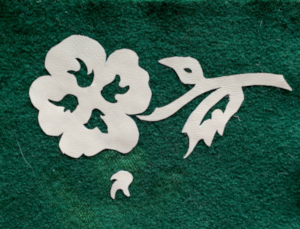
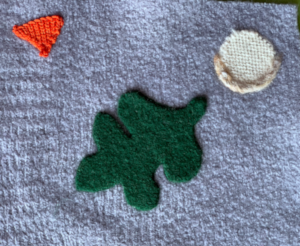
Applique using leather glue  

Seaming, joining, picking up stitches on knits 1

This time of year I am usually producing machine knit felt hats for sale, on my 260 Brother bulky KM. They are knit sideways and require seaming on their completion. Photos of some steps in the process, taken a previous year: screenshot_80screenshot_81screenshot_82for a sense of scale before felting after blocking and drying
screenshot_84My customer handout:
Knitting has traditionally been felted to make it weatherproof, warm, and long-lasting. Examples include Scandinavian mittens, caps, and jerseys, Estonian multicolored jackets, closely-knit felted jackets worn around the North Sea Coast from the 17th century onwards, and knitted and felted Tudor caps.
Wool and hair fibers have microscopic scales, which all point in the same direction, and when such fibers are subjected to heat, moisture, movement, and friction, the fibers will become swollen and soft, and will move against each other in the direction of least resistance. Adjacent scaly surfaces cannot move against one another if the scales on each surface are opposed, and if they are forced to, the scales will lock. Felting is a progressive process that cannot be reversed, only halted.
These hats are knit (or crocheted) in very large, loose stitches. Their shape comes from varying the number of stitches along the surface of the hat, with many more rows on the brim area than on the crown. Most are reversible. In making them, I like to blend many shades of woolen yarn, sometimes adding boucles or mohair. The coloration and stitch structure varies whether viewing the purl or the knit side. The shaping is in the knit.
The large, loosely knit forms are felted by agitation and washing in hot and cold water until the desired shrinkage is obtained. The brim will fold and mold differently depending on whether the hat’s knit or purl side is worn on the outside. No two hats are exactly alike in size or color. They will retain their shape if folded flat and may be cared for as one would care for any fine, washable fabric.
If hand washing: use cool water only, mild soap, do not soak, some molding or blocking may be required.

There is a lot published on methods to graft open stitches using Kitchener. Hand-knit magazines both in Britain and here have begun to present joining a variety of pattern stitches with charts that visually clarify the process. A small portion of such a chart: kitchenerWith bulky knits such as my hats, I like to take open stitches onto circulars and sew them together by hand as shown below, beginning on right, and with the knit side facing me.

joining knit ending on waste yarn, purl side facing joining knit ending on waste yarn, knit side facing joining garter stitch ending in waste yarn Diana Sullivan offers youtube videos showing how to join pieces with waste yarn endings with their purl side or knit side facing respectively.

Seam-as-you-knit is an option for joining vertically. It is a technique that may be used to attach bands, parts of a sweater, or strips of knitting, whether for the sake of additional width, changes in color, or attached with purl side facing the knit side if that is the goal.  The piece on the machine is always purl side facing. With each row knit, a “loop” is created on the carriage side, while a “knot” is formed on the opposite side as the row is completed. The process then reverses as the carriage returns to its original position.  The technique may be done on either, or even both sides at once. The first piece(s) is (are) completed and taken off the machine. Begin the join to piece with the cast on row or waste yarn. For a test, with COR: pick up the first knot or loop on the completed piece. Hang it on the left end needle/ stitch on the cast on work (opposite the carriage). Knit 2 rows. Go to the next knot or loop on the completed piece, place it on the same left side needle/ stitch. You are hanging on the far needle opposite the carriage every 2 rows.

The knit fabric, purl side facing   knot_loopA one-eyed tool is inserted from front to back through either a loop or a knot, and hung on the first needle hook/stitch on the right, left, or even both sides of the piece every 2 rows.    knot_loop2bknot_loop2aJoining “loops” generally works well in standard gauge knitting. On the bulky, or where a “tighter” seam line is needed, join “knots”.
The same method may be used to join the side edge of any piece of knitting to any portion or location on the one in progress.
When hems need to be hung at the top of a knit or within its body if only one color is used, if long seams are to be joined, or a width needs to be rehung for joining to match its mate, it is helpful to have yarn markers across the row, or periodically along the sides of the pieces at fixed intervals. These illustrations are from the Brother Knitting techniques Book

Playtime

While procrastinating returning to production knitting for the spring season I found myself inspired by Judy Perez’s Fiesta ornaments and have made my first attempts at metal embossing, adding them as elements in my postcard sized fabric collages, which in turn combine knits, needle felting, needlework techniques, and objects from a stash of accumulated “stuff’. Here are 2 of the results:

Continuing to explore

These are my first two attempts at needle felting on random swatches remaining from machine knit experiments. Both pieces measure “postcard” 4X6 inches. The scale restriction requires thinking in a new way for me, and provides a different way to play with my yarn stash and found objects. It is not clear if any of these techniques will be incorporated into my clothing and accessories, or simply be an end in themselves. Collage lace with some of the same fibers is also on my list of “must try”.

A Felt Tale

The price of changing yarn constantly: my hats are made of plied
multi strands of different color yarns as large forms, then felted.
The yellow reflects the “usual” style: purl side out yields the brimmed
version, knit side out converts to bucket style. The blue is a hat that
shrank unpredictably in width (the hats are sideways knit): a new
“style” is born, its embellishment is needle felted yarn.