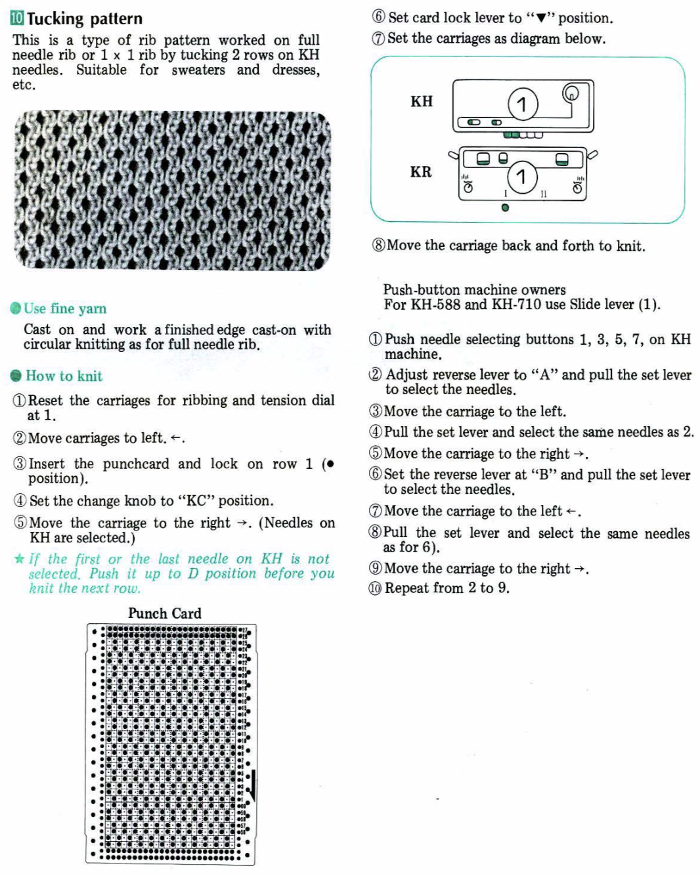
I have often wondered where the pick rib name originated. The stitch has also been referred to as punch-tuck-rib by Studio, and simply tucking pattern by KR by Brother. FB shares by others in the MK group may explain the origin of the pick rib name in part. The manual for the SK 101 mentions the single bed pick stitch and explains the difference between tuck and pick.
It appears as though pick knitting, in this case, is what we know as knitting using the hold position combined with hand selection of needles. Since the illustration is for a Studio machine, Russel levers are mentioned. They allow for holding stitches in one or both directions.
In Brother, holding works in both directions by default. The D needle position in Studio is the same as the E position in Brother, where the letter C was skipped when alphabetizing needle position markings on the metal bed in machines I have been familiar with. That said, models dating back to the 50s, such as the Brother 550, did use 5 A-D positions rather than the later standard 4. C was intended for use with the “picker  Position C: multi-pattern. To obtain needle position C, raise the needles to E and then return them to C by having the picker shift from left to right so that the stitch rides on top of the closed latch. This position is used for shaping polo, round, square, and V neck sweaters, for berets, doilies, and in certain patterning. It appears as pickers were removed from knit carriages, so was the needle position C marking on the needle bed.
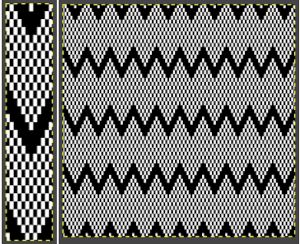
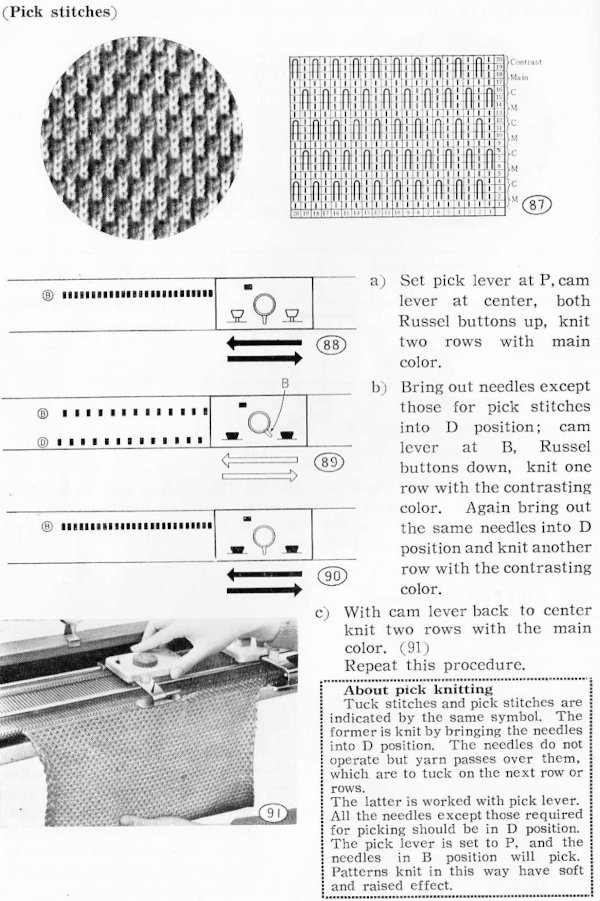 The identical pattern in later model machines may be produced by using the tuck setting. The image below shows the punchcard partial repeat and the isolated electronic repeat for use with the tuck setting.
 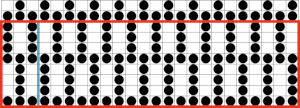 An early needle selector to help speed up the process
  The Knitmaster 302 was an early pushbutton model
 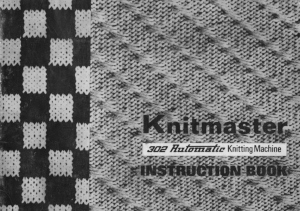 The knit carriage appears to use “pick” as the name for what is now more commonly knows as the tuck setting.
 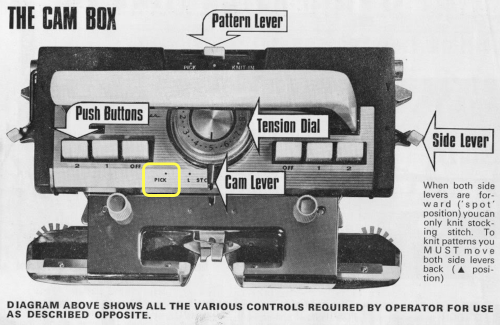 A downloadable punchcard set
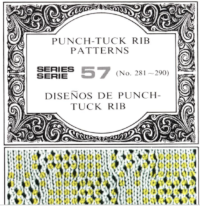 Tuck stitches on either bed will force apart the space between vertical rows of stitches in every needle rib, whether the tucking is executed on either or both beds, in one or 2 color knitting. The fabric lies flat, and depending on the fiber and thickness of yarn used, the effect can be lacey and have a lovely drape. In published repeats, often tucking does not happen for more than 2 rows, making knitting fairly “safe”. When using thinner yarns elongation may be used to force the fabric even further apart for a more “open” look. Patterning in suggestions below occurs automatically, and usually on only the main bed.
Needles out of work may be planned within repeats to produce a fabric with knit textures on both knit and purl surfaces. There are designs in pattern books that are promoted as being specific for this purpose, but nearly any tuck pattern may be used once limitations are recognized.
If knitting with very fine yarn, the close-knit bar is recommended. With the ribber knitting every row, using an end needle on each side of the ribber allows one to cancel end needle selection on the top bed and maintain patterning and clean side edges.
In Brother knitting, the card lock position is on the dot to the right of the card, the small triangle is used to advance the card every row, and the longer triangle advances the card every other row. For explorations, for a start, set the card lock lever to advance normally 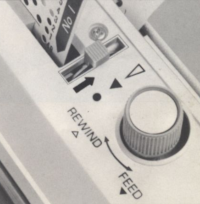 Note that the Brother reader is working 7 rows below our line of sight on the exterior of the KM. Most punchcard books and some machine manuals list the suitability of patterns for use with tuck patterning. If using a repeat published for a different brand it is good to be aware of any marking for starting rows being different. For example, in Studio KMs, the starting row for the pattern is 5 rows below the exterior of the machine bed, so if using the repeat in Brother, begin on row 3. Any pattern where single-row tucking is the overall composition may be elongated. Keep good notes for unusual arrangements. The starting side does not matter unless the plan is to change color every even number of rows; then one must perform the first preselection row toward the color changer.
The advice from the Brother Ribber Techniques Book and the KR850 ribber manual, respectively is shown below.

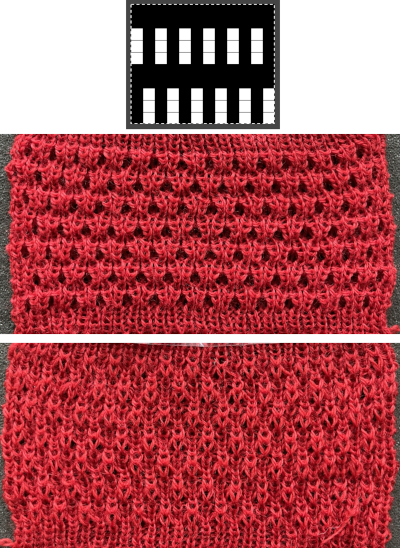
 Another alternating 3-row tuck pattern, this one followed by 2 knit rows after each tuck sequence, the appearance varies depending upon yarn thickness choice and color. Knit in thin yarn, stitches got away from me
  the more successful swatch, using thicker yarn
  An often forgotten accessory: (I admit I have never used them)
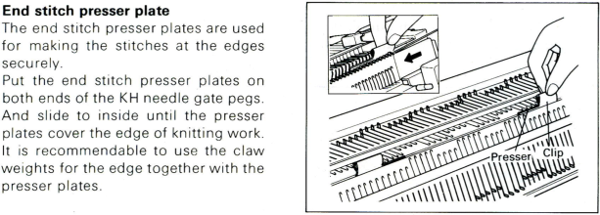
The fine knit bar for using thin yarns 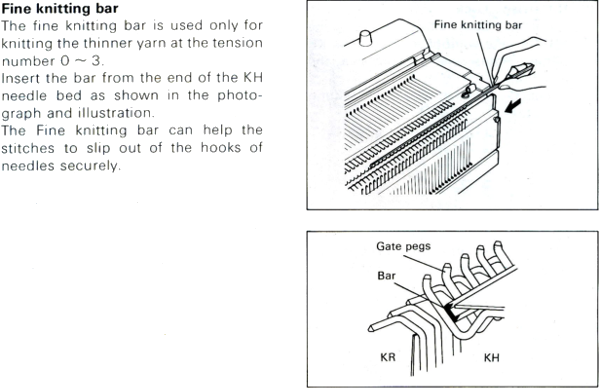
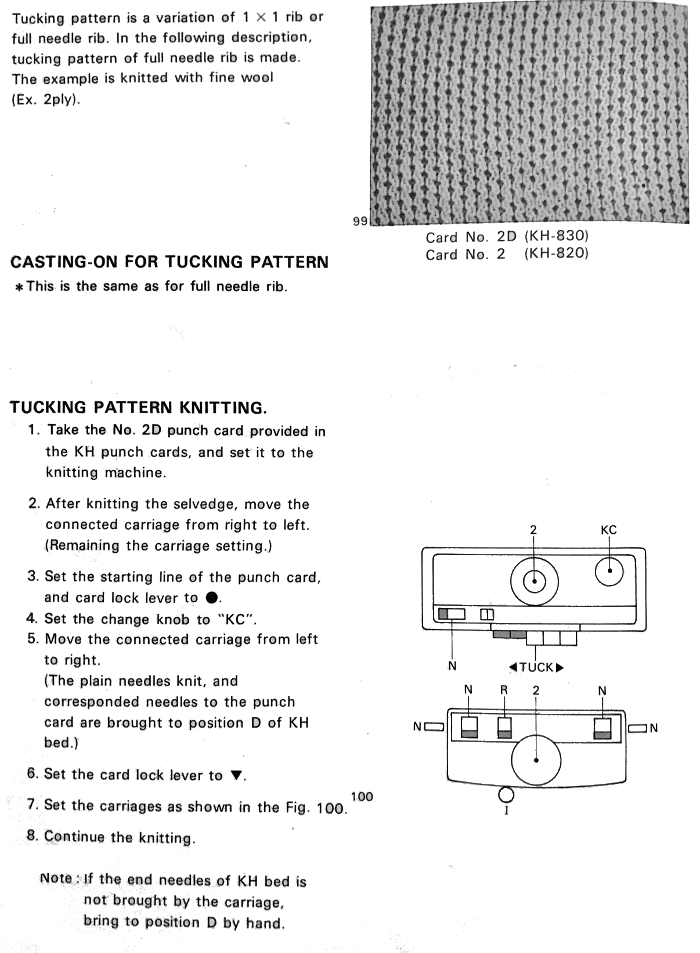
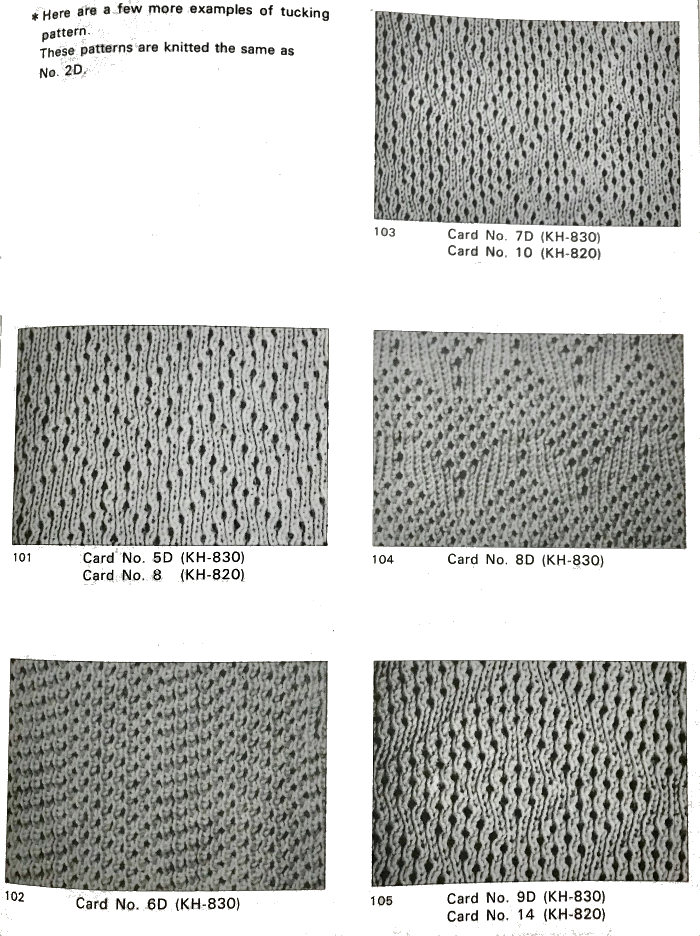
Typical patterns for the fabric from punchcard volumes, some with side-by-side tuck formations. 


In electronic patterning, a single isolated repeat will suffice. The punchcards illustrated above show the minimum required length for each.
In matching needles out of work on electronics, it matters whether the default setting produces what is seen on the card on the purl or the knit side. Flipping the repeat horizontally may be required. “Air knitting” with needle selection can help plan the exact location on the needle bed, as well as repeat width and in choosing the location and type of side edges. Having every needle ribbed with vertical stripes on each side will help the finished knit edges lie flatter.
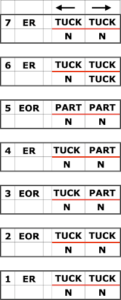
Using a card in as many variations as possible is a good way to explore maximizing the work entailed in punching all those holes. Testing stitches does not necessarily require the use of the best yarn or favorite colors until and when a gauge swatch is needed or one commits to a particular variation. One card may be used in many ways: ER represents every row rotation, EOR every other row or twice as long. The full punchcard:  The electronic repeat, 12X60, is also tiled to check its alignment.
![]() Settings for both beds: notice the decrease in width with the introduction of the slip stitch setting.
Settings for both beds: notice the decrease in width with the introduction of the slip stitch setting.
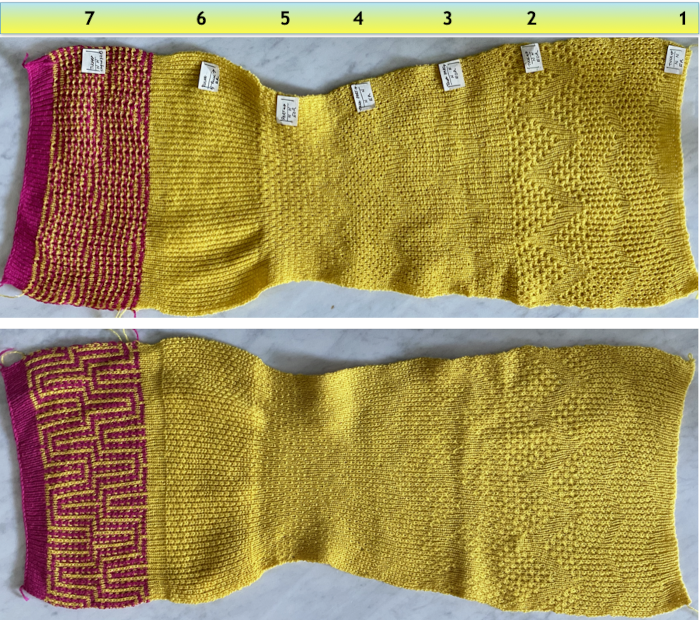 The repeat tucks for two rows throughout, so that color changes can be attempted every 2 rows. One side of the fabric may be more interesting than the other, the added color may result in a muddy look, on the purl side as in this case
  Changing colors, adding plaiting, varying yarn thickness, can alter the look considerably
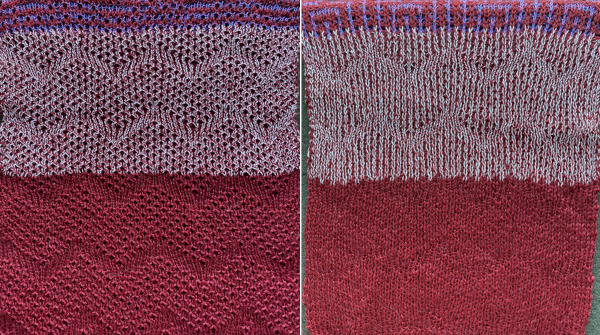 Because, in most instances, the ribber is set to knit there are stitches on the ribber holding down tuck loops on the main bed, and typical tuck configuration rules may be broken. One such pattern to try: the punchcard repeat and the electronic one are identical
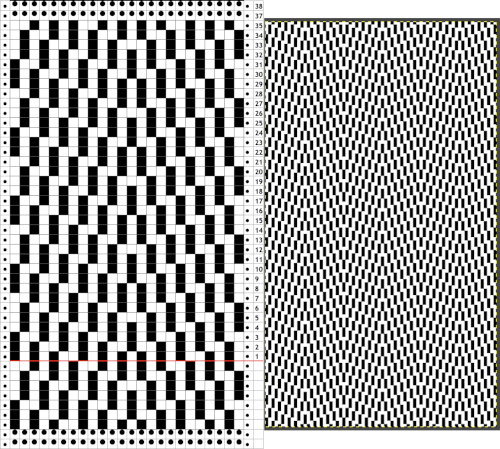
![]() The differences in appearance: using a 2/8 wool the knit is fairly packed together while using a 2/18 silk wool, knit at tension 3 both beds, the fabric appears far more open, shrinks considerably in length when off the machine, and is very stretchy in width. Here, the swatch is knitted on 40 stitches by 64 rows, relaxed, with no blocking, and it measures 12 inches in width and 3 inches in height. Again, loose cast-ons and bind-offs are required and should be tested on swatches for stretch and appearance.
The differences in appearance: using a 2/8 wool the knit is fairly packed together while using a 2/18 silk wool, knit at tension 3 both beds, the fabric appears far more open, shrinks considerably in length when off the machine, and is very stretchy in width. Here, the swatch is knitted on 40 stitches by 64 rows, relaxed, with no blocking, and it measures 12 inches in width and 3 inches in height. Again, loose cast-ons and bind-offs are required and should be tested on swatches for stretch and appearance. 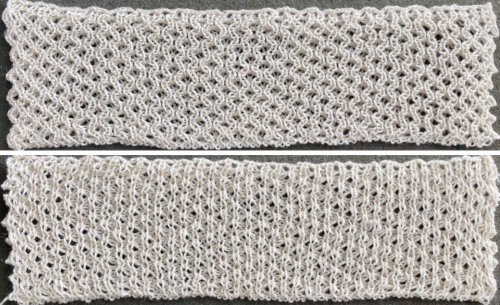 Adding color striping
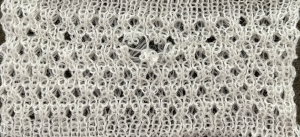
 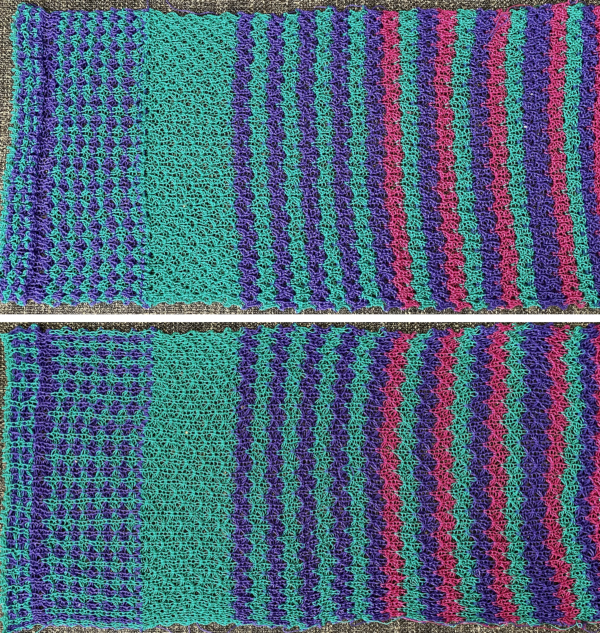 A closer view of the stitch structure:
  Using the stitch type to create edgings or ruffles
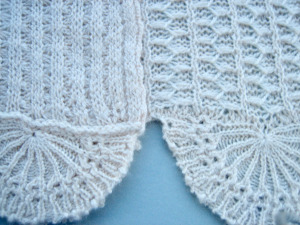
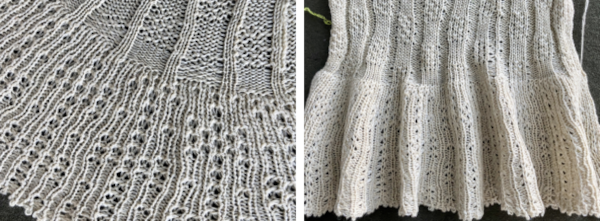


 See “tuck lace” fabrics for some variations with top bed patterning also using sporadic needle transfers to ribber.
you are welcome
Thanks for collecting all this together.