Both tuck and slip stitch designs that repeat selections for 2 rows, whether for electronic or punchcard machines, as published or doubled in height if needed after conversion to PNGs, can be used to produce maze/mosaic-like designs by changing colors every two rows.
This particular design was intended as a FI border pattern, and is explored as a possible striped pattern using slip stitch <–>.
Before committing to knitting, magnify the PNG or chart significantly enough to catch missing or extra cells; this first swatch experiment has missed program errors.
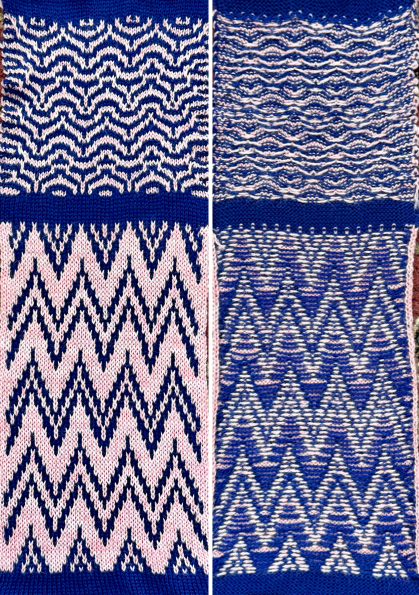
The slip stitch segment was knit first, and is composed of two full repeats in height, the FI segment of only 1.
The float formations on the purl side are clearly different in density between the two techniques.
The reverse order, testing the pattern first as FI with clearly contrasting colors, would have made it easy to identify design repeat errors, and is a good way when first experimenting with techniques, to check for correct patterning. 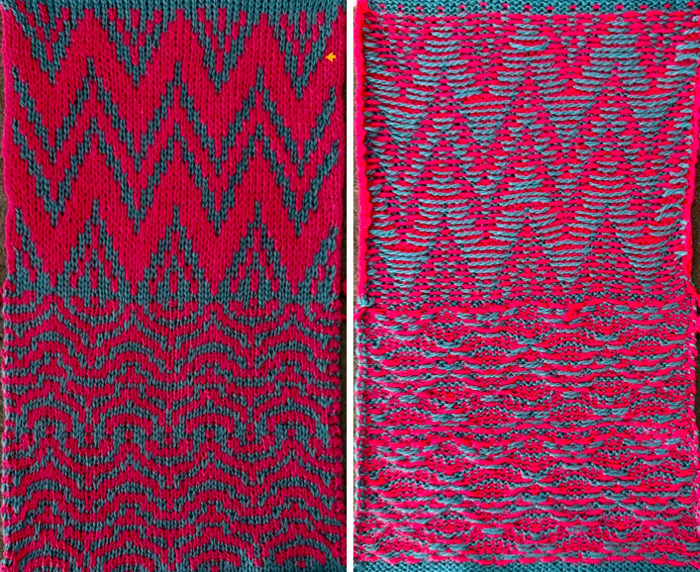 The easy-to-miss spot,
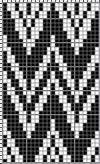
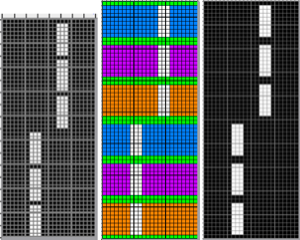
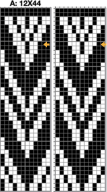 the corrected punch card design, 24X44, and the matching electronic single repeat, 12X44.
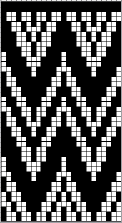

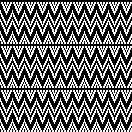 The total row count is also a multiple of 4 in height, with potential for repeating the slip stitch experiment with color changes every 2 rows.
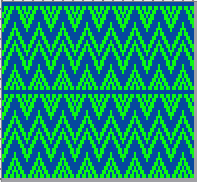
The choice can be made to program vertical all knit borders on either side, i.e., in this 54-stitch version.  The virtual image of the potential FI result.
 Eliminating that 2-row all-black pixel stripe, aiming for a continuous design, and revising some pixel positions, resulting in a new 24X40 card,
 and the 12X40 single electronic PNG,

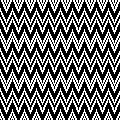 were achieved working in ArahPaint; the red cells mark those missing pixels. The red cells mark the missing white pixel spots.
A: The original border design, single repeat
B: In a new window, with a new image with several extra rows added to double the 44 pixel height, copy and paste A at the bottom, and paste again, overlapping the top rows of the first design, visually checking the alignment
C: Crop out extra blank pixel rows and the last pair of rows with all black cells
D: Tools> Find Exact Repeat, Crop to Selection
E: The new, 12X40 single repeat, also a multiple of 4 in height. A rotated virtual check of the possible appearance of a FI sample.
 Each swatch segment was knit on 55 stitches and for 80 rows, both measure 5.5 inches in width, but the FI measures 10.5 inches in height, and the slip section measures 6.75 inches.
The compression in height, and often in width, are features of the technique.
The all-knit vertical borders on each side produce slight ruffles on the side edges.
 A Japanese magazine find, 24X56,
 modified for use with a color changer to 24X60, cyan cells represent all knit rows in the color with stitches that will be held until the next all knit row in that color, which will appear in the front of the knit as elongated stitches and gather the surrounding blocks of knit stitches in chosen colors.
 With designs using the changer and a single selected row at the bottom of the programmed repeat, the first preselection row is from left to right, with the color in the carriage knitting that single row on the way back to the left. Subsequent color changes occur every two rows or for multiples of 2.
The sample was knit on 72 stitches, 120 rows, and mirrored for use on the 930.  On the machine, note the wide spaces between slip stitch columns.

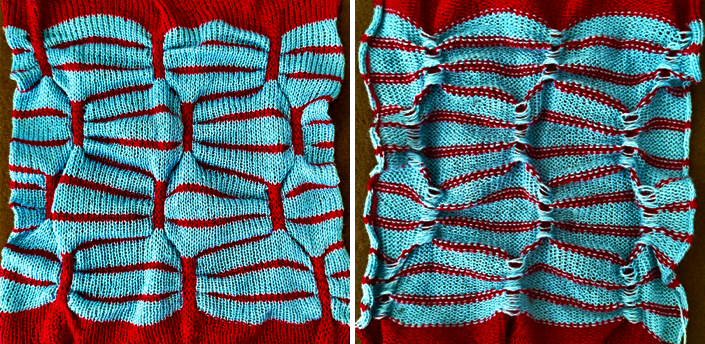 The yarns used were not 100% wool, resulting in some loss of texture with steaming.
The stocking stitch segments at the top and bottom are clearly wider than the patterned areas. In a final piece, consider using a small every-row or every other row repeat also in slip stitch; it may help increase the gather the top and bottom folds of the shapes.
While the work is on the machine, consider playing with the color in the skip stitch stripes. 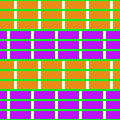
 If the goal is to change the color outlining the folds, the repeat can be altered to 24X64 or more. The two-row bottom start begins with the first preselection row from right to left.


 The color shifts for full secondary shapes in each.
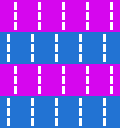 Working double-bed, it is difficult to get the main bed stitches to slip for more than 4 rows without running into problems, sometimes eased by careful yarn selection.
It took several tries in PNG edits, tension, and yarn changes to come up with a compromise. The 24X60 repeat. 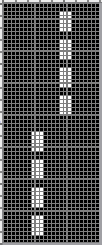
 The knit carriage is set to slip throughout, while the ribber carriage is set to knit on the rows marked in cyan, where each needle is preselected, and to slip for the remainder of rows, where there are non-selected needlegroups (white cells).
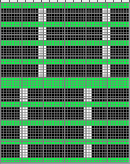 Floats still form on the main bed, but are encased between beds when all stitches on both beds are knit.
 The swatch was knit in a single color, since the slip stitch sections are an uneven number of rows in height, 5, tested on 72 stitches, and measures 10.25 inches in width.
 Collections of textured single bed variations:
Single bed slip stitch vs ruching 2 05/26
Single bed slip stitch vs ruching 02/26
Slip Stitch on the single bed, double bed, and hand manipulated versions: links in the start of a blog index