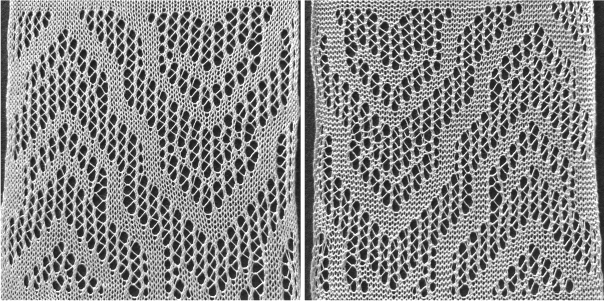
A recent share in the Facebook machine knitting group led to this blog post by its author <https://www.knittingmachinemuseum.com/single-post/Knitmaster-580-Electronic>
The inspiration fabric led to ideas for recreating it on a punchcard machine, and my own trip down that rabbit hole led me to think about the relationship between tuck stitch designs and thread lace ones.
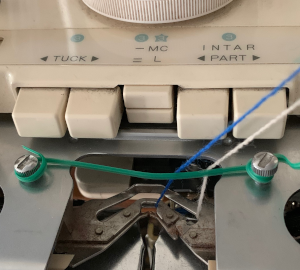
Not all Brother knitting machine models were equipped with the capacity for thread lace. The 260 bulky happened to be one of those models, which were manufactured with 2 MC buttons seen in this illustration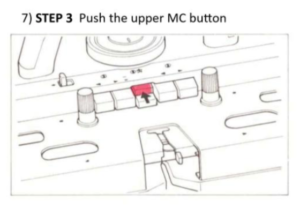
Studio manuals refer to the fabric as punch lace. Early pattern books including ones for electronic machines provide a large range of pattern repeats for such fabrics and can be design sources for other knit stitches if one understands the structure being created. 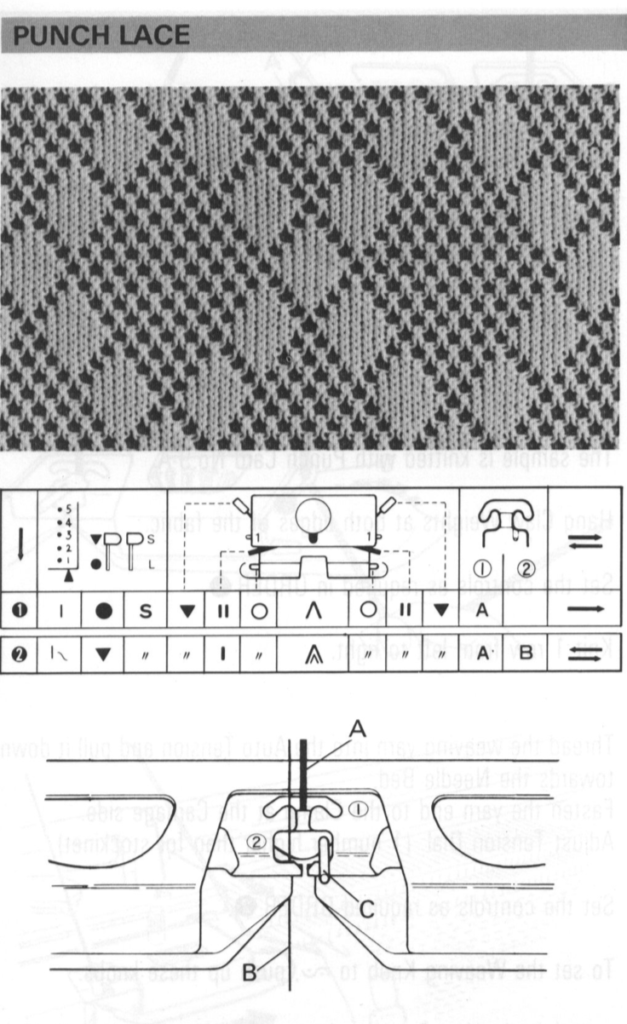 A quick “hack” to help keep the B position yarn from jumping out during knitting, taken during a different experiment
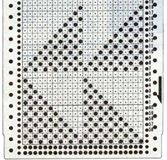
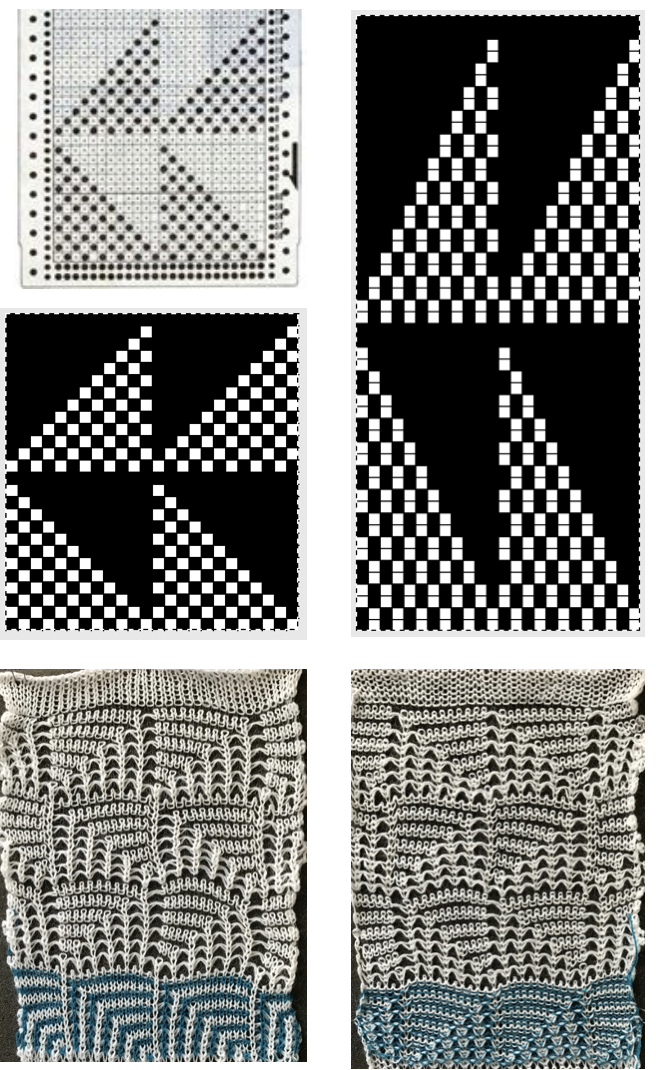
  In tuck stitch, the unpunched areas, white squares, or pixels represent loops created on non-selected needles, punched holes / black squares, or pixels represent knit stitches. In punch/ thread lace those white areas knit both thick and thin yarns together, while in punched holes/black square or pixel areas the thin yarn knits on the stocking stitch side of the fabric, with the thicker yarn floating behind it. Depending on fiber content, gauge, etc. the illusion of eyelets can be created. This is half of a Brother punchcard repeat, suitable for thread lace, reworked for knitting the design in tuck stitch. That is, in turn, doubled in length to allow for color or yarn value changes occurring every 2 rows. The resulting swatch is tested first in 2 colors to prove the repeat, then using clear serger thread as one of the 2 “colors” for a very different effect than blends that of both fabrics.
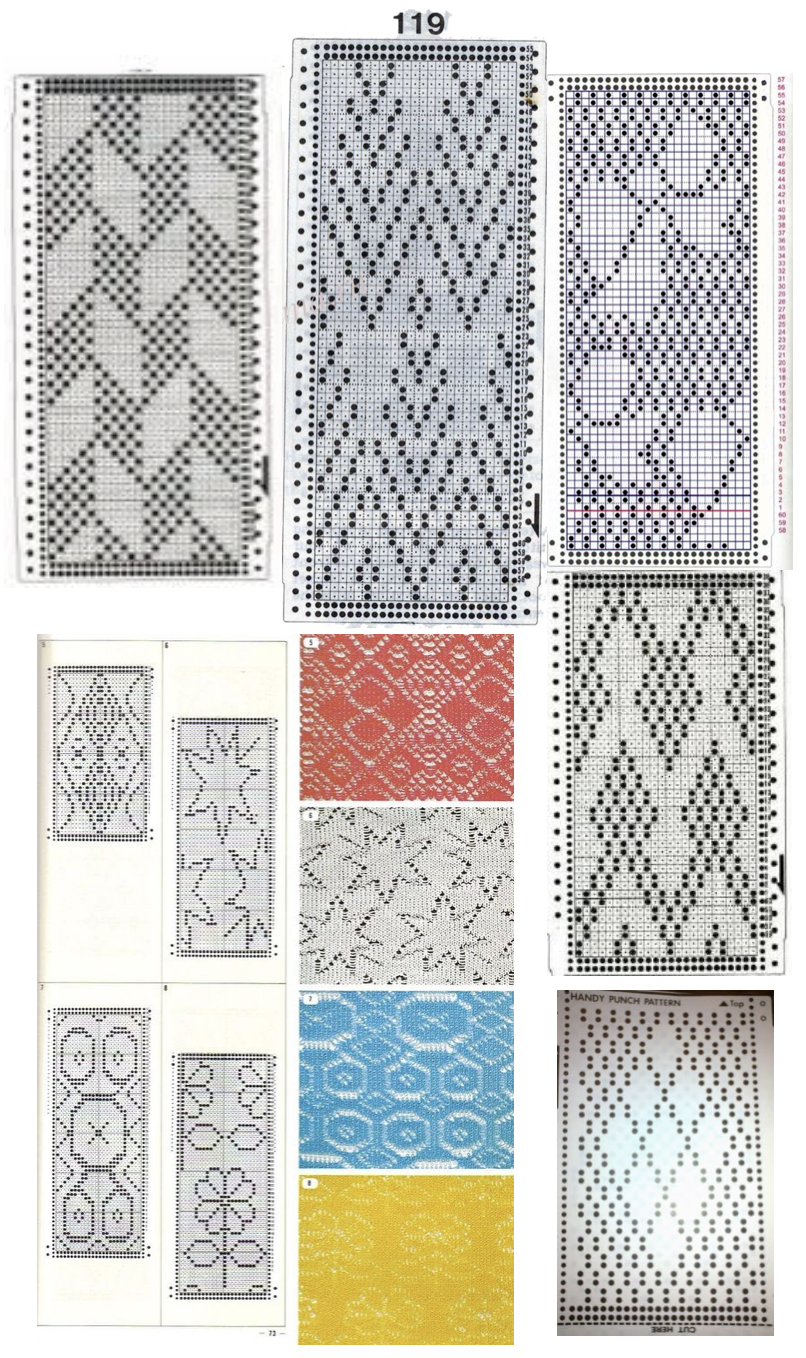
 Looking at design sources for possible redesigns for the alternate knit fabric: published punch lace cards
published tuck stitch cards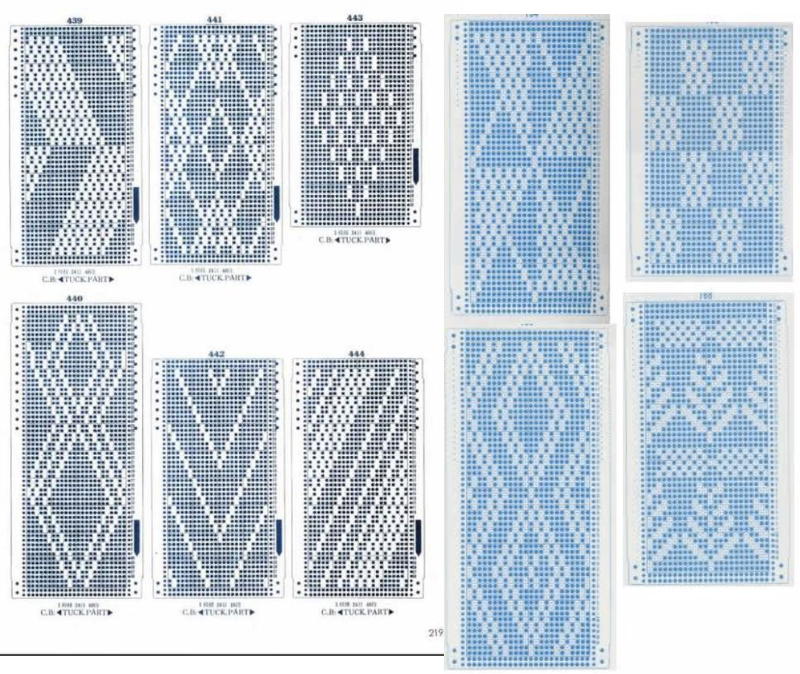 DIY a place to start is with simple color reverse punch lace to tuck test. Not suitable are any areas with lots of side by side white squares. In the bow solid lines those could be modified, most of the repeats in the colored swatch segments of the published charts are unsuitable.
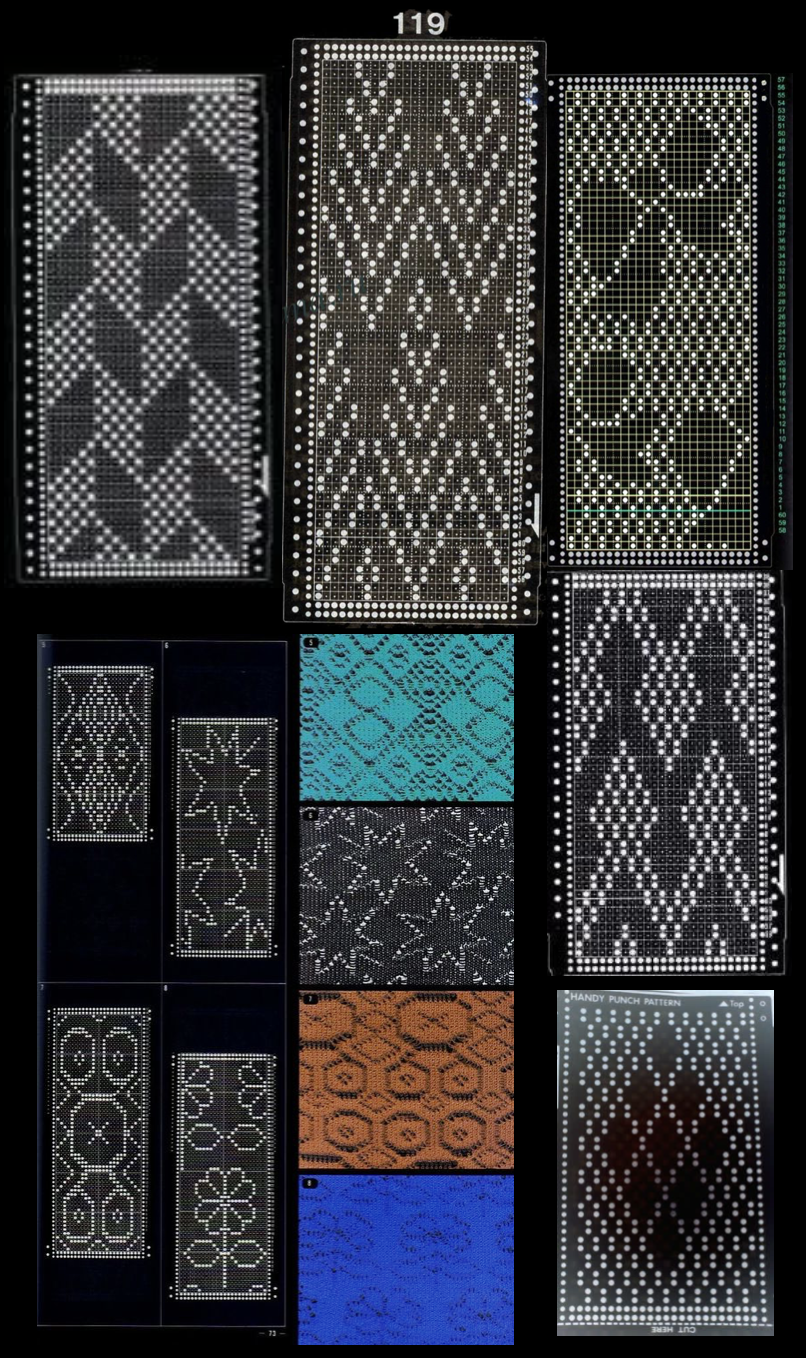
Once the chosen repeat is isolated, the punchcard can be further edited for electronic knitting. Tuck to punch lace: any of these would be worth a test, some results may be very subtle.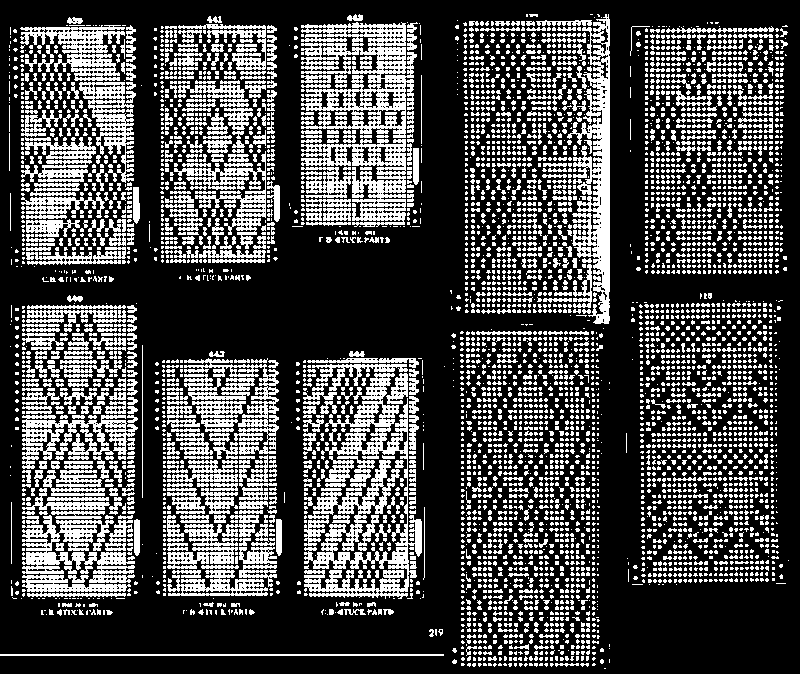 From punchcard repeat to electronic: strong black and white images that have punched holes represented as dots may be the hardest to process quickly in Gimp. It is best to isolate the single repeat. Some clean up of the gridded image may be required. Test the latter by tiling it. Color reverse the single it if that is the original goal, using the built-in function in electronics or punching black squares in cards.
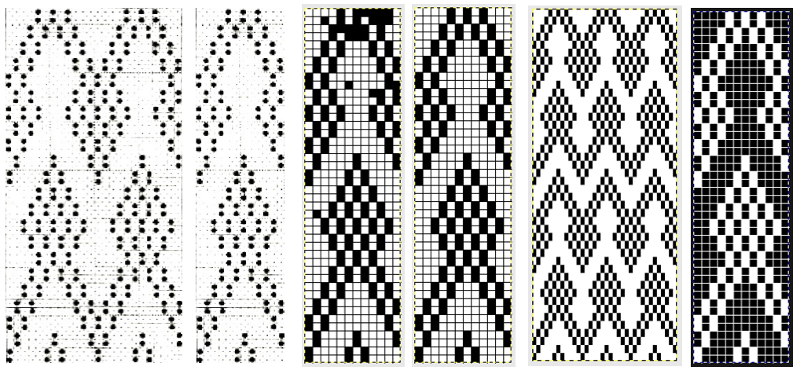
Not to be forgotten: the easy variations for visualizing results with a few clicks of a mouse,
and an added source for both stitch types are slip stitch patterns in suitable configurations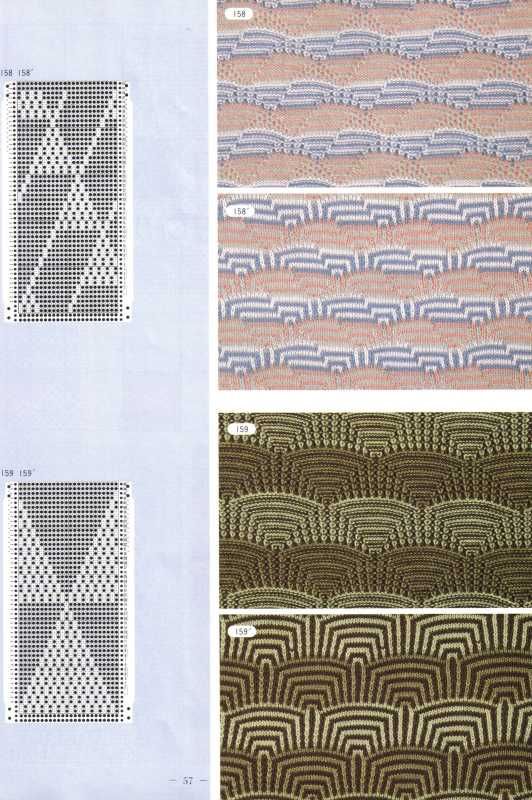
A previous post on editing repeats such as the above using Gimp, and one on superimposing shapes onto a mesh ground that may be the springboard for superimposing self-drawn shapes on tuck or thread lace suitable backgrounds 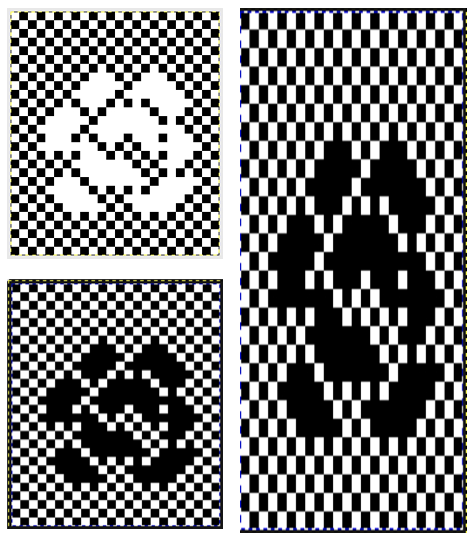 2023: using StitchWorld # 545, 56X40 pixels
![]() Knit as thread lace
Knit as thread lace 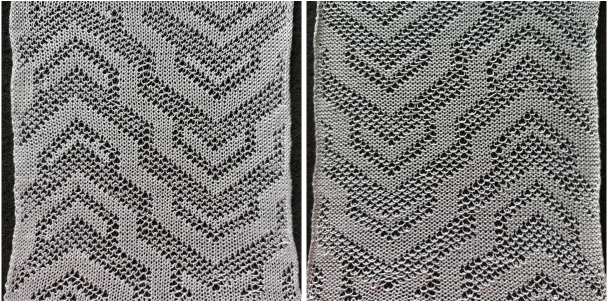 Color inverted for working in tuck stitch used single height
 ![]() purl side on left
purl side on left 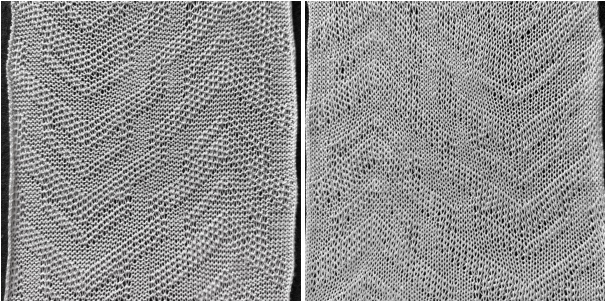 double height
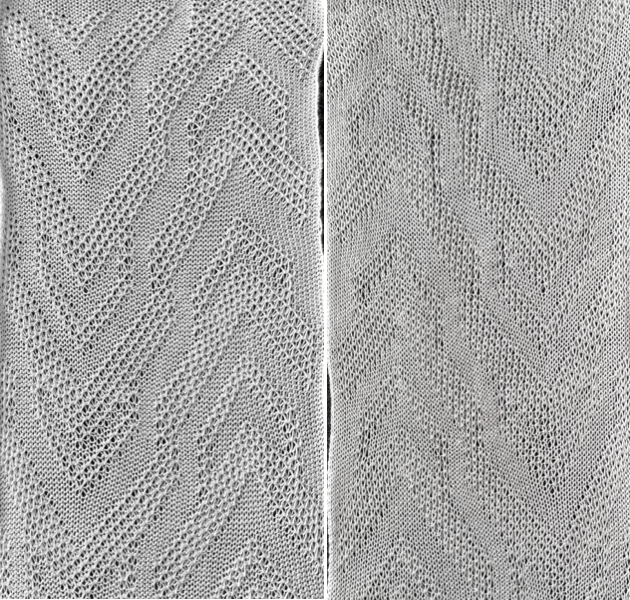 Lastly, review of thread lace on Brother machines
and for a completely different knit fabric, using the double height initial design, 56X80 pixels  thread lace repeats to produce transfer lace designs