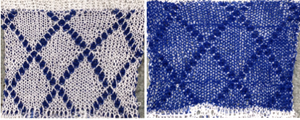
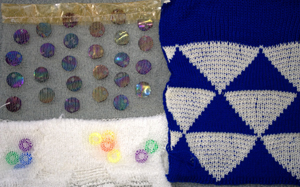
Quilting books may give inspiration for varied shapes. The illustration below is a diamond variant, another may be found in the brother ribber technique book p. 33, different color and KC knitting sequence.
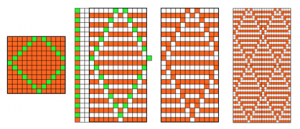
On orange rows, the main bed knits lots of needles, selects sealing stitches for the next row of knitting, on green rows the ribber does most of the knitting and will select the stitches the main bed will knit on the subsequent row, and so on
The first preselection row direction does not necessarily matter in single color fabrics as long part buttons in both beds are set appropriately, unless double length is used, in which case KC row needs to be toward the color changer and the design needs to be in 2-row “color” repeats whether as actually punched, “drawn” and programmed, or with elongations used. The above repeat is suitable for punchcard machines as well. If knit without elongation one may use the same carriage settings as the previous sample above. KC –> with card/pattern locked, knit one row to right, set card/pattern to advance, opposite part buttons in use, results in knitting tubular for nearly square diamond shapes. The “stuffing” below is small cut-up pieces of waste knitting.
For longer diamonds or 2 color knitting, KC<– row is toward the color changer. Settings on the ribber need to be changed manually every 2 rows for both single color and 2 color patterning.
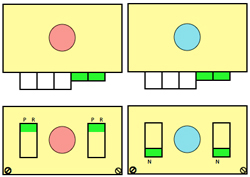
When lots of needles are selected on MB, knit 2 rs using settings pictured on left, the ribber slips for 2 rows. If only a few needles are selected, knit 2 rs with settings pictured on right. The ribber will knit all needles, MB only those providing the outline of the shape in the front of the knit, sealing the layers. All ribber carriage slip setting changes happen with carriage on left, prior to the next pair of knit rows, before or after the color change. Errors are less likely if a sequence of the steps involved is developed and followed.
settings, col 1 settings, col 2
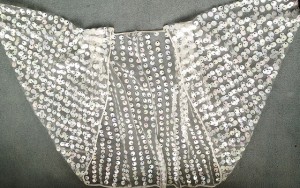
The sample below was knit in 2/48 cash wool at T 3/3 using the above repeat. The fabric is sheer, and the joined sections of fabric are lacey.
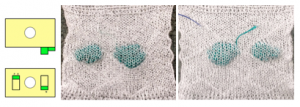
This method allows for knitting large shapes without the distortion resulting from many double bed techniques. A series of swatches using the technique:
front view 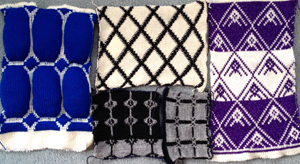 rear view
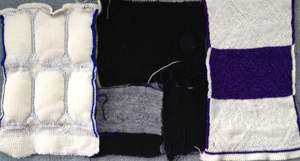
Once the principles are worked out, very thin yarn or monofilament in front may be used with a thicker or contrasting color in the back, with viewable inclusions against the ground. A wool backing and a non-felting front can achieve interesting blister-like looks without some of the issues of double bed blisters and patterning, large shapes of plain knit could be contrasted against all rib backgrounds, and so on
a few more experiments
a monofilament cocoon with paillettes in its pockets
It is also possible to use an altered knit carriage to knit rows on the main bed only, while leaving the couple carriages on the left instead of changing ribber settings from slip to knit and back with color changes, see later post on ribber-fabrics-produced-with-2-knit-carriages-selecting-needles/
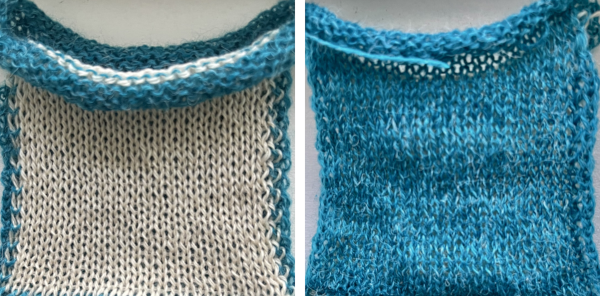
A Ravelry question raised the possibility of knitting a flat tube with a different solid color on each side. This may be achieved using the same principle as quilting. The programmed pattern is for 2 rows of punched holes or black pixel rows followed by two unpunched or all blank rows. 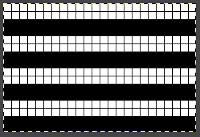 When all main bed needles are preselected, the ribber is set to slip for 2 rows, only the main bed will knit. When there is no preselection on the main bed, the ribber is set to knit, no stitches will be formed on the main bed, so each surface remains separate. The knit carriage is set to KC1 to ensure the sides of the tube will be sealed. If two knit carriages are used to select needles, then it is possible to easily adjust tension for the alternate color if that is deemed needed.