My previous posts on combining ladders and lace: 1, 2 . The chart below, found in a random Japanese publication, started the process of my sorting out a possible “how to” on the knitting machine
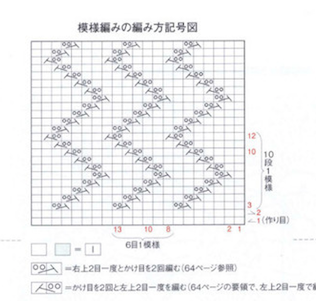
In hand knitting, the 2 empty circles generally indicate a double yarn over. On the machine these can be simulated by working with extra empty needles. For swatching, a few rows of stocking stitch will do as a start. In a final fabric, waste yarn may be followed by ravel cord and a crochet cast on. After the crochet cast on, the chain on the needles for the extra “yarn over” location can be dropped, leaving those needles “empty”, and the pattern may begin immediately.
One of the 2 yarn overs will be created by manipulating an empty needle, the other by transferring stitches by hand as one would in lace.
If the empty needle if moved back to A, a ladder is created that is essentially a float in front of the gate pegs up to the next knit stitch. For purposes here, the result did not give me enough yarn to be able to maneuver.
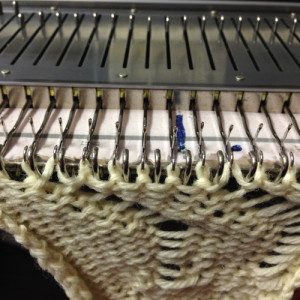
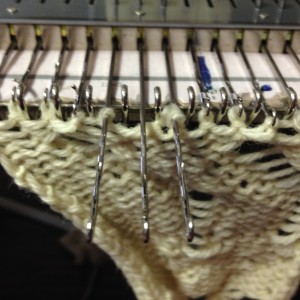
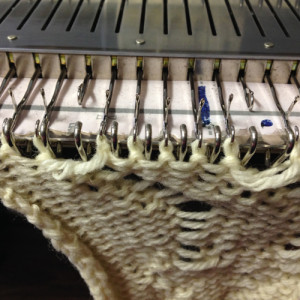
The first step is to decide on the repeat between transfers, and emptying appropriately spaced needles, seen here in A position
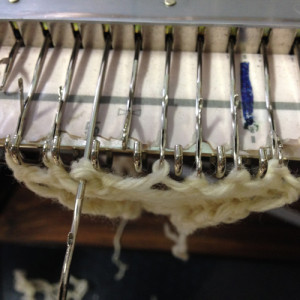
for the longer “float”: before the first row of the pattern, the empty needle is brought out to work, a row is knit, resulting in loops on those needles, that will create extra yarn slack
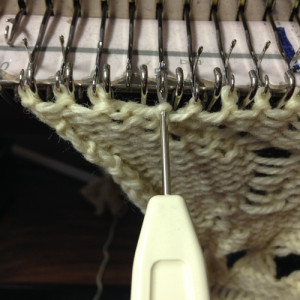
the loop is in turn dropped
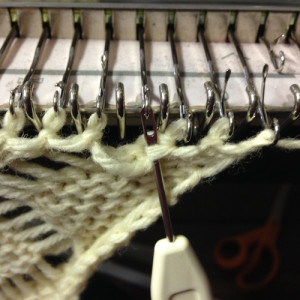
 a tool is inserted through the loop
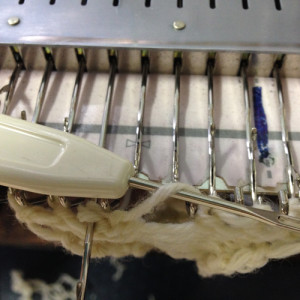
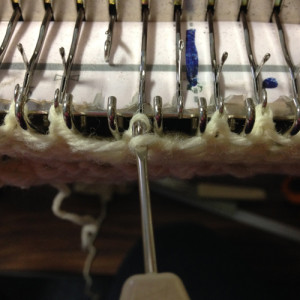
turned clockwise for casting on in one direction,
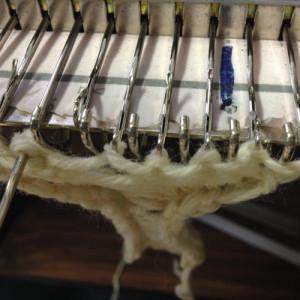
and turned counter clockwise for casting on in the opposite. Note that in one instance the long leg of the e is in back of the knit on the purl side, in the second in front. This makes a difference on the knit side of the fabric as well.
to get the look of ssk and ssp as seen in hand knitting (instead of a simple decrease), depending on the direction you are traveling, the needle 3 stitch is moved to its right or left onto the center one to create the second “yarn over” . Both stitches are then returned together to the needle 3 position
and with the transfer and e wrap completed, one is ready for the next row of knitting. Bringing the 3 needles out to hold gives one the opportunity to check all transfers and wraps, makes the next row easier to knit
the turn of the zig zag: pick up from row below for increase, instead of e wrapping for a neater turn
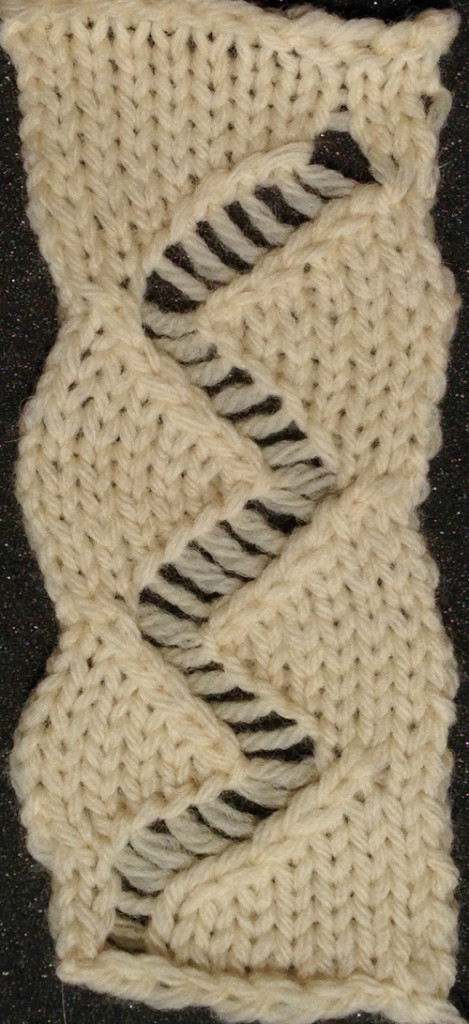
my first swatch: 1/ ladder at start of row; 2/ shows chain moving along the knit side, emulating ssk and ssp decreases seen in hand knitting; all my e wraps were made clockwise, 3 shows the long leg of the wrap moving to front of fabric as opposed to the rear as in 5, each giving a different look to ladder’s edge; 4 indicated the pivot point for reversing the direction of the zig zag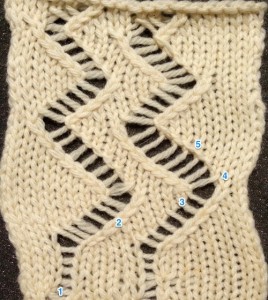 below shows the results of alternating the directions of the e wraps in each section: clockwise when moving to left, counter clockwise when moving toward right. The large eyelet at the top illustrates what happens typically when an empty needle is brought back into work at the top of a ladder.
Ladders may be created in any desired width. The look of the vertical knit edges becomes a matter of preference. Good note-keeping helps insure consistent results.

