WORK IN PROGRESS
Resources for users or those curious about the program are offered below. There are 5 help files and 5 manual files. They don’t interact at all and work completely independently from each other, can be opened from DesignaKnit or from a file browser window, are not available until the program is purchased and installed, each may be downloaded as a PDF. DesignaKnit Professional contains 5 modules:
Standard Garment Styling has built-in sweater patterns that may be adjusted to custom measurements and gauges
Original Pattern Drafting: allows for using a pattern designed in garment styling to custom features such as knitting the design sideways or making pieced such as the front and back different lengths
Stitch designer is a paint program. A grid may be created to match the stitch gauge for a sense of aspect ratio of the design in the finished piece. When the type of knitting for the project is selected, warnings as to possible errors in any rows provided
Interactive Knitting: with the proper cable connected to the computer and the knitting machine the design is followed row by row, voice prompts may be activated so as to receive warnings when to change colors as well as counters for the number of rows between shaping ie increases and decreases while knitting sleeves
Graphics Studio: convert graphics to stitch designs, including color separations for DBJ, color reductions, scaling for large non-repetitive designs
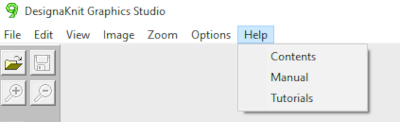
When the program is installed and opened the manuals are found listed after using Help
 in a series of tabs, ending with that for section 5. There are 5 help files and 5 manual files. They don’t interact at all and work completely independently from each other, can be opened from DesignaKnit or from a file browser window.
Online references:
a quick summary of version 9 upgrade features
https://softbyte.co.uk/DK9UpgradeForms/DK9_upgrade_features_F.pdf
videos DesignaKnit9 graphic studio
https://softbyte.co.uk/dk9englishvideotutorials.htm
the DAK Facebook group
https://www.facebook.com/groups/523785160964950
members of the group have access to teaching material shared by Sheila West https://www.facebook.com/groups/523785160964950/user/1164753159
Youtube tutorials for DesignaKnit 8
https://www.youtube.com/c/Knittitude/videos?view=0&sort=dd&shelf_id=0
a search for DesignaKnit9 tutorial yields mixed results, including many for version 8
https://www.youtube.com/results?search_query=designaknit+9+tutorials
Graphic design studio search https://www.youtube.com/results search_query=designaknit+graphic+design+studio
offered courses at knititnow, search https://www.knititnow.com/Courses/#
login required as well as fees
Brother magazines for a while published accompanying pat files for DAK, they can be found http://machineknittingetc.com/catalogsearch/result/?order=date&dir=desc&q=DAK+files+Brother
also for Studio http://machineknittingetc.com/catalogsearch/result/?order=date&dir=desc&q=Dak+files+for+silver+reed
and Passap http://machineknittingetc.com/catalogsearch/result/?order=date&dir=desc&q=Dak+files+for+passap
I am a complete novice at the use of this program, tend to start learning new tools by comparing them with what I am familiar with, which in my case are spreadsheets and other paint programs. I have decades of playing with changing file formats depending on end-use. My questions on aspects of the program’s use are not intended as criticism, they are born of curiosity and the attempt to explore a new tool.
I am using Dak on a PC, at the moment my blog posts are created exclusively on my Mac. There is much that is fluid in addition to learning the software.
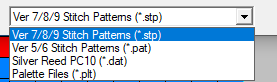
These are the formats that can be opened, converted to stitch patterns using Graphics Studio Stitch Designer, or opened as a background image in Original Pattern Drafting and used for tracing a garment piece: BMP, GIF, ICO, JPG, PCX, PNG, TGA, TIF, WMF, P?M. There is no export option for saving the repeat images in stitch design file formats for use in other than the native program. Passap CUT files are completely excluded.
I lean towards looking for workarounds to accomplish what I want if the task is not native to the program I am using.
One way to achieve conversion for DAK file formats for use as a png or bmp download with other cables and software is to isolate and select the repeat unit, copy it to clipboard, paste in a paint program, export as png or other desired formats 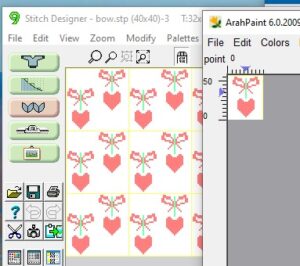 There is a handy option in Dak when thumbnails is chosen from the image menu, one can browse through saved folders containing compatible file-formats including the images in those Brother magazine downloads. The small preview will identify the specific file size. When you left-click on your choice, it will appear enlarged at the bottom left of the view window, it has been moved from its corner in my screengrab,
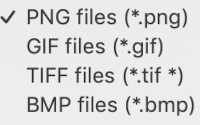
 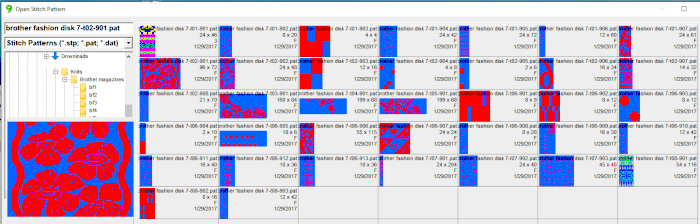 left-click OK on the enlarged image, it will open in the program window. Minimize the size until no further reduction is allowed by using the magnifying glass or the scroll function in the mouse. This is a different operation from scaling the original to a different size. The save-as option for the image offered at that point are:
 For choices emulating export in other paint programs, right-click on the image, choose copy, open a paint program (Arahpaint is my favorite at this moment), and from its image it menu choose paste.
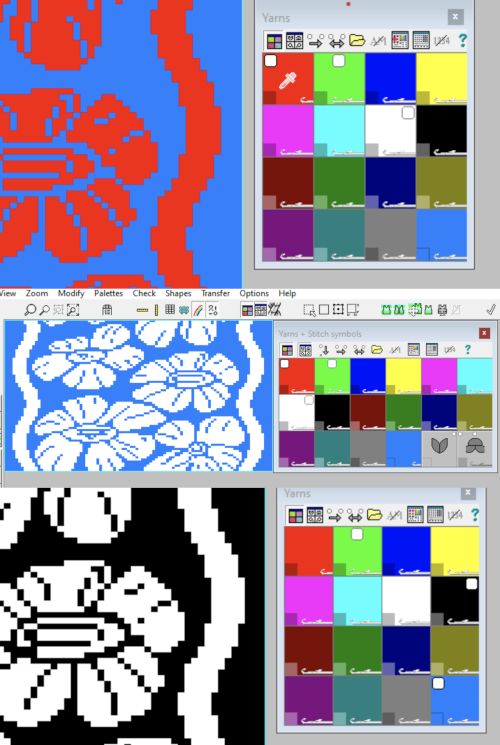
 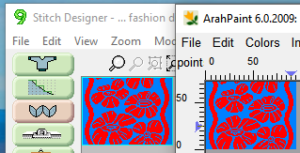 Using Arah’s color exchange, the image may then be converted to black and white for 2-color work and is saved in a format usable with other software and in other machines.
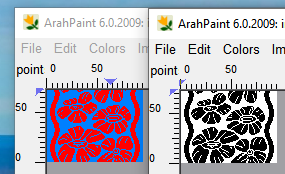
 Here the image has been pasted in Gimp using the same process,
 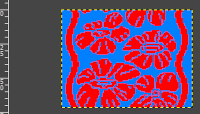 but if the image needs to then be reduced to BW, Arah is the easier and predictable tool to use.
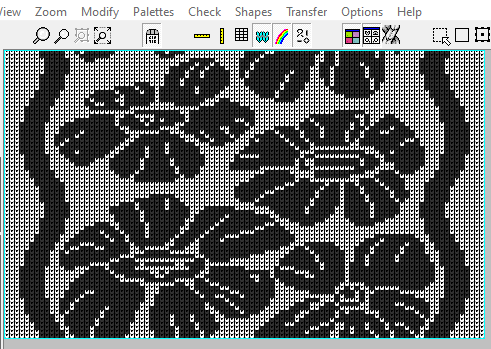
Activating the working palette, referred to as yarn colors: from the manual It is possible to achieve color exchange easily in Dak as well. Most operations appear to rely on an understanding of its symbols and what might be considered a language one must learn in order to use the program effectively. By activating the view yarn button palette, the items that may be viewed and changed are:
A: represents left mouse click on that color
B: represents a right mouse click on that color
C: click will swap A color to B color
D: needle hook alone represents non selected needle, pusher, or simply color depending on the machine model
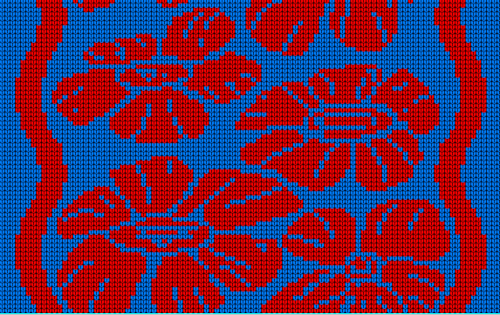
E: color worked on patterning needle ie contrast in fair isle, knit stitches in tuck or slip setting 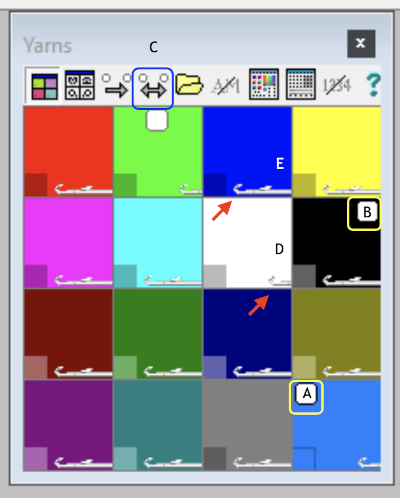 It is useful to establish working history using the same design motif. In the first image, left-click on red, the from color, right-click on white, the to color, click on the double arrow to make and apply the change
The process is repeated with left-click on blue, right-click on black, and on double arrow. White squares appear in the final color choice boxes in the bottom image
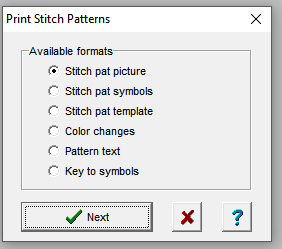
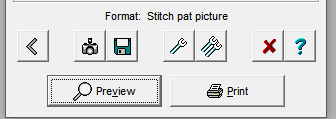
 The print dialogue allows for saving patterns as bmps.
 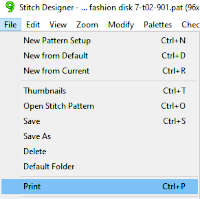 One is walked through the following steps with a series of windows. To save the repeat as bmp
 choices may then be made about file name and the location for the save,
  If there are no “short” needles in the image being processed as in the last screengrab above, there will be an error message onscreen, pointing out problems in the numbers of colors present in rows ie more than 2 for FI. This is fixed by clicking on either the “needles” of one of the two active colors in the yarn palette to make one color the ground, the other the contrast. The results from this process for printable bmp files are shown below, not for a bmp that may be used to knit the pattern on an electronic machine using a different download method. Here the resulting stitch pattern picture is shown in color reverse as well.
 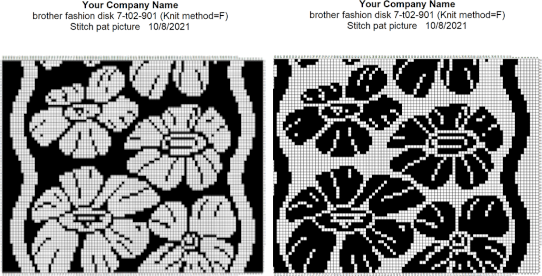 Using other print options: for this repeat, the color change page is blank since the fabric is being knit as a 2-color fair isle, without added color changes
  Printing pattern text will do exactly that in longhand form, for each stitch and each row of the repeat
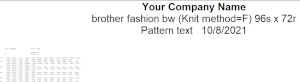
Dak is the only program I know of for home use that allows for visualization of the knit design with approximations of knit stitches, seen here in both the BW and the original color version of the above FI design, shown as knit stitches on the public side. The image needs to be a minimum size for the appearance of the details as is true in most paint programs for grid views. 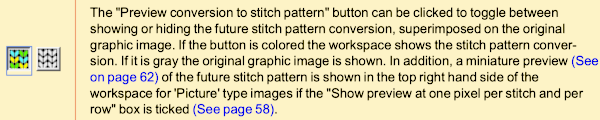
 At this time I am continuing to knit on my machines with punchcards and using Ayab, or img2track on my electronics, have no immediate plans to change that, hence my interest in using DAK software features while keeping in mind the possibility of using the final repeats on other machine models.
The information on using the stitch designer lace module originally written here has been moved to its own post along with new content, updates, and corrections.
My Dak knowledge at this point measures less than a thimble full. I am hoping to add any tips from others to the blog content, have a lot to learn from folks who have had so much experience using the program. I will definitely try your suggestion.
We each approach new tools with different histories and perspectives, it is always fun to share in and observe the methods used by others, helping us grow in knowledge and skill.
After opening a stitch pattern in Stitch Designer, it is quite easy to change the colours in the pattern using “exchange” or “replace” options. From the Print menu, you can use the “Save” icon to save the St pattern as a *.bmp file to paste into another program.