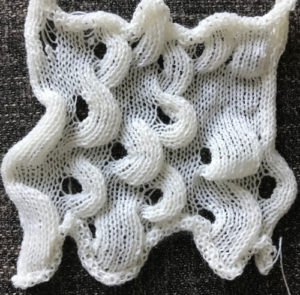
I have previously posted on a series of fabrics related to this swatch, including suggestions for possibly automating some of their variations. The earliest blog post includes some of the histories for this fabric, is repeated here. In the 80s there used to be a yearly machine knitting seminar in my area that was fairly well attended. There were droves of machine knitting publications for sale, demonstrators, and device creators with their wares. Susan Lazear, the founder of Cochenille, was just beginning to develop her knit design software ideas on Amiga Computers, DAK was getting off the ground as a competitor, and a fellow Californian, who happened to be Japanese (Yo Furuta), used to travel here with the Pandora box of foreign language knit magazines. At the time translating knits from one language to another amounted to guesswork and some leaflets. Subsequently, there were fliers, then articles, and even books on translating from Japanese to English and more than one on multiple language instructions for knits and crochet.
One year there was a “guess how this was done and you get a prize contest” for a technique appearing on a sweater with only Japanese instructions. The design was dubbed wisteria by some, has been reincarnated as a trim, insertion, bandings on sleeves and cardigans and is reappears in magazines and on the runway with some regularity. For more information see horizontal cable (2012)wisteria cousin revisited: holding vs slip stitch, wisteria 2, and fern leaf 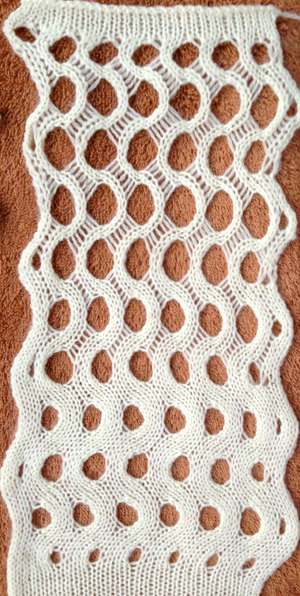 A foreign language video tutorial with wider ladder spaces executed on a Silver Reed knitting machine
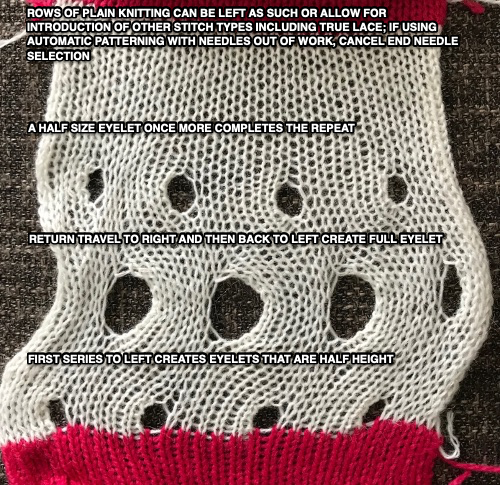
Recently I have been giving more thought to 3D knitting folds, and in an online search I came across the hand-knit designs by “Olgajazzy“. I became curious about developing a machine knit relative of the texture shown in her Kune Kune shawl and began my own search for a way to add hems to the above fabric. I am sharing photos of the test swatches in progress and some of my observations, not intending them as a full tutorial. Before adding variations to any technique it is always helpful to have practiced the simpler version. Having needles out of work can help make certain the correct width groups are brought into hold each time. Ladders do change the look of the final fabric and soon the choice becomes as to whether they are unnecessary or used as a purposeful design feature.
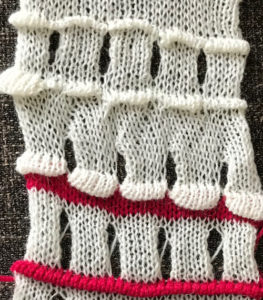
As with any eyelet fabric, if all openings are created in the same direction the fabric will bias. To avoid that, the direction of transfers is altered in direction at the completion of each row of repeats. With transfer lace that is achieved by transferring in turn to the right and then to left, here stitches in hold are worked from right to left and then in turn from left to right to achieve a more balanced fabric. Cast-on and bind-off must be loose enough not to draw the top and bottom of the fabric in too tightly, and it is possible to make them decorative. Test swatches began and ended in a waste yarn of sharply different contrast color, making it easier to observe what is happening to the stitches creating the fabric. In this sideways view, missing a row of hemmed segments at its top, the difference in height on one side as opposite the other is quite noticeable.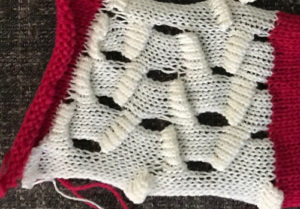 The reverse side shows the same issue. Areas can be identified where the held stitches have been hung up to create hems. Note that as the knit grows in length, at the completion of each row of repeats there is one segment with no hem on alternating sides. A longer test swatch follows
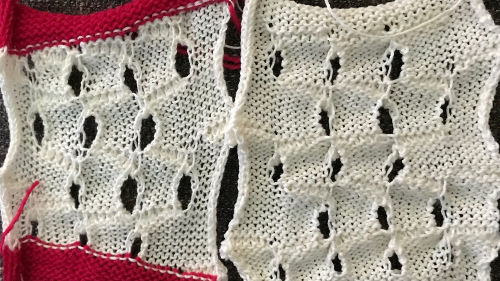
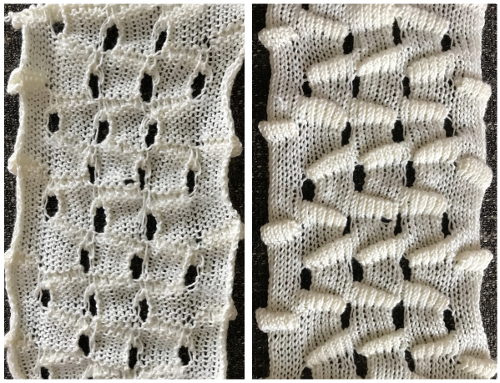 I created my hems on the carriage side, immediately prior to bringing the following group of stitches into work opposite it, and knitting a single row across that new group of 3 segments. The highlighted area indicates the stitches to be hung to create the hem. The eyelet on the top, right, will be smaller than the one at the opposite side of the stitches to be hung up
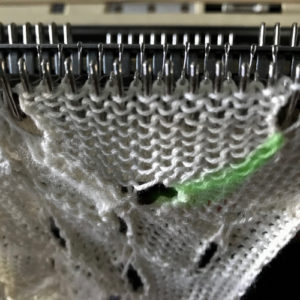
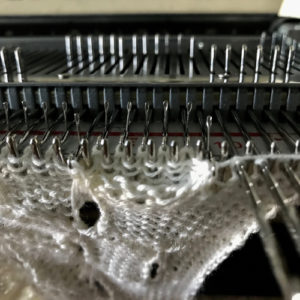
 Start with waste yarn and ravel cord if preferred. Work the first segment, hang the first hem. First segments are generally knit for an even number of rows. The second hem is not hung until the third group of stitches has been knit. The process is repeated across the width of the knit
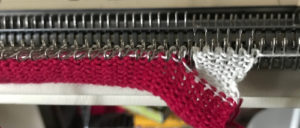
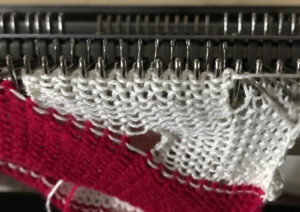
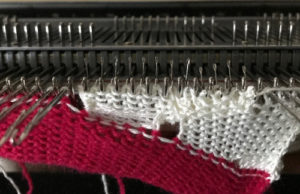
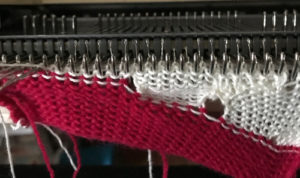
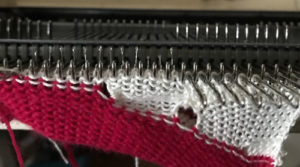
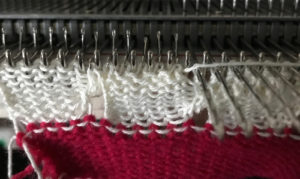
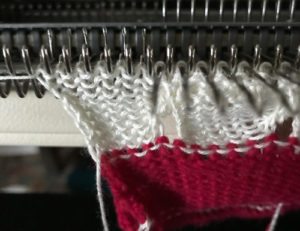 Reversing the direction of segments
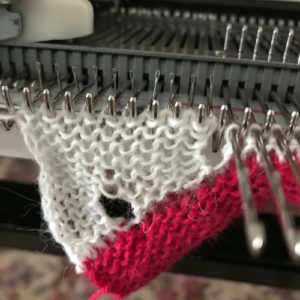
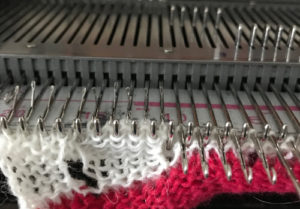
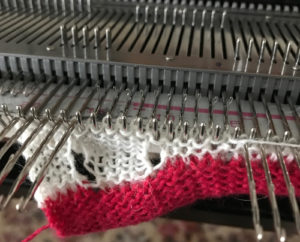
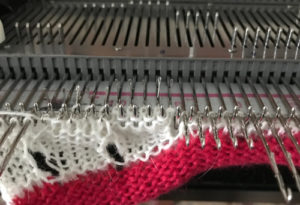 What about a related edging? One to try: cast on with waste yarn and ravel cord (if desired). End with COL. Knit one row with the main color to right. COR bring all but group 1 stitches out to the hold position. Knit an even number of rows. COR: hang hem, bring the second group of stitches into work, knit one row to left. COL: bring the first group of stitches out to hold, work the second group for the preferred number of rows, end COR. COR: hang hem on stitches worked on the carriage side, bring next group on needles to their left into work. Knit one row to left, bring the now sealed hem on the group of stitches on the right to hold, and continue across the needle bed, working a hem on the last group as well. Reverse direction as illustrated above.
The same edging could be used and followed by other stitch types. The cast-off at the top might look better if done using a different technique but is not capable of matching the bottom edge because of the direction of the knit stitches composing the folds. 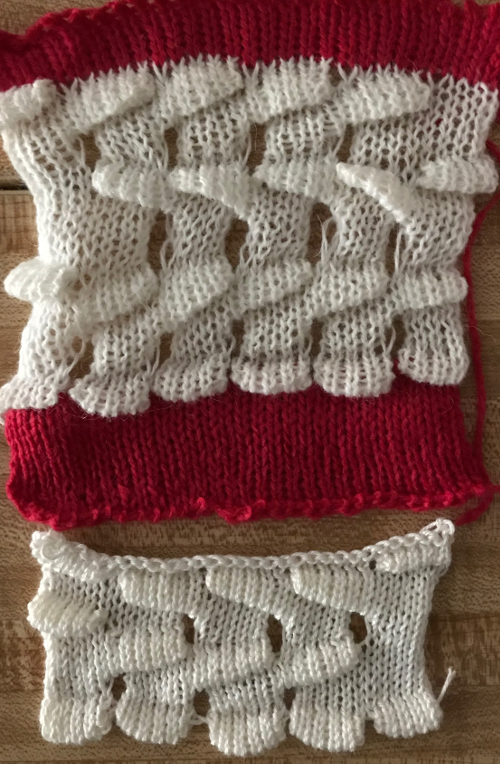 These fabrics are time-consuming, requiring skill and concentration, especially when knitting large pieces. There is always the option of using such techniques in an isolated area of the final piece or in edgings and borders, keeping in mind the possible changes to gauge when combining stitch types.
Passap knitters are not left out of related explorations. Slip setting (BX) and pusher selection are used. The lock change to N overrides the pusher set up to achieve a row (or many more) of plain knit across all needles in work. It is the equivalent of canceling cam buttons in Brother while maintaining pattern needle selection. N tends to be king no matter what bed or KM brand. Since both beds in Passap are fixed, the back bed (equivalent to Japanese ribbers) is set to slip (GX). An interesting variation is found in Passap #60 p. 24 (1995). Directions are given for both the Duo and the E 6000. The technique relies upon hand selection and changes in cam settings in both. Early magazines and manuals translated from other languages at times require additional interpretation. Shapes in many are “out of date”, but in terms of knitting techniques, they provide a boundless source of inspiration. 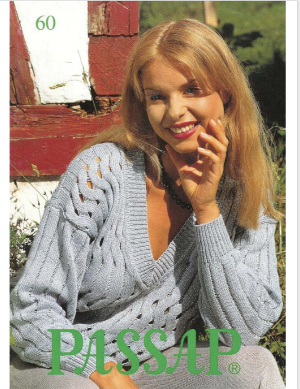
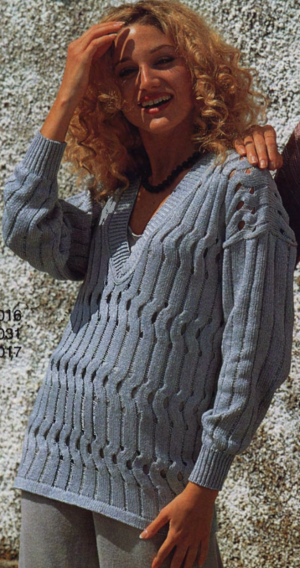
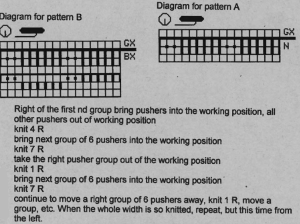
 This is one of my early graphics trying to imagine what is happening in chart form, which also references the repeat in the Passap garment, followed by plain knitting
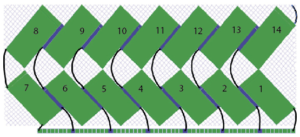
The sides of the piece bow in and out respectively, so when the sweater is seamed the curved areas will meet to create a fairly flat side seam. Choosing a yarn that will “lose memory” when pressed helps create a flat finish. Yarns such as wool will tend to roll toward the purl side, and this is likely to occur on the edges of the eyelets as well. Both can work depending on your goal for the finished piece of knitting. Ladders created by leaving needles out of work make for a more open, very different look. They also can be easily counted to check on how many rows have been knit.
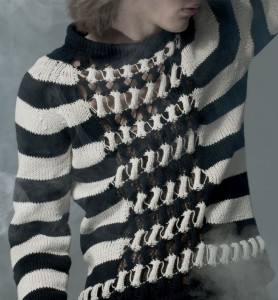
This is a sweater by Patty Boutik, for sale on Amazon, introducing eyelet striping and selective use of the repeat 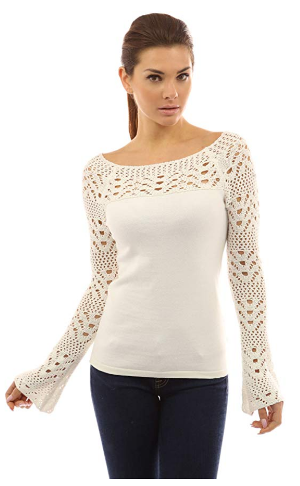 For use of the stitch family in a variety of scale see the work of Mary Callan
If one is a fan of straight edges or lines, they are not left out either, and slits can be placed at one’s discretion. 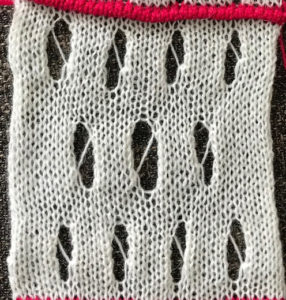 This fabric is worked out differently, in groups of 2. After the first segment is completed, COR if the starting group 1 worked is on the right, bring group 2 into work, knit one row to left, immediately bring group one into hold, and continue across row. That “float” is created as the yarn traveling between the last stitch on the right now coming into hold and the first stitch to its left knits for many more rows gets pulled on as the piece grows.
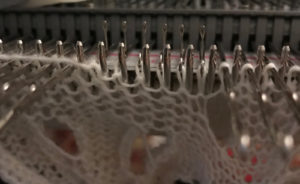
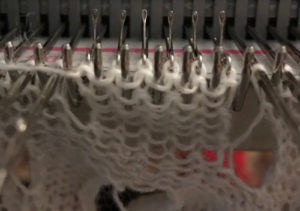 If hems are added to the piece it can be done in many ways including in contrasting color, across individual pieces as in the edging shown earlier in the post after knitting one or more rows, and sizes of eyelets and any added hems can be varied as well. If the”float” is hung up at the same time as the hem it will be less noticeable.
  From Stoll Trend Collection Europe Spring/Summer 2012 a sample fabric utilizing the floats between repeat segments as a design feature
In a world of glitch knitting and asymmetry in design and fashion, random “ruching” may be applied here as well 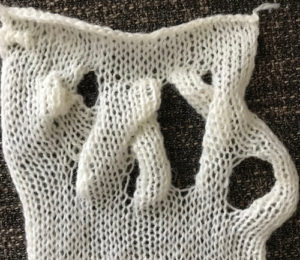 Hems in knitting can be created on any number of stitches, anywhere on a garment, by definition join segments of the knit together permanently. Folds are freer. Here is an attempt at a different wisteria cousin with organized repeats. More on creating it will follow in a subsequent post now that holding techniques are back on my radar