July 2021: since this post was published I have written on using a combination of Mac Numbers and Gimp to modify repeats from punchcard and electronic published sources including:
Numbers and GIMP: online punchcard patterns to electronics
Numbers and GIMP: online punchcard patterns to electronics 2
Numbers to GIMP to create images for electronic download
I am now adding a shorthand version for those with some familiarity with both programs using an online draft from Luminescence to obtain a knitting repeat. Images saved from the site even if drawn in black and white do not convert easily and cleanly to black or even 2 colors indexed images in Gimp, are workable using this combination software method. 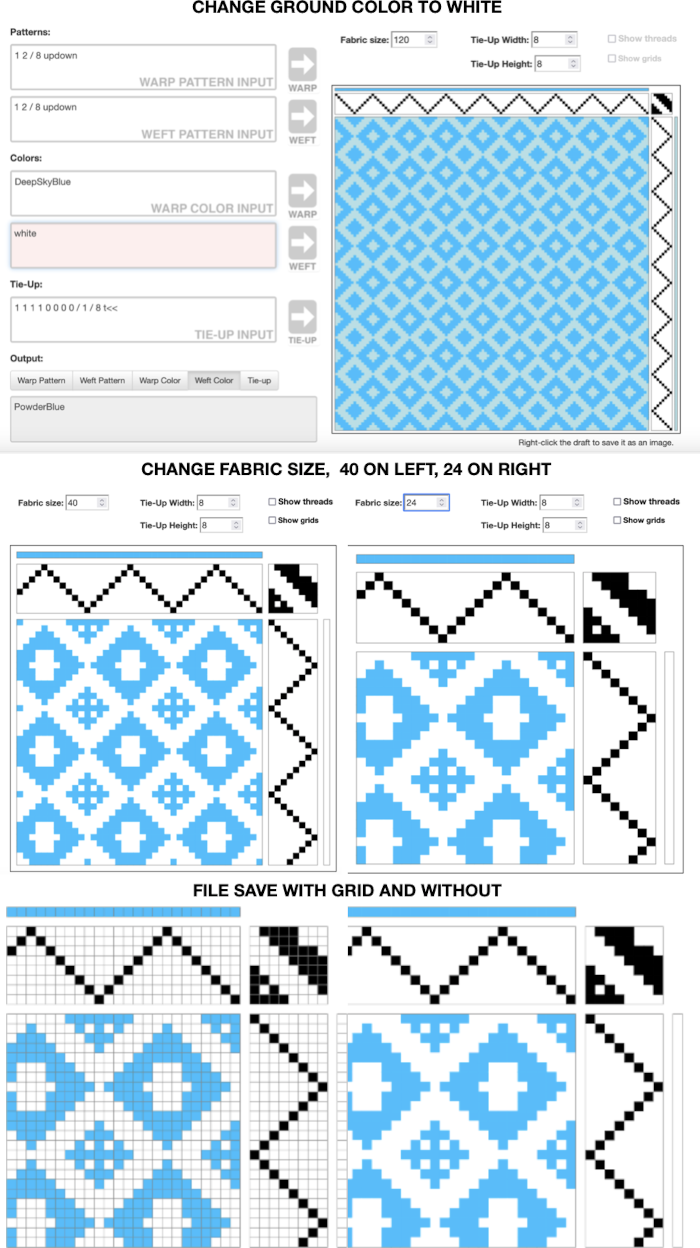
![]()
As previously published:
Weaving drafts can be a source of inspiration for other textile mediums as well. Luminescence is an online weaving program developed by Andrew Glassner. There are ample instructions and help files on site with regards to weaving. My first instinct, however, is often to interpret images of all sorts for knits (I abandoned weaving many a year ago). I am sharing some very quick first experiments with the software with that possible intention. The same charts might be used for other counted stitch unit textiles.
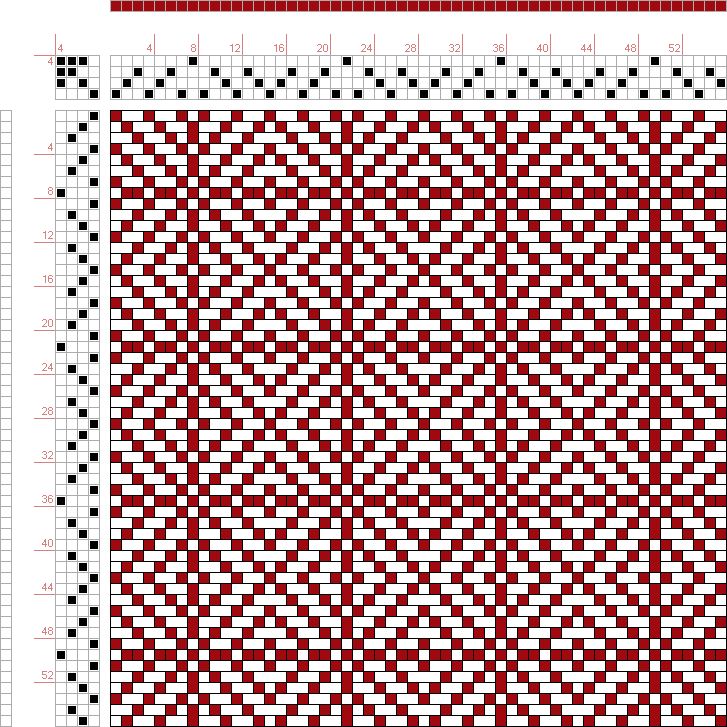
The first draft I chose to load from the app’s pull-down menu was called High Seas. The numbers indicate “Fabric Size”, stitch and row counts in knits
120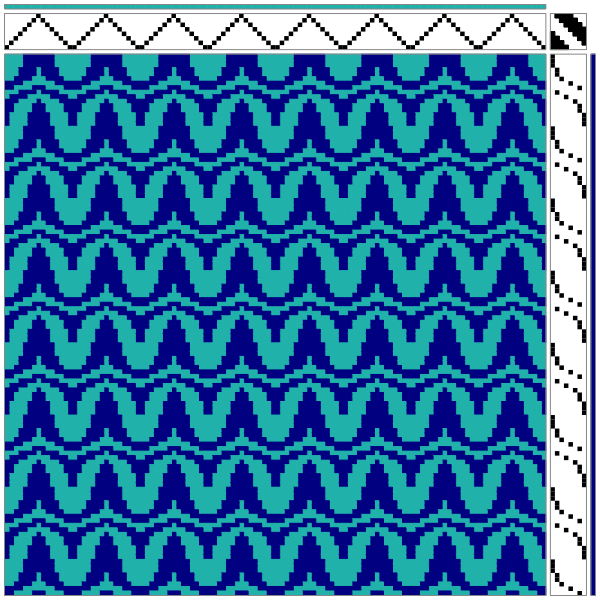
Quoting from the help files: “Show grids: This is another cosmetic choice. Turning this on draws the internal grid lines for all 6 grids (warp pattern, warp colors, weft pattern, weft colors, tie-up, and fabric). These let you easily count the cells, which can make it easier to match a published draft. As with Show threads, this checkbox and its effect are disabled if the Fabric size is 100 or more.” “
“To save an image of the fabric, just right-click on it. You should get a pop-up menu that offers you a few options. One of these will be Save Image As… (or something close to that). Choose that, and you’ll get a standard dialog box that lets you put the image where you want it. Using Firefox on the Mac allows the image to be saved in the standard PNG format, which offers the highest quality. You can change that to JPG or anything else using almost any image editing program.” Safari is problematic with saves, allowing only for a web archive or screen capture.
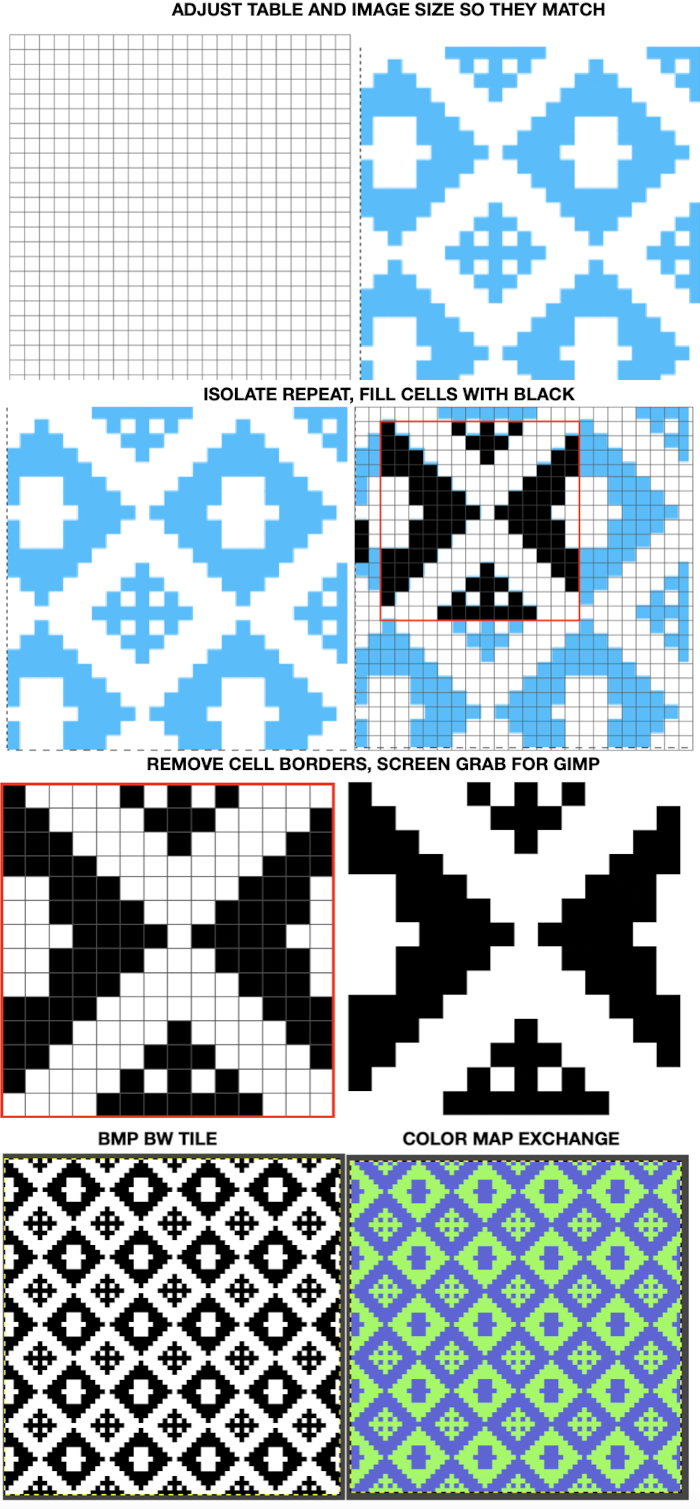
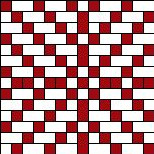
99 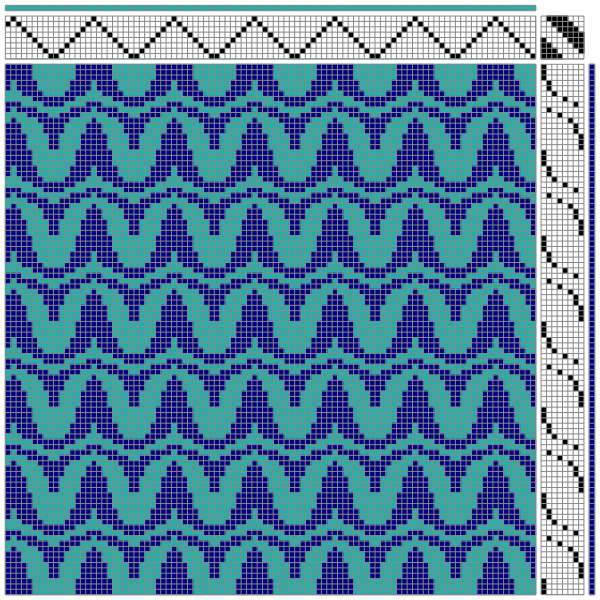 easier to see and/ or count units, clear tiling: 60
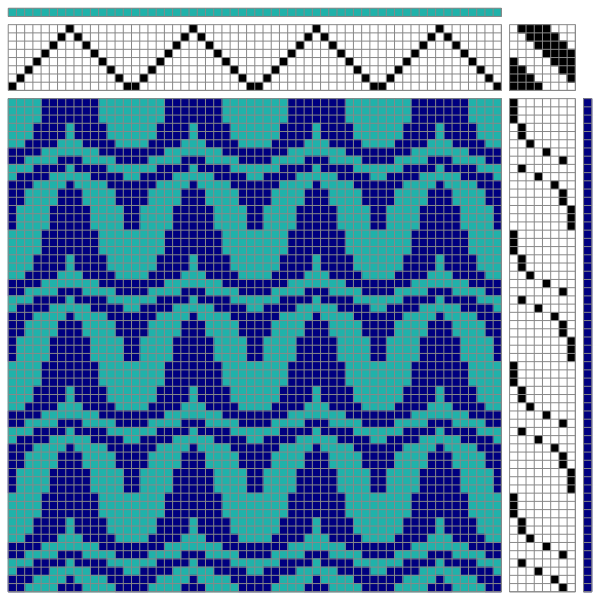 enough to easily sort out repeats: 30
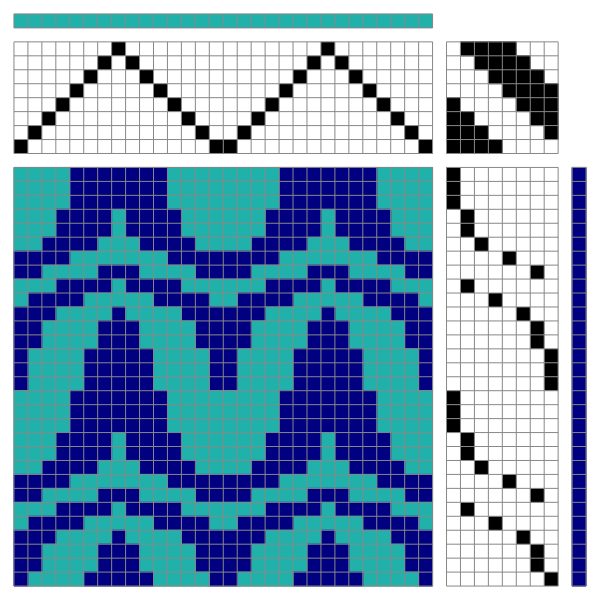
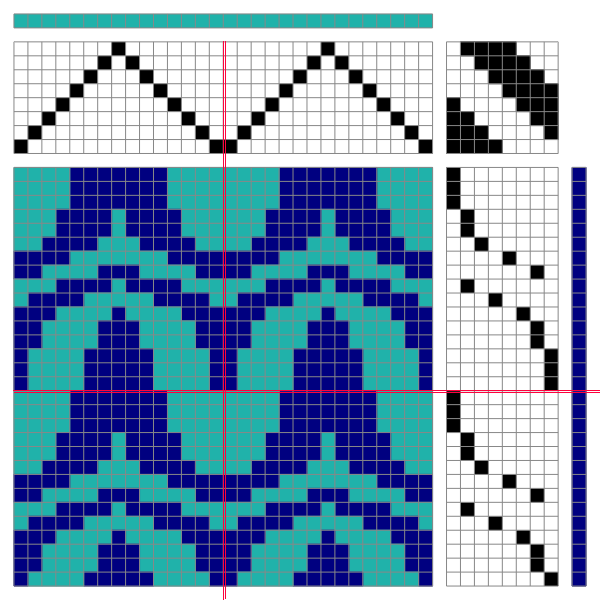
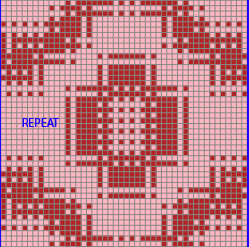
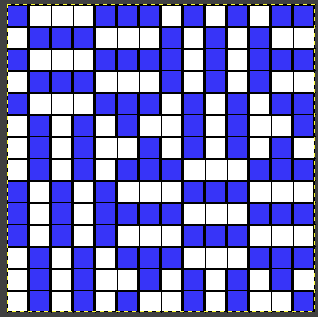
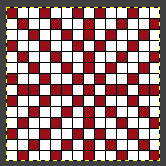
your preferred paint program may be used to draw lines that isolate single “knit” repeats; threading and tie-up sequence repeats are used as guides, making the process fairly straightforward
 imagining possible related borders
 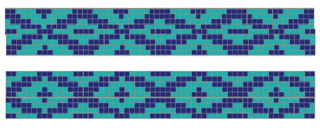 a more complicated draft
 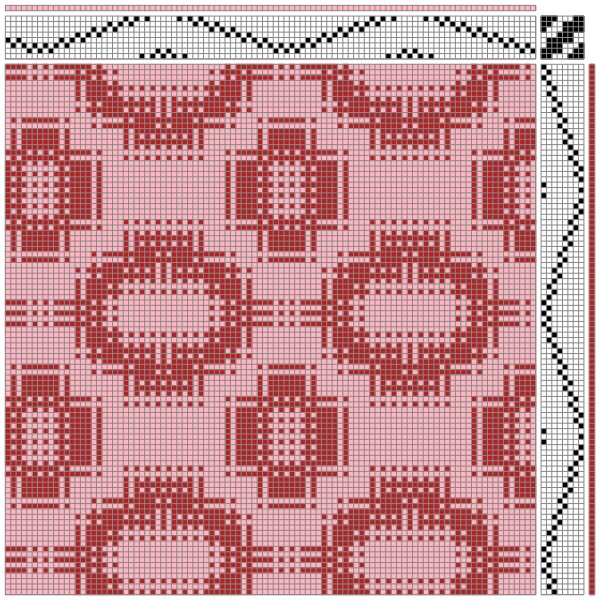 isolating the much larger repeat
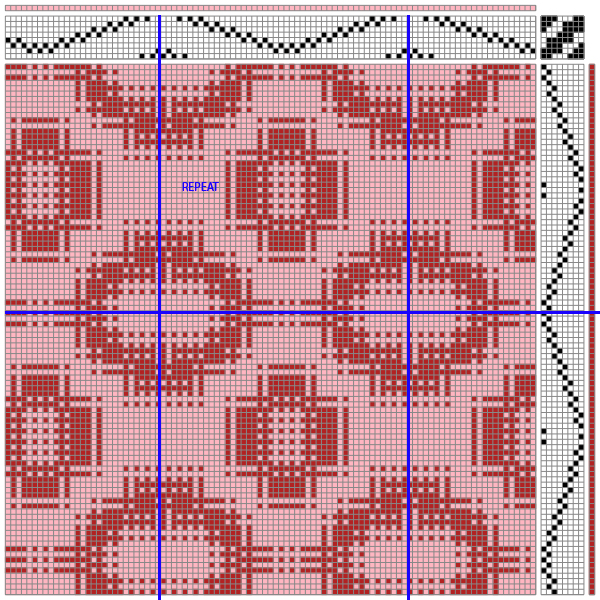
always double-check tiling prior to knitting for accuracy, any “surprises”, and the possible pattern placement on the knitting machine’s needle bed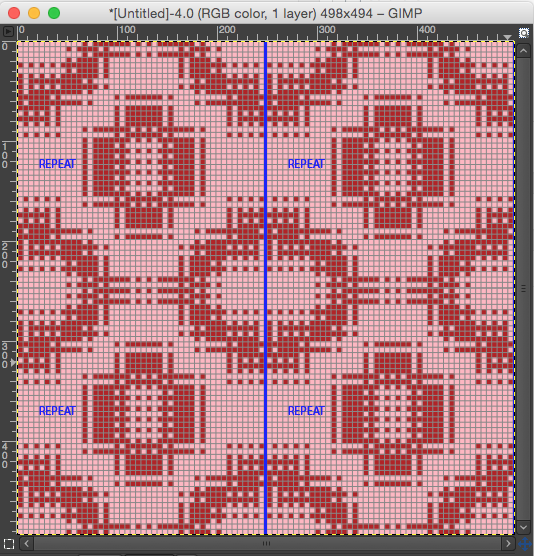
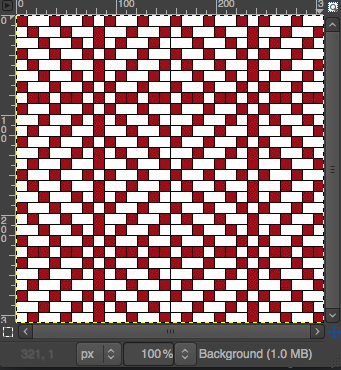
got a draft from an online pub? always good to start with a recognizable, simple design 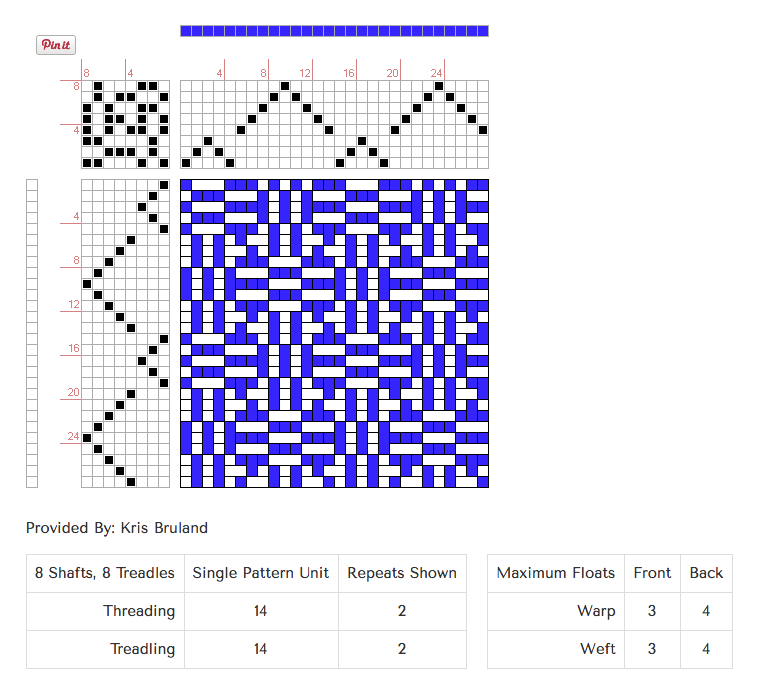 isolate the repeat (GIMP): crop tool and size control
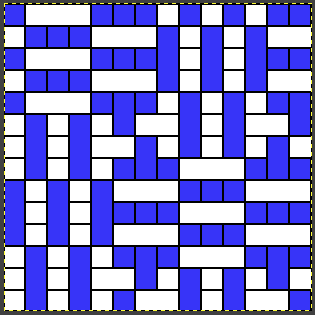
in this instance, the result is a 154X 154 pixel square image, with 14 X 14 unit desired subdivision, making my grid preferences setting 11 X 11 pixels
 tiling test: looks like a match!
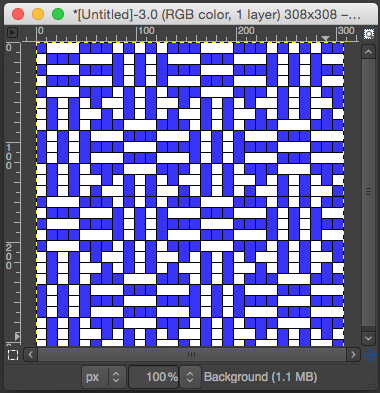
line width, colors, etc. may all be set and changed to suit individual needs and preferences. Please note superimposed grid lines are lost when the image is tiled or exported from GIMP, some version of screen grab or snap must be used to capture and save gridded images
an additional draft, the same process
A bit on the charting: after launching the program and loading an image, the GIMP windows options will become available. I leave my toolbox always active. Tool Options give the opportunity for controlling crop size, pencil line width, etc. As you click on/ select any tool, the options windows will change and offer selections for managing that particular tool
 crop
crop  pencil brush
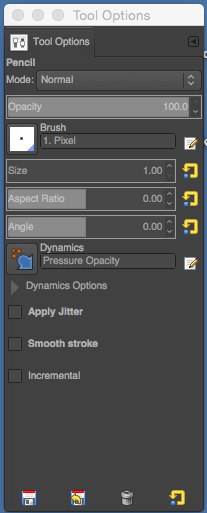
notes from a previous post on charting for straight-line drawing on Mac: “first select color and pencil tool. Place a pencil dot where you want the line to start. If you press the shift key, a crosshair will appear, press the command key in turn as well for straight-line mode, click where you want the line to end. Consecutive clicks will continue drawing straight lines that originate from the end of the last line. Pressing both the shift and the command one at once after the initial pencil mark will call up the color picker and require a color selection and an “OK”