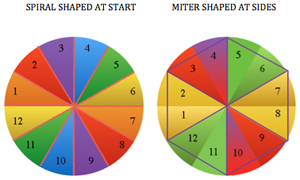
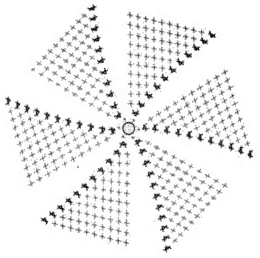
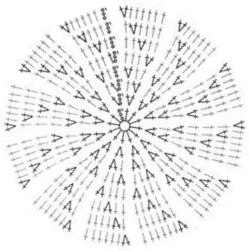
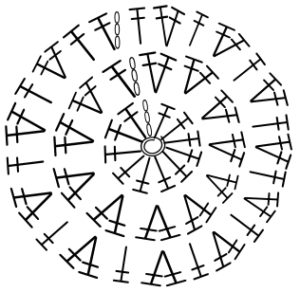
I began a series of posts on miters and spirals created on the knitting machine back in 2011. The oldest posts, knitting math and pies, back to that pie, a bit of holding, and revisiting miters and spirals to form varied shapes begin to address creating flat circles in machine knitting using holding techniques.
Hand-knitting in circular format and crochet share some similarities. There are 2 methods of constructing circular work in crochet. 1: in rounds, (akin to knit miters in shape) where the end of each circular row is joined up to its own beginning to form a ring. A new starting chain (s) is formed to take the row to the proper height for the next row to remain constant. Depending on the pattern, one has the option of continuing by turning the work or not at the end of each row. Doing so allows the opportunity of altering textures and work on the fronts or backs of stitches. 2: in spirals. Rather than joining the ring, one continues on by going to the tops of the posts in the previous row.
With spirals, it is useful to mark the beginning of each round. Knitting markers shaped like safety pins are handy for that purpose. A line in a contrasting color can also be created using a separate strand of yarn and alternating carrying it back or to the front prior to forming the first stitch in the new row.
As with knitting, crocheted circles are not true circles, but rather, they are polygons. The way to make shapes more circular is to scramble the location of the increase points, putting them in different starting positions in each round (always spacing them equally and keeping the formula). Within limits, one may make the starting number of stitches in the first round a multiple of the number of segments in the finished shape.
With the creation of a flat circle in mind, the number of stitches needed depends on the height of the stitch. The taller the stitch, the greater the number of stitches required. If the stitch stays the same throughout, the number of stitches added on each round is constant. Test work regularly at intervals as the work grows by placing it on a firm, flat surface, to see if working only one stitch into each stitch is required / enough at that point to maintain the shape. The more segments, the smoother the circumference.
Unlike in hand-knitting, the first loop on the hook does not count as a stitch until you make it into something.
Spirals or miters knit on the machine begin with their radius; one possible construction method may be inferred from these images
Spreadsheet programs such as Excel and Numbers have pie charts and other tools that can help visualize or even plan the work with symbols. Unlike machine knitting, both crochet and hand knitting may begin and grow from the center out or from the outside in. Calculated shaping with increases or decreases along circumferences at different points on the pie creates the desired shape. For the purposes of this discussion, I will address stitches in US terms. There are various published guidelines with some variations. The fiber content and matching gauge (if required) may need editing of the numbers, but, as starting points:
Single Crochet [sc]: Start with 6 sc and increase 6 sc in each round so that the total stitch count in each round is a multiple of 6
Half Double Crochet [hdc]: multiple of 8
Double Crochet [dc]: Multiple of 12
Treble [tr]: multiple of 16
Some symbols and number of stitches required in base rows in table form, for working from the center out:
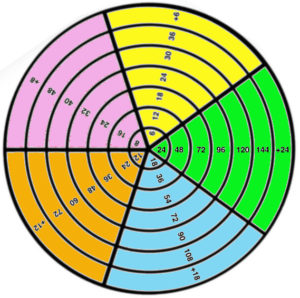
the more wedges in the pie, the smoother the circumference no matter what the method. Single crochet is worked in 6 wedges 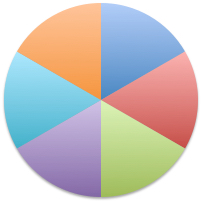 double crochet in 12 wedges,
 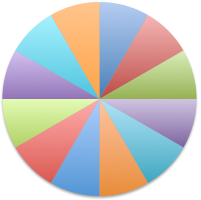 wedges may be reduced to simple line segments
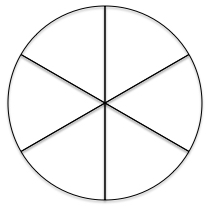
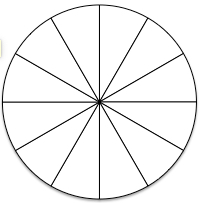 rounds may also be created to log in and track more details
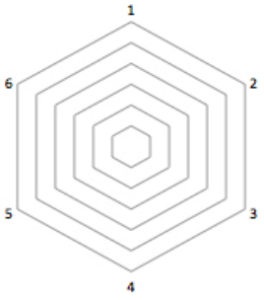
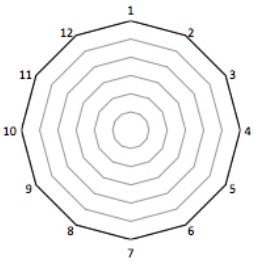 adding wedge outlines before filling in symbols
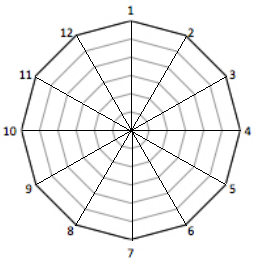
single crochet worked with a slip stitch at the end of each row will produce points similar to those seen in miters in machine knitting
spirals produce a rounder shape 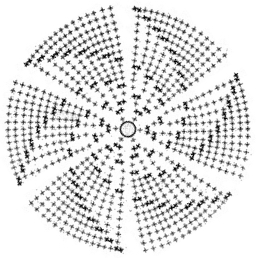 double crochet echoes the forms
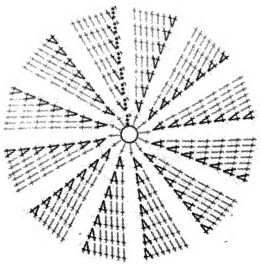
Building your own charts requires vector programs to allow for the rotation of symbols around an axis. My chart was quickly produced in Inkscape, which is free to download for both Mac and PC users. Mac users in addition will also need to download XQuartz to run the program. I created the chart with my own symbols and freeform and laid them down while viewing the grid. It turned out, however, that there are 2 published videos on how to use the program for charting crochet stitches, part 1 and part 2 by StitchesNScraps.com
Two YouTube videos on the topic: using Illustrator CS 5.1, Marnie Mac Lean’s video, and using StitchWorksSoftware. An online generator by Stitch Fiddle, and its associated video.
if donuts are the goal: find your round 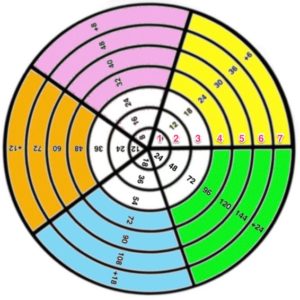
An example: in single crochet, if round 3 had been completed, there would be 18 completed stitches. Chain 18, either slip stitch or continue in a spiral to match the count at that point. For round 4: increase every 4th, round 5: every fifth, round 6: every 6th, and round 7: every 7th stitch. 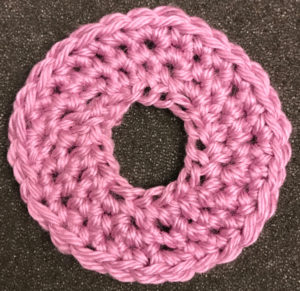 Different stitch heights:
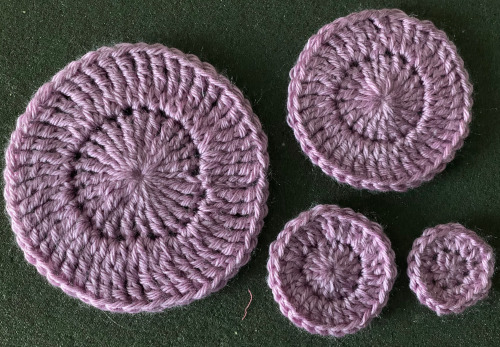
A few sites to see for crochet tutorials:
magic ring start: no chain stitches, no center hole
https://www.youtube.com/watch?v=sLUaywX0-WE
working in spirals
http://snovej.com/archives/freeform-crochet-spiral
a nice ending
https://www.youtube.com/watch?v=W_sW4xX_O70
https://www.youtube.com/watch?v=8L_rtWt78Jw&t=32s
crocheting a flat circle in single crochet: note the start “magic circle”
https://www.youtube.com/watch?v=8oDubbFVE3Y
https://www.youtube.com/watch?v=LZiCnCGP_NQ
changing colors https://www.youtube.com/watch?v=U8cLufFeenU
I tend to swatch in easy-to-see colors, and “friendly” yarn, and use tools that allow moving in and out of stitches easily until I have techniques sorted out. When knitting circles in the round, things get a bit more complex, particularly if one begins introducing items such as round yokes with patterns into garments where gauge matters significantly.
Some of the same principles may be used in hand knitting. For the magic loop start with circular needles: KnitFreedom and on DPs Webs yarn
