July 2021: Gimp update for Mac 2 includes information on
Brushes and patterns
Colors exchange
Colors threshold
Grid options
Symmetry Painting
My last post, written prior to these updates, revisiting-gimp-in-knit-design
I lean toward experimentation as a way of learning and finding what steps work for me. These notes are not intended as full tutorials, they simply share some of my explorations. There now are excellent videos online, but the amount of information can be overwhelming and tends to work with many more colors and significantly higher resolution images than those usually suitable for knitting, where images are often binary and small scale. I add to these work-in-progress notes as I have time, so the information in them will evolve over time with editing and at times rethinking the process used.
June 2021 I have been making a more concerted effort to use the latest version, though if one chooses to, files may still be opened with the earlier  There may be some differences in the program’s appearance depending on which version of Gimp, Mac computer, or OS is being used. Tools appear in new placements as well as the single-pixel brush/ pencil now that brushes fall into 4 types.
  The symmetry tool is greatly improved and more user-friendly, allowing the distribution of patterns in varied repeats across canvases ie garment pieces.
January 2021 update GIMP 2.10.22: there seem to be very few changes. This could change slightly depending on the version of GIMP and Mac used.
Things to consider: the tools are now stacked in folders, shown on the right, so they are not immediately visible  Right-click on the tool icon to reveal other choices
 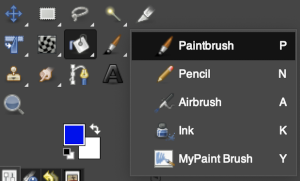 As they appear when viewed in their preferences folder
 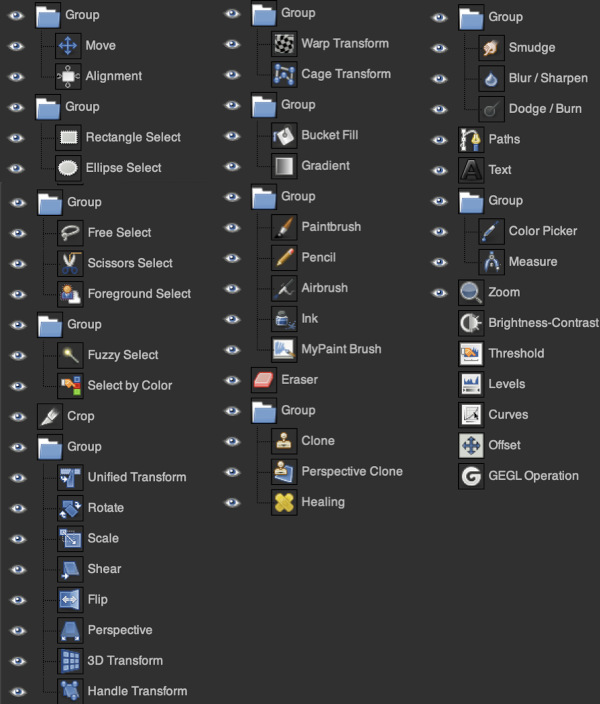 For changing the tool options to the more familiar format go to preferences, scroll down to and click on toolbox, uncheck use tool groups. That said, note that the placement of icons is different from the familiar older version format, ie. paint bucket and rectangle select.
 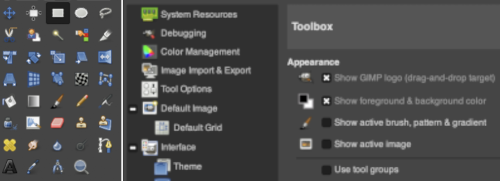 An option for selecting specific tools that include keyboard shortcuts to do so
 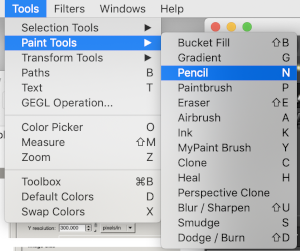 or right-click on the chosen tool
  I had issues with the pencil tool not creating continuous lines, these are the settings that made that work for me, and they are saved when one quits the program
 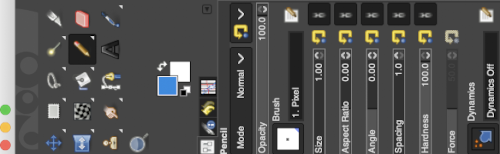 The jury is out as to whether changing the snapping preference value solves the problem long term
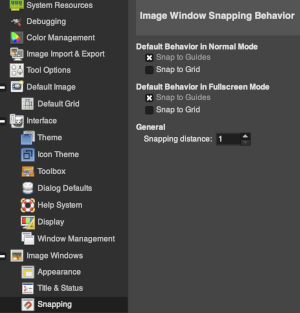 A FB friend with a lot of experience with the program offered this as a possible cause “sometimes I accidentally activate commands with key combinations. It happens if you use the keyboard a lot (I have not used the mouse, for years). I work on a large Mac desktop and prefer the mouse to any keyboard commands.
The crop to selection tool when used on small files ie 20 pixels wide, crops to one extra pixel on the right, so to get a 15-pixel image, cropping to 14 wide appears to get the wanted result, checked with image/scale. The problem persists with slightly wider, and even tiled images up to 60 stitches wide ![]()
 and here with a portrait size image
 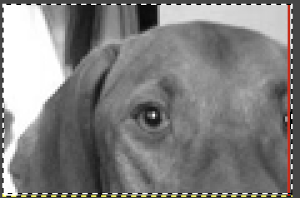 If brushes, colormaps, or palettes were saved in the “older” version, they will be lost. They can be recreated and saved using the brush import feature in the palette editor. Go to windows, dockable dialogue, palettes, and right-click on the palette window to call up the necessary menu choice
 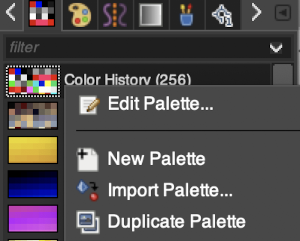 A new manual and program update for Mac OS are available (2.10.14 in 2020). The program launches in an all-in-one dark window with grey tool icons. As I become aware of any other changes I will attempt to share them. My use of the program is limited to working with imagery for knits and for my blog, my progress doing so up to now can be viewed via a category search. A lengthy tutorial on using 2.1 in Windows computers for beginners by Michael Davies was posted a year ago but new to me may be found on youtube.
Mac users are included in the latest version update, but will need to get around security settings for installing software from non-Apple approved developers. Long-time users will face a very different appearance upon launching the program version 2.10, in a single window display  It is possible to switch to a lighter theme color by going to system preferences/ resources
 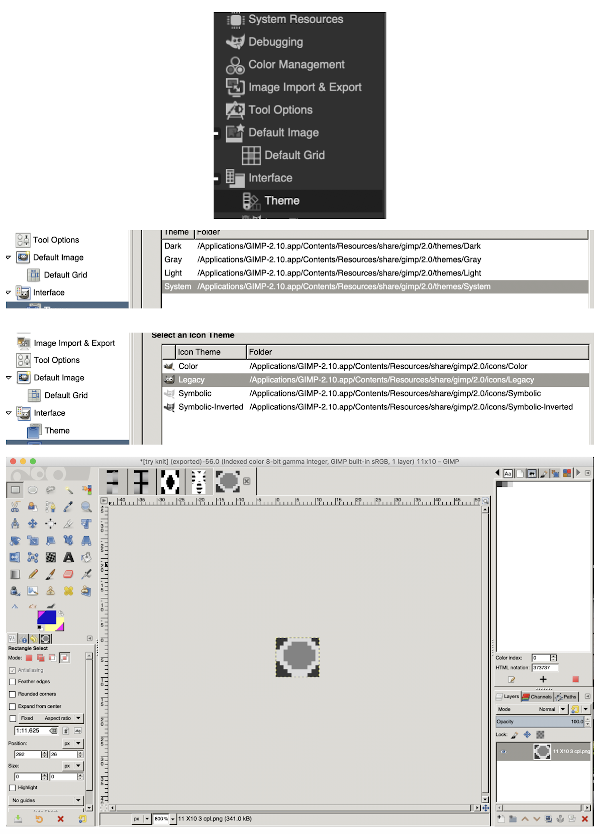 I actually found I have been working long enough in the dark theme to prefer it and restored it. These notes were taken when I first downloaded the program: images being processed appeared as shown below
  Previously clicking on the red X dot would ask if the image was to be discarded, and on the acknowledgment of the fact, the program would continue to stay open,
 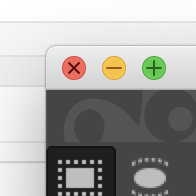 now that same action will quit the program completely. Clicking on the X beside the image will bring up the discard option, quitting the image and working on it as opposed to quitting the program. It is possible to work on multiple images at the same time. Drag and drop superimpose the new image fixed onto the center of first.
 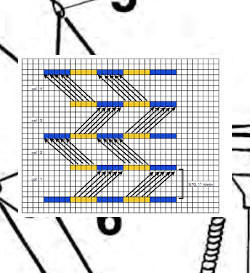 Choose file open,
  and processing multiple images is now available, with the ability to toggle between them.
 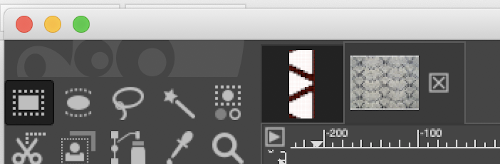 Working on 2 images again, copy the smaller image on its own screen,
 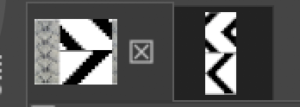 return to the screen with the larger image intended to be in the background, paste the smaller image for a floating selection that can be anchored anywhere on the ground, edit/ undo may be used repeatedly if need be, and done
Discard each image individually to keep the program running, use the hide command if the larger update window is in your way or distracting, 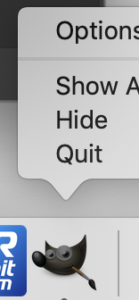 click on the gimp icon again to restore the view.
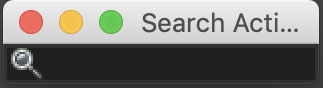
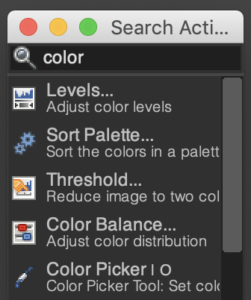
There is now an integrated search function
 2 sample entries:
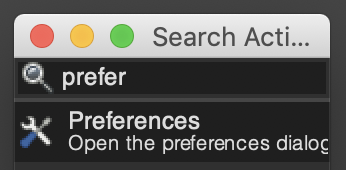
Document history can also be found on the right, 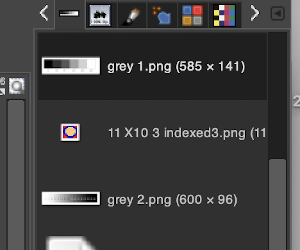 a right mouse click on any of the thumbnails will show possible document actions
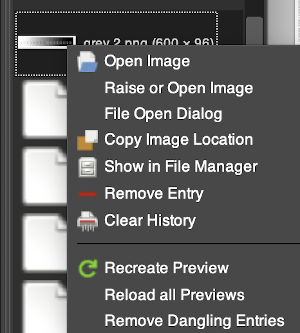
Experimenting with more changes to defaults: adjusted image size to start with. The default width and height are in full HD resolution. Setting @300 PPI is best for printing, and can be brought down for simple pixel work. The problem with doing that is that if a high-resolution image is then loaded into gimp, the result is not workable. I take photos of my swatches in high res, and scale them in GIMP prior to publishing them on my blog, the greyscale result at the bottom represents one such load for processing. 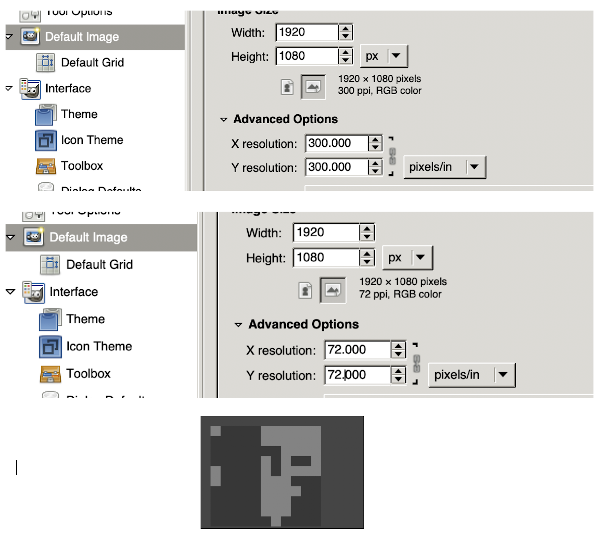
Color settings may also be changed. Since Ayab and img2track do better with 8-bit integer color processing the new test defaults for me are shown below, which will mean only indexed images will have a colormap. Gamma changes automatically with bit adjustments, ie. a 32-bit color floating point will adjust to linear light gamma, which is the highest resolution possible.
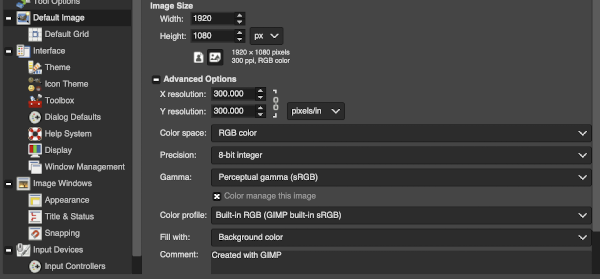 A word of caution: after choosing the 8-bit option and not liking the quality of my imported images, I tried restoring the original 32-bit floating one without success even after saving, quitting the program, and restarting it several times. I then chose to reinstall the program and continue working in the default settings for now. The download turned out to be for version 2.10.14, this is the new default appearance after launch on my computer
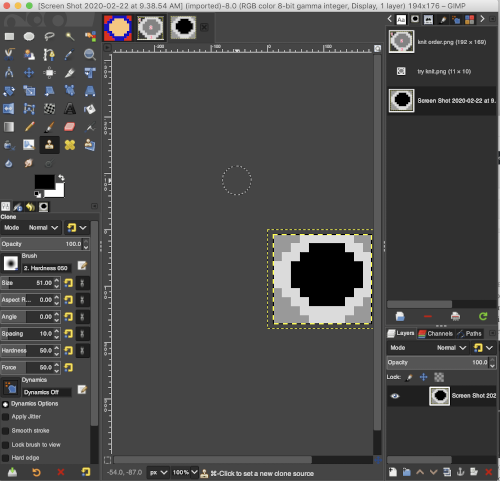
A new way to navigate menu options: a right mouse click in the workspace, once an image is loaded, will now make menu choices available within it
I use both Ayab and img2track, depending on the desired fabric outcome. There are active FB groups discussing the use of Gimp and both download programs as well as activity on Ravelry, where questions on tips and techniques become threads and have the great benefit of contributions by both Adrienne Hunter and Tanya Cunningham. Knowledge shared by both has rescued me from many sticky or problem spots in my own knitting.
In reference to Ayab, in one such thread on multiple colors per row knits, it was mentioned that color separations for 3 or more colors are done in shades of grey, and in terms of technical details “You need a pattern image which is 8-bit greyscale, each color is coded in a range of the 8bit values. So for 4 colors, it would be 0-63 color a; 64-127 color b; 128-195 color c; 196-255 color d. It seems to be OK to give the image some color, so long as the gray component of the colors divides up as given.”
As a matter of personal preference, I like to work with color in my repeats. The specific placement of each of the 3 (or more colors) can be planned in the color changer so that the yarn matches the corresponding color in the chart. That led to thinking about color numbers, shades of grey, and saving palettes.
Binary images have only 2 possible intensity values, normally displayed as black and white with values of either 1 or 255 for white, and often 0 for black. Thresholding a greyscale or colored image can be used to separate the image from the ground, the color object is often considered white, and the rest (black) is the ground. That convention may have led to the selection of white as color one in automatic separations such as the KRC Japanese one, where white is selected first. In a greyscale or color image, a pixel can take on any value between 0 and 255. Searching for numbers to match greyscale shades:
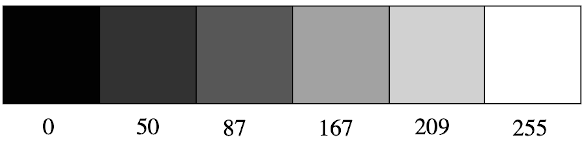
 Of note, the assigned numerical values are different depending on the source. The indexing options remain unchanged. These are results of reducing the number of colors used in each of the above. The results could be saved as .pngs, each of those opened, and the dropper tool used to select colors and use them in turn in new canvases where the motif is being designed.
 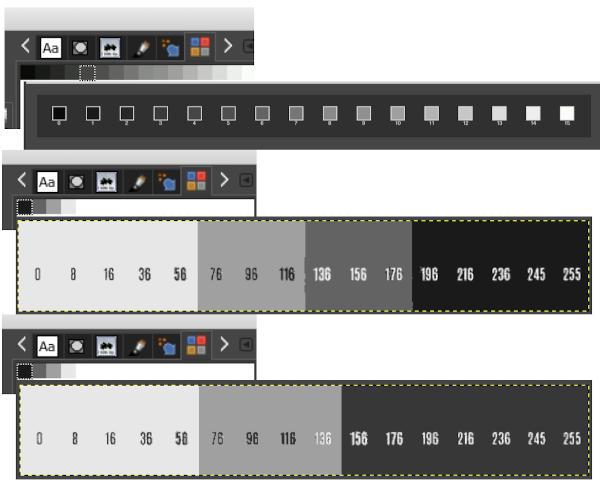 What about saving the color information as easy access palettes? Doing so in this release is fairly intuitive.
 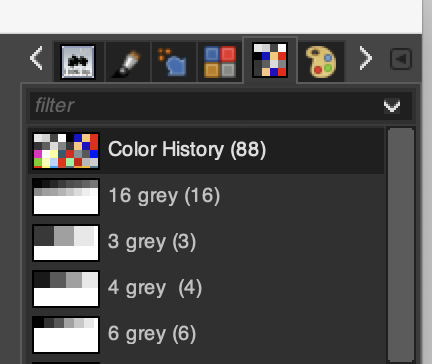 The palette options include a Generate optimum palette for the best possible palette with a default maximum number of 256 colors (classic GIF format). You can reduce this Maximum Number of Colors, although this may create unwanted effects (color banding) on smooth transitions. You may be able to lessen the unwanted effects by using dithering, in image processing, however, in most knitting patterns the color may be limited to 4 or under when working in multiple colors per row. Use custom palette: this button lets you select a custom palette from a list. The number of colors is indicated for each palette.
Useful information on the indexed palette and palette editor.
When attempting to create and export new palettes in order to make them available in the future, an error message may be received. A folder needs to be activated for the saves to occur. 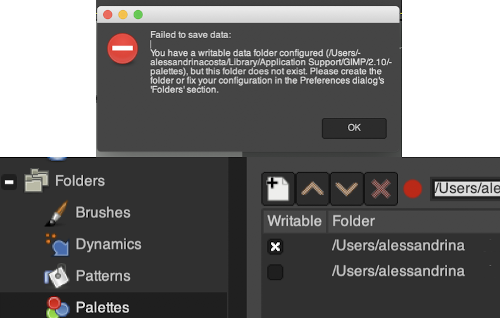 Both options below the writable folder heading should be checked, the red dot will then turn to green. To make the necessary change: folders may be found in system preferences at the bottom of the default list
 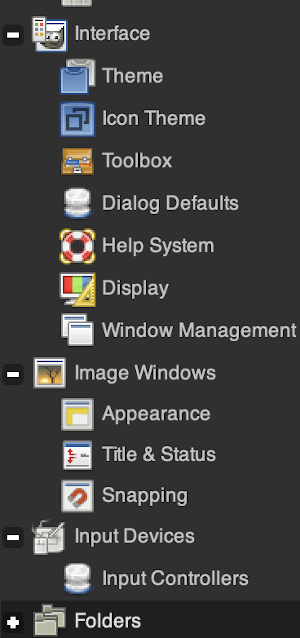 Click on the + to the left of the icon to expand the view of the available choices
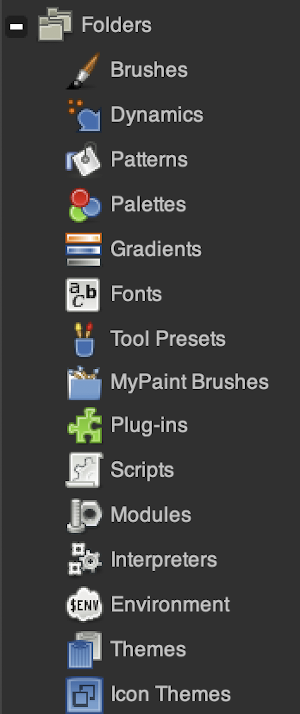
To import a new palette, select windows/dockable items/ palettes in the top menu or select the option after right mouse click in the work area 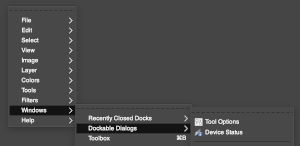 To obtain a 6-color palette in the grey range, I reduced a greyscale image to 6 indexed colors and then used the settings below for the import after right-clicking in the palette dialog and choosing import palette from the resulting menu.
  The opportunity is there for editing the palette, it is the first item in the palette’s dialogue. To use the palette double click on your chosen one, a new palette editor dialogue opens up
 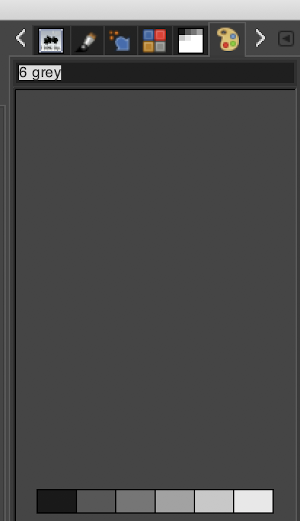 Selecting any one of the colors will automatically change the foreground color for working on the image ie choosing color 3 of the 6
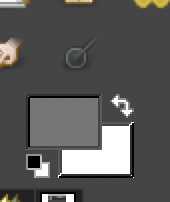 Switch the foreground and background-position and select an added color to make both of those 2 colors available while working
  Using this feature with palettes containing multiple colors makes far quicker work when designing in RGB. Set pencil to desired pixel size, click on the desired color in any sequence to choose it, and then click again to place it on the working canvas
 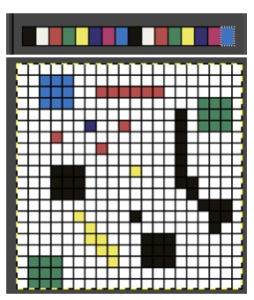 Right-click on any of the palette icons, for this dialogue menu
 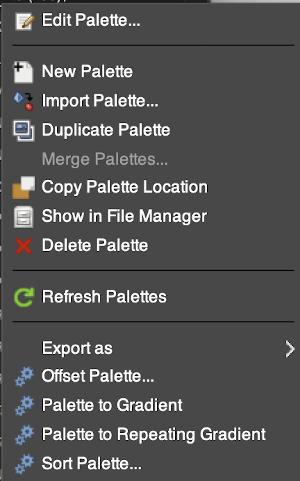 While experimenting I reached a point at which my pencil refused to draw in anything but gradient shades without my having changed any settings. The problem went away when I “found” the fade length and set it to 0. So much that is new, that it’s hard to know what is operator error and what may be a “bug”
 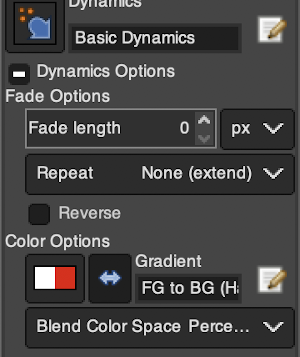 Another tool dialogue option to explore for ease in coloring pixels in specific palette colors
  The Windows version of the software has had several small updates not available on the Mac yet. The latest was for 2.10.18 announced on 2-24-2020. As a result, searching for tutorials may provide instructions, views, and options not yet available to us, for example, transform dialogue in Windows
 ![]() A sample in Mac, with the rotate dialogue which now appears as a separate window copied and pasted on the upper right of the image below
A sample in Mac, with the rotate dialogue which now appears as a separate window copied and pasted on the upper right of the image below ![]() and another view from the image menu selection in the top dialogue
and another view from the image menu selection in the top dialogue![]() Symmetry is now an option for drawing in repeat in a variety of ways, making mirroring, tiling, and more possible while creating the design. The tool is considerably improved in version 2.10.22, see the post. My first experiments were on 40X40 files, magnified X800, with the grid in view. Some of the available choices:
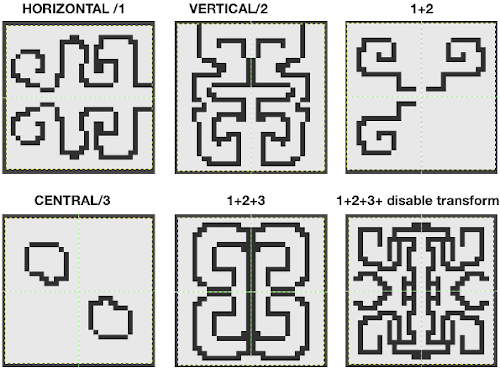
Symmetry is now an option for drawing in repeat in a variety of ways, making mirroring, tiling, and more possible while creating the design. The tool is considerably improved in version 2.10.22, see the post. My first experiments were on 40X40 files, magnified X800, with the grid in view. Some of the available choices: 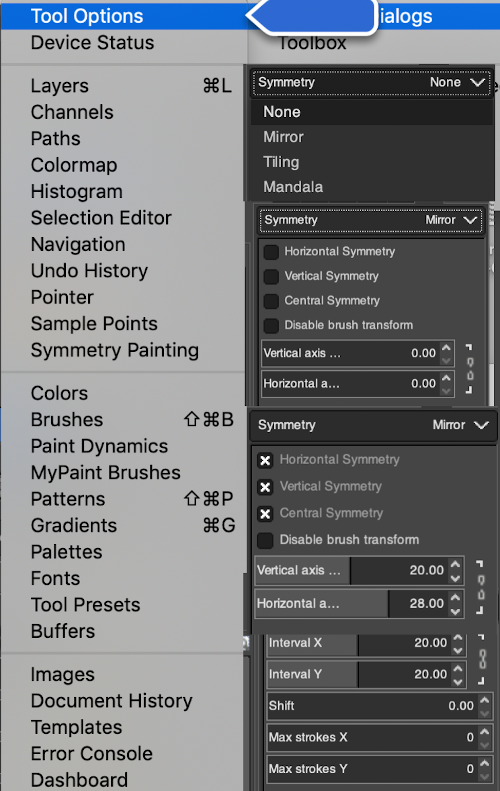 Some quick doodles using a single-pixel brush note the lags in some of the mirroring
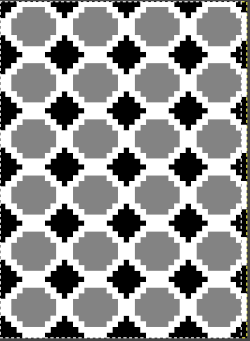
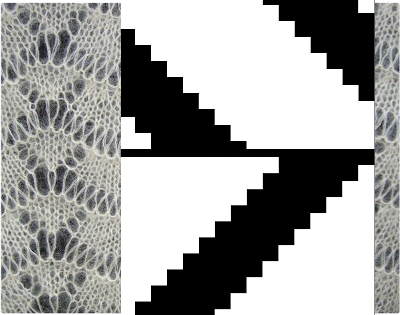
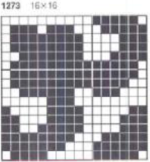
 Other than drawing freehand I have had no luck working predictably with larger designs, even if saved as brushes or patterns. One problem is that the pivot point is 2 pixels in each direction, not one, so repeats with single stitches/rows along their center axis would still need editing. In a previous attempt to explain mirroring in a forum post, I used Passap 1273 as my sample pattern. Copying and pasting the image on a larger canvas leaves one unable to change the direction of the newly pasted image alone, the whole potential repeat is affected by the command. The image in question here was 16 pixels wide by 16 high, the goal to mirror it to a 32 by 32 repeat.
 There was no problem with transforming the original and pasting each in place, here it is also scaled twice as high and wide
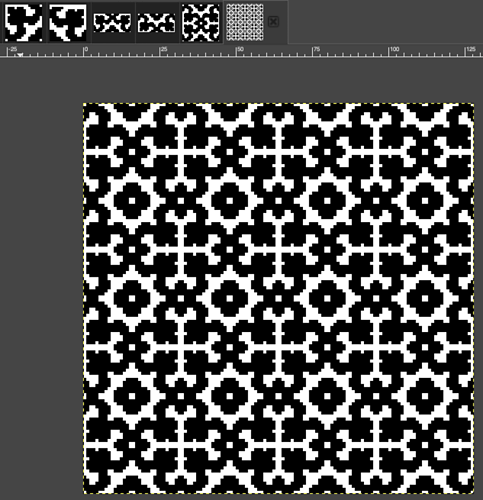 tiling is compared for both the original repeat and the same scaled X2, with both the final tiled images 128 pixels in width and height
 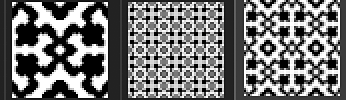 The best I could achieve with symmetry was a relative with 3 out of 4 motifs placed mirrored in the desired direction, but also off-center and in need of editing
 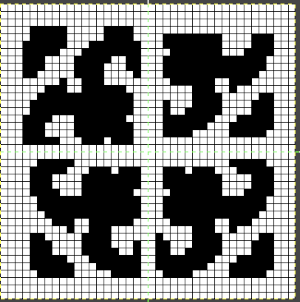 Freehand drawing the full repeat as given using symmetry is doable, but I found it a bit dizzying. Copy and paste around the central axis is not a solution. A compromise could be reached by freehand drawing for a different, final image that can be easy and immediate to produce. Some of the transitions:
 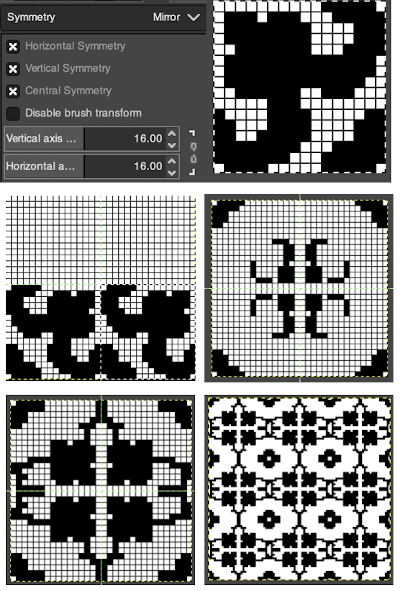 The mandala option reminds me of spirograph drawings, the number of points can easily be changed
 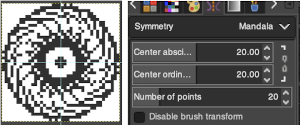 Tiling may be useful in brick or offset repeats, but my limited experiments did not produce anything worth saving or sharing.
Text: any font installed on your computer can be made available by going to preferences once more, clicking on both options in the font folder, and green light on= you are set to go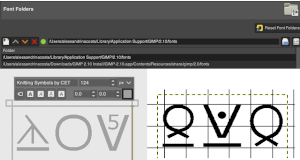 I have no idea yet whether symbols can be laid out on a custom grid so as to create a whole chart using them, but can imagine that large versions of symbols, web dings, and wingdings could potentially become pattern repeats. A very quick repeat from a webding 40 stitches wide
and a 24 stitch one 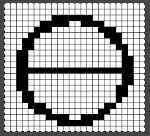
On 10/18 I ran into issues when using the pencil tool with the fore and background colors swapping positions during long strokes  along with switching formats from 8-bit to 32 with pencil drawing seizures. Restarting the program did not help. What appears to have provided a solution up to now, was to use preferences to reset and save the defaults for tools
  and the 8-bit precision option
 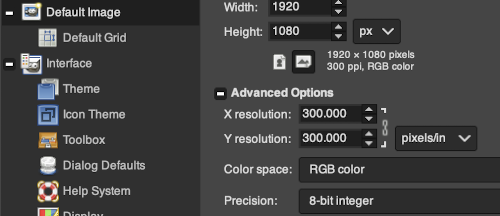 I have previously written on using Numbers (similarly done in Excel) to create charts, then importing them into Gimp to create .bmps for download. This is a review of a method that seems to work well with smaller repeats: the working chart. Make certain the table is formatted so that all cells are the same size, with equal height and width
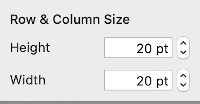
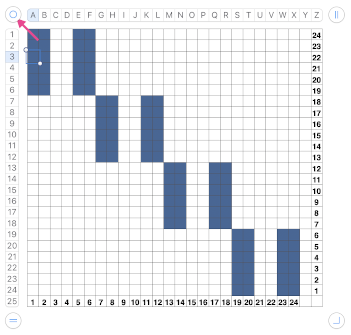 Use the border option to eliminate the interior cell borders, selecting no border,
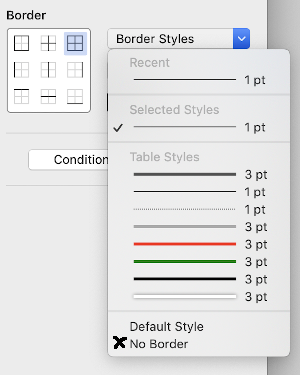
then add a border at the outer edges of the chart in a thin line, 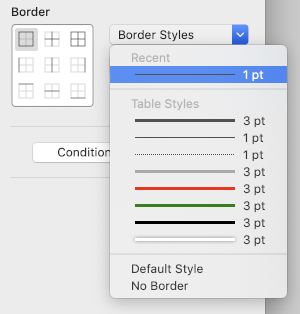 screengrab the image with an additional white area surrounding it. The black outline below is from Gimp dark background
 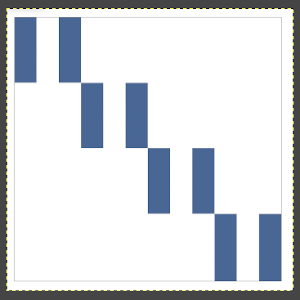 Use the bucket fill tool to make each color segment black, change the mode to indexed,
 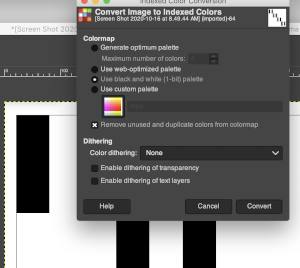 remove the excess border,
  scale the image to the desired size,
 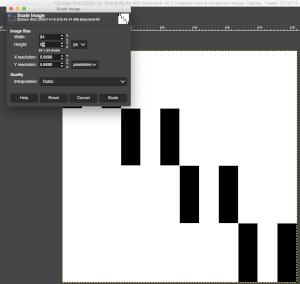 magnify to at least 800X, show grid, check that no clean up is needed,
 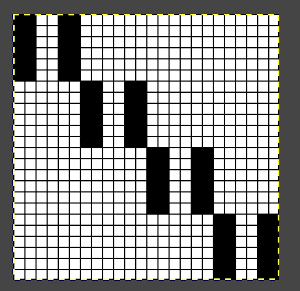 the image needs to be color reversed in order to be used for slip-stitch knitting,
  saved as an indexed .bmp
![]() If dragging and dropping or copying .bmps from FB or other sources, check that the download is still in indexed format and has not been altered to RGB mode during the process.
If dragging and dropping or copying .bmps from FB or other sources, check that the download is still in indexed format and has not been altered to RGB mode during the process.
A blog post illustrating using the repeat /2020/10/18/single-bed-tuck-mostly-slip-stitch-fabrics-3/
Subsequent posts:
Gimp to create text for knitting 1/21
Numbers and GIMP: online punchcard patterns to electronics 12/20