There are generators online for many generators to aid with knitting design. In 2015 I published a post on working with generated mazes: Gimp charting 1
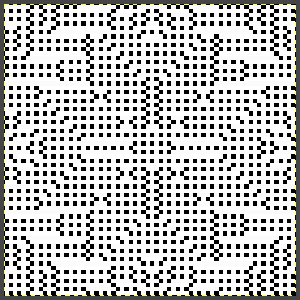
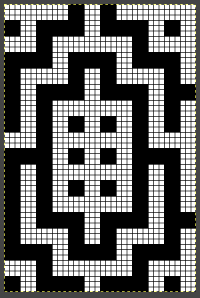
The mosaic and maze graphics prior to their color separations are not suitable for fantasy fair isle double bed knitting as a shortcut. There are simply too many vertical white pixel rows begging for carriage jams no matter the machine used. The same long lines of black or white cells make them unsuitable for traditional fair isle knitting as well.
Visual clues are helpful as steps get navigated. In small-scale repeats, a different option from the method that follows is to begin with a file previously used and separated, magnified to 1800X.
1. using the rectangle select tool, begin on row 1, extending handle outside the image, I work from left to right
2. hold down the shift key, and continue selecting every other row. As each row is selected, it is outlined with dots. The handles to the right and left of that row serve as guides as to the last row worked, moving up as separation progresses. Clicking on the rectangle select tool at any point fixes the layer, and the dotted lines will disappear. 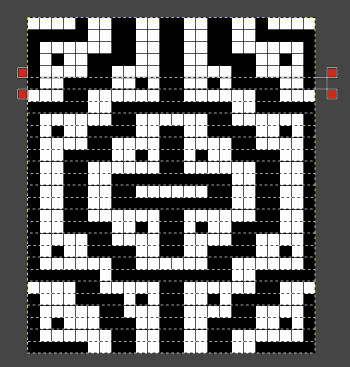 The process could be performed in steps, with guides placed prior to color inverting the previous steps in the sequence and moving onto the next.
 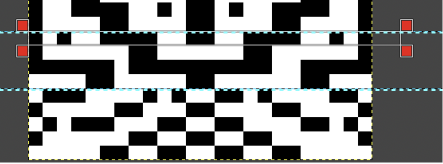 The guides remain until they are removed by clicking on the check mark beside show guides,
 ![]() or with the / / command.
or with the / / command.
In large designs, I would guess this may be more easily error-prone than when using layers.
3. after each pertinent row has been selected, choose the color invert option, and save the resulting file. The first step is completed in the separation.
The file then needs in turn to be color-inverted and lengthened X2 prior to knitting. The result matches the separation in the previous post. 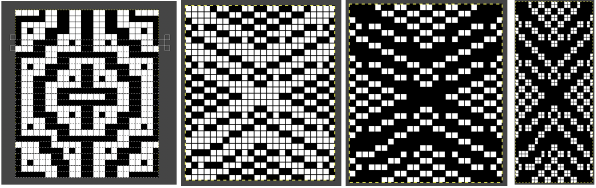 Holding down the shift key when using the pencil tool on any image produces very different results.
 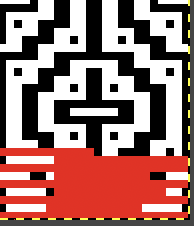 My samples continue to be knit on the 930 using img2track, a download program I find reliable and easy to use. The only errors in programming I have encountered were due to operator errors, not software ones.
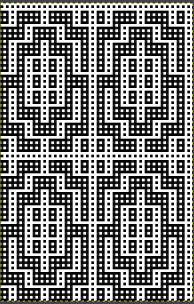
Since 2015 working with larger images has become far less daunting as my methods for color separations of mazes and mosaics have evolved.
Laura Kroegler’s online Mosaic Pattern Generator is still available. Returning to it, and using these parameters  the pngs were downloaded both in red and then again in black and white.
 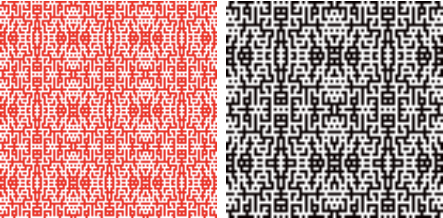 A 38X38 stitch repeat was isolated, and using Layer/Transparency/Color to Alpha a knittable mosaic design was obtained which, when knit, would require elongation X2 for color changing every 2 rows
 ![]()
 The last file, doubled in length to 76 rows in height, requires no further processing
 ![]() The separations are achieved now in just minutes.
The separations are achieved now in just minutes.
The proof of concept swatch: when using repeats that are so much wider, one must commit to far larger swatches to test them. In addition, the placement in the final piece may matter with shifting the pattern to highlight a preferred center, here the machine was allowed to place the design as a simple overall one on 78 stitches by 116 rows.  There are droves of inspiring large-scale mosaic crochet images published nowadays, which led me to wonder about DIY similar large graphic mosaics in machine knitting.
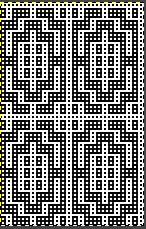
I performed the first color separation with shortcuts, used mirroring the cleaned-up repeat, did not verify each step with tiling, and committed to knitting a test swatch. A 68X136 repeat X2 in width and at least with 40 more rows in height, produced a 16X24 inch test swatch, wherein a couple of missing pixels became noticeable.
The swatch was also knit using slip in both directions on the main bed, which produces a narrow, short fabric as opposed to wide and also short when using the tuck setting. 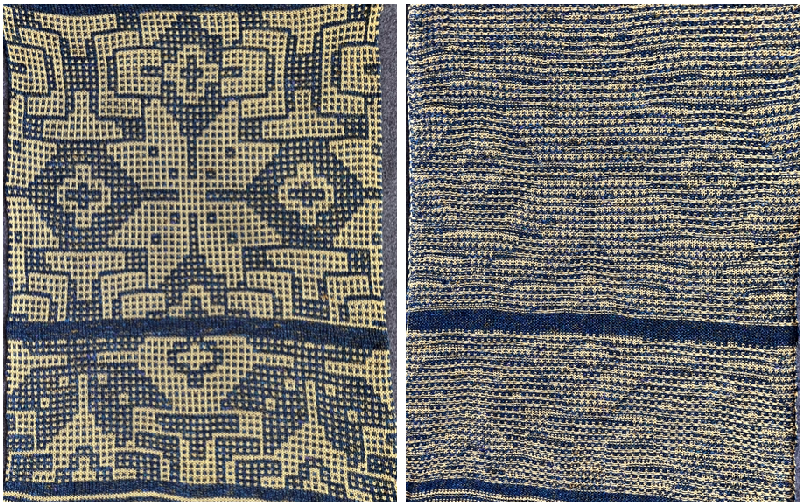 Back to the drawing board.
The initial approach is similar to that used in creating mock filet crochet shapes on the machine.
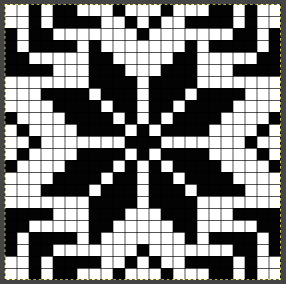
With present tools the results process is easy and quick: to begin with, choose any symmetrical design where the shaping of the motif occurs in single rows, this one measures 23X23 ![]()
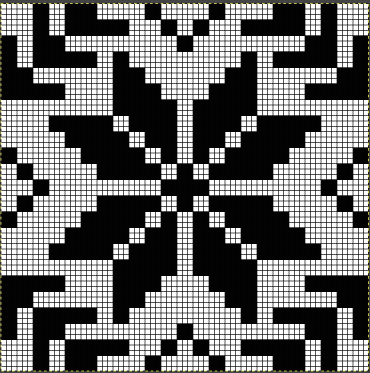
 scale the file X3 in both directions to 69X69
 save this brush to use later for bucket-fill in the design.
  Choose fuzzy select by color/black, each shape will be surrounded by a dotted line
 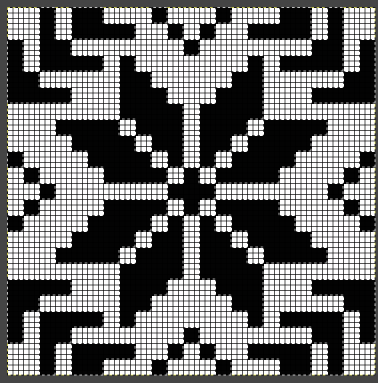 bucket fill the selections with the saved pattern
  click on rectangle select to fix the layer, work on and clean up the repeat, and check a magnified version for any missing or misplaced pixels.
  Save the png. for reference before continuing to work.
  Make one of 2 choices. If the goal is to place a motif, and to add borders or horizontal additional design stripes, create a new canvas, larger in size than the above, fill it with the same pattern, and then Colors/Invert. Click on the rectangle tool to fix the layer.
  Change the white color to alpha in the previously processed snowflake, click on the rectangle tool again
 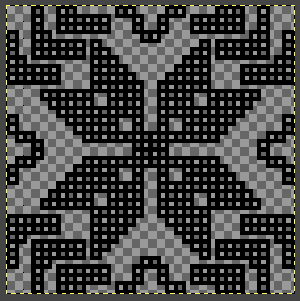 copy and paste the file onto the color-reversed grid, and click on the rectangle tool. Check the pasted image visually, and continue adding any other designs.
 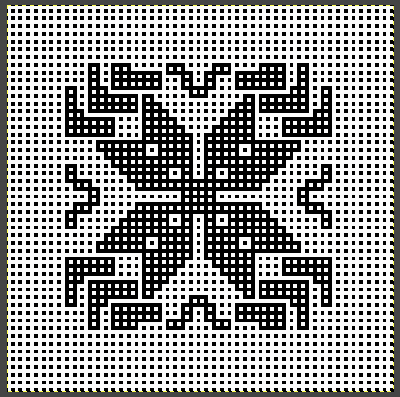 If the goal is to produce an all-over design, crop the shape on the dotted ground, and save it as a 69X69 repeat. Pasting the original on an equal size color reversed dotted ground does not work.
 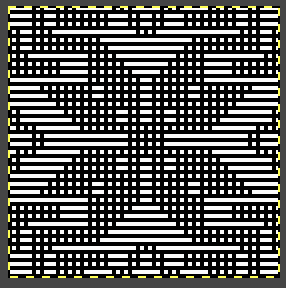 Tiling the result of the cropped repeat will show the need for cropping it by one row at the top and one column to the right.
 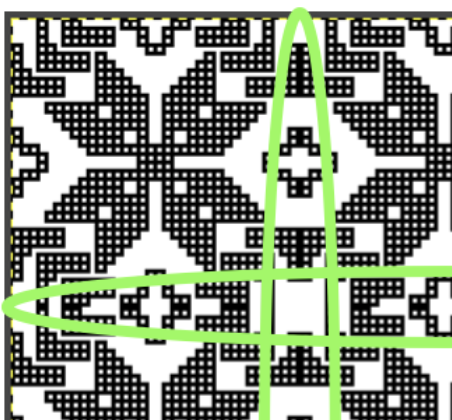 The resulting repeat, 68X68
  tiled X3 in each direction for a visual check.
  Using the process previously described
1. open the 68-stitch file in Gimp, and magnify it to at least 800X for a visible grid
2. open file/new, equal size and magnification
3. copy and paste 1 on 2, click on the rectangle select tool
Colors/invert, click again on the rectangle tool or anywhere in the work window 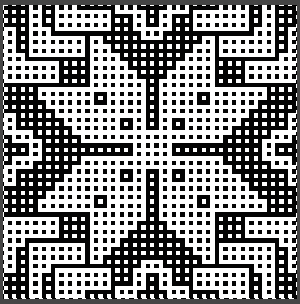 4: magnify further if needed. Using the pencil tool fill in every other row beginning with row 2 in a contrasting palette color, and click on the rectangle tool
  5. Layer, transparency, color to alpha, as described in the last post, click on rectangle tool
 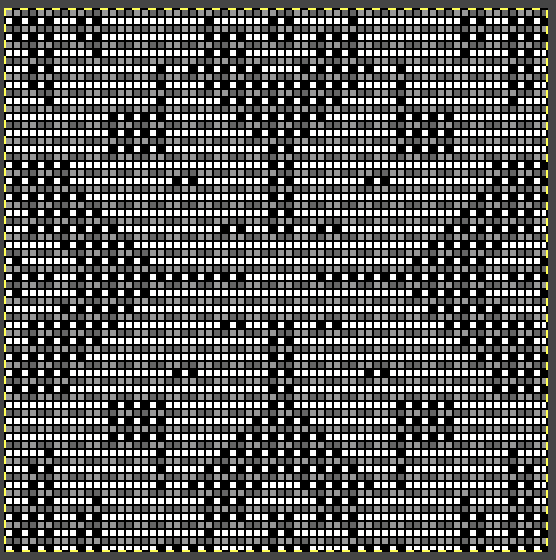 6. Copy and paste this result onto the 68-stitch file in the first window, there will be lots of dotted lines onscreen
 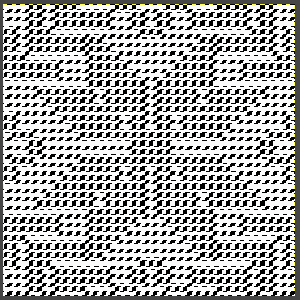 Click on the rectangle select tool to paste the image in place.
 Since those large areas of white will be knitted in a tuck or slip fabric, the above result needs to be color inverted. If used as is, set the machine’s built-in double-length function.
 Doubling the length of the file prior to the download to km
  Part of the view on the img2track screen for the 68X136 file ready for download.
 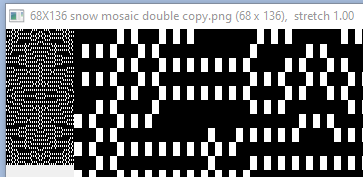 Committing to proving the concept:
  Using the same approach of tripling the original, here the repeat
 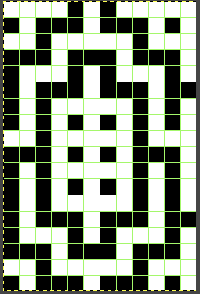 was used in an attempt to render a larger-scale mosaic. The process becomes fiddly because using the fuzzy select tool and then the bucket-fill-in pattern does not work cleanly on areas that are only 3 pixels wide.
That said, it is possible obstinately, in stages, to get from this, 36X54 ![]()
 To a 36 by 56 mosaic
![]()
 A last edit
![]()
 Perhaps falling in the category of “don’t have to simply because I can”.
Images at this stage of the process may be knit double-bed as a “fantasy fair isle” with no further separation.
On an electronic machine, download the repeat, program it for the number of needles in use on the top bed, and select the KRC separation button.
The first preselection row will need to be from left to right.
The main bed is set to tuck in both directions, the ribber to N in both directions.
There will be lots of non-selected needles tucking on rows with large numbers of side-by-side white cells. Because the fabric is being knit using every needle on both beds, each main bed tuck loop will have a knit stitch on the opposite bed anchoring it down. Those rows will appear more compressed, producing narrower horizontal lines 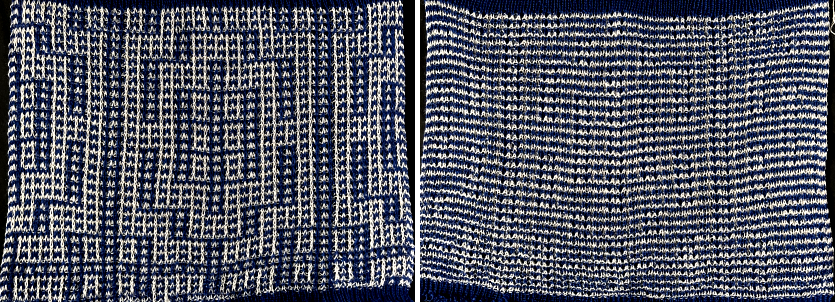 The yarns used were very thin single strands of 2/28 at tension 4/3. The result is a very lightweight and loose knit with lots of drape. The 72 stitches by 140 rows swatch measured 16 inches in width by 10 rows in height. Perhaps a good method for summer shawls, worth exploring in thicker yarns for blankets. A closer look at the structure:
  A larger BW design was processed using no modification of the original 75X71 motif. When using Gimp/File/Save, the result is a .xcf document similar to PSD files in Photoshop. It will store layers, transparency settings, and more information associated with and parts of the same project.
 Note to self: before deleting the .xcf make certain that at least the final png has been saved.
If one is familiar with image processing and fond of the maze appearance in designs, there is a font to try: Mazeletter
The downloadable associated documentation and source for inspiration: http://mazeletter.xyz/Mazeletter.pdf.
A very quick random type sample rendered with no advance planning: 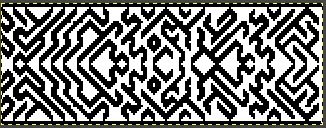
Another, mosaic4way, is potentially usable for single bed fair isle or dbj.  The drawback has been that my sample pngs for both were created in RGB mode, and conversion to BW or scaling loses details.
It is possible to begin on an all-white canvas, set the mode to indexed to start with, type text, merge layer down, crop to content, and have workable indexed black and white knittable results, but the degree of success appears to depend on the font size used.
Another thing to investigate 😉