A video on this topic. I work using Mac OS 10.10 at the moment. When I first wrote on this topic, I downloaded a then free converter The app, Aztec Code Generator, is now no longer free (11/2015) but costs $ 1.99 to purchase. There is a still free, online QR generator
my beginning code

the original image size was reduced to 60 pixels square, and in turn to 40 pixels square respectively, then magnified to 600 times for superimposing the single stitch grid as described in the video; screen-captured image saves are needed for saving gridded images
the 60 stitch repeat

the 40 stitch repeat

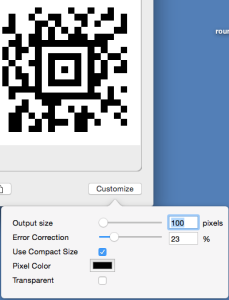
using the Aztec code generator to control output size
saved
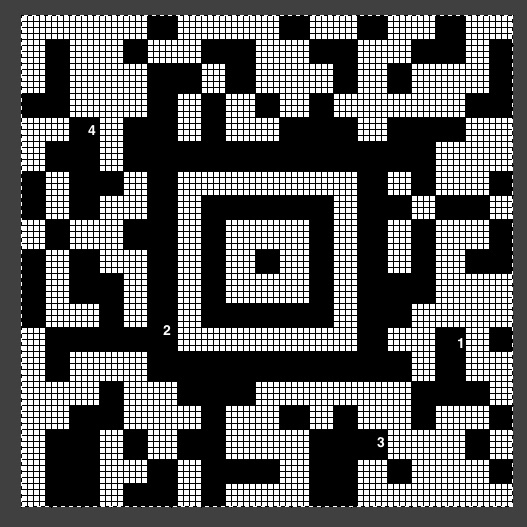
X1,000, cropped and gridded
not all units are created equal: areas numbered indicate where some of the horizontal units are 5 wide rather than as most 4, and closer inspection will reveal the same for some vertical units. Reconfiguring the grid ie to 4X4 pixels would be an alternative way to “resize” the image, but fails because of the disparities when the unit is applied overall
trying the same process on this BW jpeg, the resulting repeats require further cleanup and editing along edges of shapes

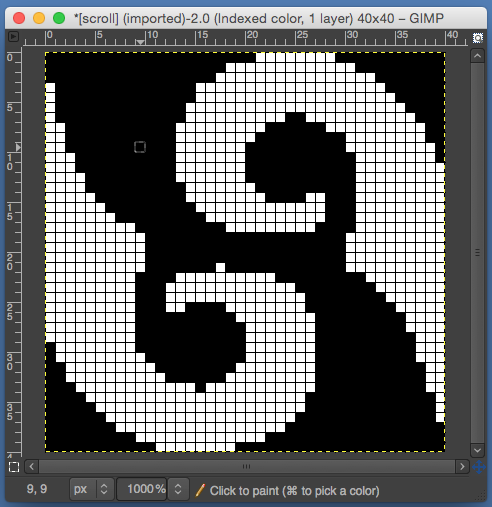
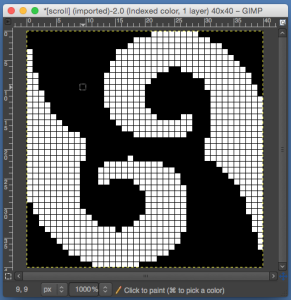
using GIMP: 40 stitch repeat, no additional scaling, converted to 1bit BW, could use a bit of clean up, I prefer to work with a black grid
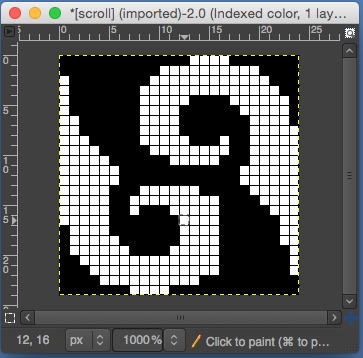
24 stitch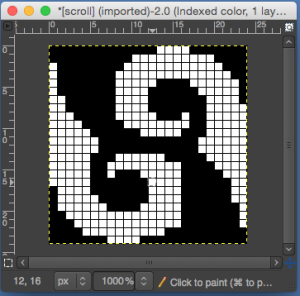
as an afterthought: results using img2track to pixelate the same image before gridding
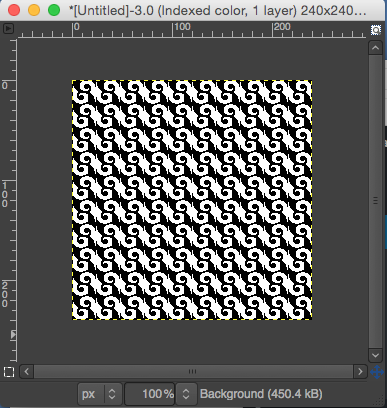
please note these scroll graphs are not accurate working repeats to be knit as they are
it is always a good idea to test tiling for any “surprises” before any actual knitting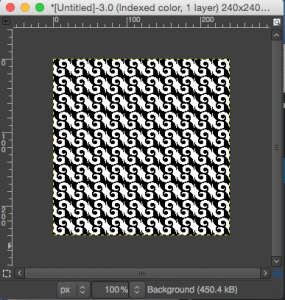
11/2015_Knitting’ low resolution is reflected in the number of stitches and rows per inch or per repeat. In this instance, Gimp was again used to scale and process the image
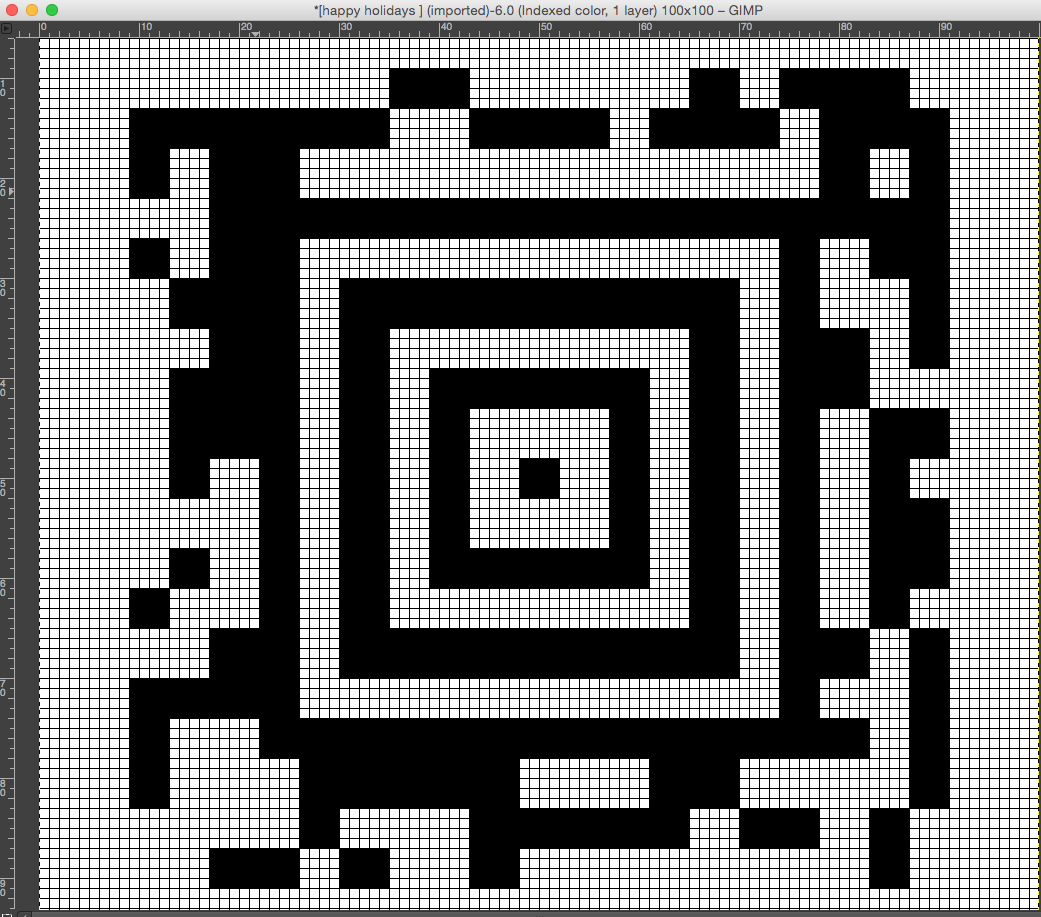
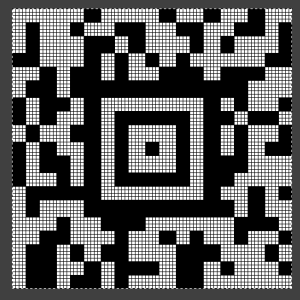
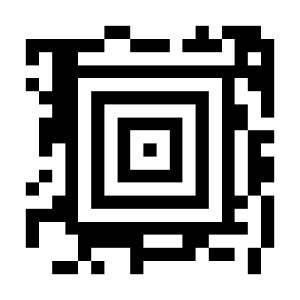
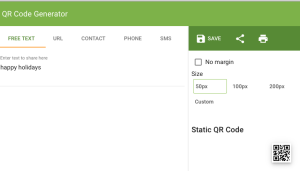
Today’s generated image: happy holidays QR code, Aztec code generator, 300 pixels square including white border
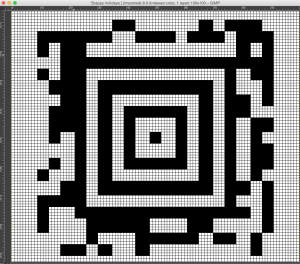
 color mode converted to 1-bit B&W; 100 stitch repeat
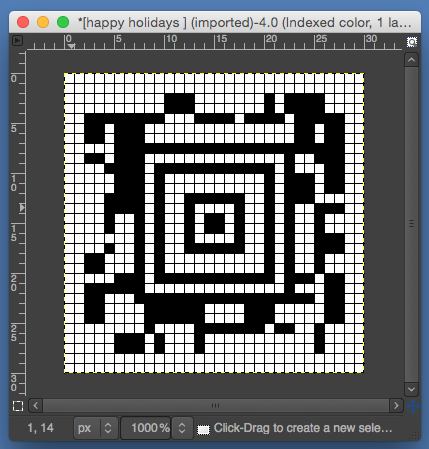
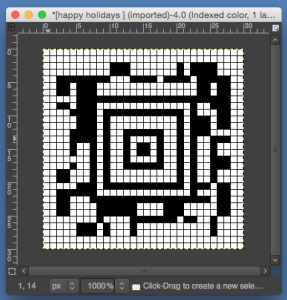
scaling, gridding for 30 stitch repeat
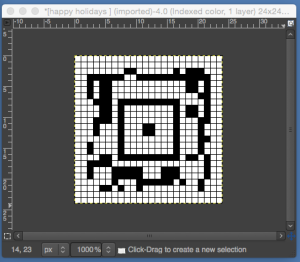
for 24 stitch repeat: note loss of detail as stitch and row counts are reduced
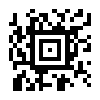
and happy holidays via the free, online generator  using the generator options to control available output size
The above begs many questions. Upon investigation, it appears there are 18 2D bar code variants, some static, some dynamic. Qrme is a UK site that provides information on trackable QR codes, forums, and more. Their page shows scaled in size codes modules.
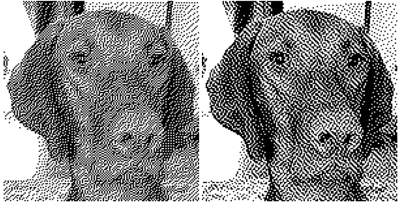 A tutorial for owners of Photoshop diffusion, halftone, pattern, custom
  With thanks to my test subjects: Rocco
 One bit camera and my sofa fabric
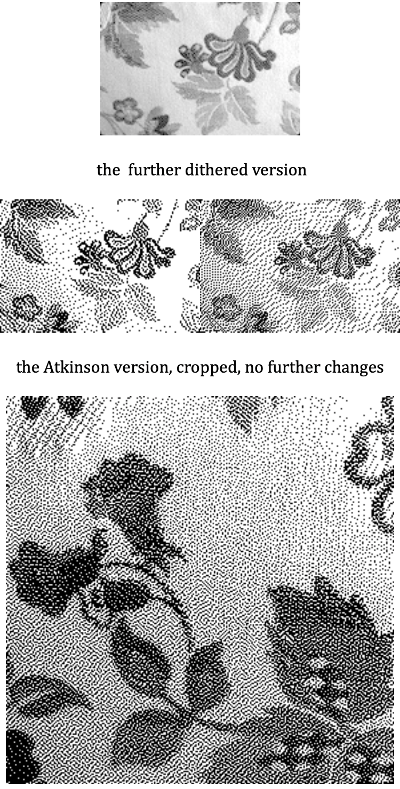
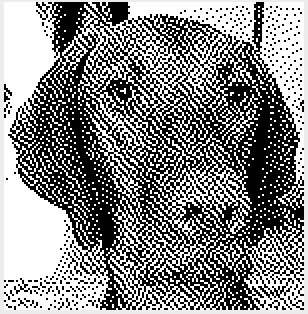 May 2019: ditherlicious