For many years my knitting of accessories and wearable pieces was my source of income, guided by what pricing the local market would bear, the limitations of mylar sheets or that of an early Passap interface to program repeats, and the amount of time required to complete each piece.
There is practicality and ease in playing with colors using small motifs single-bed, and varying materials and yarn plies allowed me to aim for limited edition designs without looking at identical finished products more than once or occasionally a few times.
At first, Ayab and then img2track changed the playing field in terms of downloading and programming designs.
Eventually, my knitting moved from production pieces for sale to creating samples for my blog almost exclusively.
I have had a long and continued interest in math-based designs, and knit a line of accessories using automata-inspired repeats, often limiting the repeats in size to ones that would align vertically without having to program multiple DBJ segments, reducing the possibility of programming errors in scarves that would often require around 1200 knit rows in length.
A 930 followed the 910, this, knit in July 2021, was my first try at using img2track to download multiple tracks.  There are many ways to yield math-based patterns, and nowadays online generators and reference sites abound, making it possible for nongeeks to use the resulting files to create knit suitable designs.
Some recent Truchet tile images shared on Instagram brought me back to exploring math-based images and what by default needs to be executed as larger-scale design motifs in knitting.
Sebastian Truchet was a Carmelite priest whose “Memoir sur les Combinasions” was published in 1704. It is a wealth of patterns built up from a simple motif, which you can see here
http://gallica.bnf.fr/ark:/12148/bpt6k3486m.image.f526.langFR and in which he discussed squares, half black, half white, split into triangles, with four possible orientations for each tile. He was also the inventor of the point system for indicating the sizes of typeface fonts.
His method of tiling by the combination of manipulating four-letter codes, A, B, C, and D, in rotations using triangular shapes inspired new variations in tilings.
Cyril Stanley Smith introduced two alternatives to the basic Truchet tile in 1987. One uses only diagonal lines to create maze-like designs where the coloring is removed and only the boundaries remain. The other, resulting in the designs produced in this post, uses quarter circles that may be filled or used as outlines and rotated to form the final shapes. ![]()
 Distinctions in naming the tiles are not often made. “Truchet” is the commonly used generic term.
Some articles on the tilings:
Generalizations of truchet tiles, Multiscale Truchet Patterns, The Tiling Patterns of Sebastien Truchet and the Topology of Structural Hierarchy, and More on tiles, fun with portraits.
Basic elements include contrasting triangles, quarter circles, and diagonal lines.
One may find code for programming DIY in various GitHub links. Python is far beyond my interest or skill, there are many ways to achieve the designs.
Spreadsheets are also programmable, but require the development of formulas.
Developing patterns from online sources, beginning with the Smith variation using quarter circles: the Wolfram site is a computing and math one well worth exploring, the files there are Computable Document Files, a document standard developed by Wolfram Research. They can be saved and opened using the Wolfram CDF Player, which is a standalone application and a Web browser plug-in provided for free.
To preview search results in a browser: https://demonstrations.wolfram.com/TruchetTiles/.
Ad blockers may interfere with proper previews in Safari but appears to not be an issue using Chrome as the browser.
Files cannot be saved from the preview results other than as screengrabs.
What is cdf
For permanent access to preferred CDFs:
CDF Wolfram player download is available for Mac and Windows, you will be asked to provide an email address.
After the player is installed and opened, click on the central option,  and search for your area of interest.
  Any demonstration may be saved for future use, most are customizable to varying degrees.
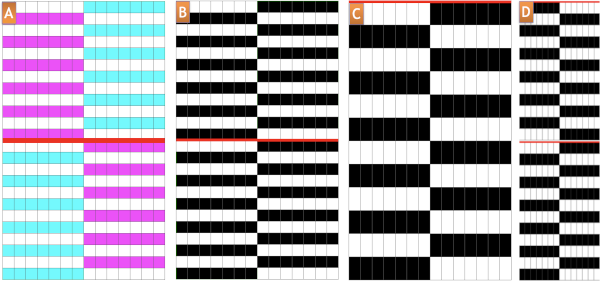
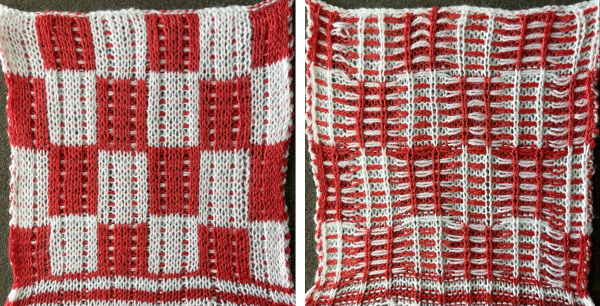
In my first effort, I used colors and left the black outlines. The second, simpler method of editing follows below it. 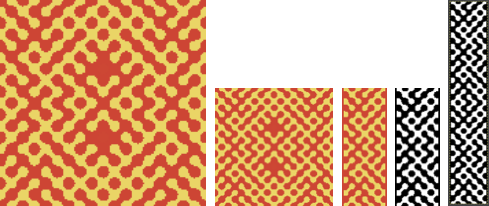 The swatch png, 58X150, includes 2 stitch vertical borders in the dark color. The machine was set to the built-in KRC color separation for DBJ. Some of the circular shapes have been already edited, but if I were to reuse the repeat, I would clean up more of the design shape edges
160 design rows were knit, measuring 7.5 inches by 20.5.
The dark color is a chenille from an unmarked cone with uncertain yardage. The space-dyed is an 8/2 rayon slub.
Tension was set at 5/5, the knit carriage on KCI, and the ribber using lili buttons for birdseye backing. KCII may be used as well if preferred, the side vertical edges will have a slightly different appearance. 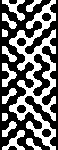
 Developing an added repeat:
the working file in the cdf is a default 600 by 600 pixels. If the goal is to save a black-and-white downloadable png, the present plan is to fill in portions of the design with black while leaving others in white.
Checking tiling insures continuous designs at any point in the process.
It is possible to directly scale size in the cdf, but the shape outlines become broken in the automatic % reduction, so the filling-in process I suggest fails to be contained. 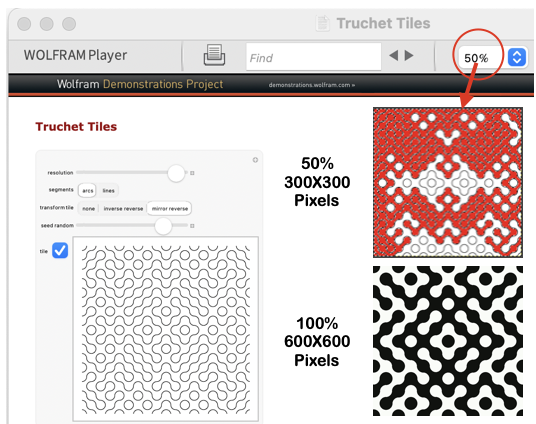 In this exercise, none of the other available parameters were changed. When the player is launched, click on the tile, it will be surrounded by an orange line,
  copy the image, and it can then be pasted directly into Gimp.
  Change the Image Mode to BW Indexed before proceeding further.
Using the fuzzy select tool  click on any area in the design, it will be surrounded by dotted lines
 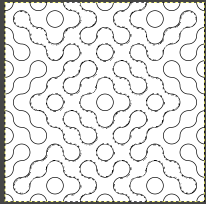 select bucket fill, to fill the selected area with black.
Edit, undo will revert to the previous steps in sequence at any point.
If satisfied, select the rectangle tool.
Clicking on the selected area 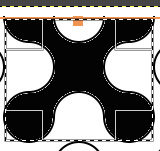 will allow its use for copying and pasting the outlined segment on a new canvas or cropping the area to the selection for saving while clicking anywhere in the Gimp work window fixes the results. The dotted lines disappear. Repeat the process on the remaining image.
 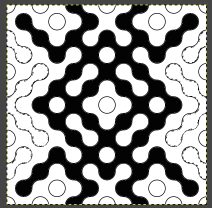 The processed file will measure 600X600 pixels.
Anyone working with large-scale images and reducing file size to make them available for knitting as single panels on a standard machine is familiar with the loss of detail and the need for cleanup of edges as incremental decreases in file size are attempted.
Magnifying any of these will help evaluate forms and scaling decisions for final repeats to be used in knit test swatches.
Downloading or copying and pasting them from here for personal use may change the image mode to RGB in the process, check mode and convert them to indexed BW if needed before any further use.
300X300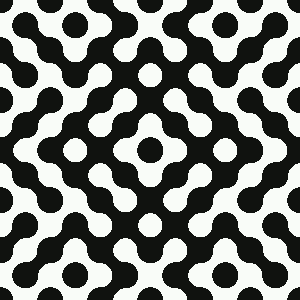 200X200 pixels
 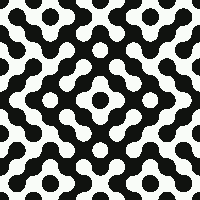 150X150 pixels
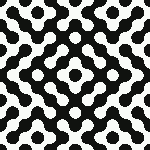
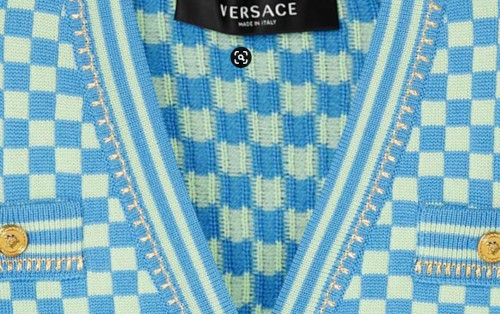
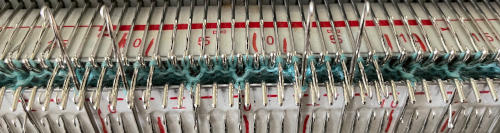
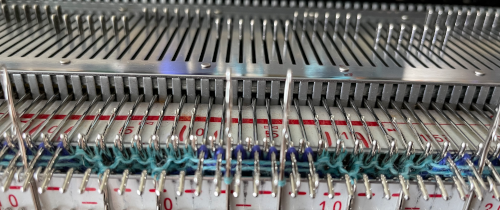
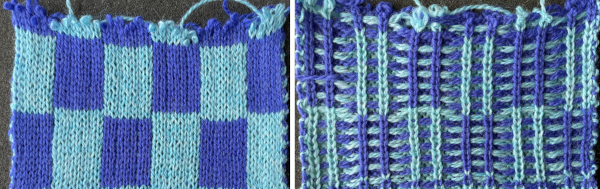
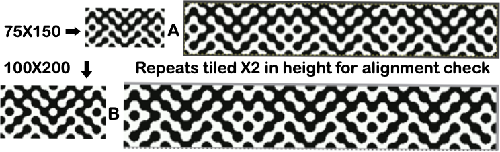 The proof of concept was knit using the 100X200 repeat without any pixel cleanup.
 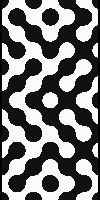 The blue yarn is a 2/20 wool, and the white is a 2/28 Italian yarn of unspecified fiber content from my stash. Both beds were set at 2/2. The KRC setting separated the colors so each color in each row knits only once, but it takes 2 passes to complete one row, so 100 design rows translate to 200 rows of knitting. In this instance, img2track used on the 930 broke up the design into 2 tracks, a 66-row first track, followed by a 134-row one.
Each track needed to be programmed sequentially.
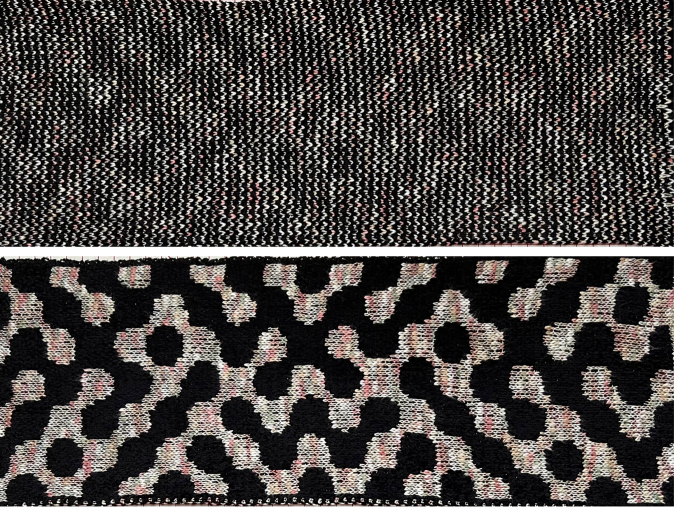
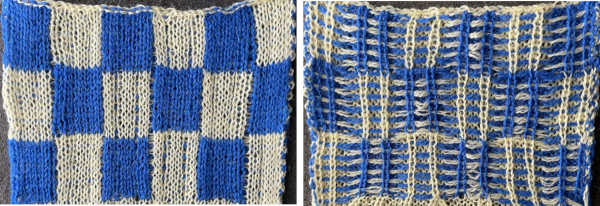
The ribber was set for birdseye backing, which in this case results in an interesting shadowing of the pattern 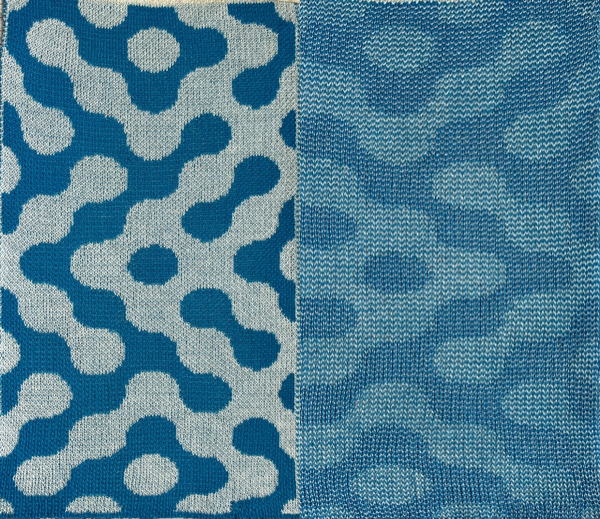 Comparing the two swatches:
 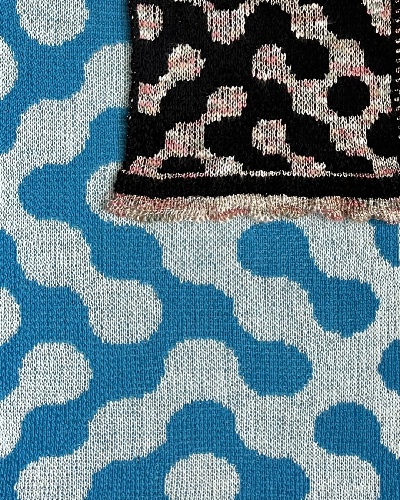 Variations in tiles made by changing variable view options
 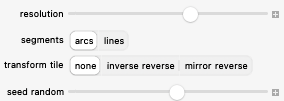 will still align when combined, easily producing a range of new designs at merging points. Use guides to help narrow down segments of interest, here they are placed at even 100-pixel intervals on two adjoining 600-pixel images.
 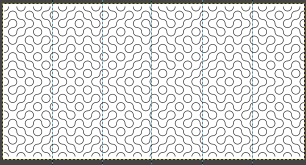 To remove a single guide after placing it, go to Edit, Undo Add the Horizontal or Vertical Guide. To remove all guides, go to View, and uncheck Show Guides.
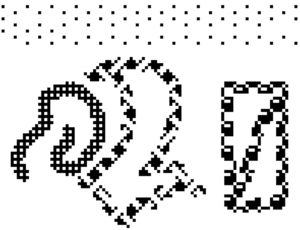
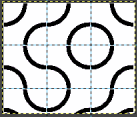
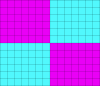
And for those not averse to developing any larger motifs from scratch, the limitations of any geometric shape, when reduced to low-resolution knitting, mean the search must begin for what one determines to be a pleasing circular form. 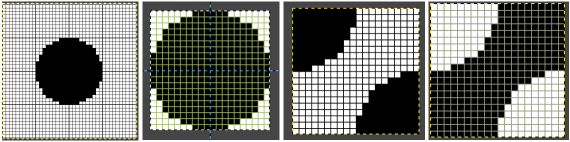 My original circle was placed on a 40X40 grid with outlines every 10 cells, the central circular 20X20 repeat was isolated and split into quarters, in turn generating these 2 tiles out of the 8 total required, also 20X20, with the second the color-reversed image of the first.
 ![]()
![]() A similar approach can be used in color to visualize the initial 8 tile repeats and their rotations in order to form new shapes. This technique may be useful in planning floor tile patterns but is cumbersome for developing knit designs.
A similar approach can be used in color to visualize the initial 8 tile repeats and their rotations in order to form new shapes. This technique may be useful in planning floor tile patterns but is cumbersome for developing knit designs. 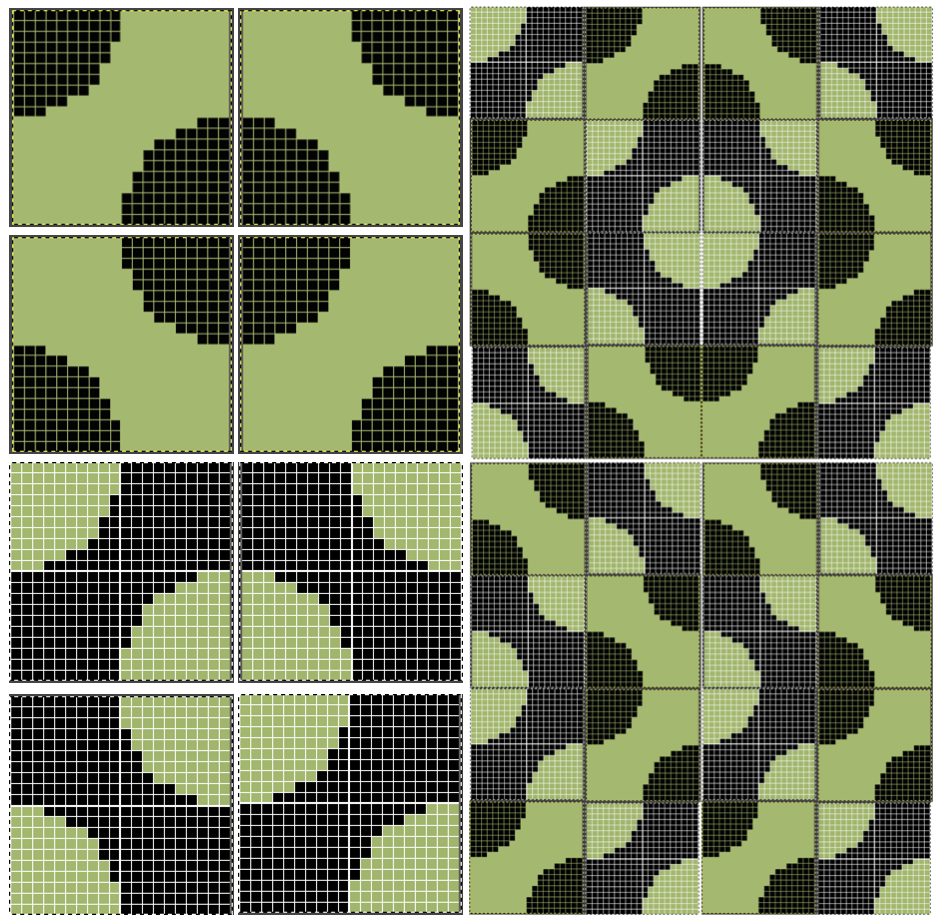 Facilitating and speeding up the process: in my post on using ArahPaint and Gimp in knit design, I briefly touched on the Drawing-in-repeat feature in Arah to produce random tiling.
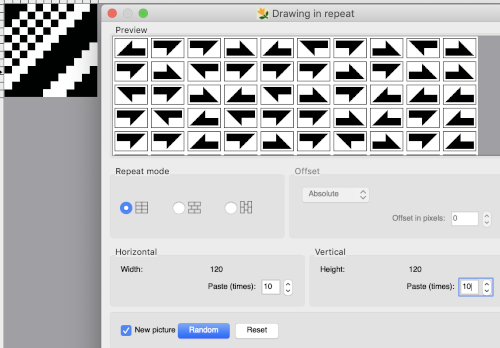 Thanks to the developer there now is a video, viewable on Instagram and Facebook, on how to use the feature for this type of tile, which allows for very quick DIY versions that can be trimmed as needed for knitting. This is my very first try, a how-to will follow in the next post.
 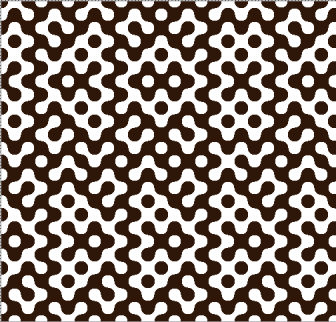 And the second, composed of triangular forms
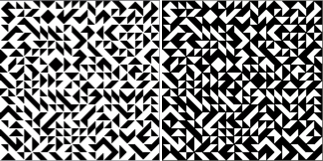 For spreadsheet users, this one generates the various tiles in Google Sheets and a related article.


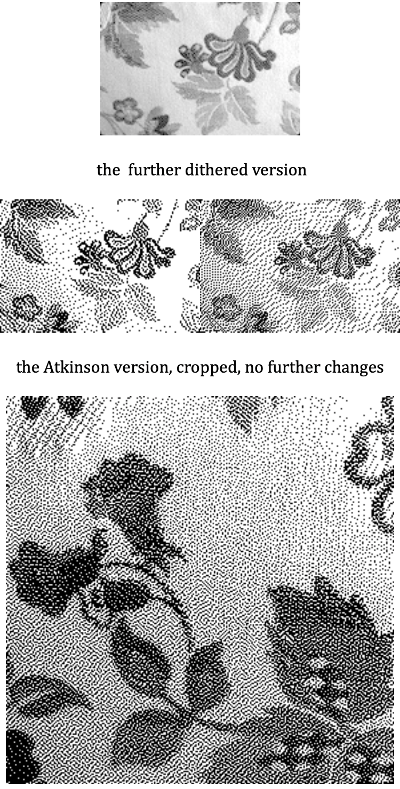
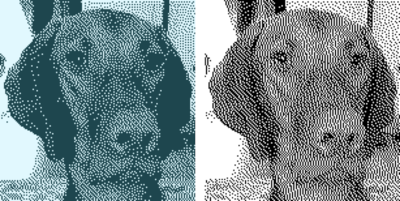
 May 24, 2019 a greyscale mode scaled image processed in
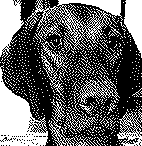

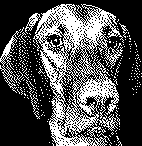
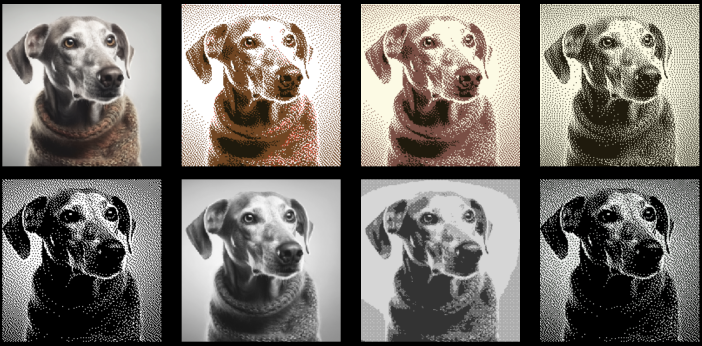
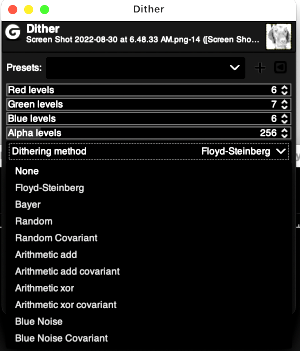
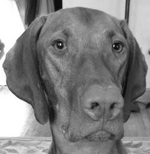 The image is used with the kind permission of Rocco’s owner. I have used this image before, when I posted previously on some ways to reduce colored images to B/W for possible knitting using a Mac computer, please see post on 013/03/14/ color-reduction- conversions-mac-os/. Gimp offers some alternatives to the familiar dithers and is available, free, for both PC and Mac platforms. Tutorial links on Gimp edge detection available online as of May 2019 are listed at bottom of the post.


 Difference of Gaussians


 adjusting B/W with Threshold
 after a bit of “tweaking”
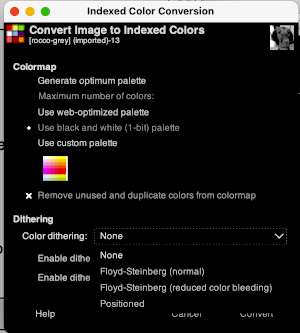
  Image_Mode_Indexed, rendering it “knittable in 2 colors”

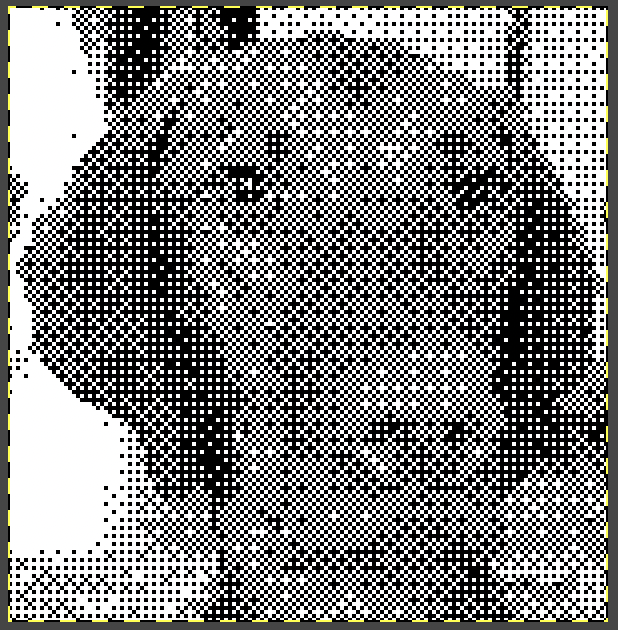
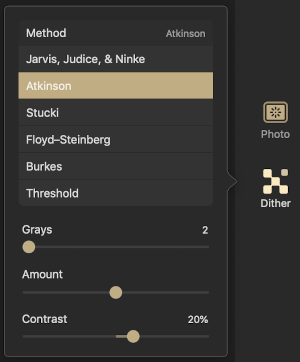
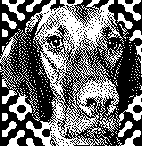
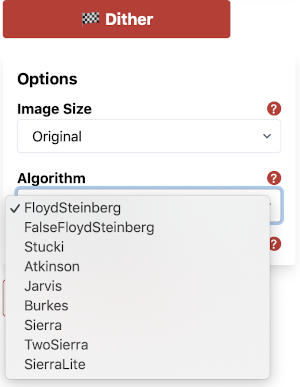
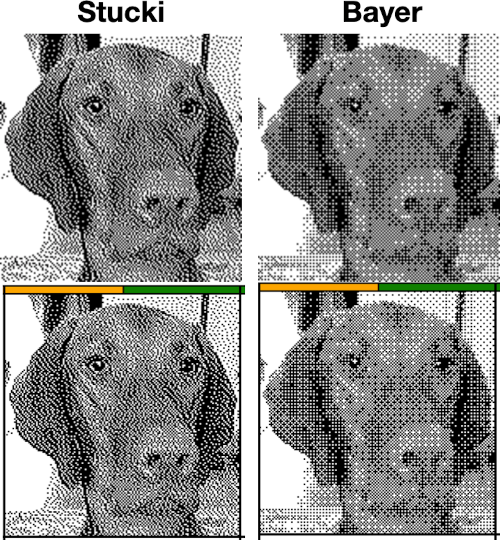
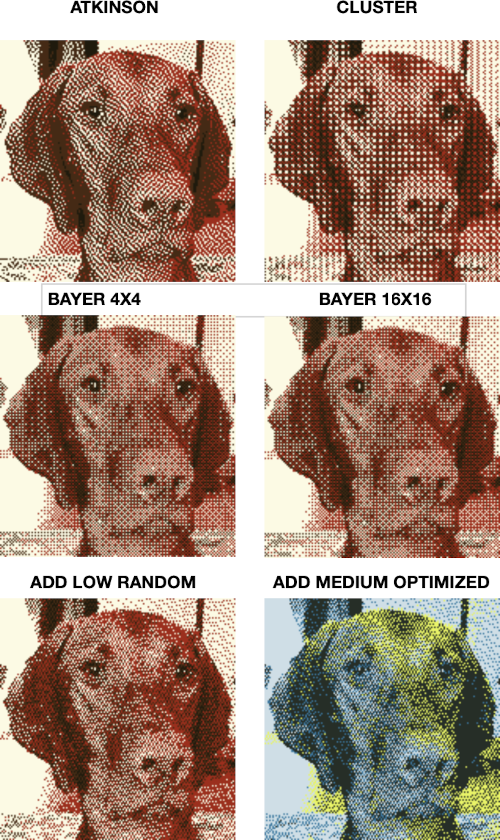
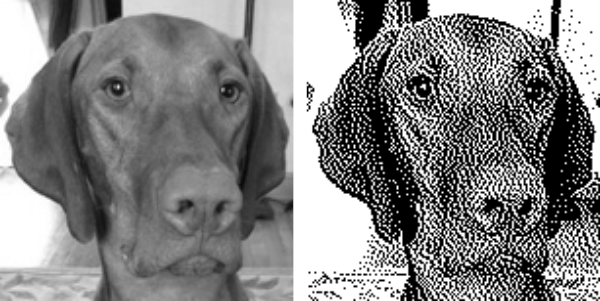 default Stucki
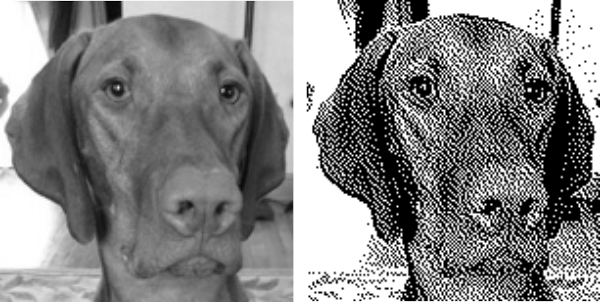
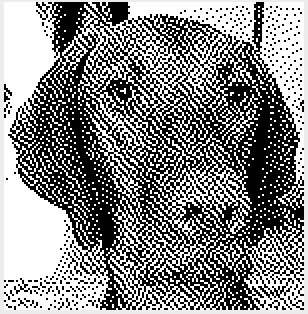
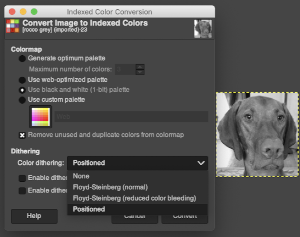
 Check dithered results, downloaded images may be in RGB Mode. Prior to any knitting, they will need to be converted to B/W indexed.
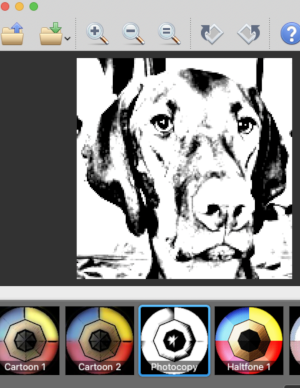 imported the result into Gimp and saved it in indexed 2 color BW and in turn, 3 color indexed mode, no color adjustments, finding the result pleasantly simple
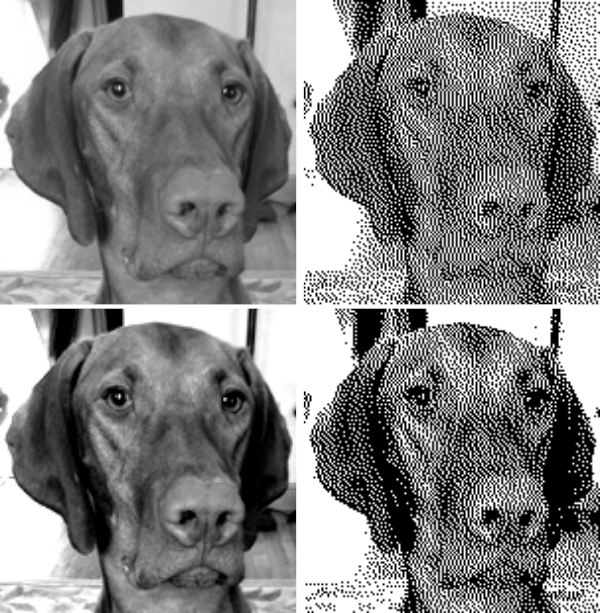
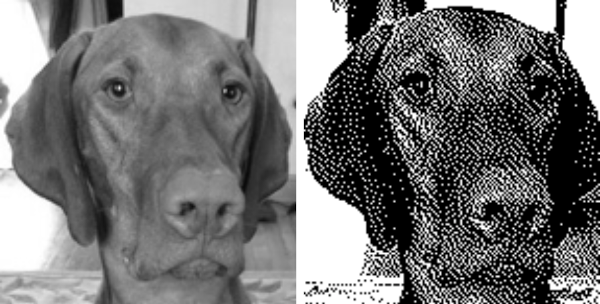
 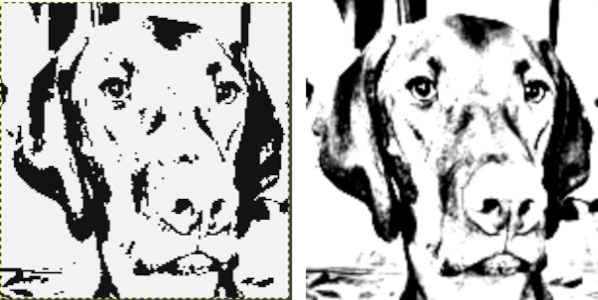 beginning with the greyscale generated image followed by Mode changes in Gimp, indexed 2 color BW, then indexed 3 color, there appear to be very subtle differences with a bit more detail:
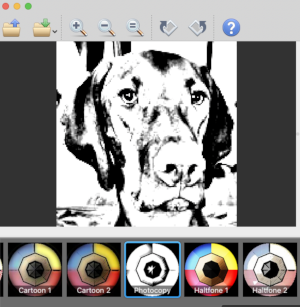
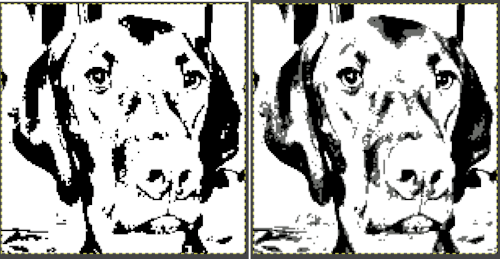
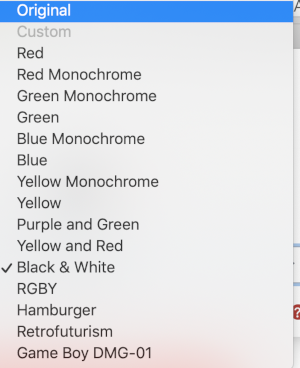
 It is possible to reduce images to 4 or 3 colors using the program as well: a slider for color count is used to choose the final number of colors in the reduction. Again, these instances have no added manipulation
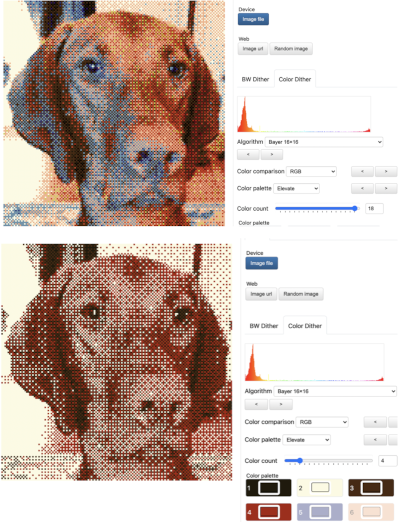
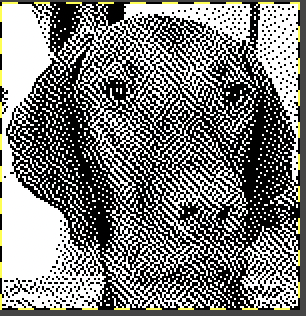
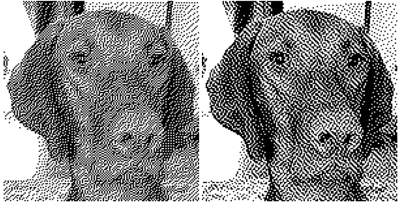
 To retain the quality and size of the dithered image, download it, rather than using a screen grab. The software used to separate the chosen dither may alter the result somewhat. I am writing my posts using an iMac M1 with OS 12.0.1. At this point Ayab is not operable, img2track does open images, but in this case, with interesting distortions, and it does not download any files at all.
 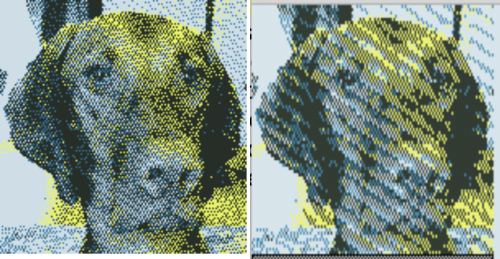 Yet another dithering