Studio and Toyota machines could produce this type of stitch easily. Many efforts have been made over the years to produce the same fabric on Passap and Brother.
I was asked via a blog comment in my previous post #1 on this topic about creating a single color all-over pile on the Passap machine and have added these instructions
Executed with the lights off:
Cast on and begin with all stitches transferred to the back bed.
The back lock is set to EX, the front to CX, pushers are not needed
Knit two rows using those settings, and use a stitch ditcher to drop loops formed on the front bed.
One color carpet stitch, if programming technique #256, ignore console instructions
1. cast on so that all stitches are on the back bed
2. knit a few rows in stocking stitch testing for the tightest tension at which your yarn will knit, and experiment with the front lock tension to produce as large a loop as possible that will also drop off properly. Begin knitting your test with locks on the right side:
3. bring the back bed pushers to the in 1X1 arrangement, and set the back lock to FX with the left arrow key, not BX. Do not use the AX setting, it will tuck in both directions. All needles will tuck moving from right to left, and knit on their return to the right
3. with the front lock set to LX, it will knit on all needles when moving to the left creating loops on the front bed, while the back lock does the same, slips all needles moving on the front bed when moving back to the right.
When the locks reach the left side there will be loops on every needle on both beds. As they move from left to right, the needles on the back bed will knit, securing the loops there and anchoring the ones on the front bed while the front bed is slipped
4. with locks again on the right side, use stitch ditcher or another tool to drop off loops on the front bed, returning needles to proper work position, follow with a pass using a single eye tool to push loops between the beds, checking that none are left in the needle hooks
*make 2 more passes with locks from and returning to the right, drop off loops**, and continue from * to **
The difference in the size of the long stitches between loop rows in the photo was eliminated by tightening the tension on the back lock, it is evident that they are anchored more evenly in those segments as well. As with any fabric, the larger the intended piece, the more likely some further adjustments may have to be made. 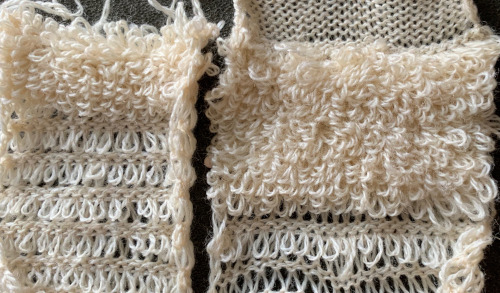
 Alternative settings for one color pile: Tech 256, back lock FX and both arrow keys, pushers one up, one down, front bed to LX, drop stitches every 2 rows.
For 2 color work, Tech 184, same settings.
For a similar effect on Brother machines, begin with all stitches in work on the ribber, with the settings: opposite tuck buttons, the main bed knits to left, ribber knits to right anchoring loops formed on the previous row  the loops, formed on every needle on both beds with the move to the left
  anchored in place on the ribber needles as the only the ribber knits as it returns to the right
 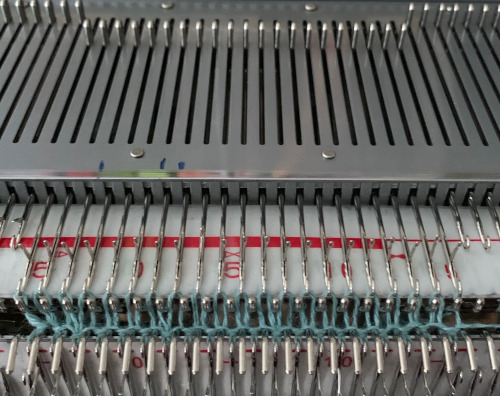 while the carriage is on the right, drop all stitches on the main bed,
 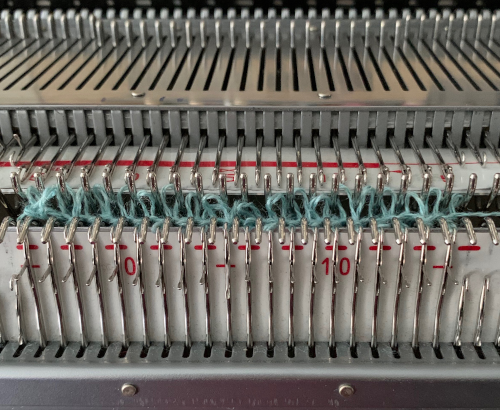 making certain no loops are stuck on gate pegs on the main bed,
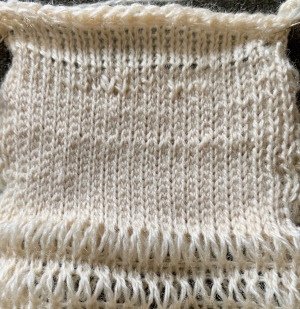
 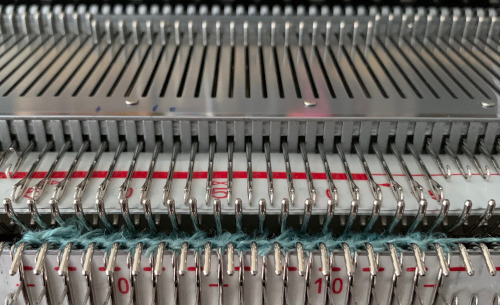 repeat the process throughout the piece. Occasionally skipped needles and their missing loops may not be noticeable, any loops hung up on gate pegs will be visibly longer. Tension needs to be “just right”. My first efforts, shown sideways
 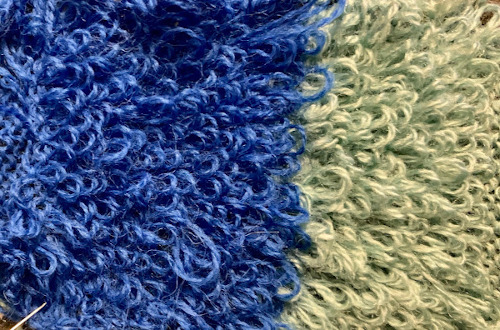 Knitting was smoother with a change in yarn. An extra needle on each side of the knit on the ribber is brought out to hold manually to ensure their stitches knit with every pass of the ribber carriage. I prefer the all-over pile with its loops formed on the top bed. There were nearly no incidences of loops catching on gate pegs on the main bed. One of the drawbacks is that the main bed needles need to be dropped and brought back to the B position manually, bald spots will result where any needles are not returned to the proper work position, so they will not pick up loops.

The traditional hack for other than Studio or Toyota kms involved this process:
to knit, bring up the first and last needle to the hold position on the ribber to ensure they knit when both carriages are on the right and the ribber will tuck on every needle as the carriages move to the left. The carriage settings: Loops are formed on the main bed as it knits from the right to the left, and slips on its return to the right. The ribber tucks on every needle moving to the left and knits on every needle returning to the right, anchoring the main bed loops. After the carriages reach the right side, loops on the main bed are dropped, and the process is repeated.
The results are dramatically different. If considering patterning on the main bed with the addition of a second color or creating isolated motifs whether on a single color or striped background, anchoring loops by tucking on every needle is no longer possible, making reverting to EON needle selection on ribber a necessity. Loops formed where no stitches are knit on the main bed would only sit in the hooks on the ribber and create a mess. Hence the “hack” where lili buttons and tuck stitch in both directions so that loops are knit off on the next pass, and with 4 rows knit before dropping stitches so that the maximum pressure is put on those loops to hold them in place. This requires the tightest possible tension on the ribber, and by default, the EON tuck will want to spread the fabric further apart. I have found this version a failure in producing a stable fabric with a satisfying pile formation. 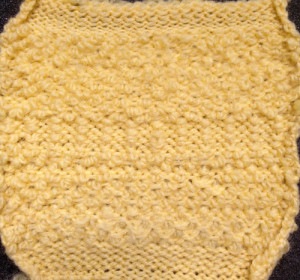 Returning to the pursuit of pile loops in pattern on Brother: my first effort with a simple, linear shape produced separation aside the loops akin to that seen in isolated FI motifs, both when using the ribber or the main bed to create the loops. Here a simple checkerboard was hand-selected, there was separation along the vertical edge like that seen in isolation motifs
 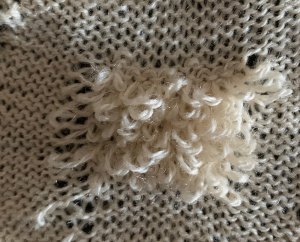 and this is likely my last try at the single pile in a pattern using every other needle tuck on the ribber with the release of stitches every 4 rows. I actually like the elongated stitches in the ground but found the stitches planned for loops simply did not release easily or at all,
 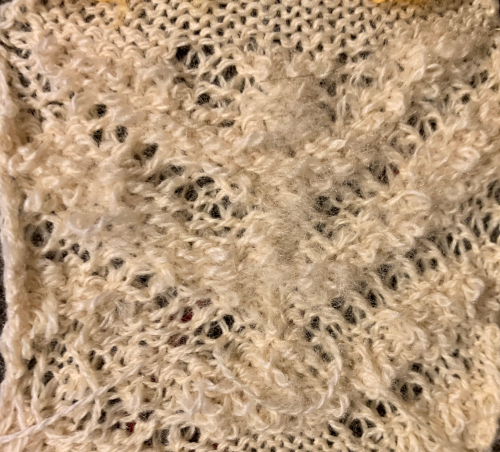 using thinner, smooth yarn resulted in breakage, while adding elastic obliterated loops, and wooly nylon simply broke regularly. It would appear if pile knitting on Japanese machines is the goal, by all means, add a studio KM to your stash ;-).