If working in Numbers, the solution to doubling the height of the final repeat for mazes or mosaics may be achieved by simply doubling the height of each cell prior to screen grabbing the table and processing the resulting image in Gimp. Here the cells for a single repeat in the table on the left are copied, pasted, and altered from 20X20 pixels to 20X40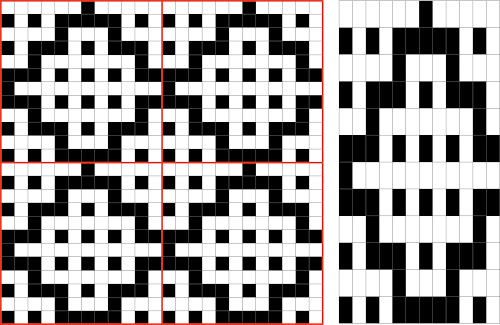 Working in 1800 magnification, using rectangle select, every other pair of rows is chosen and then color inverted. B: the process continues for the height of the repeat. Until each new pair of rows is selected fully, the last color inverted pair is bordered in a dotted outline C, useful in tracking the last worked location. As the subsequent pair of rows is selected fully, the dotted border will disappear.
 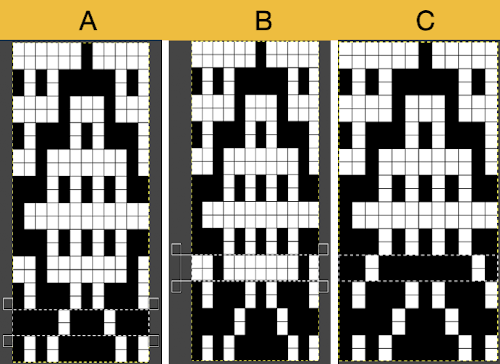 The processed repeat
 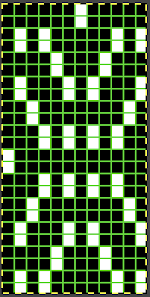 Its tiled visual check
 ![]()
 Proof of concept: the bottom half is knit using the slip stitch setting, the top half in the tuck setting. The added texture on the tuck stitch purl side makes the fabric a more interesting, reversible one, and wider than its companion.
 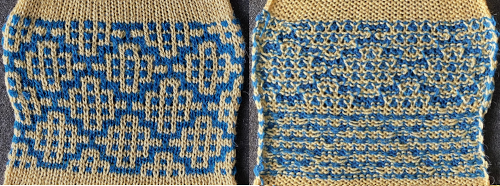 For a different way of working with two-color initial images using only Gimp, see tips in Gimp update for Mac2.The process used on the beginning repeat, redrawn in 2 colors and then, in turn, elongated X2 or drawn double long to start with, tiled to check alignment.
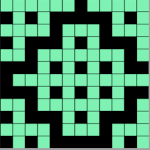
 There are 2 options for altering colors in 2-row segments to achieve the separation, the first is color invert, the second is value invert, found in the colors menu. Both require color filling in of cells so as to obtain the final BW image, the value invert option, in this case, would require only filling in the green to white, but in managing larger images I believe having the additional colors make the process easier to track accurately.
 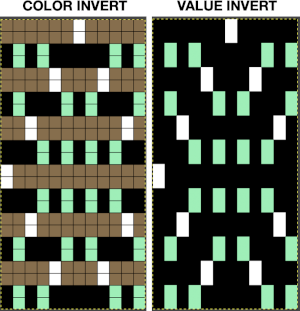 The color invert option will substitute a third color and white on every other pair of rows. Flood fill the original color 2 on rows containing black pixels with white, then fill color 3 pixels with black on rows containing white pixels:
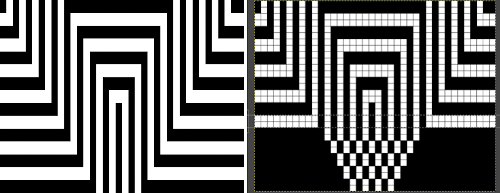
  The mazes that are often seen in game-playing, puzzles, historical sources ie in Chinese design references, may not work out for knitting with this method, the result can be quite muddied. I recently found a new to me online maze generator http://www.ludiculus.com/maker/mazes.html. Changing the pixel width by default also doubles the image in height, making smaller designs for knitting problematic
 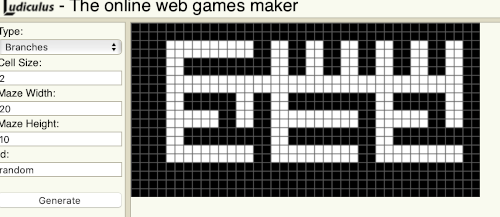 This was a quickly drawn maze using it, shown with its cropped repeat on the right, then tiled.
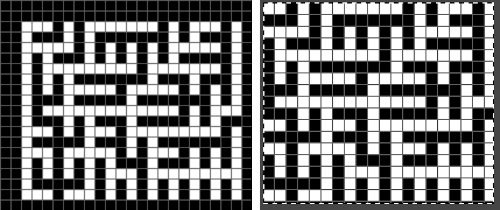
 Numbers processing to ready the repeat for final gimp editing:
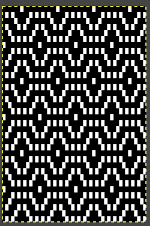
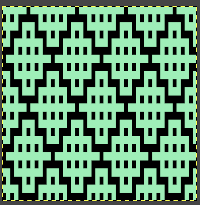
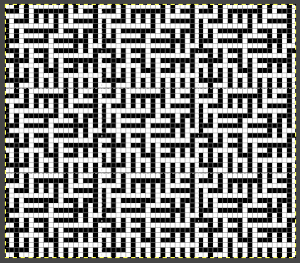
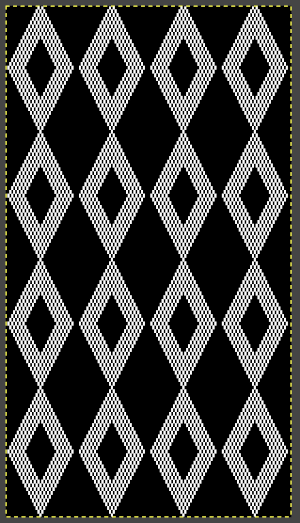
 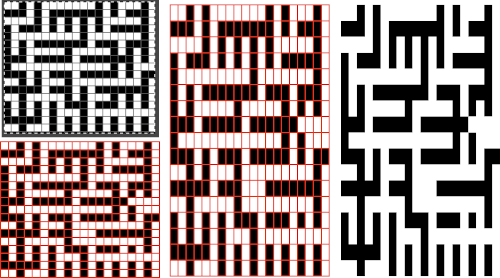 The repeat when tiled predicts muddied results
 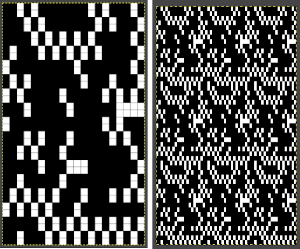 which are noticeable in the knit swatch. Because of the side-by-side areas with multiple white cells, the slip setting is used, not tuck. The single slipped lengthened stitches do not produce an easily recognized secondary design on the knit side
 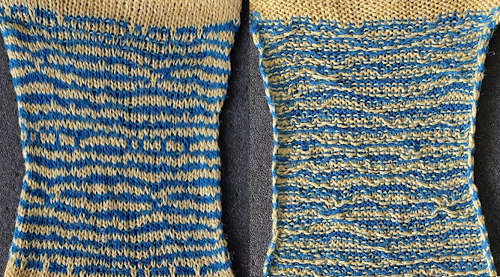 Getting back to clearer pattern results: when using electronics, it is possible to create far wider and taller repeats for download. The technique to achieve them uses the same process. That said, there are quicker ways to attain the final repeat illustrated in the 2024 posts on using Gimp color to alpha through the Layer> Transparency option or Colors> Color to Alpha.
A new working repeat, 38X34 pixels: ![]()
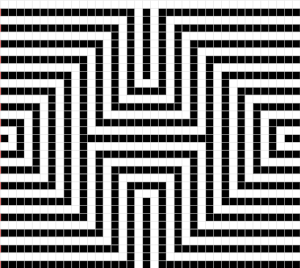 its tiled appearance
 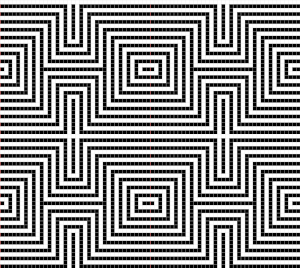 My starting table in numbers with hidden rows, beginning to isolate a smaller repeat
 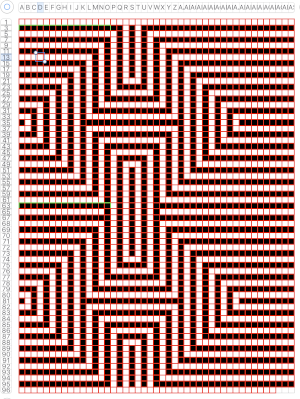 the isolated repeat, double-length
 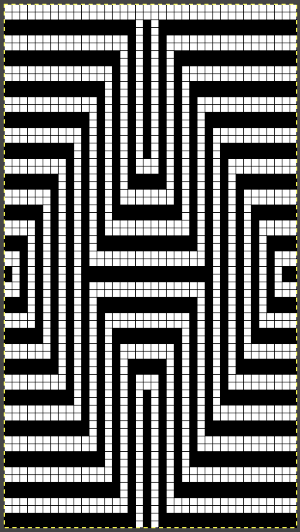 the color separation in progress
 When knit, that white cell pair of rows break up the overall shapes and shifts the pattern in the top and bottom half
 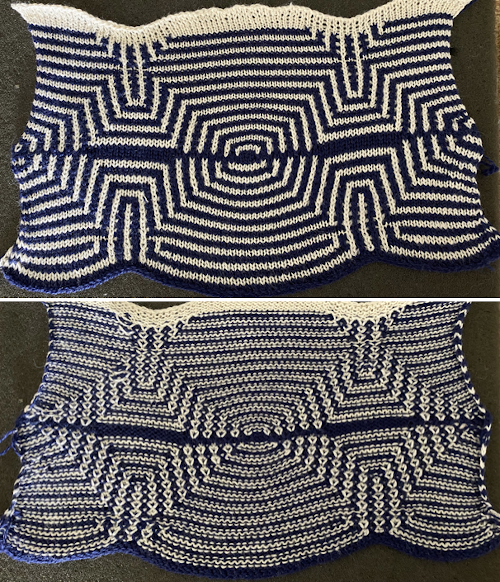 When I tiled my next draft, I decided I preferred a cleaner join at the center
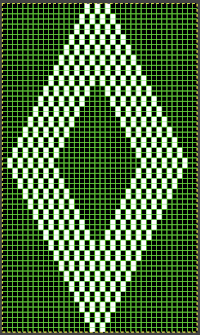
 The final adjusted repeat
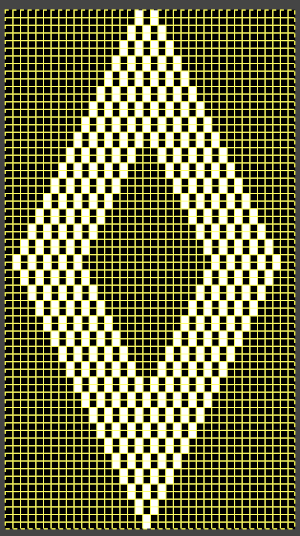
 knit using the tuck stitch setting in both directions, KCI, first row left to right, leading with the dark color
 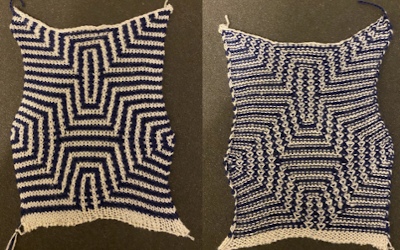 and here with the lighter color
 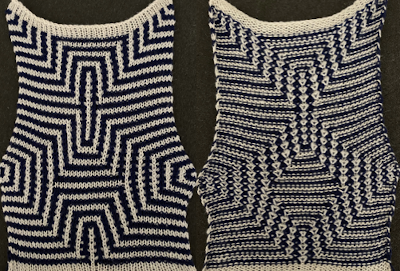 In progress, on the km
 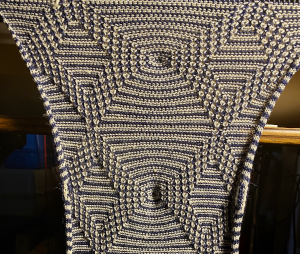 the relaxed, 3D-ish view on the reverse
 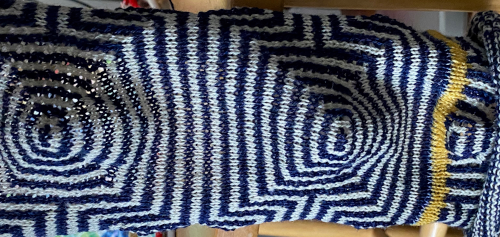 why projects can take longer than planned
 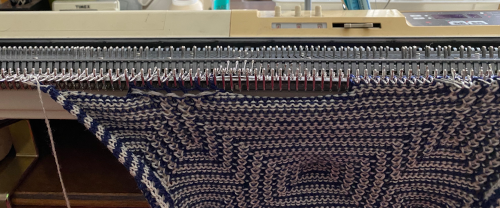 The finished, relaxed scarf with pressed edges only, retaining the conical striped forms
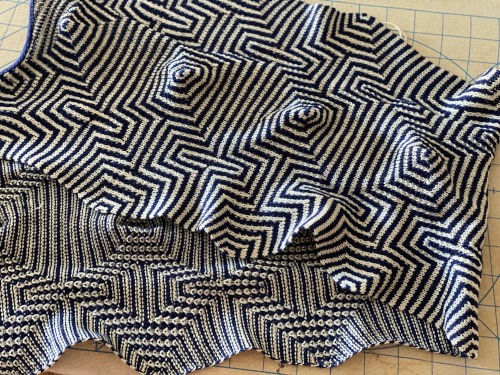 The repeat knit double length, changing colors every 2 rows, becomes something quite different, with a sharp curl to the purl side
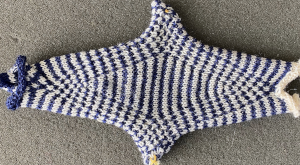
The difference between electronic tuck patterns and punchcard ones is mostly in the restrictions on the width of the repeat. For a punchcard model, the repeats can be 24, 12, 8, 6, 4, or 2 stitches wide and then they are used and punched in repeat in width and in height to a minimum of 36 rows.
There are several previous posts dealing with mosaic/maze fabrics, often including specific punchcard repeats, and downloading one of the punchcard volumes will give you some idea for predesigned repeats for slip and tuck that may work to create mosaic-like fabrics when they are used changing yarn colors every 2 rows, they are a good place to start before attempting DIY pattern designs.
Hi there! in terms of knitting using a brother machine non electronic what would a punchcards for this kind of geometric tuck/slip stitch pattern look like ?