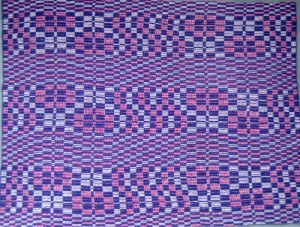
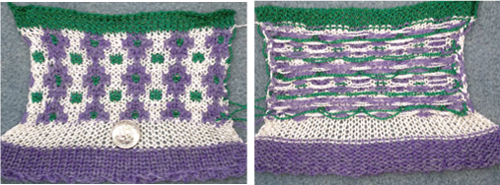
Because of recent changes in my life, I may be in the position of attempting to explain to some new knitters how DBJ “works”, and to offer them some suggestions on managing the making of it. Since the machine I will be using is a Brother electronic specifically, I am gathering notes that are pertinent to that brand. I thought I would share some of my working notes here. The set below was gathered more than 2 decades ago, so I cannot add a specific bibliography, and information that may be gleaned from manuals is not included. This is the start of an ongoing series, including some DBJ rules for 2 color work, Brother machines, some adjustments need be made for more colors or for use on other KM brands
knit slowly, watching edge stitches to ensure that they are knitting off properly. If they are not, hang the side weights on the work, and move them up every 20-30 rows
clear the end stitches on every row, be especially watchful in wide pieces, failure to do so may cause mis-patterning or dropped stitches at edges
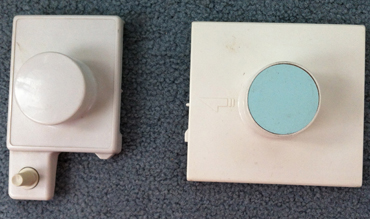
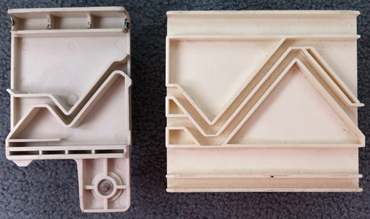
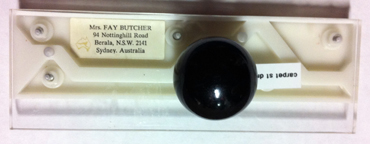
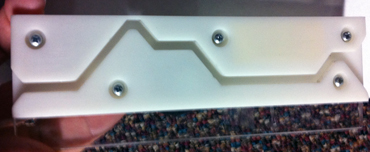
listen for the click when changing colors. On brother machines the carriage must be taken far enough to the left for the click to occur, lining up the connecting plate for the yarn change. If the color is changed without going far enough, you may either knit with the same yarn or no yarn
thread all four yarn holders, then if the wrong button is pressed you will only knit a row in the wrong color instead of dropping your work to the floor
check your yarn change before you knit each row for the correct color or the possibility of 2 yarns traveling together
weigh the work evenly
be certain selection row is in the correct direction (with pattern locked on punchcard), or you may end up with stripes rather than a pattern design
if you need to stop work, leave with carriage on right, it makes it easier to identify which color was last used in your sequence
do not use fully fashioned decreases as this affects the pattern near the edge stitches
reduce weights to correspond tho the number of needles in use when decreasing
work multiple decreases ie at underarms with carriage on the right, this way both sides may be shaped at once using the main yarn on right, the next color on left, thus avoiding long floats
if the design is not an all-over one, continue in Jacquard for the remainder of fabric, using a repeat that has 2 rows marked/punched, 2 rows un marked/punched throughout
ribs in single strands of garment yarn may be too soft or wide, for 1X1 ribs try adding an extra strand of yarn. When the rib is completed, pick up the heel of the adjacent stitches to fill in empty needles, and knit 2 circular rows before continuing in jacquard
2X2 ribs are better suited to single strands of yarn; at the top of the rib bring the empty needles into work, rack to the left and knit 2 circular rows, rack to the right and continue in jacquard
full needle ribs are usually wider than jacquard, as an alternative, the piece could be started on waste knitting, and rehung on fewer stitches, then, in turn, knitting the rib
the lili buttons represent every other needle set up, so an even number of needles is required; the needle position indicators on the ribber tape and the corresponding space between them help track pairs/ even numbers of needles in work
racking handle on P: the knit and purl needles are point to point, directly opposite each other, on H the purl needles are halfway between each pair of needles on the opposite bed, and the latter is most often the basic needle arrangement for double jacquard; check needle alignment before knitting planned fabric to avoid needle damage, etc
vertical striper backing on brother kms is possible but needs a bit of added manipulation and its own specific directions for needle set up
for thicker fabrics, the needle arrangement on ribber may be for 1X1 rib, 1X3, or other configuration, pitch on P. The larger the number of needles on either bed, the closer the tension on that bed to the tension suitable for that yarn in plain stocking stitch. In this instance, the ribber tension is tightened up by one or 2 numbers. If the ribber needles are in every group, ie. 2X2, 4X4, 4X2, etc, then the lili setting may be used. This sometimes helps if the effect on the knit side tends to show noticeable vertical lines along the sides/length of the stitches created on the ribber.
2 X 2 industrial rib
arrange needles to give a neat join at seams, plying yarns may again be required
racking cast on may be used, avoiding transfers between beds after every needle cast on
https://www.youtube.com/watch?v=u90_iobGu-0 shows one method of working and illustrates needle arrangement well and transitions to main bed knitting
I personally never do 3 circular rows after the first cast-on row: it will produce floats on one side of the rib, which may be noticeable in your final fabric on one of the 2 sides.
the alternative: with the same needle set up:
to close holes rack the beds one full turn, knit 2 rows, rack back again, and arrange for desired fabric
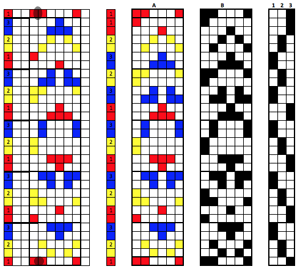
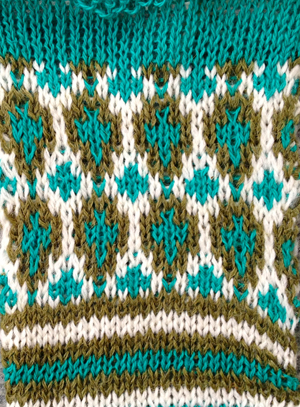
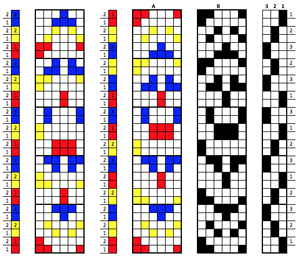

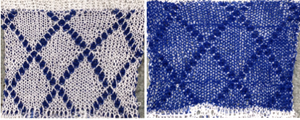
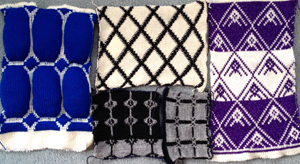 rear view
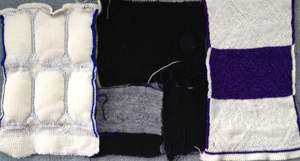
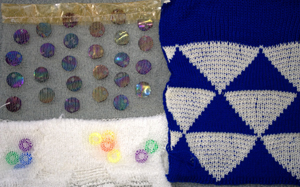
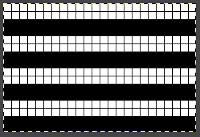 When all main bed needles are preselected, the ribber is set to slip for 2 rows, only the main bed will knit. When there is no preselection on the main bed, the ribber is set to knit, no stitches will be formed on the main bed, so each surface remains separate. The knit carriage is set to KC1 to ensure the sides of the tube will be sealed. If two knit carriages are used to select needles, then it is possible to easily adjust tension for the alternate color if that is deemed needed.
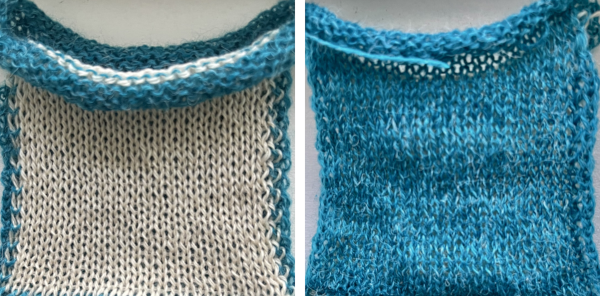
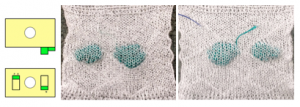
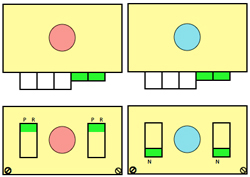
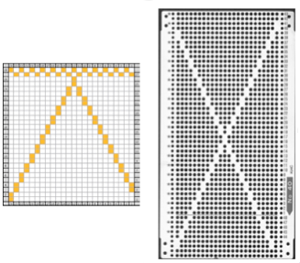 Not to be forgotten is appliqué, where separate shapes may be knit and joined onto the ground (knit in any desired stitch) technique by a seam as you knit method.
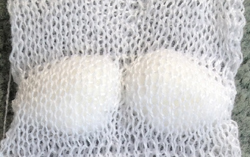
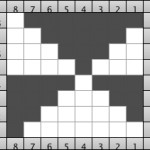
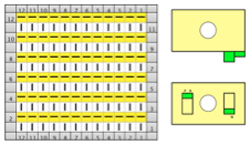 Automating the function brings us to another color separation of sorts. In single color quilting using simple tubular setting: Knitmaster machines work a bit differently than Brother, so cards/ mylars would have to be designed accordingly, Passap has some built-in techs that can help with this. The settings below are for brother, and the card, for narrow vertical tubes. The width between punched holes could be adjusted to any factor of and up to every 24. Every row or every other row can be marked. Cast on for every needle rib. In this repeat when rows with no needle selection occur at its top, set both carriages to knit 2 rows (or bring all needles manually out to hold) to seal pockets. MB is set to slip in one direction, will knit on even rows, to slip on odd rows as punched. The ribber is set to slip from right to left and knit from left to right. With carriages at KM’s left insert the card, lock on row 1. KC –> knit 1 row in rib from left to right, release card, and continue knitting. In Brother machines, the tucking lever must be in the down, N position as well. When possible, the tension on the main bed should be as loose as it will allow, if stuffing the pockets is planned. Without wadding, the face can have a crumpled look with a smooth back.
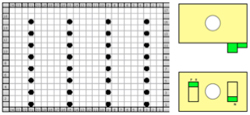 A small test with a 15 stitch wide pocket
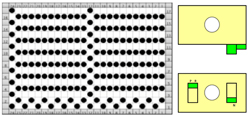
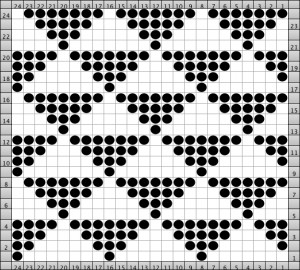
 Going further in automating the repeat: this card portion includes the sealing rows (1 and 2): extend repetitions of rows 3 and 4 until the length of the desired pocket is reached for your DIY repeat. The ribber is set to slip from right to left and knit from left to right, the main carriage to knit from left to right, and to slip from right to left (opposite part buttons). With carriages at right insert the card, lock on row 1. KC <–, knit 1 row in rib from right to left, release card (or mylar), and continue knitting to the desired length. Make certain there is an even number of rows between each pair of sealing rows in your own design. It takes pairs of carriage passes to complete each circular round. To use the repeat below as a continuing pattern, one row in its height would need to be removed or added. A test of the repeat
 …
…




 with the release starting
  after release
 after pressing: flat, edge stitches too short
  attached to back bed before knitting pattern (purl side)
 alpaca and silk swatch, surprise: this baby knits up/steams fairly flat!
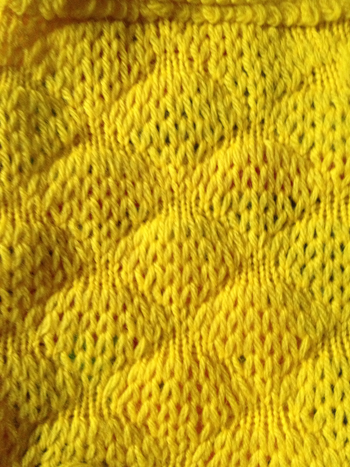
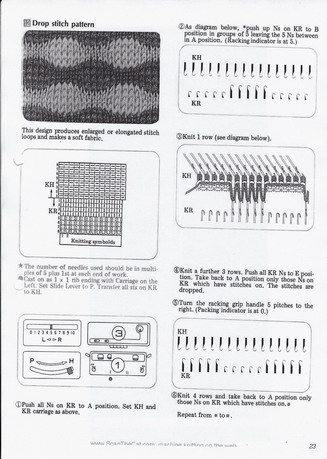
  The most regular dropped stitches happened when the stitch ditcher was used at least as frequently as every 4 rows, the lock was too hard to push with it resting on the knitting bed before each pass. I thought I might break down and use a built-in technique and my color changer to drop stitches: Technique 256 here I come, and figlet! this is a completely different fabric and there is one row of loops formed for every 4 passes of the lock
 you can’t always get what you want, do you sometimes get what you need? Curses! triple the number of stitches and tension problems occur, stitches don’t want to drop in specific areas of knit, now using a combination of empty lock and occasional hand ditching, different yarn, totally different look fabric than on the first sample: here it is on the machine
 this shows why any lace needs blocking.
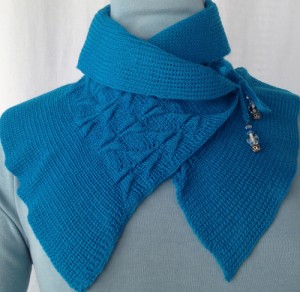
  Finishing on the Brother: bottom and top of ruffle rehung and cast off around 2 gate-pegs for length matching width of “pleats”; piece and “ruffles” also rehung for the same type of join after 1 row of knitting through both layers.
 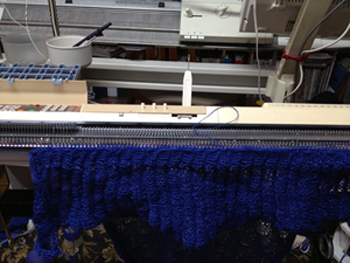 The finished piece measuring 17X60 inches after partial blocking.
  A different stitch pattern (E6000 1130) in the white acrylic
  color striping in the alpaca/silk blend, requiring dealing with yarn ends at color changer side.
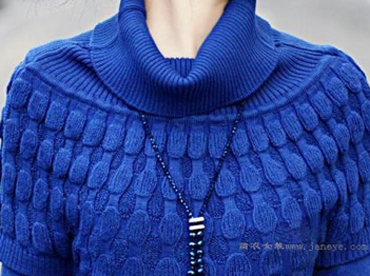
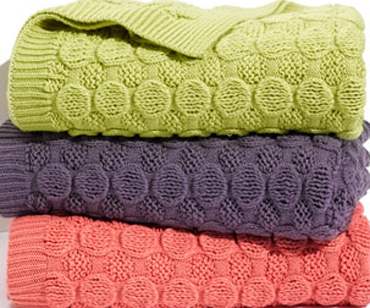
  I had an interesting experience while knitting the one above of both locks jamming in the color changer. So many ways to have fun! and … I still want some bubbles!