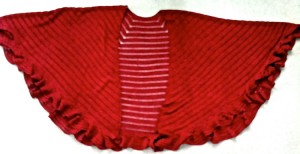
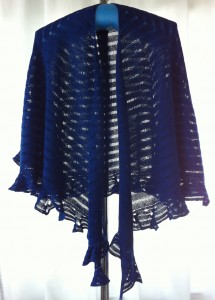
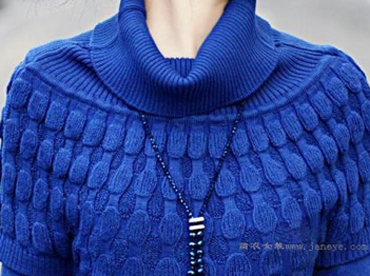
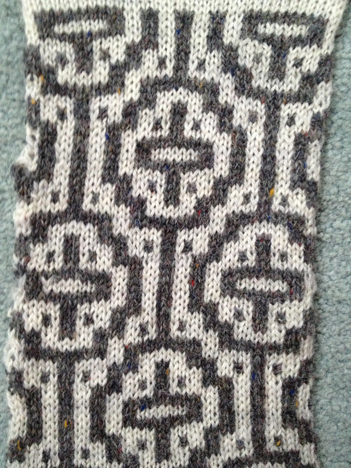
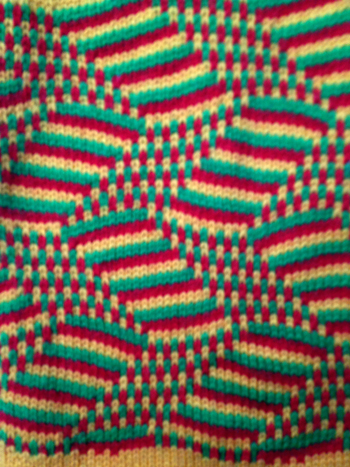
I encountered a photo of a commercial sweater not too long ago while knit surfing the web
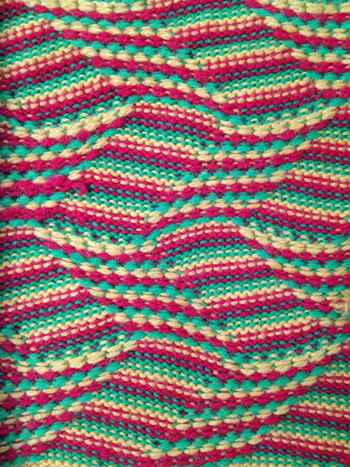
and a bubble blanket available at Nordstrom’s during 2012
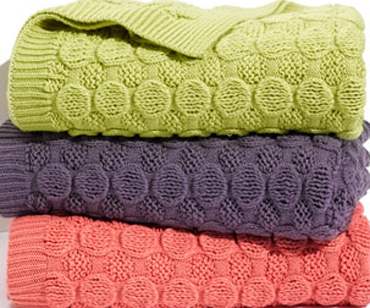
I had already been considering laces other than transfer ones for yarns that have been too crotchety to knit in that particular technique, and my Passap has been knitting idol for far too long. The fabric above seems to alter between purl and knit sequences that would require transferring all stitches to the opposite bed for every other pattern sequence: out of my range of patience and time. The number of fabrics involving “lace” produced using the ribber involves a series of names with sometimes variations simply being specific to the technique performed on a particular brand, though possible on all. On the list: drive lace, pick rib, summer fair isle, drop stitch lace, etc. The above commercially produced knits seemed to be good candidates for drop stitch lace.
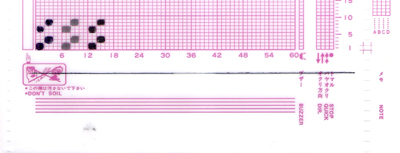
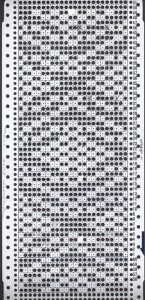
Since I recently posted on knitting long loops/stitches single bed, it seems natural to follow up that post as well with creating long stitches using the ribber and using automatic patterning as well. The following photo is familiar to most Brother users:
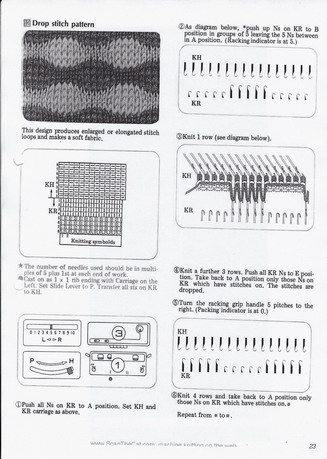
In this instance the fabric is produced as a hand technique, requiring racking and row counting. The process is easier if all stitches are transferred to ribber in Japanese KMs or back bed on Passap, and long stitches are then created by selected stitches knitting on the opposing bed, and in turn, being dropped. Punching a card, drawing on mylar, or downloading to machines makes it possible to do so in a pattern much more easily.
Punchcard books have several useable examples for such patterns. Two methods of release are used. One is end release, where the pattern is knit until the piece is completed, and stitches are dropped then. This works in friendly yarns and continuous repeats uninterrupted by rows of stocking stitch. If the design is interrupted, then the regular dropping of stitches whether at the end of the repeat or intermittently throughout is either required or preferable, depending on the design.
As for dropping those loops that will form the long stitches, one can do so “manually” with improvised tools. For more “automatic” dropping of stitches using knit carriage in Brother patterning, one may punch a card or draw a mylar with a method akin to the color separation that will allow for a pass of the KH carriage across the knit with no yarn in the feeder, “color 2” is actually “no yarn/empty” while establishing the proper needle selection on its return. Studio selects and knits in the same row, so needle selection disruption is not an issue, and in Passap techniques are built into the console that allows for “free/no yarn” passes. Both instances involve extra “knit” rows per item. Other alternative tools may be used that help the stitch ditching process. Studio brand had their P carriage and Brother their own “D slider” for the bulky KM.
The Studio P carriage pulls needles on the main bed from B to C position going from right to left, then returning them back to B position going from left to right. On the ribber, it may be used to bring the needles up to C position for “safe knitting. (Studio needle positions are A, B, C, D, while Brother skipped the letter C, continuing with D and E). A video from Susan Guagliumi shows a later model than the one pictured below, used as well to bring needles out after hand techniques as opposed to pulling them out by hand or to insure thicker yarn knitting.
The Brother Bulky KR 260 D slider only moves in one direction, from left to right, completing the in and out needle position operation in one pass. End needle selection needs to be canceled. It is not usable on ribbers. After operating it from left to right, it is simply lifted off. The knit carriage position while the transfers are occurring may vary depending on personal preference and whether the yarn changer is in use or not.
Studio 4.5 mm/ Bro 9 mm bulky viewed from the front
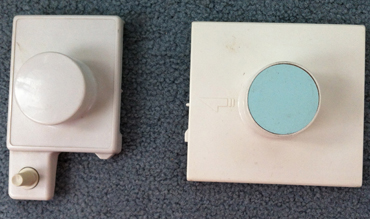
Studio 4.5mm/ Bro 9 mm bulky viewed from the back
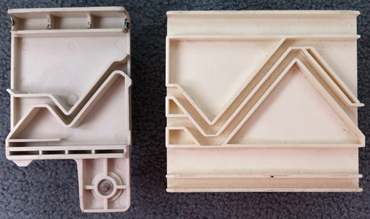 Directions on altering the studio tool for use on Brother machines
Passap’s need was answered by an Australian woman: Faye Butcher, who developed the item shown below. Such tools were often discussed in seminars and publications of the time, in conjunction with pile or “carpet” knitting, so “P” for such knitting in Studio, and “carpet stitch tool” for Passap, seen below
front view
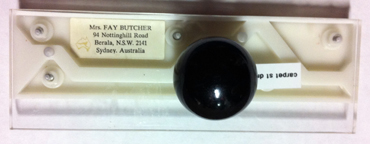
rear view
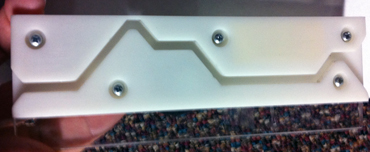
in use on the front rail
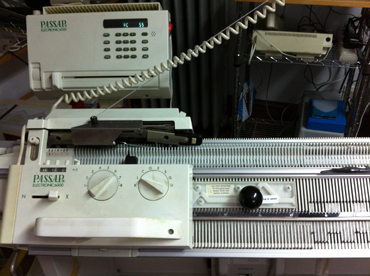
If patterning for long stitches occurs on the front bed, the Passap tool sits on the rail where you see it in the photo, it will release all stitches from needles in its path. Often directions for using it recommend its use for 2 passes with locks on right. Passap preselects pushers for the next row of knitting as Brother preselects needles, pushers are below the rail, so in theory, they should be unaffected bypasses of its travels. Once things are up, going, and “working” I have found it possible to align the tool as seen in the photo ahead of the next lock pass, so on the right of the lock from left to right, to its left from right to left, a bit of pressure will keep it in its place, and stitches are released each pass of the lock. This may result in having to operate the lock with one hand. There is also an optimum speed: if the movement is not smooth and regular and needles are jostled, pusher selection may be altered in response, thus resulting in a patterning “mistake” on the next row. Challenging yarns may make this method impossible.
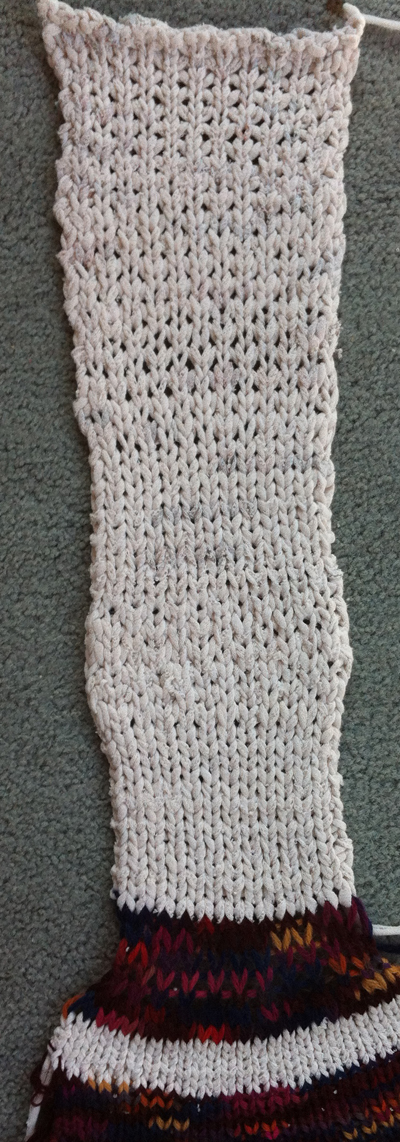
Some samples follow: the yarn used was acrylic, I attempted to press it on swatch completion, and this flattened the fabric considerably. Of note: the disparity in width between the stockinette portions of the swatches, and the dropped stitch segments
too open
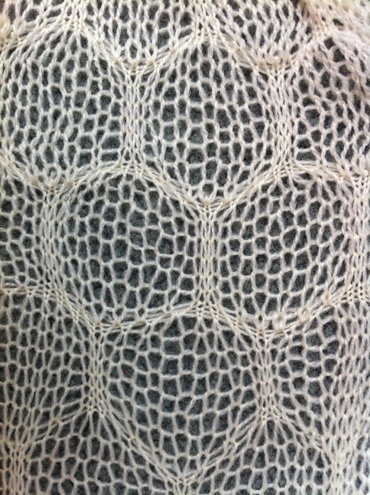
a bit closer, much more so before steaming
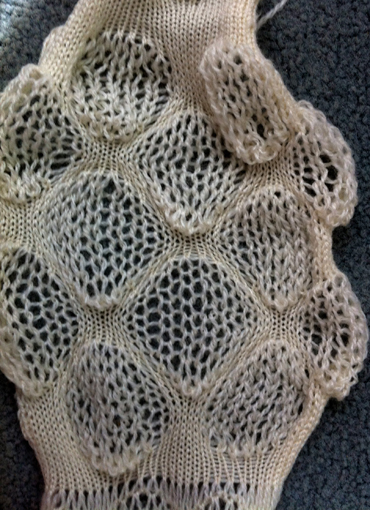
a “mistake” that may lead to a future accessory, with some revising and planning
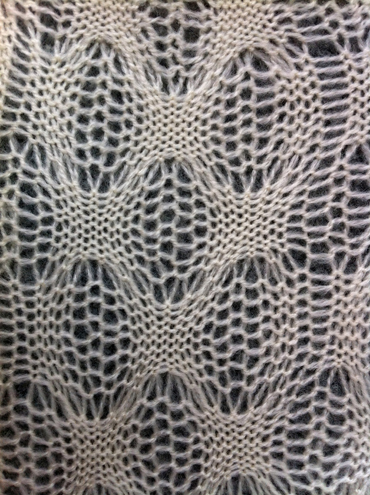
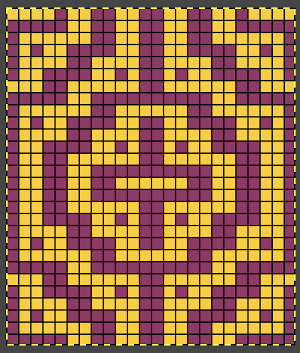
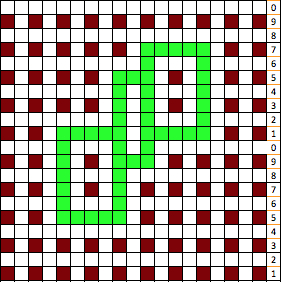
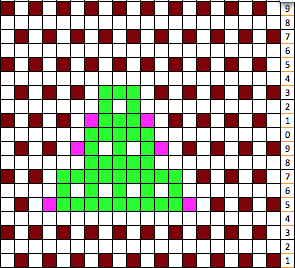
I am using Stitch Painter to plot out my repeats, exporting files as .cut files, using wincrea to import them, and downloading to the console with a cable purchased from England. I replaced an ill tower dell with a 64-bit dell laptop half its age, and am now running Windows XP instead of 98! My leaps into the present technologies/software are made using apple products. Technique 129 will work, color may need to be reversed using the alter loop, or within wincrea depending on how the pattern is drawn in the original graph, but that is a topic for another day (see April 2011 post: a bit on Passap for some information on Tech129). Back lock on N throughout, front lock on LX (slip/part on the main bed for Japanese KMs). Single bed slip and tuck stitches may also produce “bubbles” of a different quality.
Coincidentally the 10th-anniversary issue of Knitty has just been released, arriving in my virtual mailbox this AM. There are 2 patterns in the issue that may be of interest, one is tin roof, the other employs ribbed/bobble/bubble for hand knitters. Another hand knit version by Kieran Foley may be found here
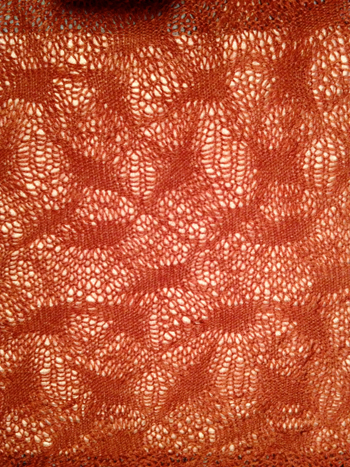


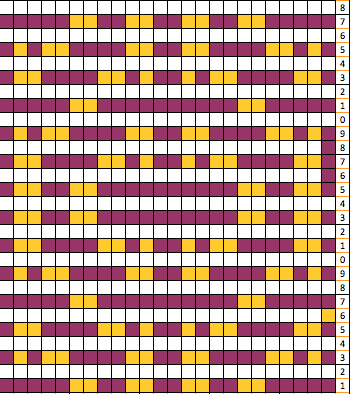
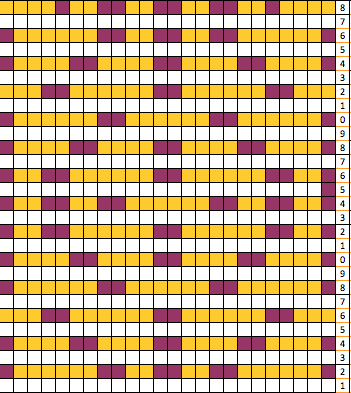
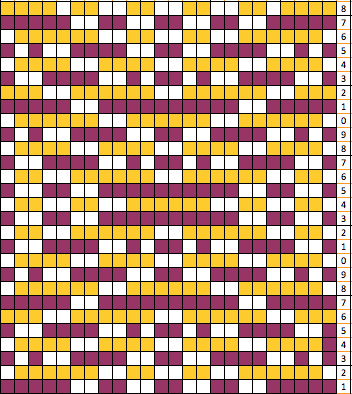
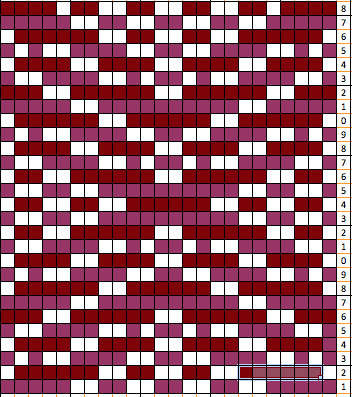
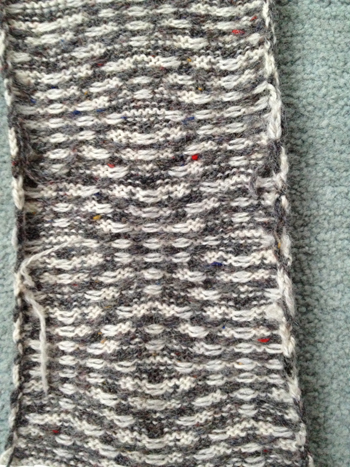
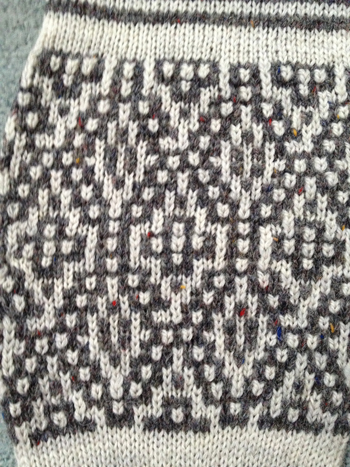
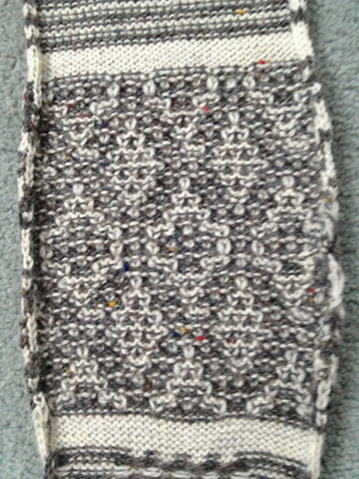
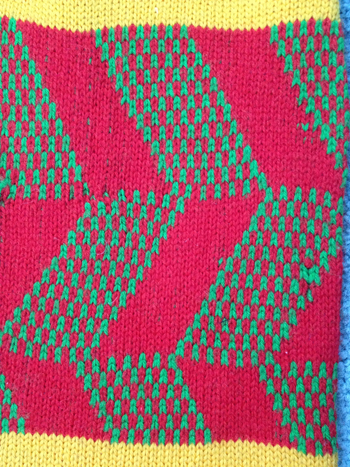
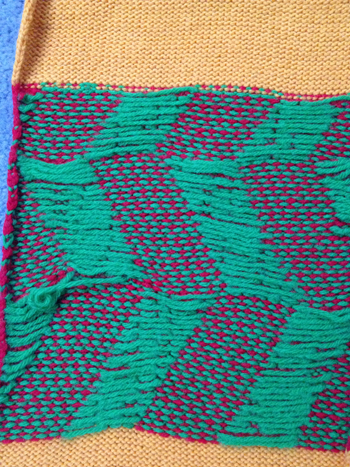 tuck 1 color
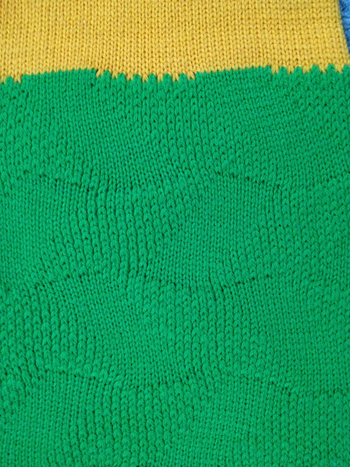
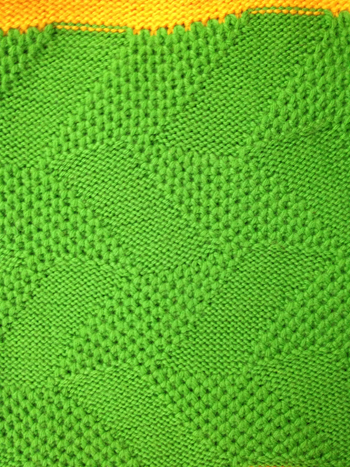 slip 1 color
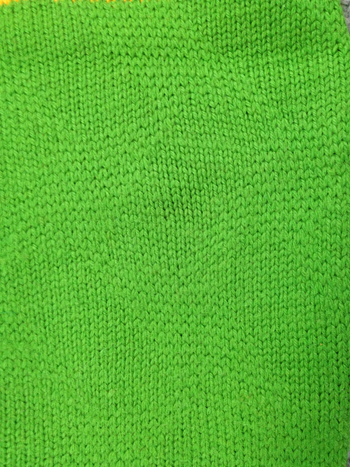
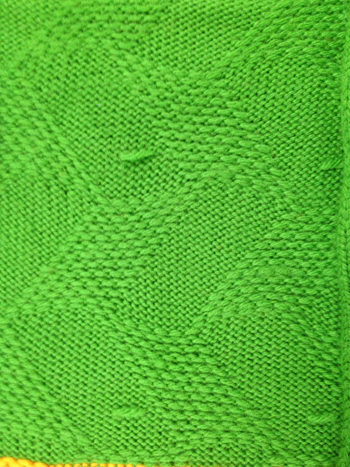 tuck 2 colors
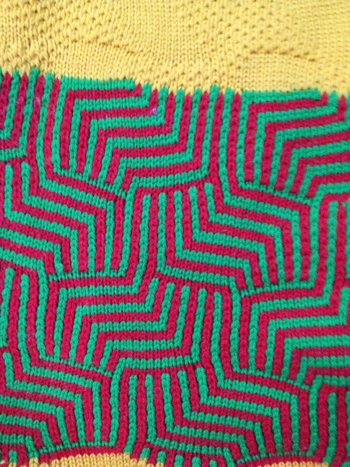
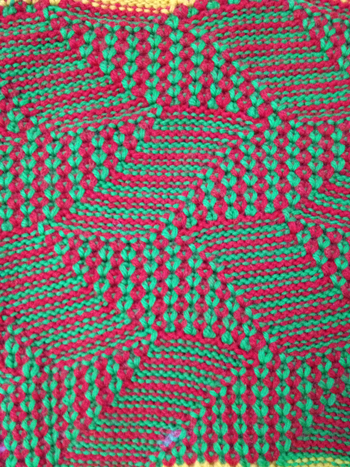 slip 2 colors
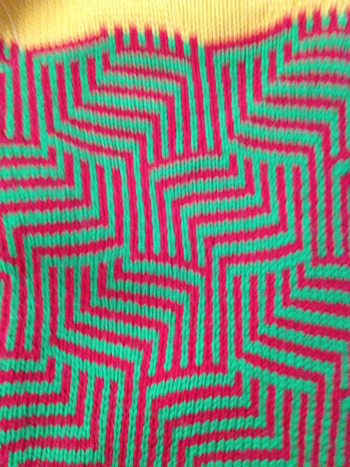
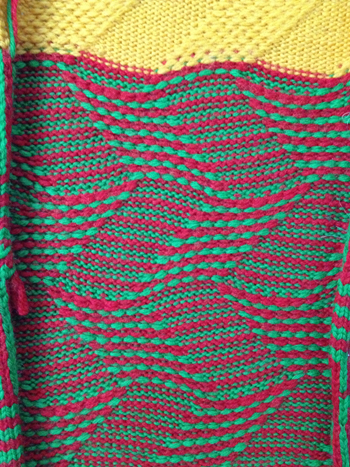 last but not least, slip stitch adding a third color front, still changing colors every 2 rows
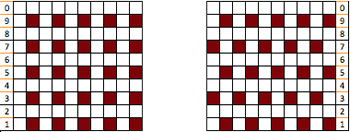
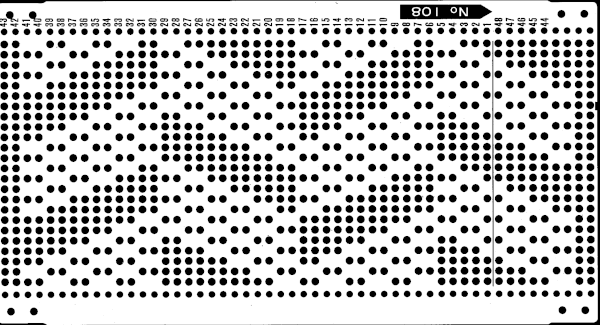 The repeat enlarged and punched for use in the pictured samples
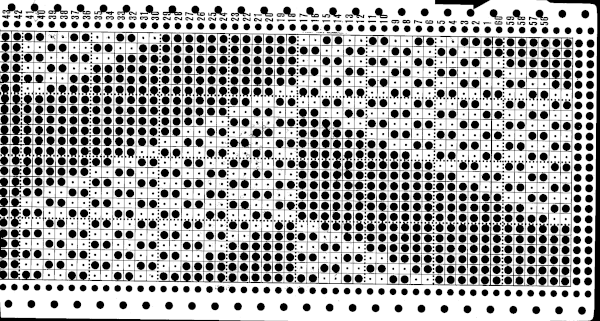
 with the release starting
  after release
 after pressing: flat, edge stitches too short
  attached to back bed before knitting pattern (purl side)
 alpaca and silk swatch, surprise: this baby knits up/steams fairly flat!
  The most regular dropped stitches happened when the stitch ditcher was used at least as frequently as every 4 rows, the lock was too hard to push with it resting on the knitting bed before each pass. I thought I might break down and use a built-in technique and my color changer to drop stitches: Technique 256 here I come, and figlet! this is a completely different fabric and there is one row of loops formed for every 4 passes of the lock
 you can’t always get what you want, do you sometimes get what you need? Curses! triple the number of stitches and tension problems occur, stitches don’t want to drop in specific areas of knit, now using a combination of empty lock and occasional hand ditching, different yarn, totally different look fabric than on the first sample: here it is on the machine
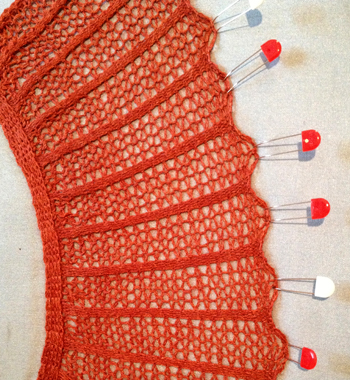
 this shows why any lace needs blocking.
  Finishing on the Brother: bottom and top of ruffle rehung and cast off around 2 gate-pegs for length matching width of “pleats”; piece and “ruffles” also rehung for the same type of join after 1 row of knitting through both layers.
 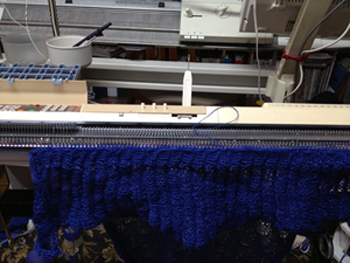 The finished piece measuring 17X60 inches after partial blocking.
  A different stitch pattern (E6000 1130) in the white acrylic
  color striping in the alpaca/silk blend, requiring dealing with yarn ends at color changer side.
  I had an interesting experience while knitting the one above of both locks jamming in the color changer. So many ways to have fun! and … I still want some bubbles!
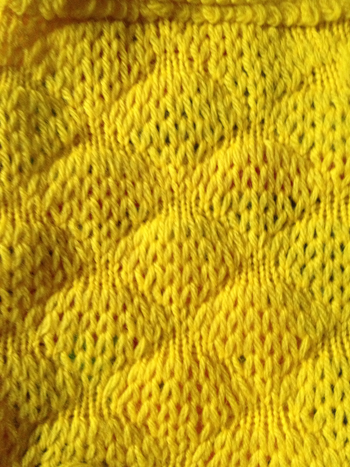





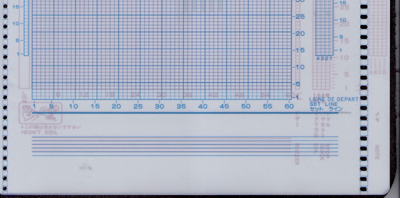 The holes for movement of the mylar occur in just about nearly the same location. The first issue at hand is to draw a set line in the proper position for Brother pattern reading (traces of pencil line on the red studio mylar may be seen underneath the blue brother markings). Some machines are fussier than others with the set position, and I found drawing the line by placing the denser studio card over the brother one on a light_box surface made that very easy.
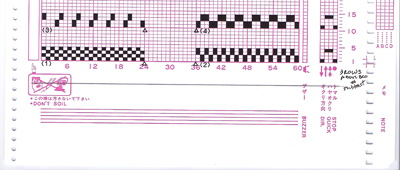 #4 pattern in Studio programming would begin on row 11, ending on row 14, to program same in Brother beginning row is 14, ending row is 17; stitch locations remain unchanged, but a reminder: Brother sheet is marked in 5X5 blocks of squares, Studio in 6X5.