Names referring to the same knit fabric can vary between machine manuals for specific models and brands or references in books, magazines, and articles depending on the dates they were published.
My earlier share on the topic:
Blistered stitches dbj 1
Blistered DBJ 2 and technique variations on a single repeat, introduced some of the concepts involved.
Beginning with any random published repeat can offer the start of exploring a range of fabrics. This was a Pinterest punchcard share, markings indicate it was intended for Brother machines 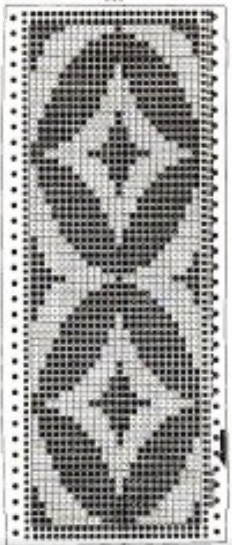 Methods for obtaining color separations for specific knits have been discussed in other posts.
Brother models can use the cam buttons to perform a function in one direction only, ie by using only one tuck or slip button, the machine will knit when the carriage reverses movement to the opposite side.
Developing specific color separations makes the files usable on other machine brands and models, makes it easier to return to specific rows in error corrections, and is my personal preference in test swatching and complete pieces.
Drawing the initial design in repeat provides a visualization of the resulting secondary shapes and the number of needles required for tiled variations in finished pieces based on gauge.
The first design is intended for use in every needle rib, with the knit carriage knitting in one direction, and using slip or even tuck in the opposite direction.
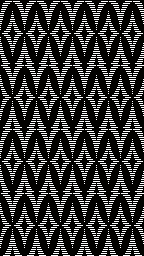
The 24X32 design extracted from the inspiration punchcard 
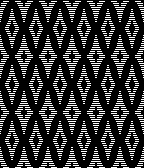
![]() A: the rendering scaling the design twice in length
A: the rendering scaling the design twice in length
B: making the choice to color invert it in planning slipped stitches on the larger number of white pixels
C: superimposing black lines on every other row beginning with row 2 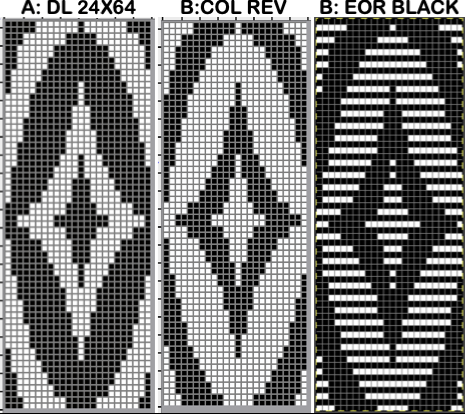 A quick review of the steps involved in working with Gimp:
begin with magnification for easy viewing, ie. 800X, view grid if preferred
the starting brush can be as small as this 2-pixel ![]() select it and save it to the clipboard by choosing copy visible, making it available to bucket fill images, or export the same design as a .pat file and save it in the appropriate settings folder for future use.
select it and save it to the clipboard by choosing copy visible, making it available to bucket fill images, or export the same design as a .pat file and save it in the appropriate settings folder for future use.  A: the original design repeat rendered in black and white
B: layer, transparency, color white to alpha
C: file, new, white ground, matching size, filled with a pattern of pairs of horizontal all-white pixel rows beginning with white on row one, followed by all-black pixel rows on row 2
D: copy B and paste it on C, and export the file as png 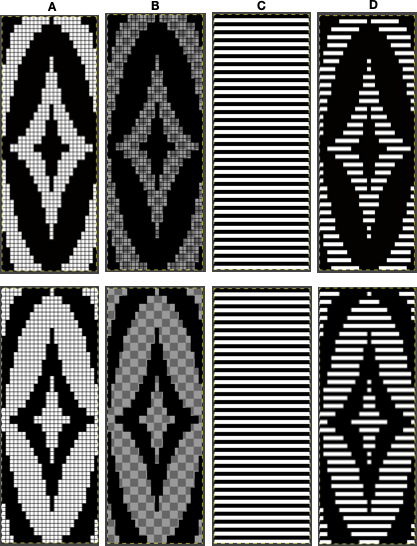 The chosen repeat may not be color reversed after programming it using the machine’s built-in electronic functions.
White pixels slip, stitches on the main bed in non-selected areas would not knit off for extended periods ie where red marks occur, and noticeable problems would develop quickly 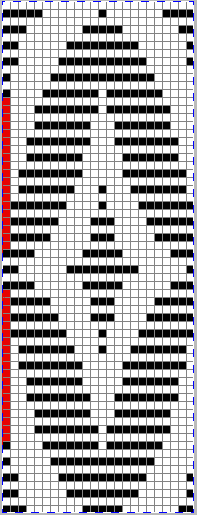 Beginning proofs of concept for this version, 24X64
 ![]() knit on 60 stitches using it drawn in repeat X3, 72X64, and programmed as a single motif
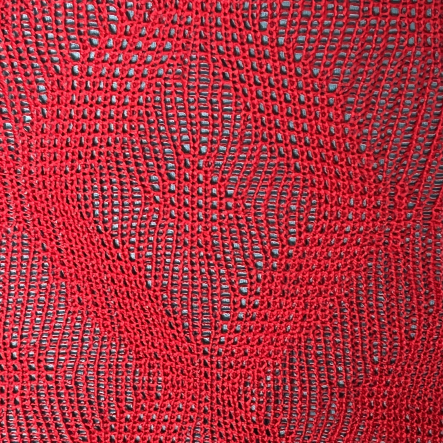
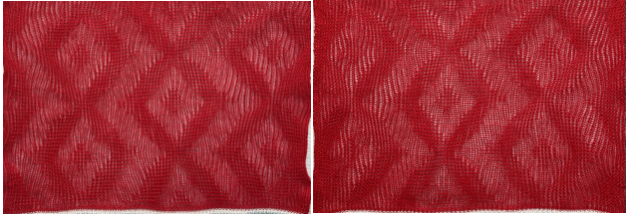
knit on 60 stitches using it drawn in repeat X3, 72X64, and programmed as a single motif  The result is a very subtle contrast lacey knit
 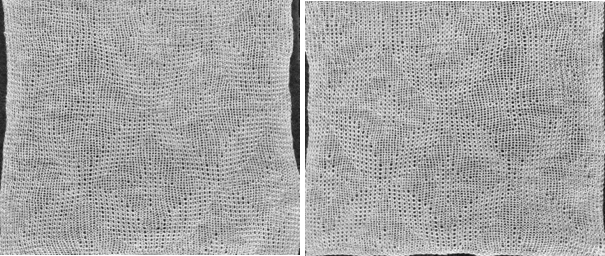 The yarn thickness and color were changed. The pattern begins using the slip setting and transitions to tuck, also in only one direction. Because the ribber is knitting every stitch between stitches on the top bed holding side-by-side loops down, tucking on multiple side-by-side needles can be performed, producing a wider, stretchy knit that also lies flat.
 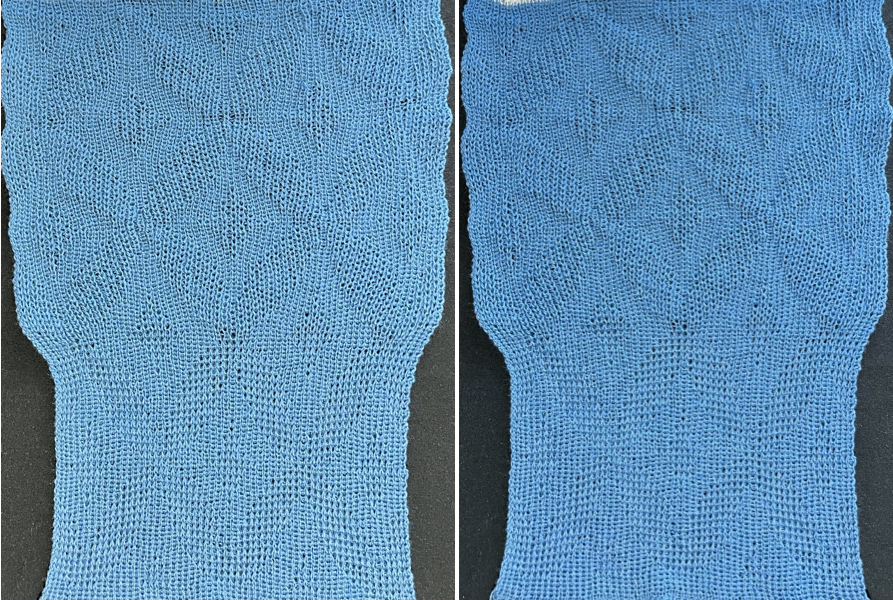 True blisters/pintucks generally knit rows on the top bed alone forming pockets that are eventually sealed by all knit rows.
Slip stitch settings are used.
The design is at first lengthened X5, then every 5th row is filled with black pixels or punched holes.
A begins in smaller groups of gathers, testing for any errors or problems, while B allows for deeper folds. 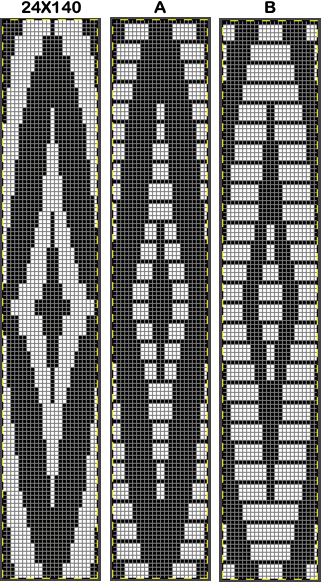 A:
A: ![]() the mark shows the stitches on the top bed begin to slip far too many rows
the mark shows the stitches on the top bed begin to slip far too many rows
due to using the color reverse option in the 930 before continuing to knit. 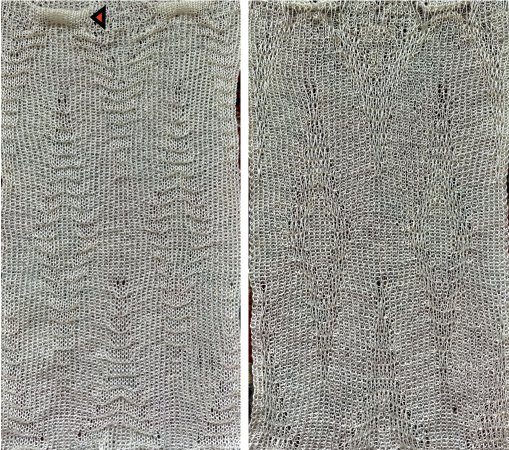 With a switch to the blue yarn, all-knit spaces between the pockets now begin to appear gathered. Slip stitch results in narrower knits, noticeable in the ruffled effects on every needle rib above the cast ons
 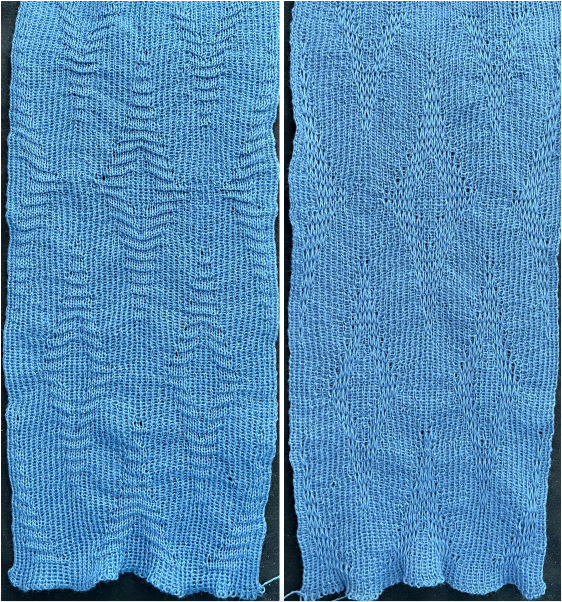 B:
B: ![]() the extra row of slipped stitches result in a far more textured knit
the extra row of slipped stitches result in a far more textured knit 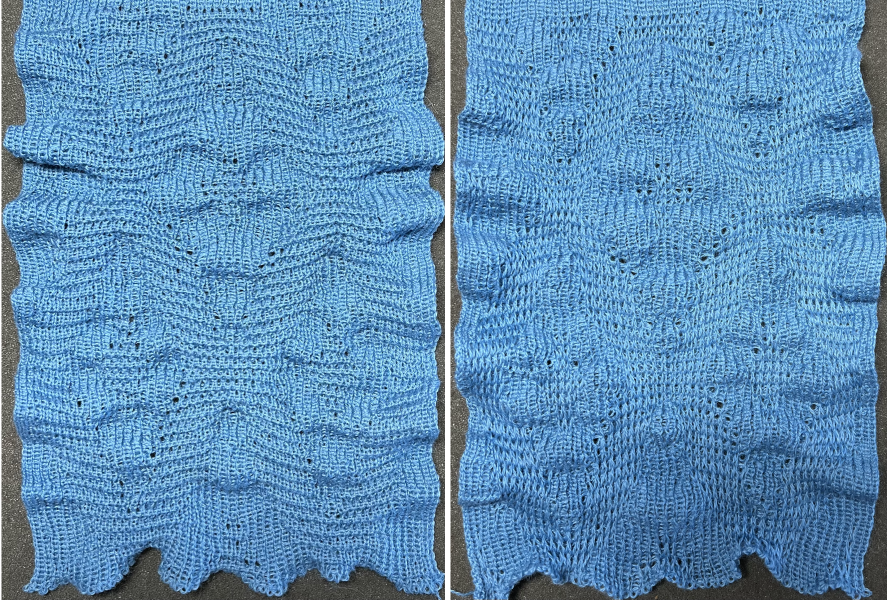 Developing other layouts for the same design, brick 24X128
 ![]()
 half drop 48X64
 ![]()
 Eliminating unwanted extra stitches from the original, modified to 24X28 pixels
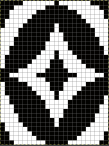
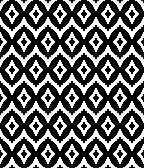
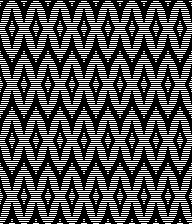
![]() drawn in repeat to 144X168
drawn in repeat to 144X168  brick version 24X56
 ![]()
 half drop 48X28
 ![]()
 adding those all knit rows
 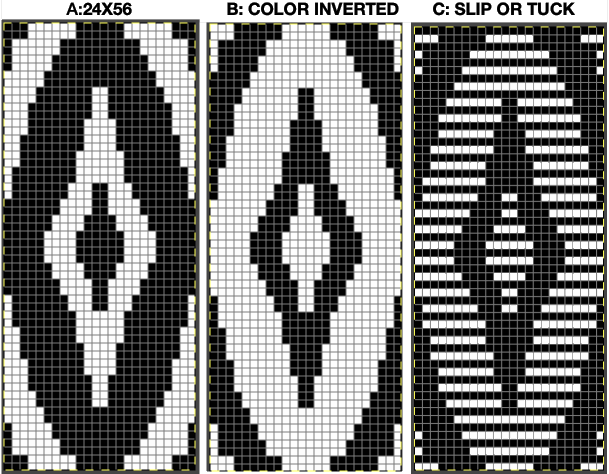 Viewing repeat alignments
 ![]()
 The 24X112 brick repeat suitable for punchcards, not tested,
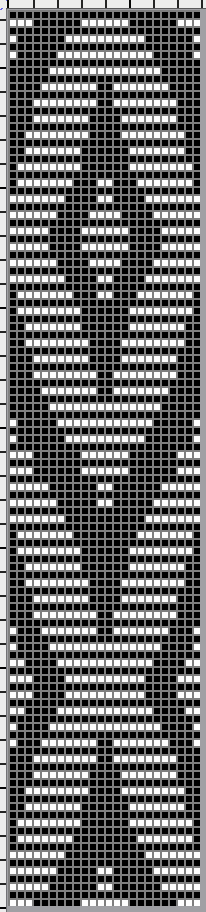
![]()
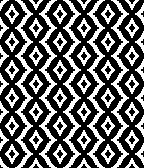
 and the half drop, 48X56
 ![]()
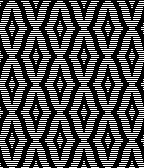 tested using a 10/2 cotton and lightly steamed and pressed. Knit on 80 stitches, it measures 17 inches in width and 11 in height.
 an attempt at a more detailed look