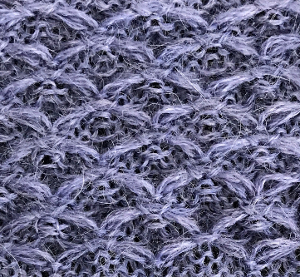
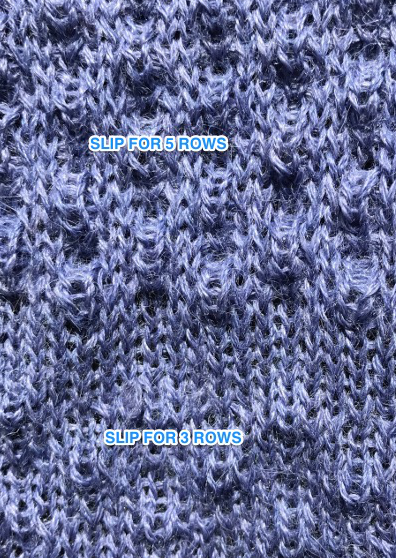
Some previous posts exploring hand techniques that might be considered to fall in this family of stitches:
“Crochet” meets machine knitting techniques: tuck lace trims and fabrics 1
“Crochet” meets machine knitting techniques: tuck lace trims or fabrics 2
“Crochet” meets machine knitting techniques: working with “chains”
Search for “wisteria”
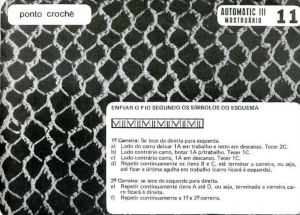
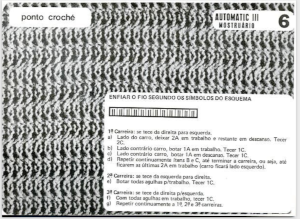
“Crochet” meets machine knitting techniques: working with short rows 1, June 2017 began to explore some of the fabrics presented in this category in a Portuguese language publication  I do not speak or read the language, so my swatches are best guess efforts at producing similar knits.
2022: In the latest Mac OS 12, an interesting feature is available now, but not at the time of the original writing of this post.
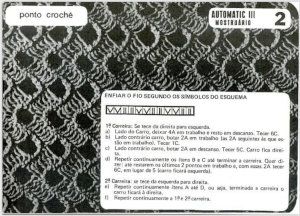
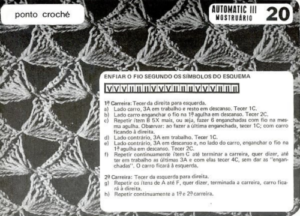
A: choose the design, in this case, #2, screen grab the image, import it into photos
B: open the image, position the pointer over the text, left click and drag to select the desired text
C: control-click on the selection, choose translate text, and then choose a language. If a specific language selection is not made, the mac translates automatically into the preferred language for your region
D: click and choose copy translation to copy it to clipboard for saving into a document ie Text Edit so that it may be saved for later use or printed if desired
 The result offers a starting point but is in need of added editing
1% Career: You weave from right to left.
A)Side of the Car, leave 4A at work and rest at rest. Tecer 6C.
B) On the opposite side car, put 2A to work (the 2A next to those that are
So at work). Weave 1C.
C) On the opposite side of the car, put 2A on rest. Weave 5C. Car is saying-
Ta.
D) Continuously repeat items B and C until the carrera is finished. Do you want to di-
Zer: until the last 2 points are left at work and, with these 2A weaving
6C, instead of 5 (car will be left).
28 Career: weaves from left to right,
C) Continuously repeat items A to D, or soybeans, after the career or
The car will be on the right, fI
Continuously repeat the 19th and 28th career,
Guidelines at the beginning of the pub for #1, translated more slowly with added editing:
CLARIFICATION FOR THE EXECUTION OF THESE POINTS
A: in crochet stitches, the scheme is repeated across the entire width of the machine
B: in the “crochet ends”, braids and flowers, thread only the needles. Islands as indicated by the symbols in the scheme. Alternative: in crochet stitches of gallons and flowers thread the thread only on the needles as indicated in the diagram symbols
C: when starting to weave the car must always be on the right side unless the symbols in the scheme indicate otherwise, for example, crochet stitch #9
D: in crochet stitches count a career whenever the tip of the wire stays at the other end of the machine
E: the tension must be adjusted according to the stitch and thickness of the thread to be used, in general voltages 1-3 are used.”
Some familiarity with larger-scale patterns in this family can help visually with duplicating them independent of the written original language directions.
These fabrics share common hand technique movements across rows, singly, or in pairs. Similar structures are not presented in numerical order in the pub but will be here.
The yarn choice makes a critical difference both in managing the knitting and in how blocking, or not, affects the finished fabric. The knit carriage travels many times across each stitch as the technique is worked, with possibly pilling, so softly spun yarns should be avoided.
Clean the machine of any leftover fibers, while avoiding over-oiling which may leave dark streaks in the finished product.
Cast-ons and bind-offs need to be very loose to compensate for the fact that the completed knit will have considerable sideways stretch. 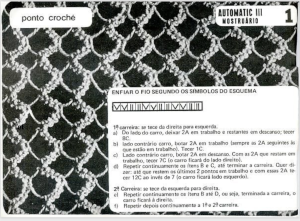
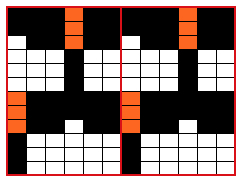
 Chain cast on 2 in work, 2 out of work, end with 2 needles in work
bring all stitches out to hold except for the first 2 stitches on the right
COR knit 8 rows
push adjacent pair of needles away from the carriage into work position, knit a row to left
COL bring the previously knit pair of needles out to hold
knit 7 rows, end COR
bring adjacent pair of needles opposite carriage into work, knit a row to left, end COL
COL when the last pair of needles is returned to work knit 8 rows
reverse shaping: bring the second pair of needles on left into work, knit a row, push the first pair of needles out to hold, and continue the process for the desired length
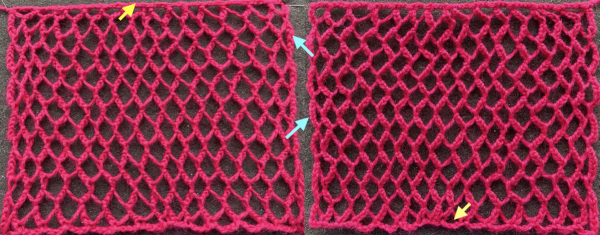
The yarn used is a 6X18 rayon, a “no memory” yarn that changes considerably with pressing. The arrows mark an operator error in tracking the sequence, the top and bottom edges are obviously narrower than the resulting mesh.  Number 11 is a close relative but worked on every other needle
 The rayon used in the previous sample, and a 2/8 wool, were less successful than a 2/11 acrylic in knitting the swatch. The stitches need to be as tight as possible while also needing to be able to knit off properly
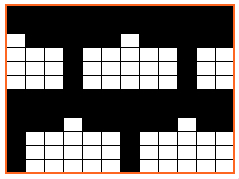
make a very loose chain cast-on on an even number of needles, then drop every other chain, taking every other needle completely out of work, and ending with a needle in work
bring all stitches out to hold except for the first stitch on the right
I believe the directions are given for knitting only 2 passes, I preferred the look with the count doubled to 4, so, COR knit 4 rows
push adjacent needle away from the carriage into work position, knit a row to left
COL bring the previously knit pair of needles out to hold
knit 3 rows, end COR
bring adjacent pair of needles opposite carriage into work, knit a row to left, end COL, knit 3 rows
COL when the last pair of needles is returned to work knit 4 rows, continue with
reverse shaping: bring the second pair of needles on left into work, knit a row, push the first needles out to hold, and continue the process for the desired length
In the top part of the swatch I knit 8 rows at starting and ending sequences, feeling the sides were tight, 6 may be the best answer
bing off very loosely after the last stitch is worked for 4 rows
 The same directions apply in this instance, the first sample worked with no needles out of work
 I added 3 chains between cast-on and bound-off stitches, making for a better top and bottom edge. The difference in width is highlighted on the bottom right, where I missed doing so between two stitches. At the end of each row, prior to reversing direction, I knit 6 rows rather than 4, ending with 4 rows only on the last needle prior to binding off. The swatch was not steamed or pressed.
 This knit begins on every needle
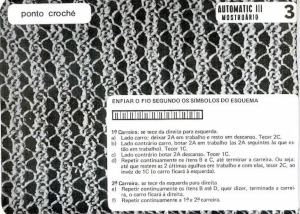
 I cast on chaining over 2 needles, followed by two extra chains where the ladder is expected, cast-off also with two extra chains in ladder spaces. The knit sequence is similar to the previous swatch, but needles are now moved in pairs
COR work first 2 stitches for 2 rows
push two needles on left into work, knit one row to left
COL *push the first 2 stitches to hold, knit one row to the right
COR bring the next two stitches on the left into work, knit one row to left
COL push previous 2 stitches to hold, knit one row to the right**
bring 2 stitches on left into work knit one row to left,
repeat across the row
when the last pair of stitches are left, COL knit two rows on them, and reverse shaping. Ending each sequence with two knit rows will produce fairly straight sides, knitting four rows on end stitches, except prior to binding off, may echo the movement of the in-between spaces and make the ladders at the sides more visible 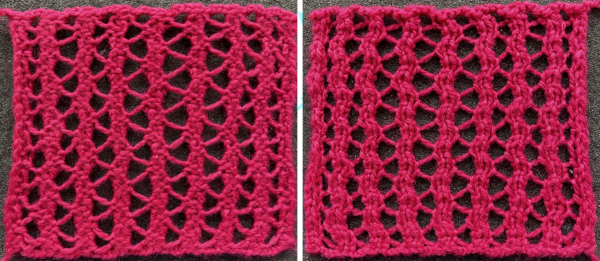 Eliminating those ladders or floats, here eyelets are created where stitches are held for two rows.
 Care needs to be taken if stitches are dropped or other patterning errors are made in order to retain the correct pattern. Cast on and bind in this instance were executed with single chains added in between those on needles in work.
Version 1:
COR with the first 2 needles in work, knit 2 rows
COR bring one needle on left into work, knit 1 row
COL bring one needle out to hold opposite carriage, knit one row
COR bring one needle on left into work, knit 1 row
COL bring one needle out to hold opposite carriage, knit one row
repeat until there are 2 needles left in work, knit 2 rows
reverse shaping
end with 2 rows knit on the last pair of stitches before binding off 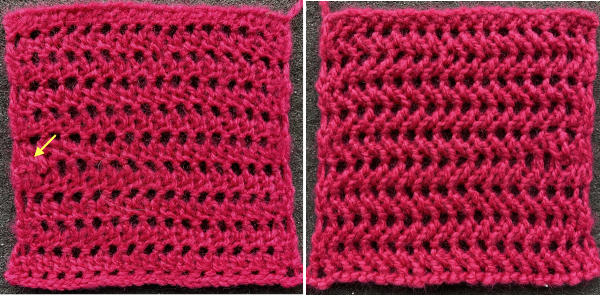 Version 2 adds 2 rows knit on every needle between holding pattern reversals, the fabric grows in length far more quickly
Cast on from left to right on every needle
COR knit 2 rows, bring all needles except for the first 2 on the carriage side out to hold
COR with the first 2 needles in work, knit 2 rows
COR bring one needle on left into work, knit 1 row
COL bring one needle out to hold opposite carriage, knit one row
COR bring one needle on left into work, knit 1 row
COL bring one needle out to hold opposite carriage, knit one row
repeat until there are 2 needles left in work, knit 2 rows, end COL
COL push remaining needles into work, knit 2 rows on all needles
COL bring all needles except the first 2 on the left into work, knit 2 rows
reverse shaping, ending with 2 knit rows on the far right
COR push all needles into work, knit 2 rows on all needles
COR bring all needles out to hold except for the first 2 on the right
repeat all
end with 2 rows knit on the last pair of stitches before binding off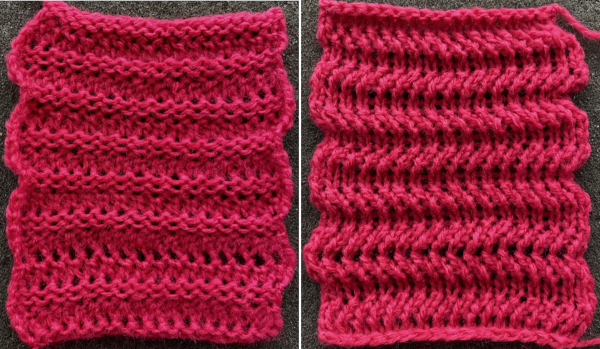
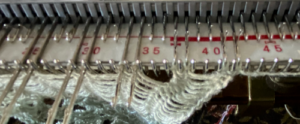
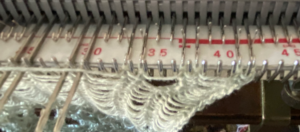
 chain cast on 2 in work, 2 out of work, end with 2 needles in work
worked in 2 pairs, 4 needles at a time
COR knit 6 rows on the first two pairs of stitches on the right push pair of needles on the left into work knit one row
 push first 2 of needles out to hold
  knit 5 rows COR
 push next pair on left into work, knit one row
  push the third group on its right into hold position, knit 5 rows across remaining 4stitches bring a new group on left into work, knit one row
bring the pair to the far right out of work
repeat process across row
when the last pair of needles on the left is pushed back into work, knit one row
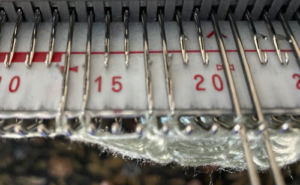 COL knit 10 rows, bring the third pair of needles into work, knit one row
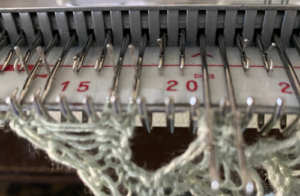 Push the first pair of needles out to work, knit 5 rows, continue with reverse shaping.
If the pattern is to end on the right (or left), knit 6 rows on the last 4 stitches and stop, otherwise when the opposite side position is reached, knit 10 more rows before reversing and continuing in the pattern.
Tracking rows worked: 7 ladders are created in each space, 12 on each end. Depending on yarn and stitch size watch to see that even tension is maintained particularly on the first 2 stitches worked on each side.
The swatch is shown before and after some light pressing, the arrow marks some looser stitches on the side edge. 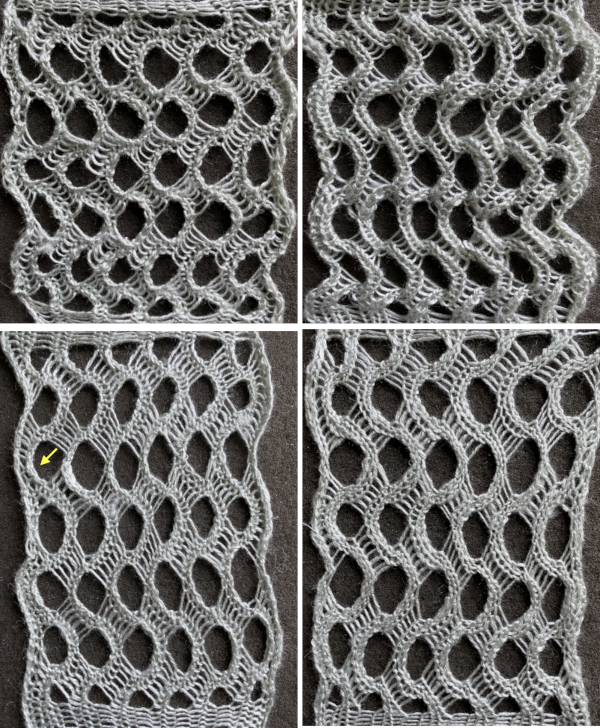
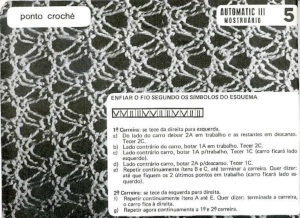
 Latch tool cast on from left to right, chaining 4 in no needle, future ladder spaces
COR with the first 2 needles in work, knit 2 rows
COR bring the first needle on left into work, knit 1 row to the left on three stitches
COL bring the first needle of the previous pair on the right out to hold, knit one row to the right on two stitches
COR bring the closest needle on the left into work, knit 1 row on three stitches
COL bring the second needle of the previous pair on the right out to hold, knit one row on two stitches
repeat working on 3, then 2 stitch sequences until there are only 2 needles left in work, end COL
COL knit two rows, begin reverse shaping by putting one needle into work on the right, knit one row on three needles
COR bring the first stitch on the far left out to work, knit one row on 2 needles
continue reverse shaping, ending with 2 needles in work on the far right
COR knit two rows on 2 stitches, repeat and continue the process until 2 stitches are left in work on the left, and reverse again
end fabric with 2 rows knit on last 2 stitches in work
latch tool bind off with chaining X 4 in ladder spaces
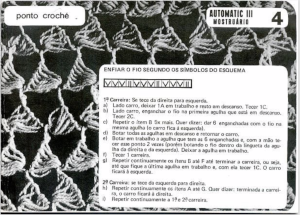
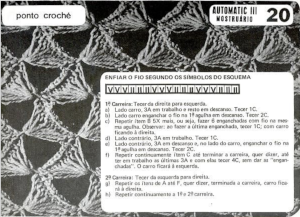
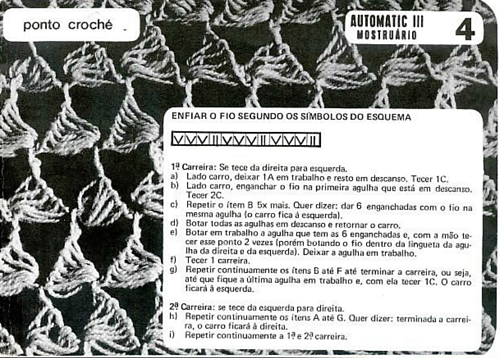
keep an eye on sequences, the floats are created in series of three, with experience knitting similar patterns, errors become easy to spot during is knitting 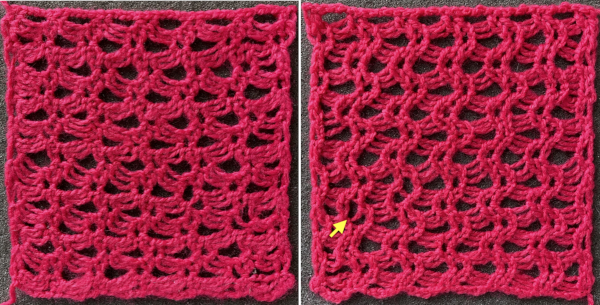 Shell shapes: #4 and # 20 directions are given in the 2017 blog post


![]()
 Some of the trims in this pub may be far more easily and quickly executed using tuck stitches.
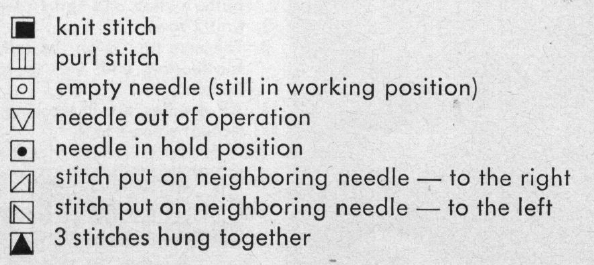
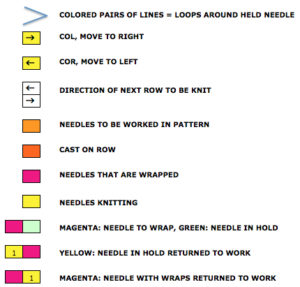
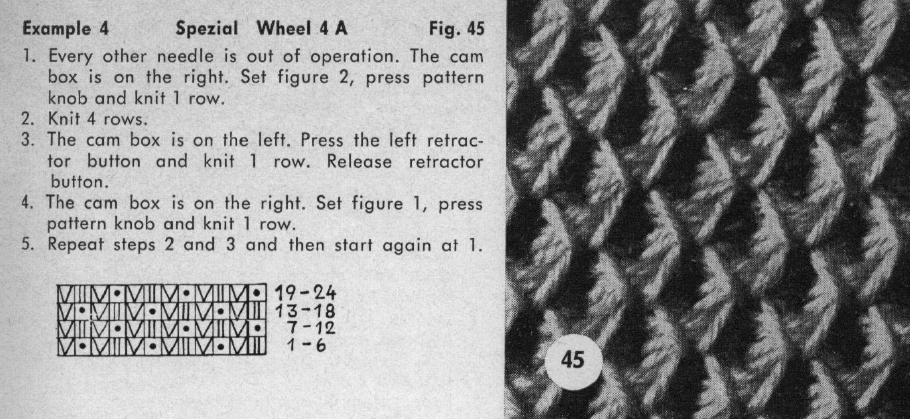 Translation of symbols used in Knittax patterns
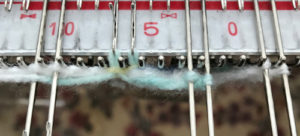
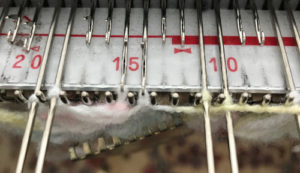
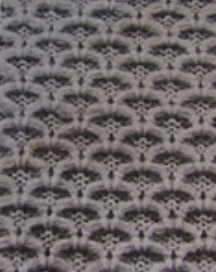
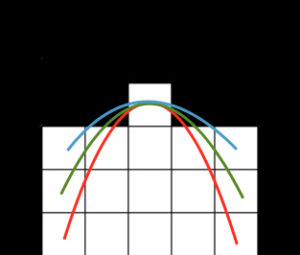
  On the purl side, this creates structures that emulate crocheted shells. My first attempts at trying to knit anything like this were in thin yarn, and I had enough issues to give up for the moment. Things worked out much better when I switched to a sport weight yarn that seemed to like knitting at T 10 for stocking stitch. With NOOW set up, my sample was knit at T 9. Waste yarn and ravel cord are often a good way to start, but not always necessary, the same is true of weight. I began with a crochet cast on, every needle, multiple of 4 st + 2, then dropped the alternate pairs of needles between the first and last 2 pairs of needles in work, pulling the needles back to A position, determining the width of my “shells”
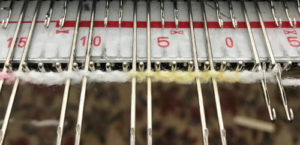
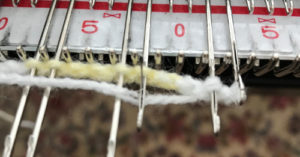
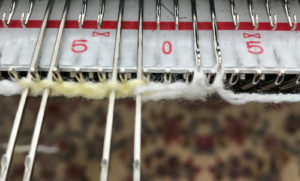
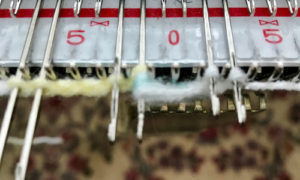
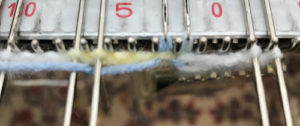
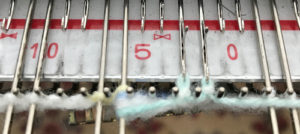
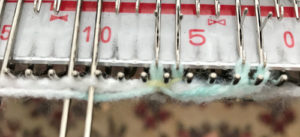
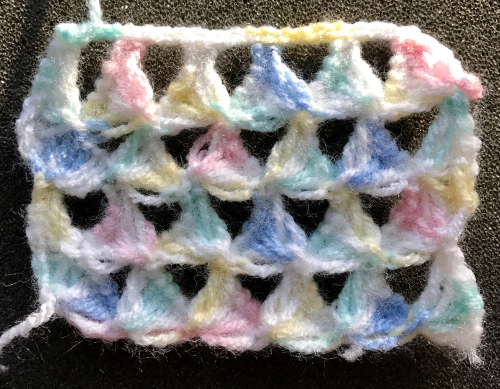
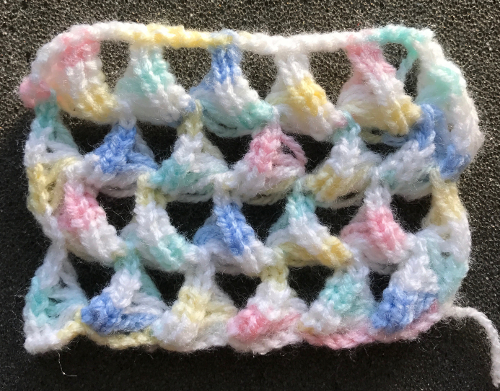 Variations can include the number of needles in and out of work, yarn choices, etc.
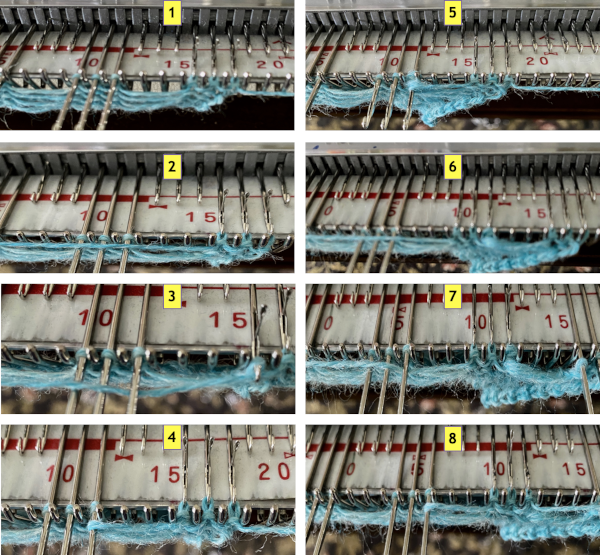
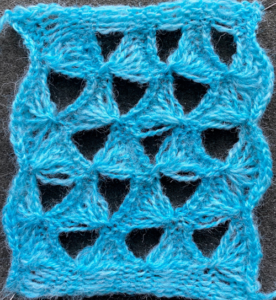
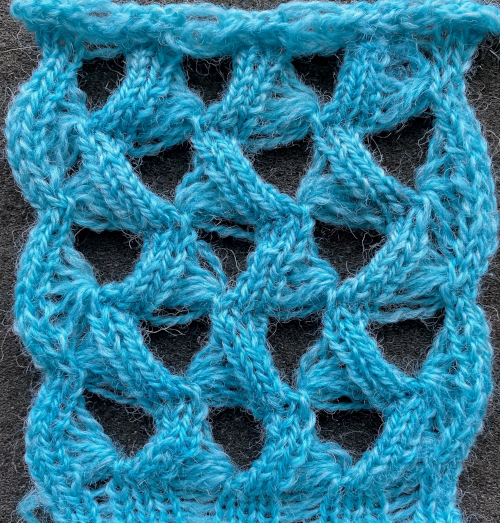
 I like to begin using a chain cast on, and then dropping chains off needles out of work
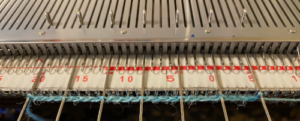

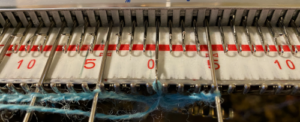 The fabric shares knitting sequences with the first 2 samples
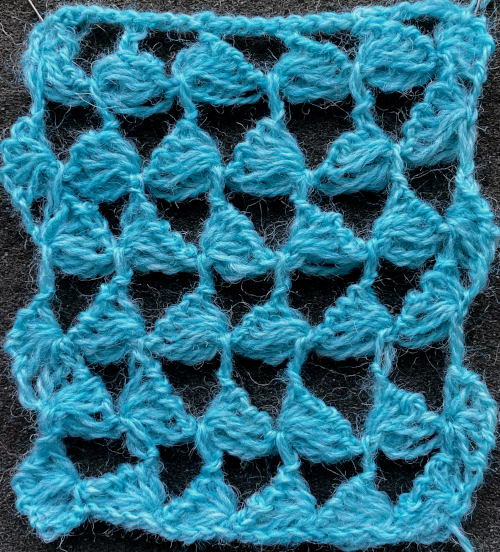
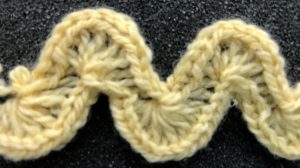
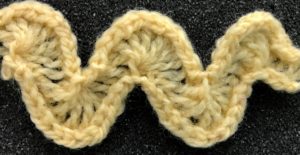
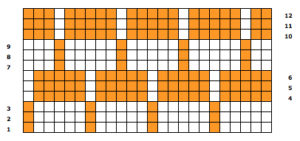
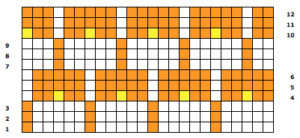
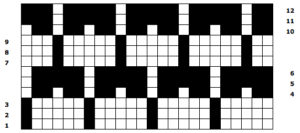
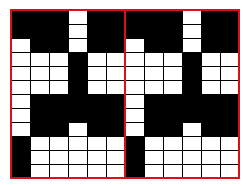
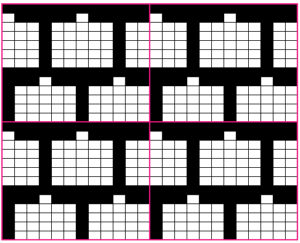
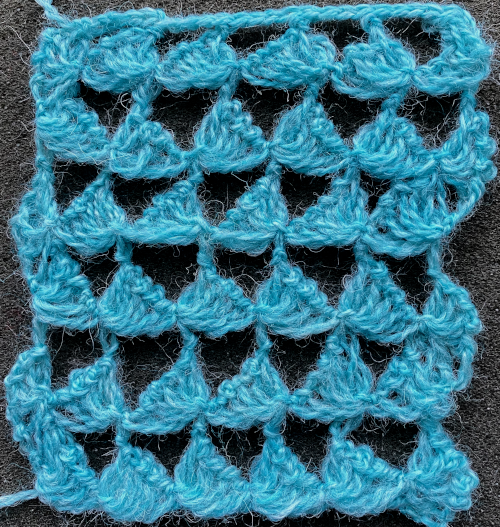 Here a similar technique is used for a trim, both sides are shown


 a bit closer,