Though written in 2017, the post on revisiting drop/release stitch lace 1 has had new swatches and updated design ideas added. It includes information on how to use punchcards intended for other fabrics as possible design ideas and a cumulative list of previous posts on drop stitch lace.
The Brother publications have offered this idea for end release drop stitch in one of their volumes of punchcard patterns. 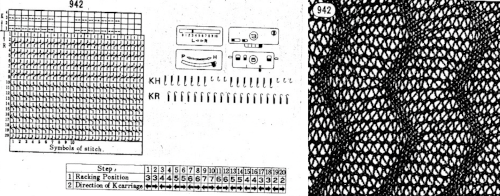 Many published designs recommend beginning the knitting with the racking handle in the center position, 5 of 1-10 positions in Brother, and 0 of 6, 3-3 in Passap. Often the starting position is relative and when a lot of racking is involved, they may be varied, though not the sequences in terms of the number of movements, to different starting points if that seems to offer an easier way to track position numbers. It is one of the many things that once the method is sorted may be adjusted to personal preference. Some of my swatches below were started with the racking position on 10, some with it on 5.
Many knitters in forums appear to have success with end release drop stitch. My experience has been that episodic release of the stitches even as often as after 2 rows knit yields far more predictable results. It is how I worked my shawls produced in the technique, including these two, knit in days when I did not always photograph all my pieces 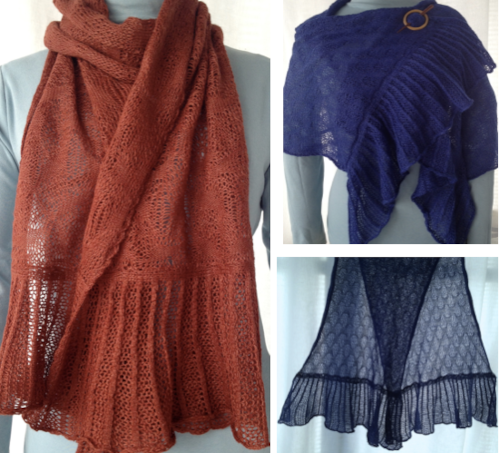 Giving end release another go, this was my initial needle set up. With the majority of the needles in work on the main bed, the larger stitches in the final fabric will dominate. The stitches after the cast on have been transferred down to the ribber.
 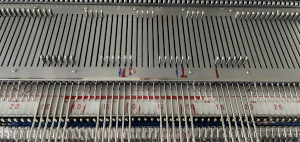 The work on the machine, with stitches on the main bed released at the end of the swatch.
  There is a long stitch DBJ single color pattern happening which may prove to be an interesting fabric if no stitches are dropped, to preserve it, all stitches would be transferred to the top bed, and bound off.
Here the racking took place in single positions after every knit row. Dropping stitches on completion of the swatch, particularly along the edges was so fiddly and such a nuisance I simply gave up in spots, some indicated by red dots. 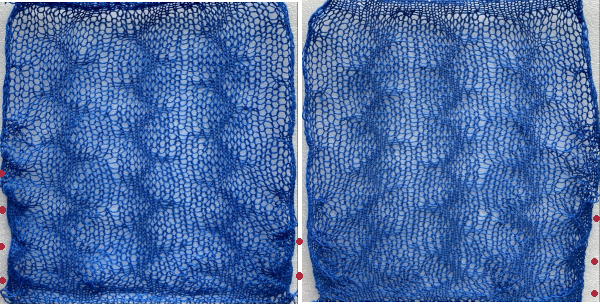 This watch had stitches released at the end of each shape, racking in the top portion occurred after every 2 rows knit
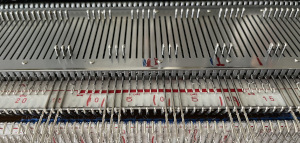
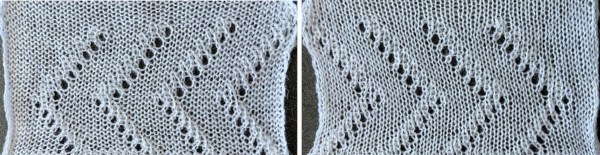
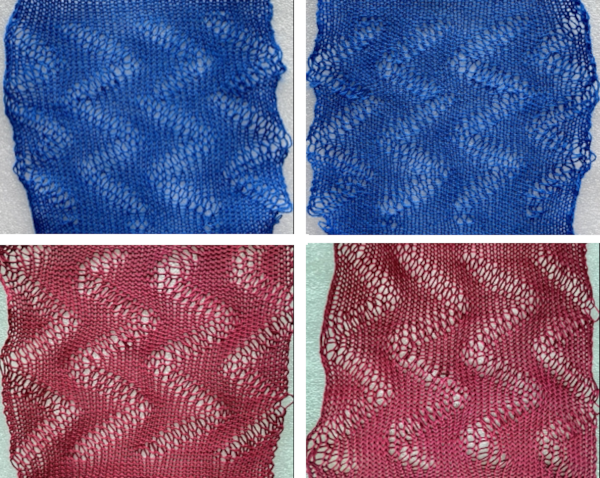
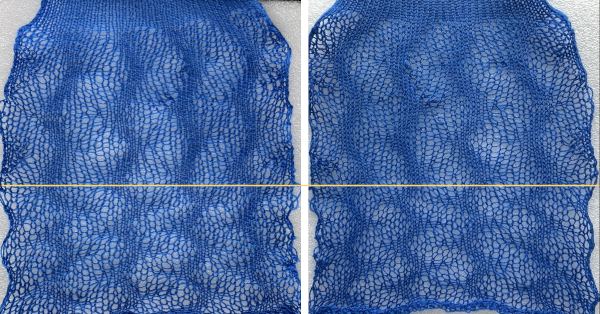 Here the same design was knit using different yarns. The first is knit using the same blue wool, the second a tightly spun rayon.
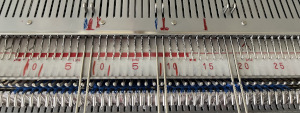
 So many fabrics can be automated, sometimes the fabric is a vague look-alike cousin of the original, close enough to be a reasonable compromise. Slip stitch patterning across the top bed can offer a quick solution to bypassing a lot of hand manipulation. Assuming that was possible for this fabric, my starting repeat, 10X30 pixels:
 ![]() and the plan would be to knit it in a 40 stitch swatch, placed in a way so that the “mock racking” would move equally from side to side. Working on a larger than needed canvas, the design can be placed on a magnified work area with a visible grid, at the chosen starting point. If the background is left as white in BW images, moving repeat spacing may erase black pixels as copy and paste in place are used. The solution is to make the background transparent using the Layer menu, as explained in other posts on using Gimp.
and the plan would be to knit it in a 40 stitch swatch, placed in a way so that the “mock racking” would move equally from side to side. Working on a larger than needed canvas, the design can be placed on a magnified work area with a visible grid, at the chosen starting point. If the background is left as white in BW images, moving repeat spacing may erase black pixels as copy and paste in place are used. The solution is to make the background transparent using the Layer menu, as explained in other posts on using Gimp. 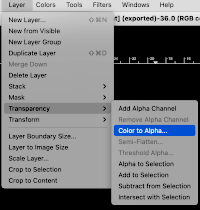
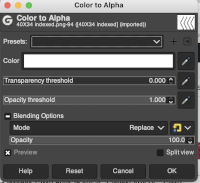
 To save the repeat as a BW bmp or png, remove the alpha channel
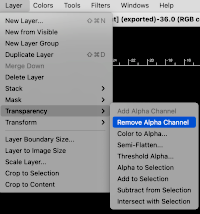
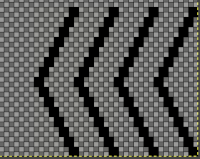
 The final repeat is 40 stitches wide, 34 high,
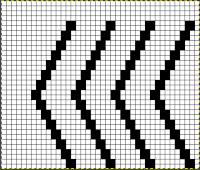
![]() with blank rows added to its top to serve as a place to drop stitches and have knitting happening on the ribber only.
with blank rows added to its top to serve as a place to drop stitches and have knitting happening on the ribber only.
Depending on the download program or the knitting machine model number, repeats are automatically mirrored, so if direction matters, mirroring of the repeat may need to be performed once more.
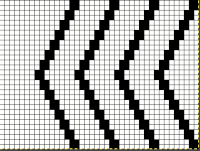
Why the repeat will not work for drop stitch: if the KC is set to slip in both directions, the function will happen on all needles in work on the top bed. On any given row, only black pixels (or punched holes) will knit. The slipped/ skipped stitches keep elongating until a black pixel replaces the white one in that needle location. The degree of elongation is illustrated in the chart in color for part of the repeat, the yellow marks the widest gap between knit stitches. If knit as is the repeat will soon cause serious knitting problems and carriage jams. 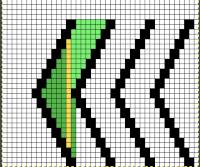 Though designing for one type of fabric may fail, this repeat or similar could be used successfully double bed in other ways, using hand transfers on the top bed or down to the ribber. In this case, I chose to transfer down to the ribber, which avoids concerns about restoring correct needle selection, and the repeat was not mirrored for use on my 930, so the resulting knit appears as drawn on the purl side, but is mirrored on the knit side.
The fabric is far removed from the drop stitch idea, but as for drop stitch lace, stitches after the cast on are transferred to the bottom bed.
Newly selected empty needles will create eyelets with the next 2 carriage passes, and texture will appear on both sides at the transfer down locations.
The shapes created do not travel on the knitting bed any longer.
End needle selection needs to be canceled at any time that slip stitch patterning is used and does not occur on every needle on the top bed.
If the pattern is to be interrupted by all knit rows here seen as rows with no preselection in the programmed repeat, then any needles with stitches on them need to be transferred down to the bottom bed before continuing to knit.
As preselection begins again, those needles should be filled by picking up from the stitches below them on the ribber, and then the process may be repeated.