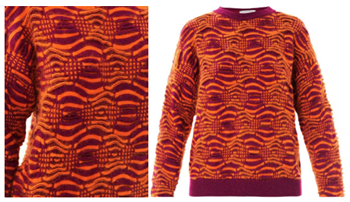
After my recent attempt to resurrect my single bed color changer and frustration with my 910 behaving “flaky” when reading mylar sheets drawn using template marking pencils (perhaps, because over time of some of the marks flaking off the surface of the mylar, with changes their density as a result), I went back to the idea of using my punchcard machine. I pulled out an old friend, illustrated in my post 2012/10/15/mosaics-and-mazes-from-design-to-pattern/ , had forgotten about my other post 2016/08/25/knitting-in-pattern-with-2-carriages-brother-punchcard-kms/ and actually came up with a second alternative for starting to knit with 2 carriages. Here is a bit more description: I began with a card punched with repeats that are single rows in height, and would normally have to be elongated for use with a color changer. Since 2 carriages are used, the starting side does not necessarily matter. With COR, color 1, carriage set to KC, card set on row 1 but not locked, but rather, set to advance normally. The first carriage then is moved to the opposite side of the bed (in this case the left). The second carriage is now placed on the extension rail on the right, cam settings set for the choice stitch to be worked (in this first case tuck or slip). It is threaded with the second color, is used to knit 2 rows of col 2, returns to right. The carriage on the left now comes off the rail on that side and onto the needle bed, with cam buttons set for appropriate stitch type, it travels to the right, and then back to its starting point. Yarn weight alters the appearance of any fabric considerably. As always, slip is short and thin, tuck short and wide.
The same method may be used with any punchcard requiring color changes every X even number of rows. FI can be knit with 2 separate sets of colors in each carriage, or with one carriage set to select but with no cam buttons engaged for solid color stripes between motif repeats (it will plain knit, with color in A feeder, the card keeps advancing). Cam settings may be combined for different or opposing textures or stitch types without any manual changes to cam buttons. Of course, also helps if your punchcard is punched correctly to start with ;-). Problems in the slip stitch red and white segment were due to tension adjustments being needed for stitches to knit off properly. 

Lastly, there has never been a single bed 2 color changer for the 260 bulky. Extension rails for the bulky machine were manufactured at one point. If a second carriage for the bulky is available as well as the rails, working this way opens up a range of complex fabrics for execution more easily.
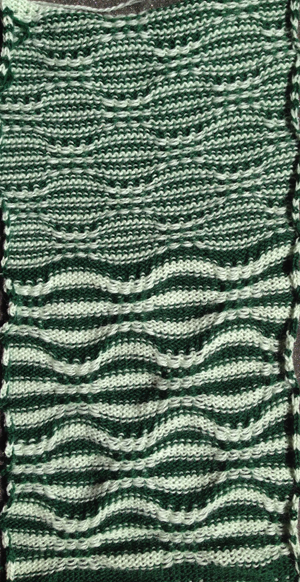
And then, buyer beware! I am still experimenting with a patterned ruffle. So I tried the card first with 2 carriages, but the design was different than one of my aged swatches using the same card.
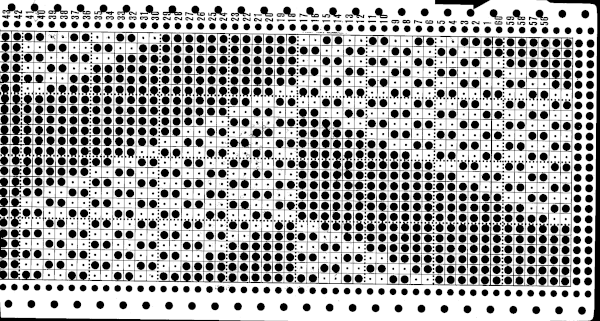
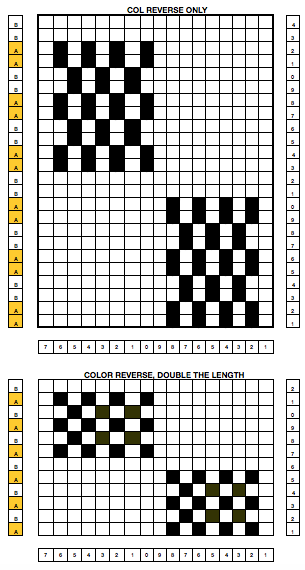
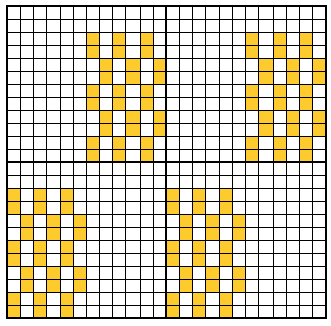
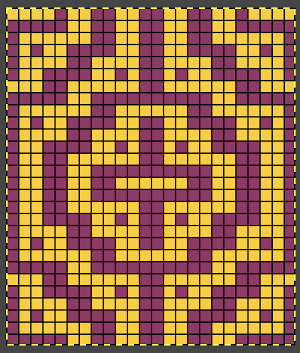
I went back to the color changer, assuming this yarn pair might work in it, and it did, but here is the resulting fabric, so it would appear the above is technically twice as long. Frankly, when the color changer works, when only one carriage cam setting is used or very few changes are needed, and if you don’t do things like pushing the wrong button, have your yarns happily mating or causing loops in all your brushes as they travel from the yarn changer side, it may even be quicker than using 2 carriages. What is possible may not produce what you originally intended, but sometimes the surprise can be a very pleasant one. If not, then it’s back to the drawing board to accommodate the techniques and yarns involved. 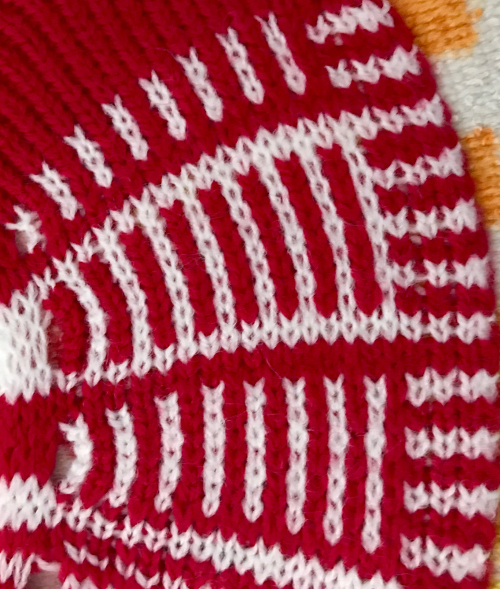 Pictured below is part of the working repeat, whited out areas are not punched for these swatches, they are covered with cellophane. Denise Musk’s book on the technique of slipstitch provided the source/ inspiration for the experiments. For the second swatch, the card was flipped over vertically.
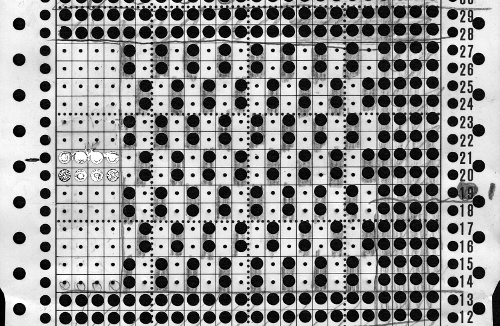
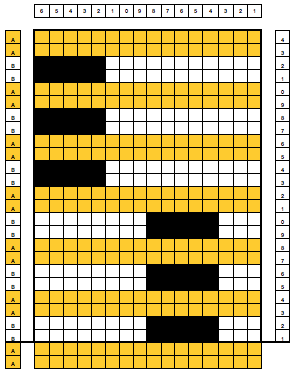
Areas of the knit placement on THE needle bed may be changed to suit. I like working within the 24 stitch marking on the needle tape for this sort of work. Flipping the card vertically when using the color changer in this instance will allow that, and begins each row with knit stitches (every hole punched on right in the image above), and patterned knitting and needle selection stops shy of the “slipped” stitches (unpunched areas on left). In using the slipstitch setting this may not make a significant difference since the yarn threads stay in front of the gate pegs. This repeat is also suitable for the tuck setting. The yarn gets laid in hooks as the non punched area of the repeat is cleared. While not knitting or necessarily affecting the pattern, this can cause added issues with loops and yarn tangles on that side (one may be noted in photo of purl side of swatch below). Seam-as-you-knit can also now occur on the opposite side, away from yarn ends and color changer.
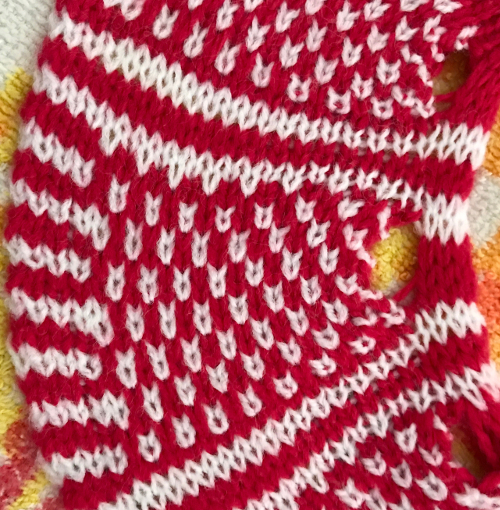
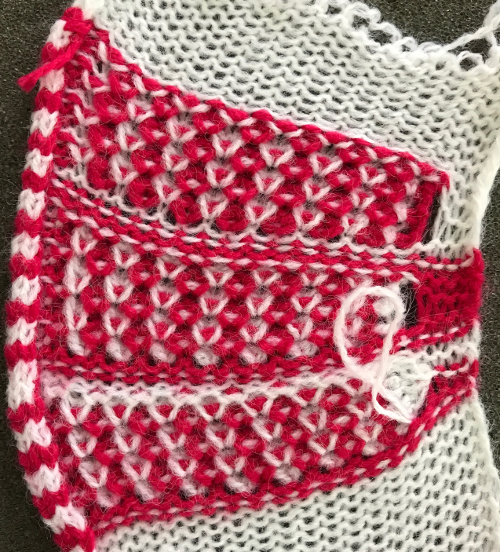
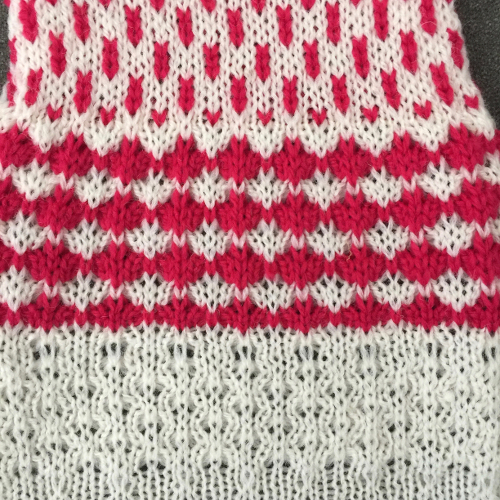
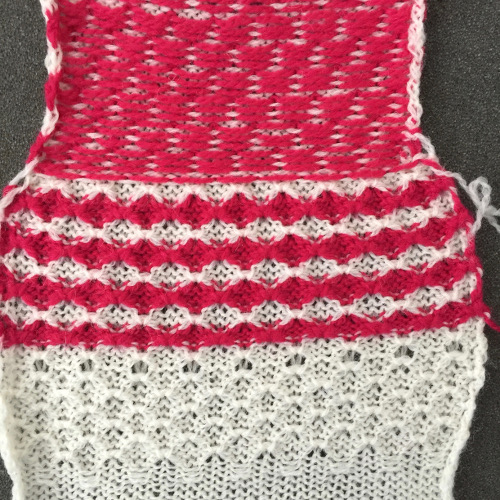
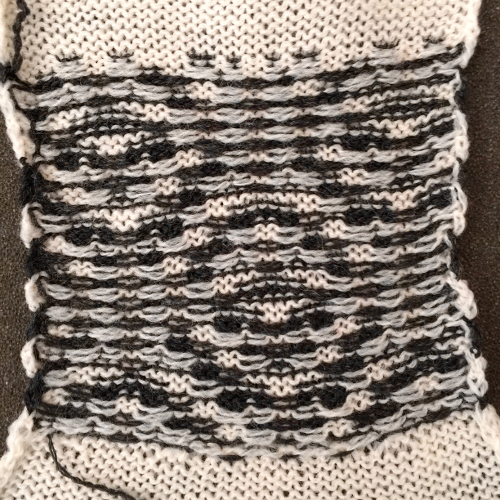
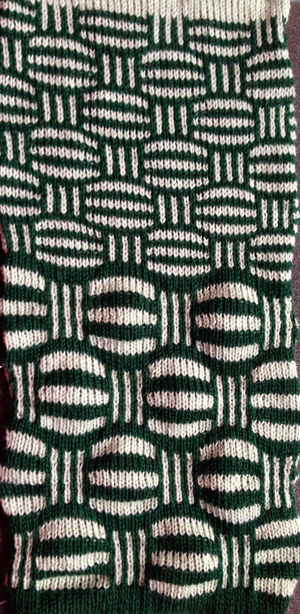
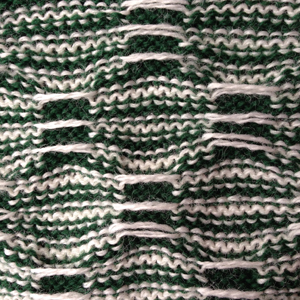
Purl side showing loop at non-knitting (or punched) side and edge curl on the left may actually be used as a “design feature”. The density of the tuck stitch helps keep it in place.
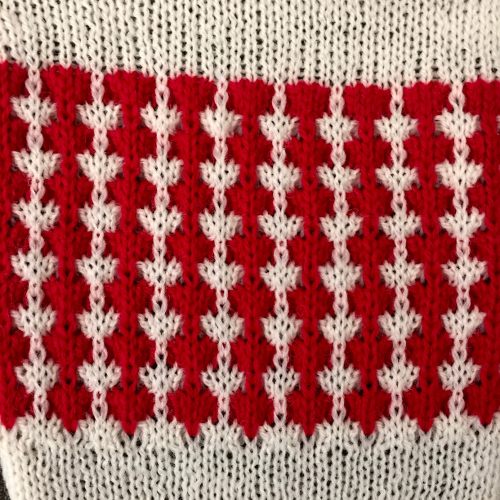
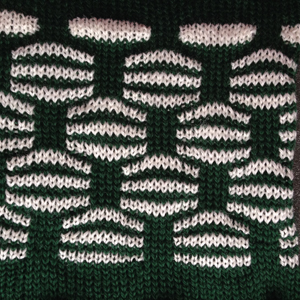
the knit side 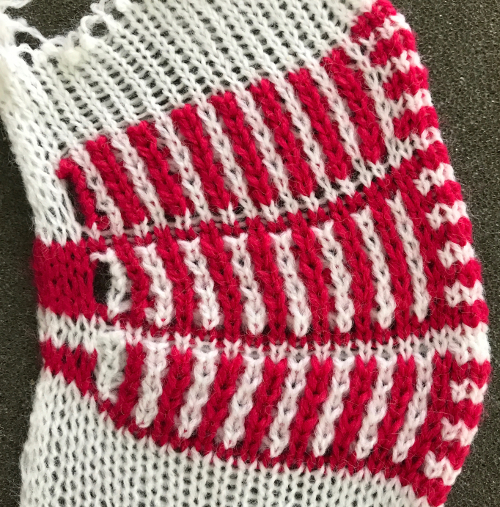
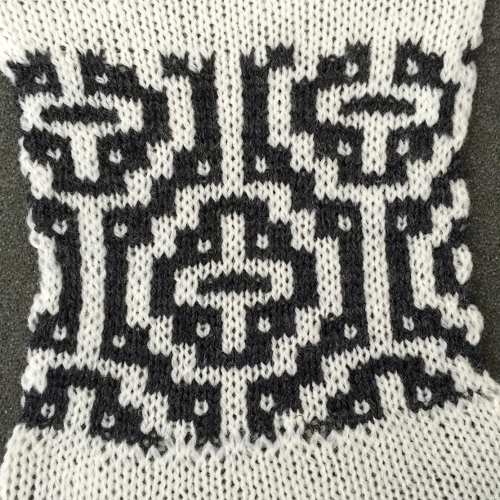
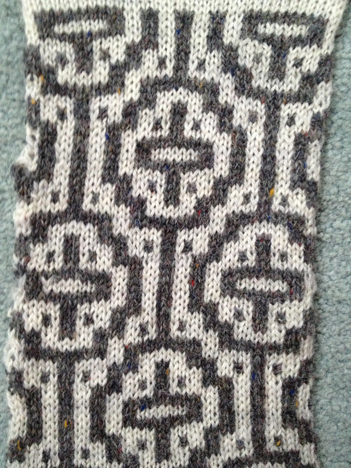
an “oldie” of mine, using the technique in a single color 
4/6/17 I am getting along better with the color changer by making different yarn choices, so I now have a WIP, and am going about a shawl design backward: ruffle first, body later. Reasoning: seam-as-you-knit should be easier if not taking place during ruffle knitting. If the latter is not bound off it may be continued with body knitting taken off on scrap yarn if needed to facilitate doing so. BTW, as with all knitting that uses patterning on only part of the knitting on the machine, end needle selection must be canceled on the knitting undercarriage. Any reverse movement of the carriage will advance the card for a pattern row, so that is an added possibility for errors as the knit grows in length. The pattern has 18-row segments, 36 for the full repeat. For 36 passes of the carriage, only 8 full rows of knitting take place. Every individual has their own design process. I tend not to sketch, but rather to make decisions as each piece grows. As for some math? 800 rows would actually take 3600 passes of the carriage, the shawl requirements TBD. (3276 on completion).

A previous post with notes on color changers: https://alessandrina.com/2014/01/26/some-notes-on-machine-knitting-color-changers/
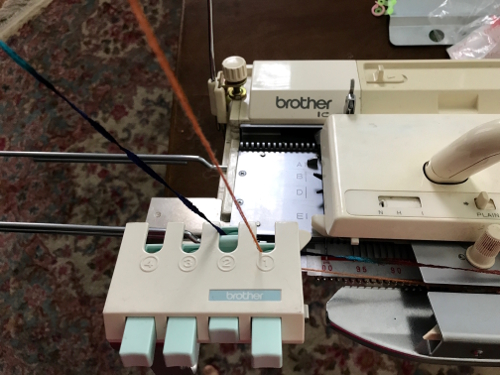
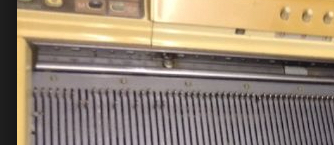
Older model machines had no provision for a second yarn mast, and an accessory was available for mounting on their left side. Having the yarn in that position brings it closer to the changer and seems to help with undesired looping and sliding within the changer’s wheels. This shows the carriage traveling toward the extension rail, with the auxiliary mast in place
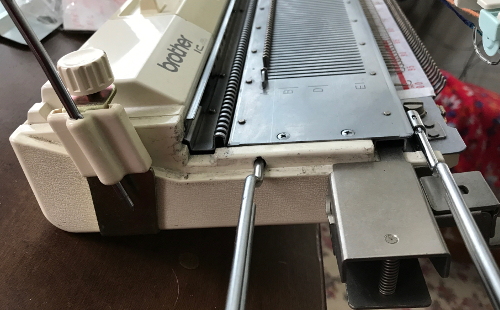
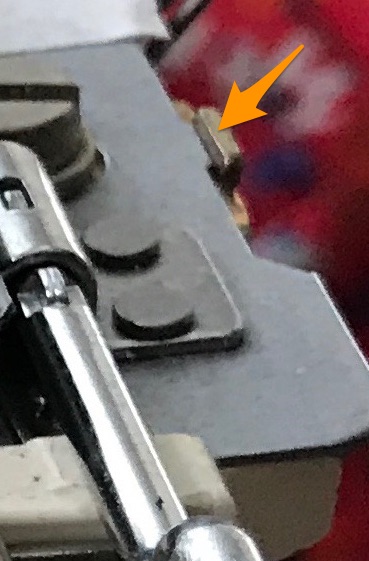
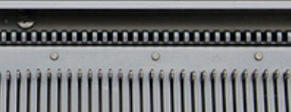
If the ribber setting plate needs to be moved forward in order to balance your ribber when in use, setting it as close to the needle bed as possible or even removing it may be needed if it starts to catch and hold the yarn
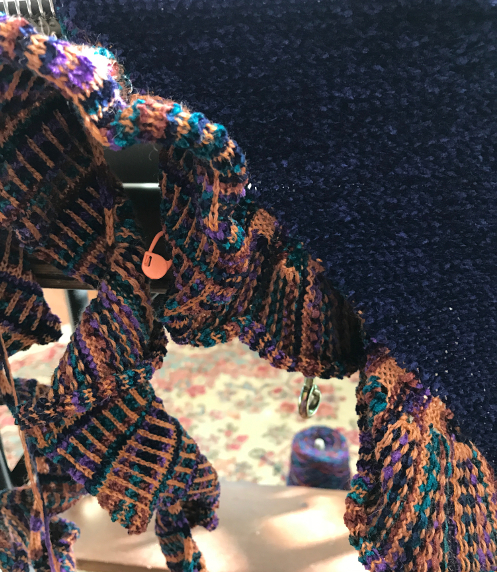
the “finished” ruffle; HK markers every 20 repeats to help track rows knit 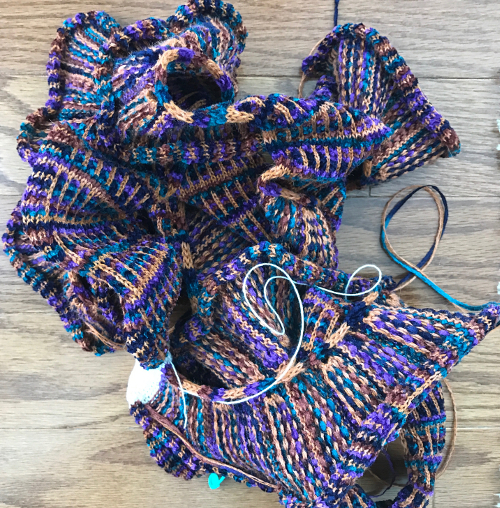 and being joined on with “seam as you knit” technique
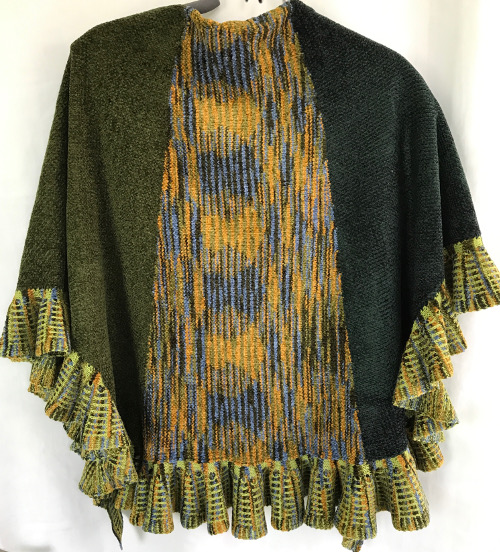
 the finished shawl after a successful truce with my color changer
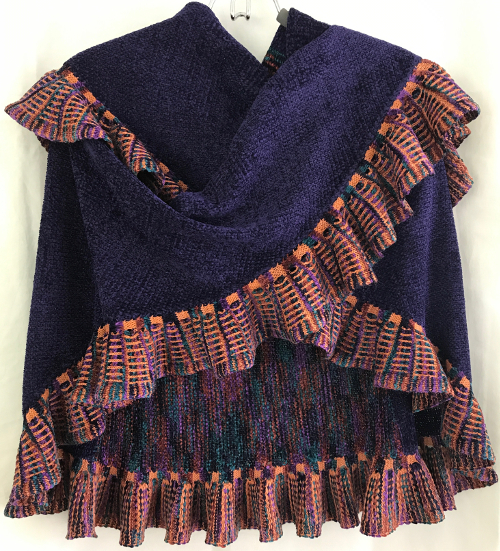
 going green
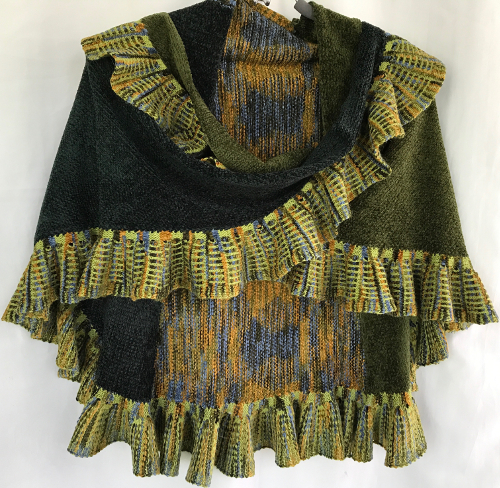
 the series grows
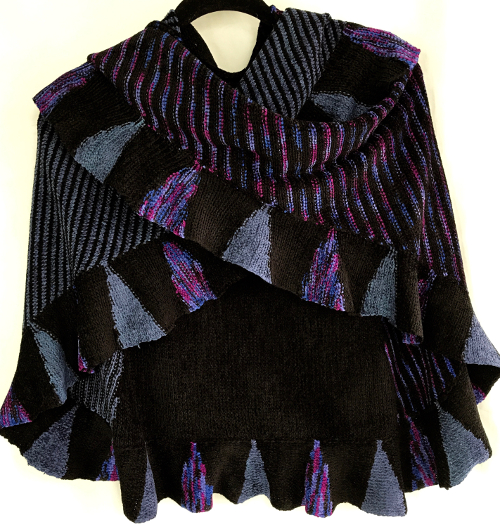


 tuck 1 color
 slip 1 color
 tuck 2 colors
 slip 2 colors
 last but not least, slip stitch adding a third color front, still changing colors every 2 rows

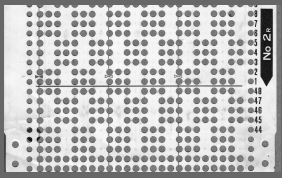
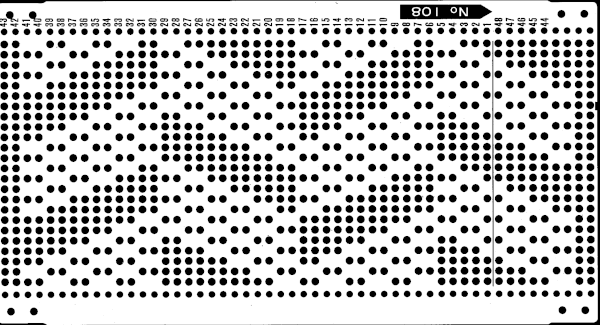 The repeat enlarged and punched for use in the pictured samples