Eons ago I owned a BitKnitter for my Passap machine, and to this day I miss it and some of the other Cochenille software that is no longer available, especially when working with multiple colors for color separations of any sort. When using it for downloading the resulting motif, picking the same exact color for each “square” on the grid was a necessity for accuracy. If “only” black was involved, the same guide applied. Working in GIMP one can set the color mode to fewer colors to start with, reducing the palette. This can limit your editing ability sometimes, and switching between modes may be required. I tend to go autopilot when I work on color separations for any purpose and work with built-in colors rather than custom.
It is helpful to have previous experience with any program as well as with basic knitting before tackling and combining large scale designs and fabrics such as lace. This is not a step by step how to use GIMP (search for my other posts on the topic), merely an illustration of my experiment in working with superimposing an image onto a mesh grid.
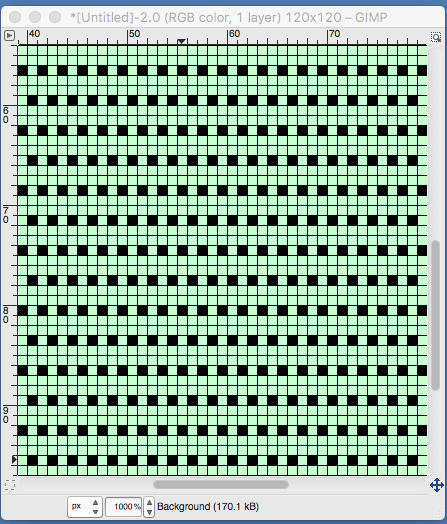
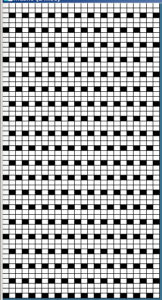
To start with: a 1 X 1 grid is set up. “Black squares” become single pixels in downloads. For the single stitch 1 X 1 grid to be visible, I prefer to work in at least a 500X magnification. Because I do not own a hacked machine I am unable to provide a corresponding test swatch to the final chart.
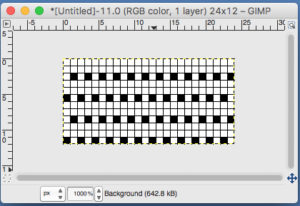
The resulting image may be tiled to produce a large enough mesh ground, the grid needs to be turned off for this step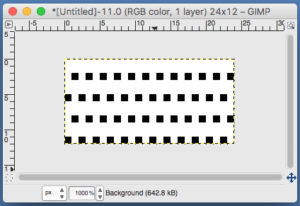
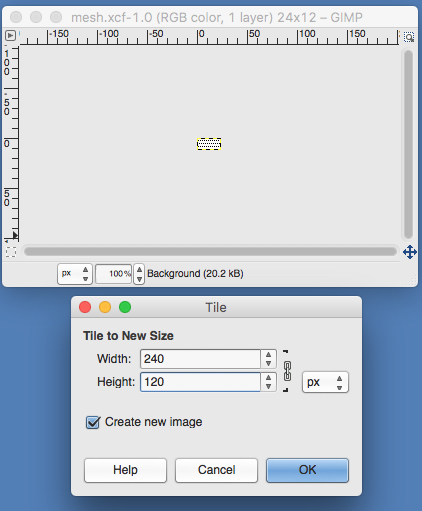
The tiled image will appear on a different part of the screen, shown in both versions below, I realized reviewing the above that the width was for more pixels than could be programmed on a 200 needle machine, I resized its width to 120 pixels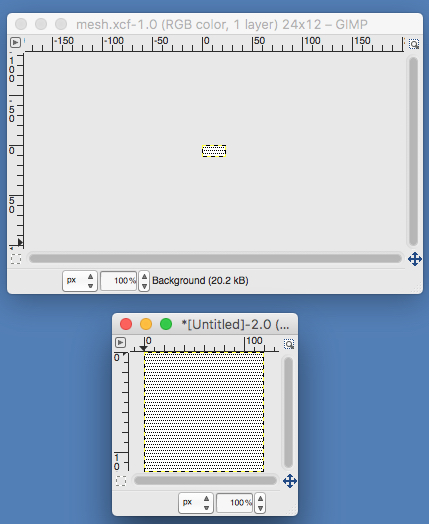
here the grid is removed for further processing 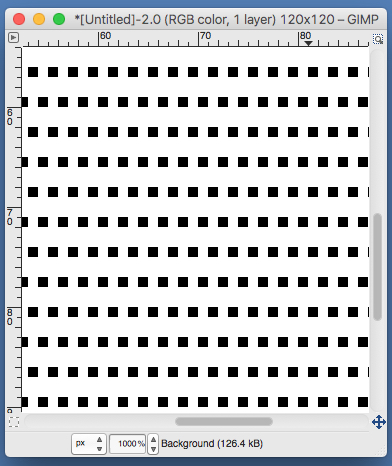
the goal is to retain the black squares for the end bmp, so the ground is filled with a color that will later be removed 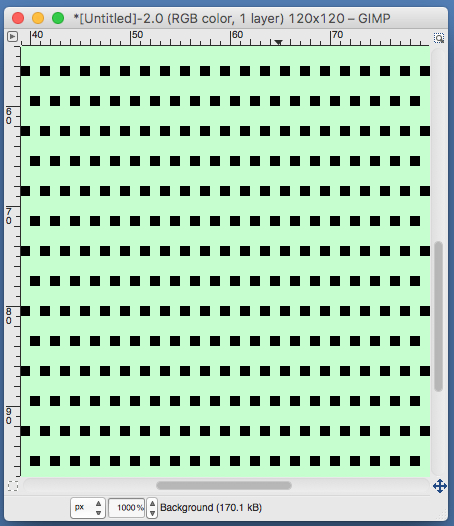 gridded again if and when needed
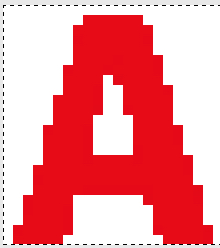
Today’s image is a letter (20 pixels by 24), produced in a new file with text from one of my built-in computer fonts. I happened to be working in RGB mode  the same image as it would appear in indexed mode
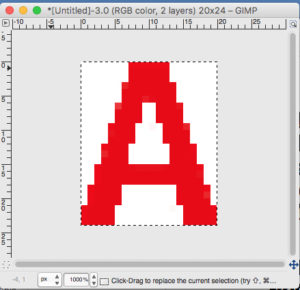
 Here some edges “clean up” has been worked with the grid on, then removed for tripling the motif length (now 72 pixels) and pasting on the “mesh” ground
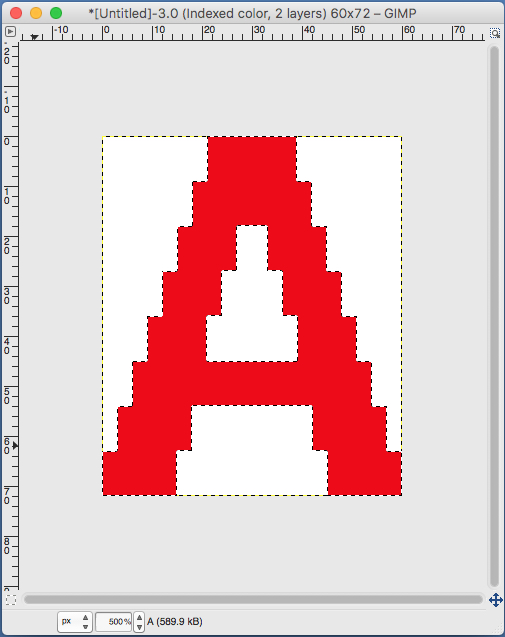
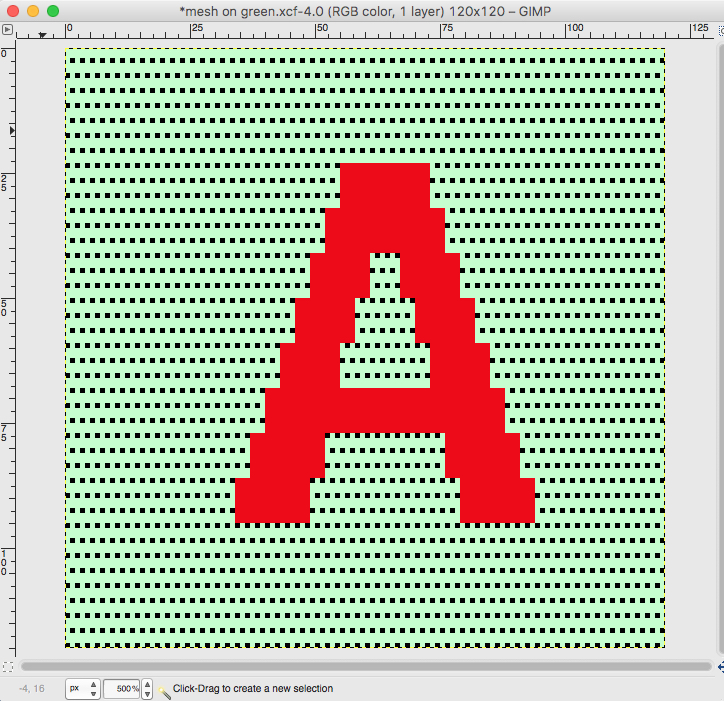
Switching to indexed colors (6) if you have worked in RGB to this point, it may make cleaning up of edges easier. I flood filled the A to insure only one red was in use. Below the A is selected (fuzzy selection tool) and copied for paste onto the “mesh”. Magnification reduction to 500X makes the whole file more easily viewed on my mac
 the A pasted in place
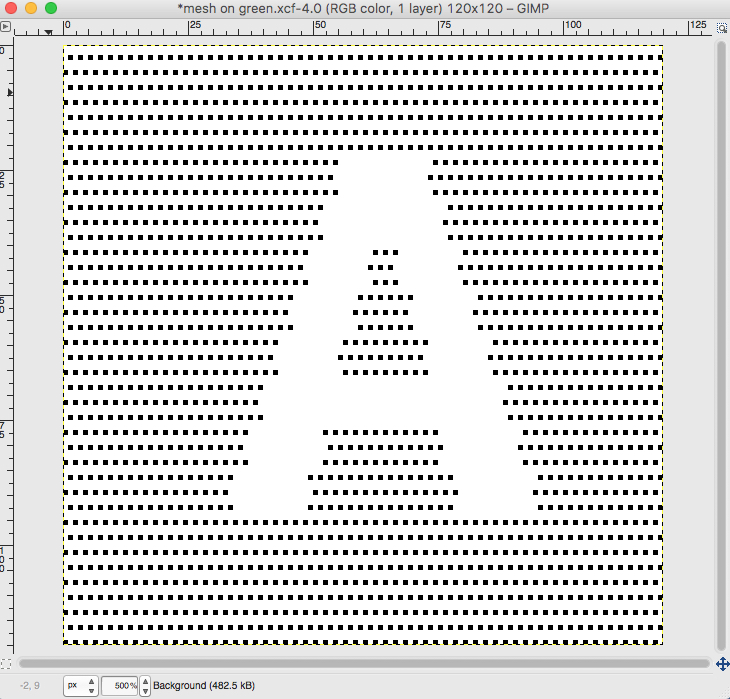
 white color fill leaving only black squares of letter and ground
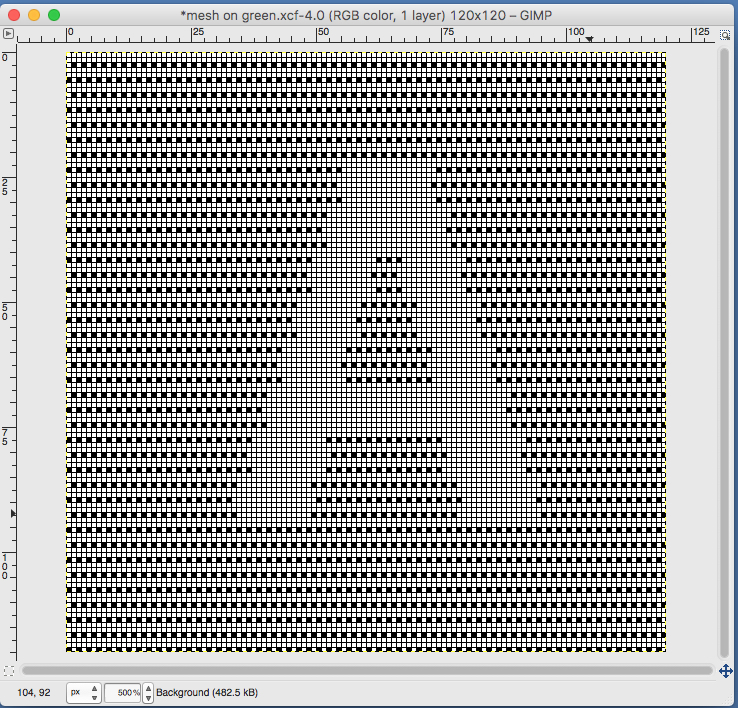
Superimposing may be used in some machines, but eliminates the choice of editing when one is “not happy with edges” until after sampling the knit, has several parameters and limitations. Above image gridded for editing:
 feeling better, with the exception of the left side bottom of right leg of A
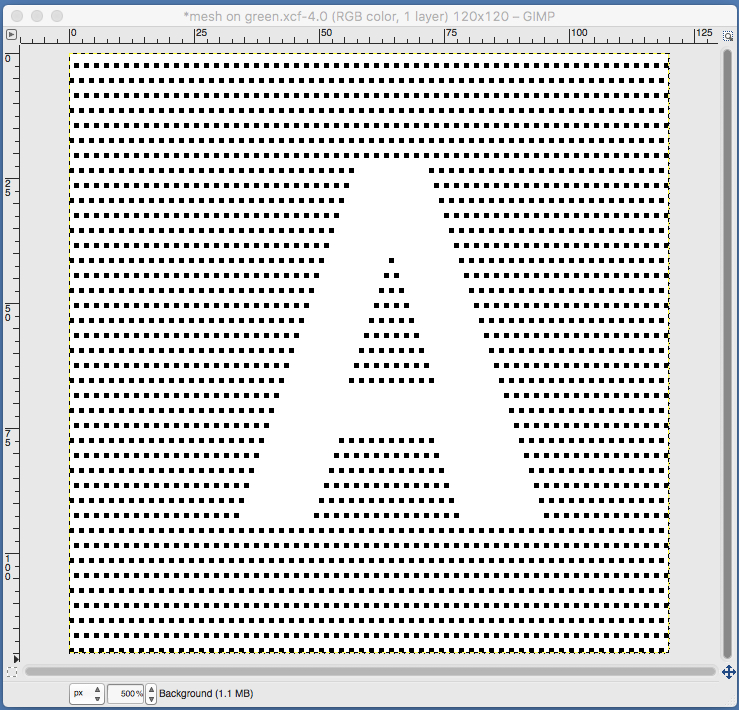 one last bit of clean up, switching between magnification as needed
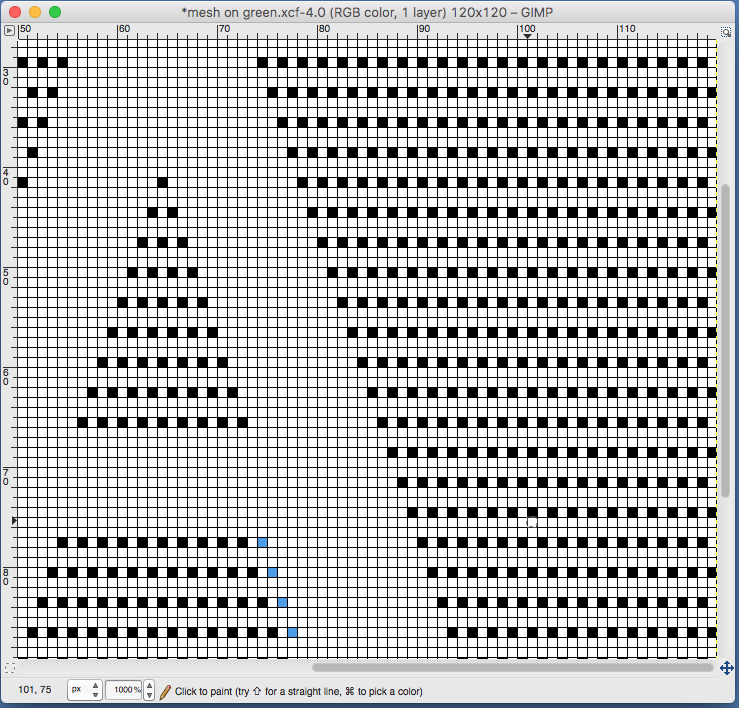 happier
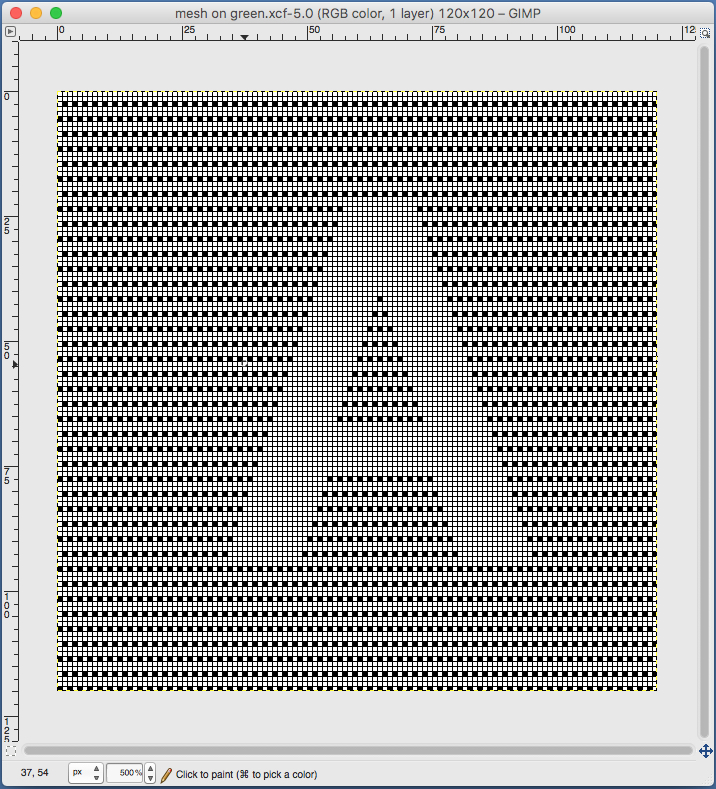 grid removed, image magnification reduction to 100X for export as bmp and download to KM
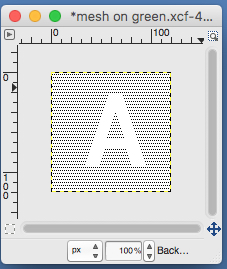
When downloading a large image that constitutes the width of your piece, programming an extra square or 2 vertically for the height of the pattern in “white” on each side will insure that stitches in those areas are not selected for transfer by the lace carriage, and a knit border will be created.
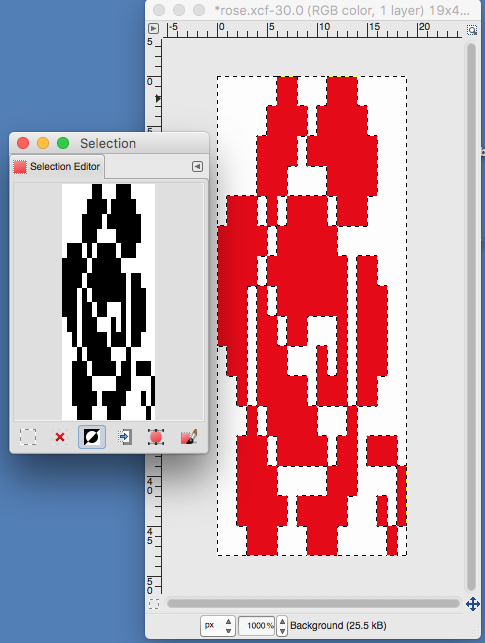
Things become more complicated with more complex shapes. This is part of a filet crochet chart, and a rose now becomes my goal
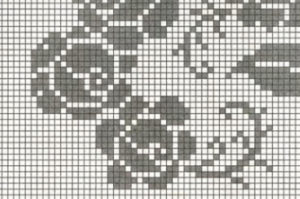
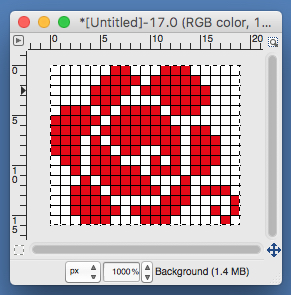
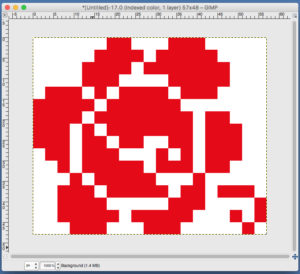
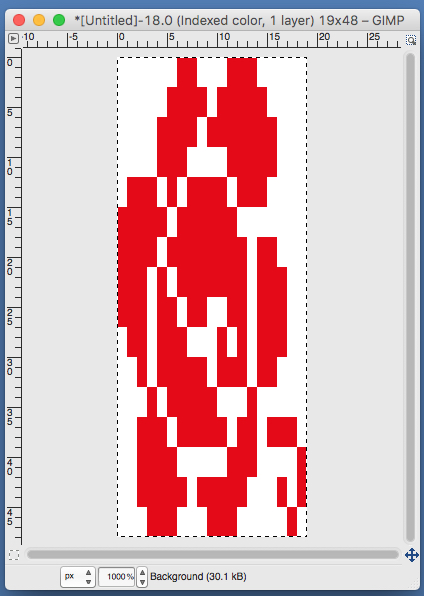
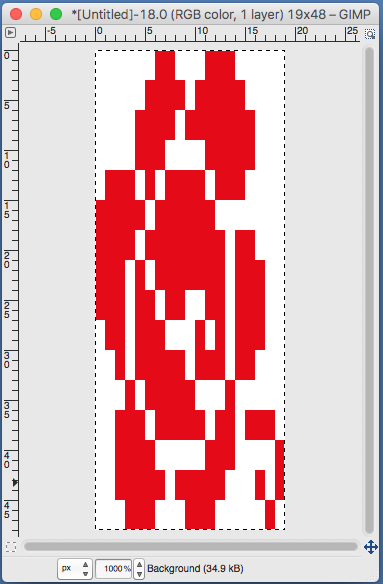 use selection editor or fuzzy select
 paste and move to “best” spot
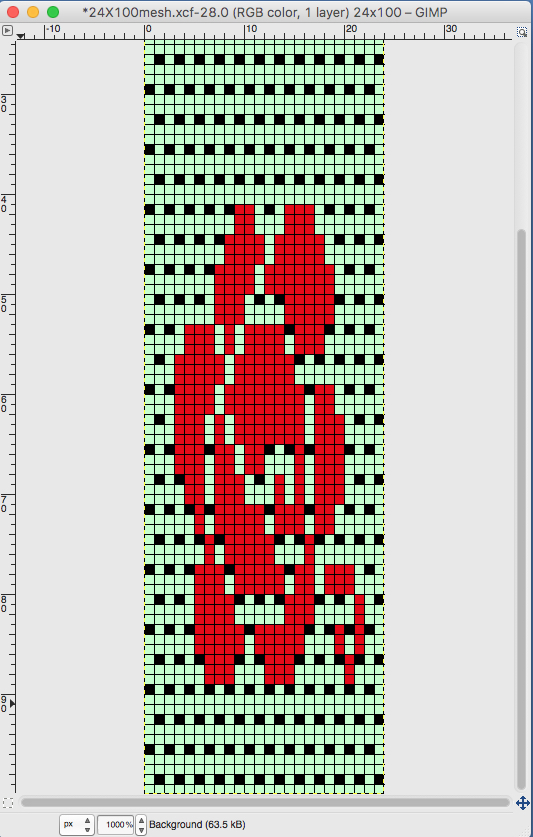 not quite a rose
8/9/18. From the Brother electronic lace pattern book, worked out in a much larger repeat 
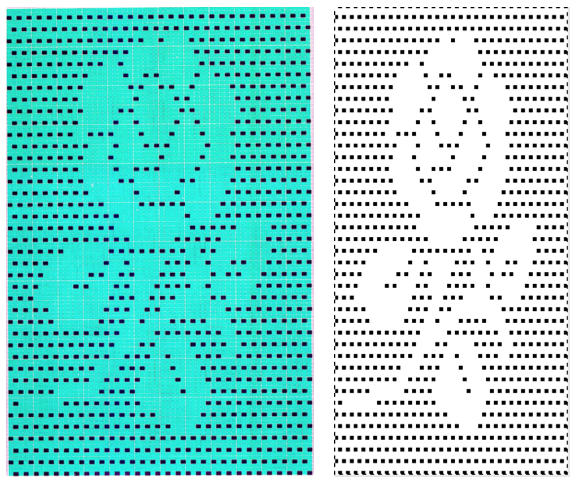
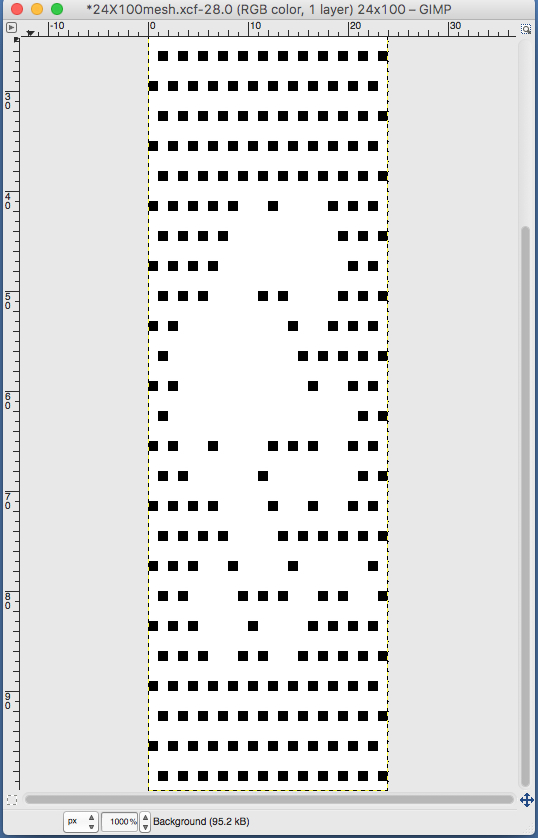
Back to the drawing board: the mesh and knitting method are altered. For a possible knitting method option see https://alessandrina.com/2017/07/28/unconventional-uses-for-punchcards-2-thread-lace-cards-for-filet-mesh/ The ground “mesh” is now composed of every other stitch, alternating every other row. The “rose is not lengthened. “Stitches” need to be “cleaned up” to approximate a more recognizable shape.
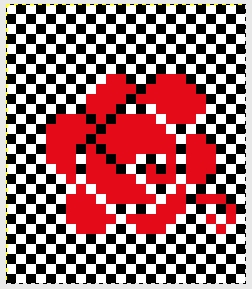
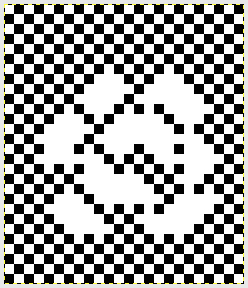 When satisfied, export in format for download.
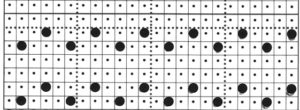
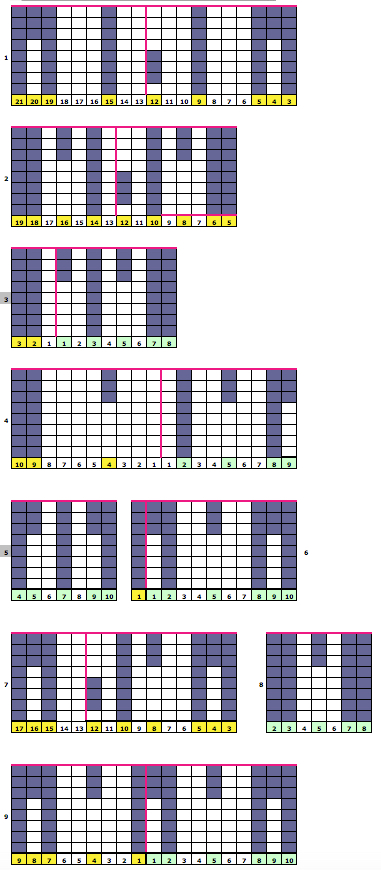
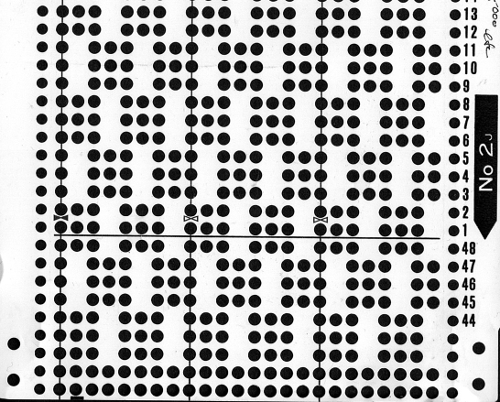
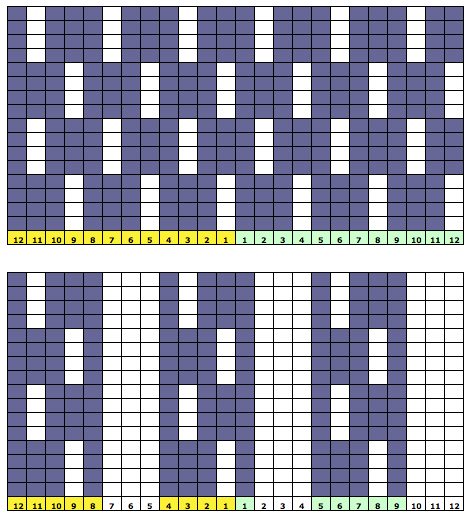
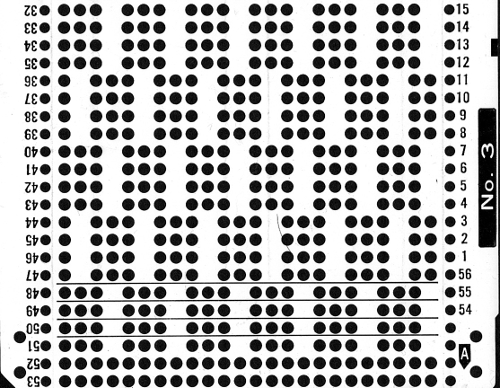
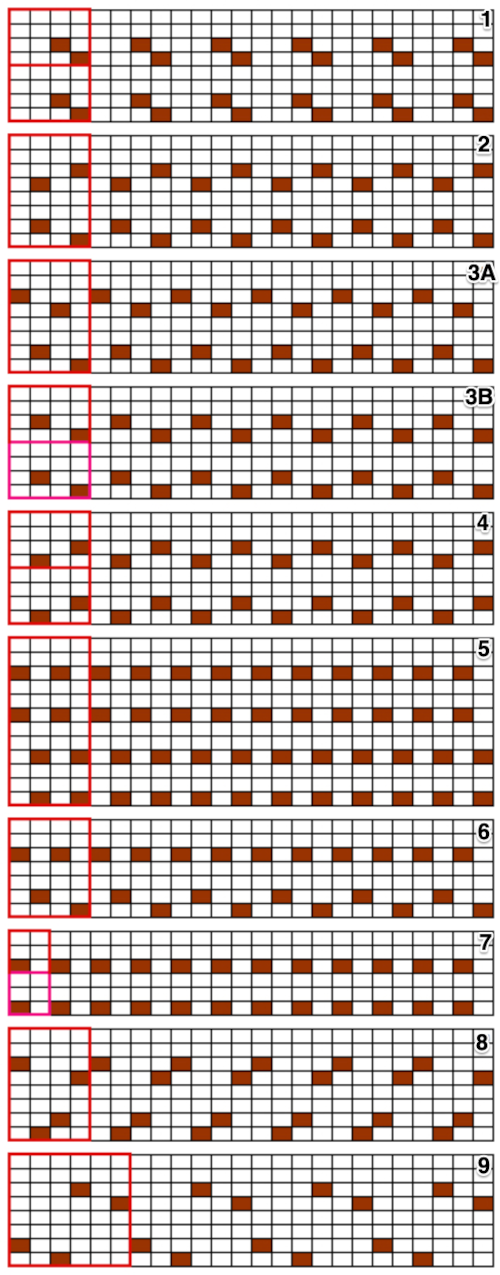
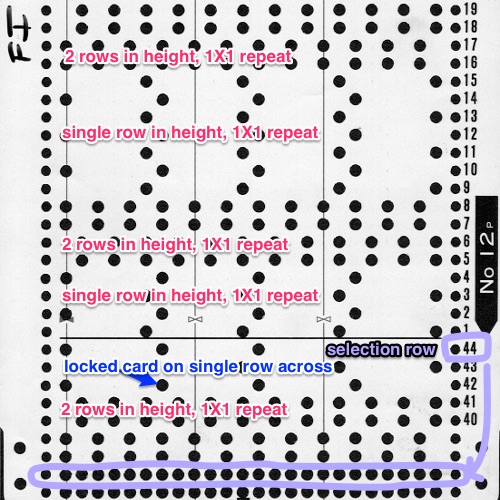
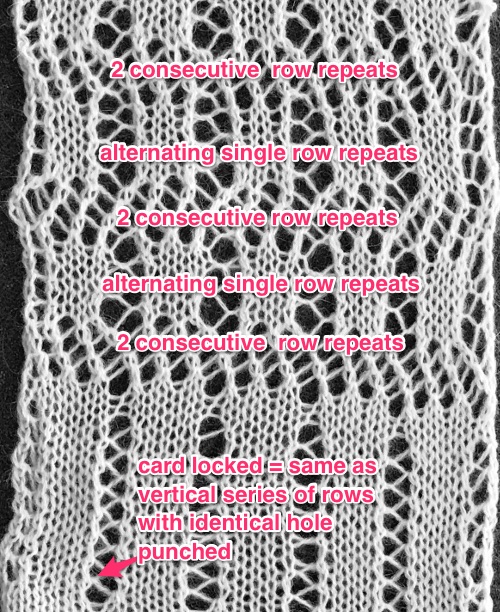
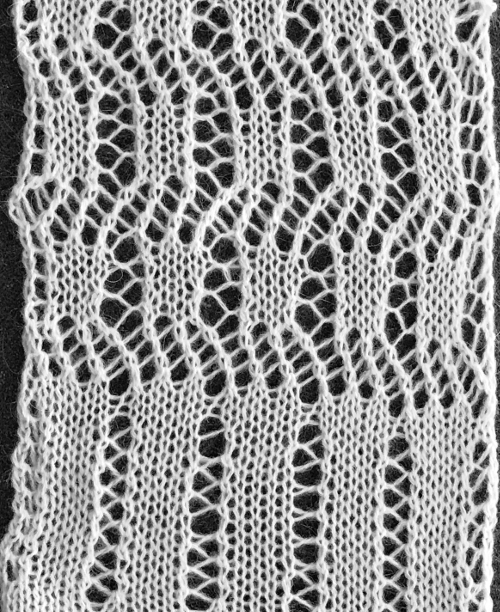
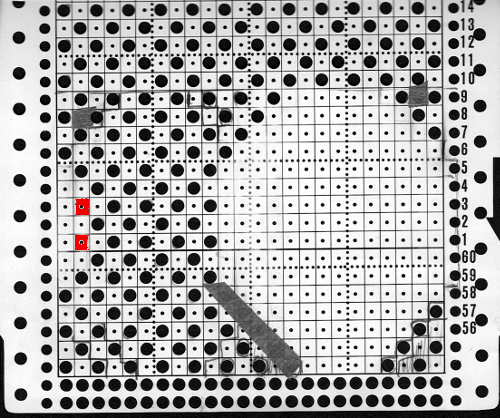
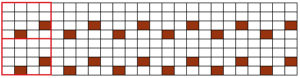 This repeat appears in my pre-punched factory basic packs as both #17 and #20. The lace carriage is used for 2 passes and then for 4 alternately, as indicated on the left side of the punchcard. The 2 passes will make transfers to the left, the 4 make transfers to the right. See previous lace posts for further info on lace selection methods and accompanying charting.

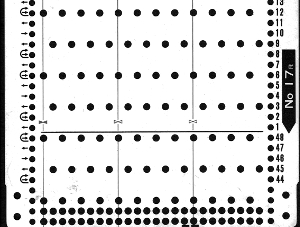
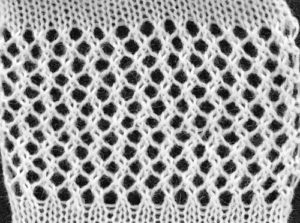 More variations and swatch photos: all patterns unless otherwise stated are knit with 4 passes of the lace carriage from left, followed by 2 rows of knitting.
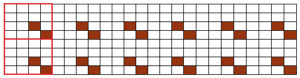
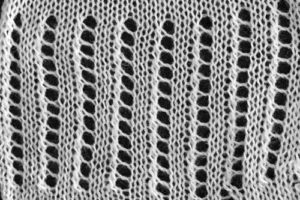
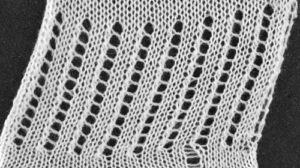
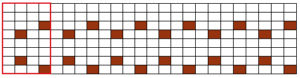
 a mylar marking error as drawn (3A)
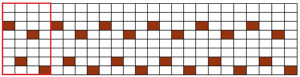
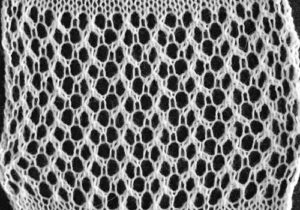 the intended repeat (3B)
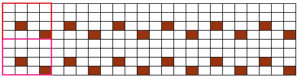
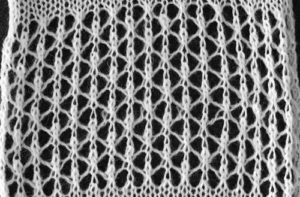
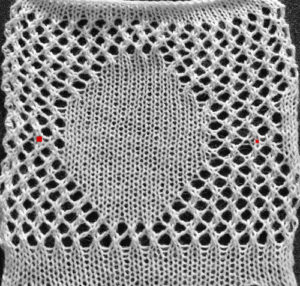
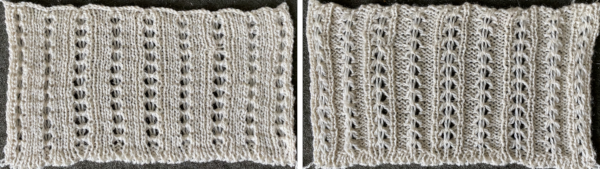
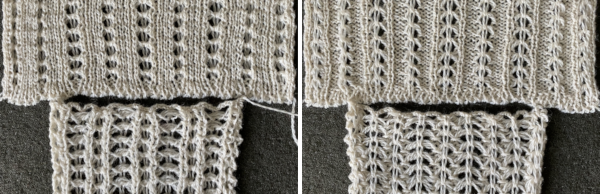
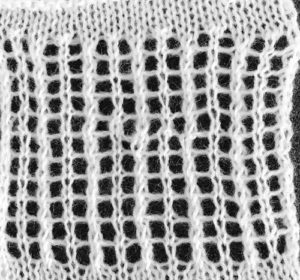 The above swatch and the one below (4) are similar, transfers occur in the opposite direction, so vertical columns of stacked stitches occur in the alternate columns of the finished fabric. I had some transfer issues in similar spots in both fabrics, have not analyzed the possible direct cause. As seen below, the dropped stitches did not result in the frequent large holes often seen in lace knitting. Pins and the red dot indicate problem spots, which could be repaired with careful stitching at the end of knitting. The best prevention of the problem is to visually check after sets of transfers to make certain all stitches have indeed been moved properly.
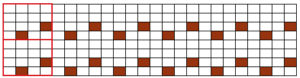
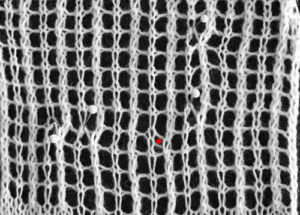 LC is used alternately for 2, and then 4 passes between knit rows (5).
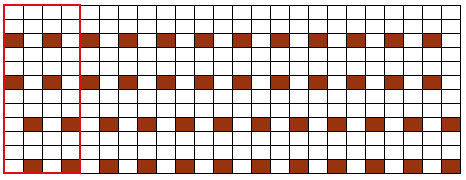
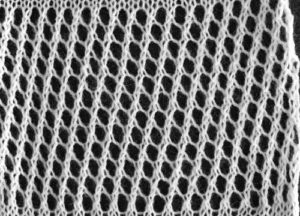 The transfers create a sort of “shape”, highlighted in the photo; the LC operates in sequences of 4 rows, followed by 2 rows, and repeat (6).
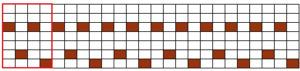
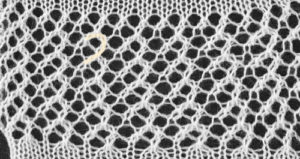 This one is a bit trickier, LC operates for 4 rows resulting in side by side transfers; in the first trial yarn caught up on gate pegs, dropped stitches, etc,
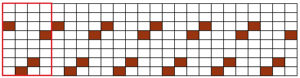
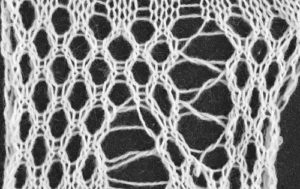 after reducing KC tension and adjusting the amount of weight
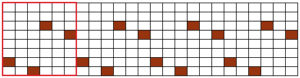
 Mylar repeats can be very small, it is easy to be one stitch off in entering data; here one blank row was added to the left (a possibility for intentional vertical stripes of knitting) and the program was one row short on the right of the single full repeat
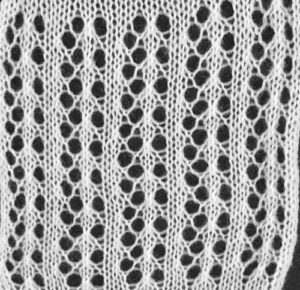 knit with the corrected program
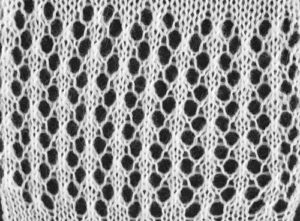 The “variations” and repeats in summary:
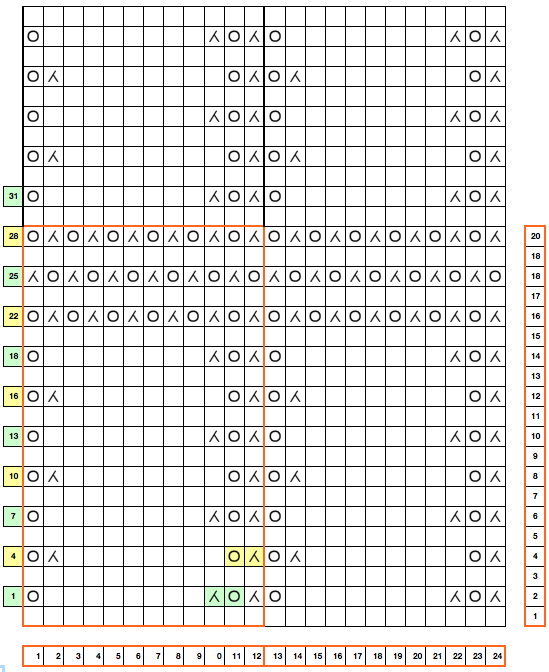
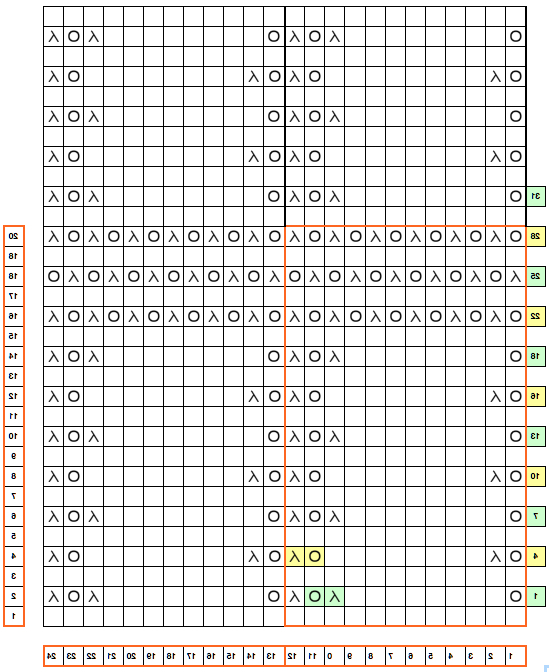
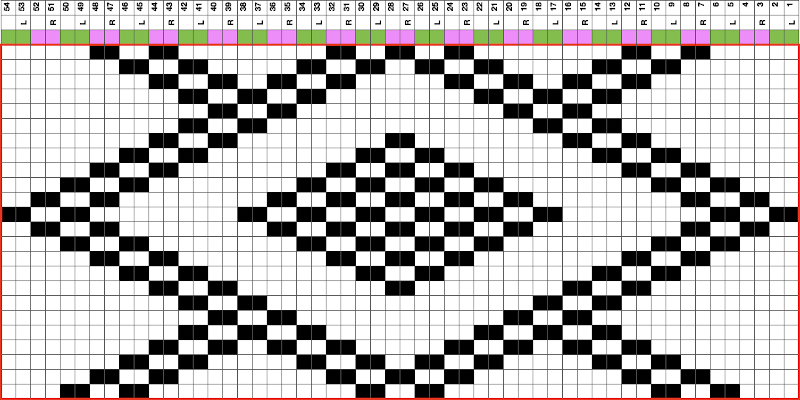
 Adding geometric forms to mesh: a working MK chart for a cousin to the fabric link provided at the top of this post, the underlying mesh repeat is the same as that for card 17
 The corresponding punched holes: 2 LC passes for transfers to left (purl side), 4 LC passes for transfers to the right (purl side) throughout on Brother KM
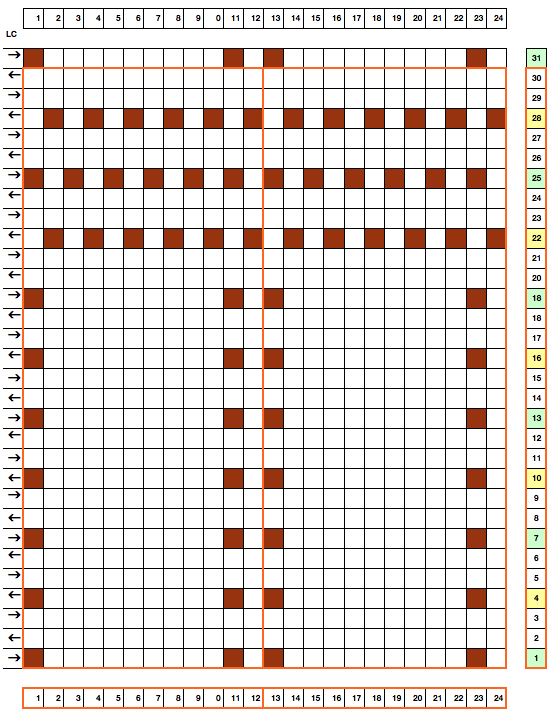 chart flipped horizontally, suitable for hand knitting
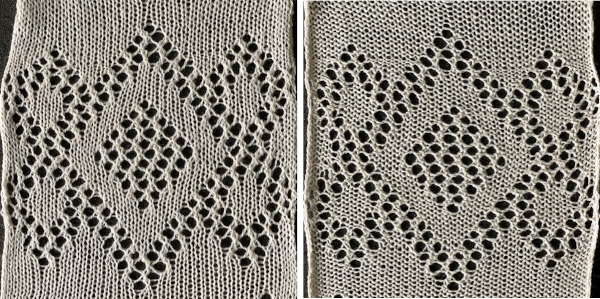
 the swatch, MK, knit side
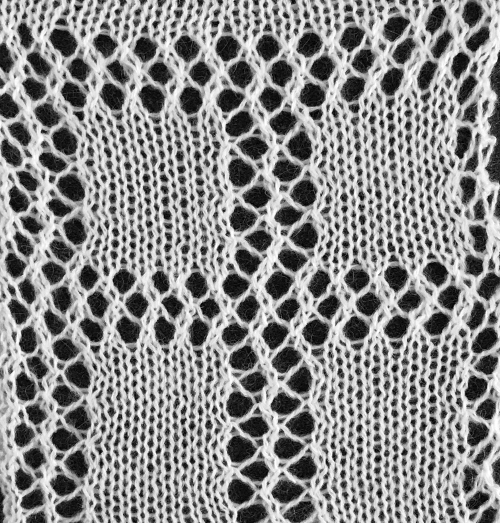 Note: the appearance of the “straight line” edges is altered by the formation of the eyelets along the sides as well as the top of the shape. As more shapes are played with, some adjustments may need to be made in punched holes after knitting a test swatch.
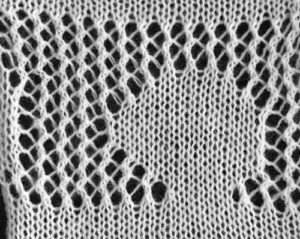
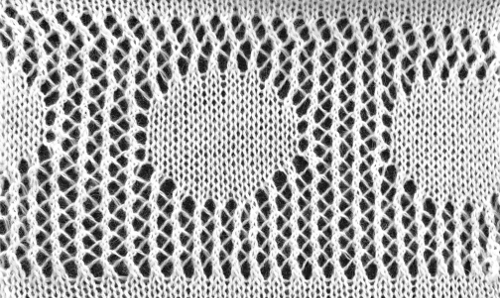
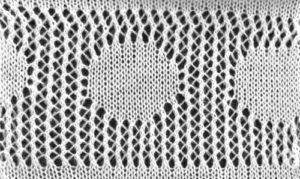 Below is the result of working with a traditional mesh, where there are 2 rows of knitting to form each eyelet. The third row in the “design” on a punchcard is needed for the lace carriage to travel to its proper place for the alternating direction of transfers, which is not technically a knit row. The fabric is wider and longer than that above, and there is some elongation of the “circle”. Large patterns are mylar and punchcard real estate hogs. The swatch for slightly more than a single repeat with red dots indicating where one square in the mylar did not have a dark enough mark, resulting in a missing eyelet
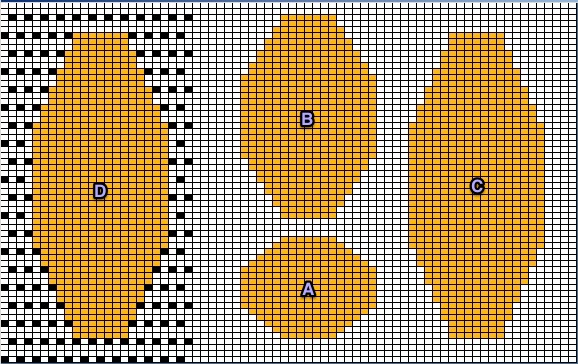 A: is my desired shape 17 units by 17, B: that shape elongated X 2 (17 X 34), to try to approximate elongation with knitting 2 rows for each set of eyelets. It is drawn on a square, not a rectangular or gauge-specific grid, however, so if that is a consideration in the design, it would have to be a case of “back to the drawing board”. C: the shape is elongated X 3 (17 X 51), for placement on the mesh, and D shows it in my desired spot. Lace gauge is harder to gauge because of stretch in the final fabric, and the changes are subject to pressing and blocking depending on yarn fiber content. Because transfers in this method occur on rows 1 and 2 to the left, 3 and 4 to the right, no pure straight edges along design borders can be achieved. If simple superimposing a large shape on the mesh is possible, there may be even more distortion along those edges. Ultimately a lot of this boils down to personal preference and patience.
 For directions on using lace mesh to create pleated skirts please see post-
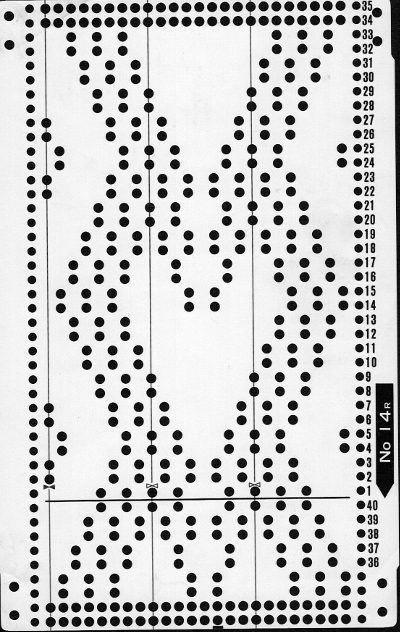
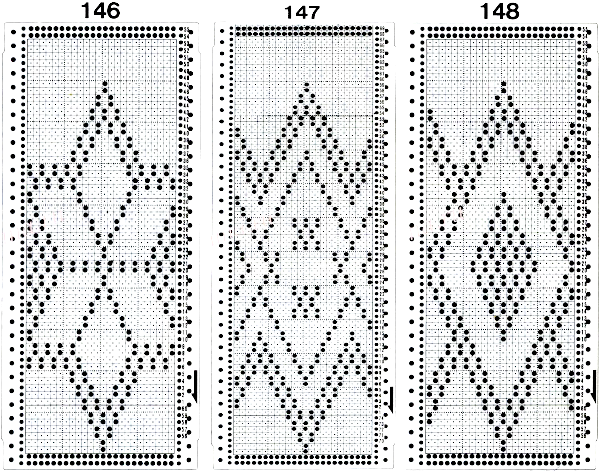
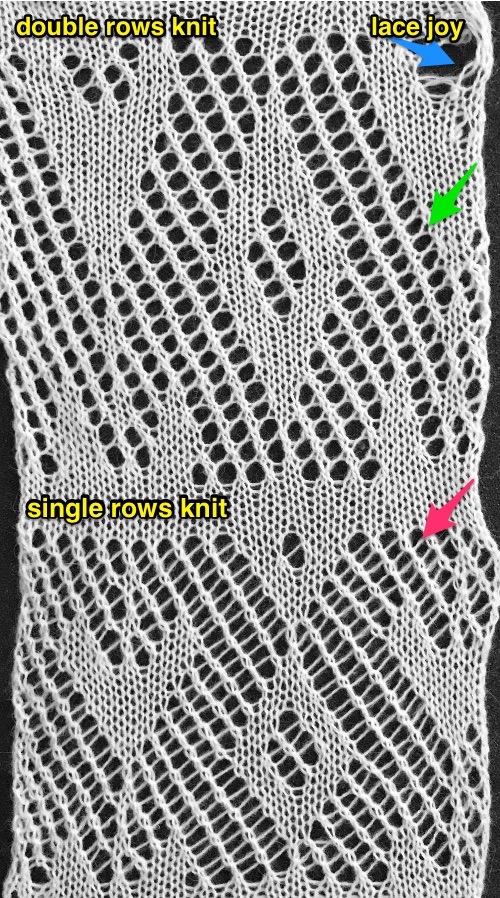 Three more candidates for experimenting with the technique.
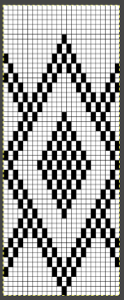 Related PNGs:


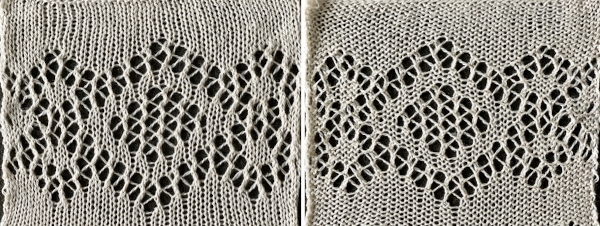
 The BMP for the full repeat including blank rows at the top

 The above shows long vertical lines of transfers are possible in design motifs (punched holes).

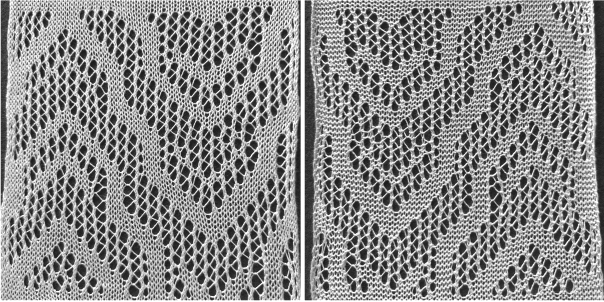
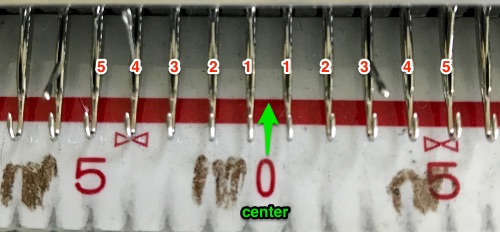
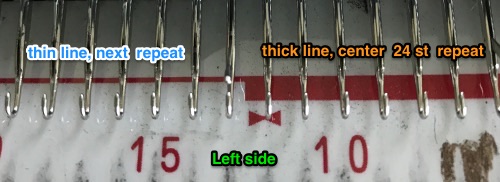
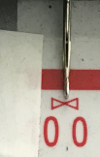
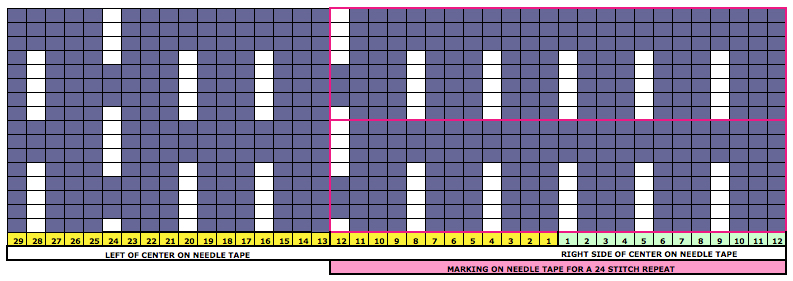
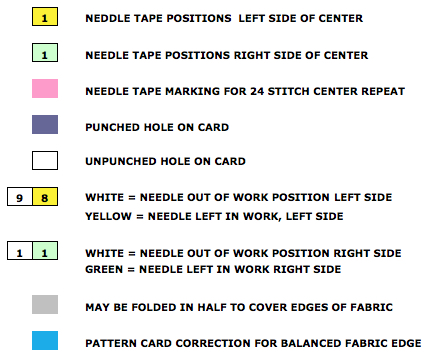
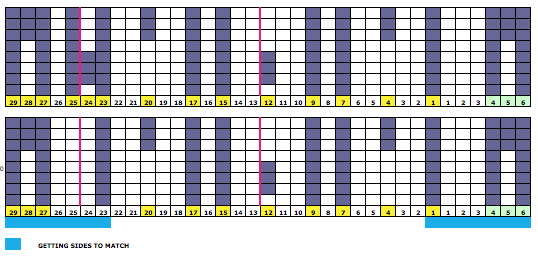
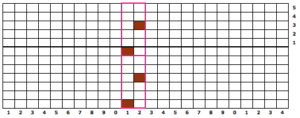
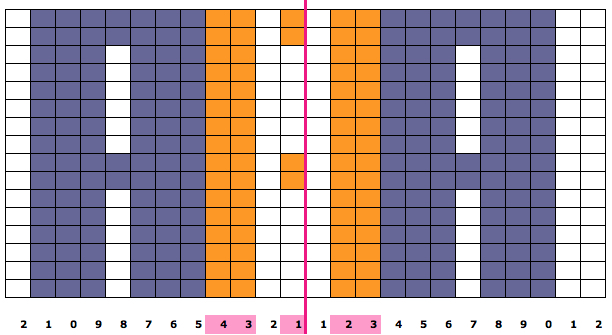
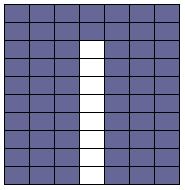 Since the above is seven stitches wide, if punched accordingly it would occupy 21 out of 24 stitch units on a punchcard. As is unless those extra needles on the far right or left are left out of work for ladders or transferred down to the ribber, it would not be suitable for an all-over fabric. It can, however, be used for a trim. If the latter is the intent, only one series of vertical repeats as seen in the chart needs to be punched. The numbers below the image indicate Brother needle tape markings. The Brother needled tape has a center O position marking, with numbers beginning count with one and radiating out marked in groups of 5 in both directions.

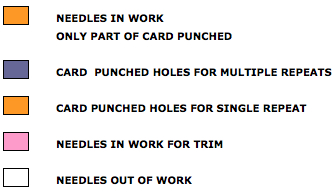
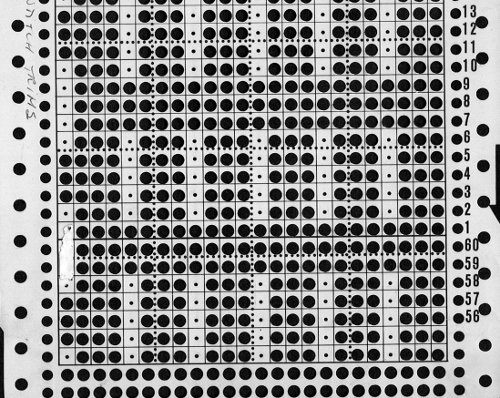
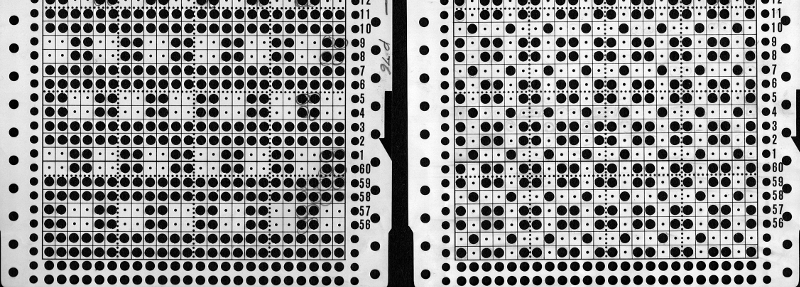
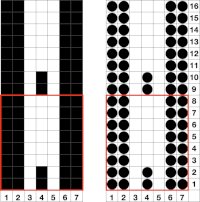
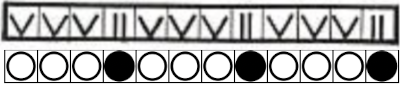
 The single-width repeat may be programmed as pixels, on left, or punched holes on right. In electronics a single 8-row repeat is adequate, punchcard knitters repeat 5 times to 40 pattern rows punched.
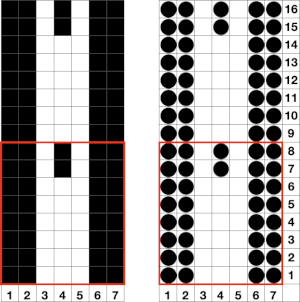 I prefer starting such designs on a knit row. To do that, the design repeat start may be shifted
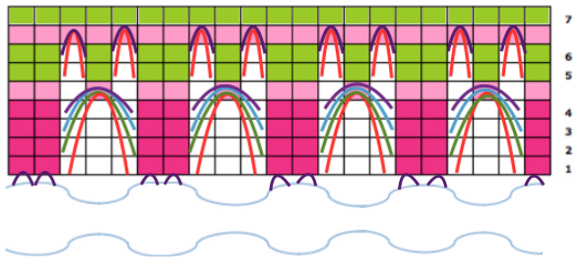
 Using the trim as the cast on edge for a garment: determine the length required after a technique test. Knit a bit extra and remove on waste yarn, so more may be added or some be unraveled if needed or you wish to change the configuration using it as your cast on. Rehang and cast on later when it is completed. The flared-out portions of the trim will be used to “cast on” the edge of the piece, continuing with some needles out of work. An attempt at a line drawing of the “trim” sideways
 Using the curved out edge of the trim, hang half stitches if possible, or one full stitch away from its edge as illustrated below. Knit 4 rows. With a tool pick up all ladder loops created by NOOW (RC 1-4) and hang them on the center empty needle. Knit rows (RC 5, 6), hang ladder loops on still empty needles, knit across all needles, continue with garment

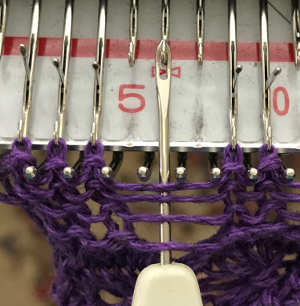
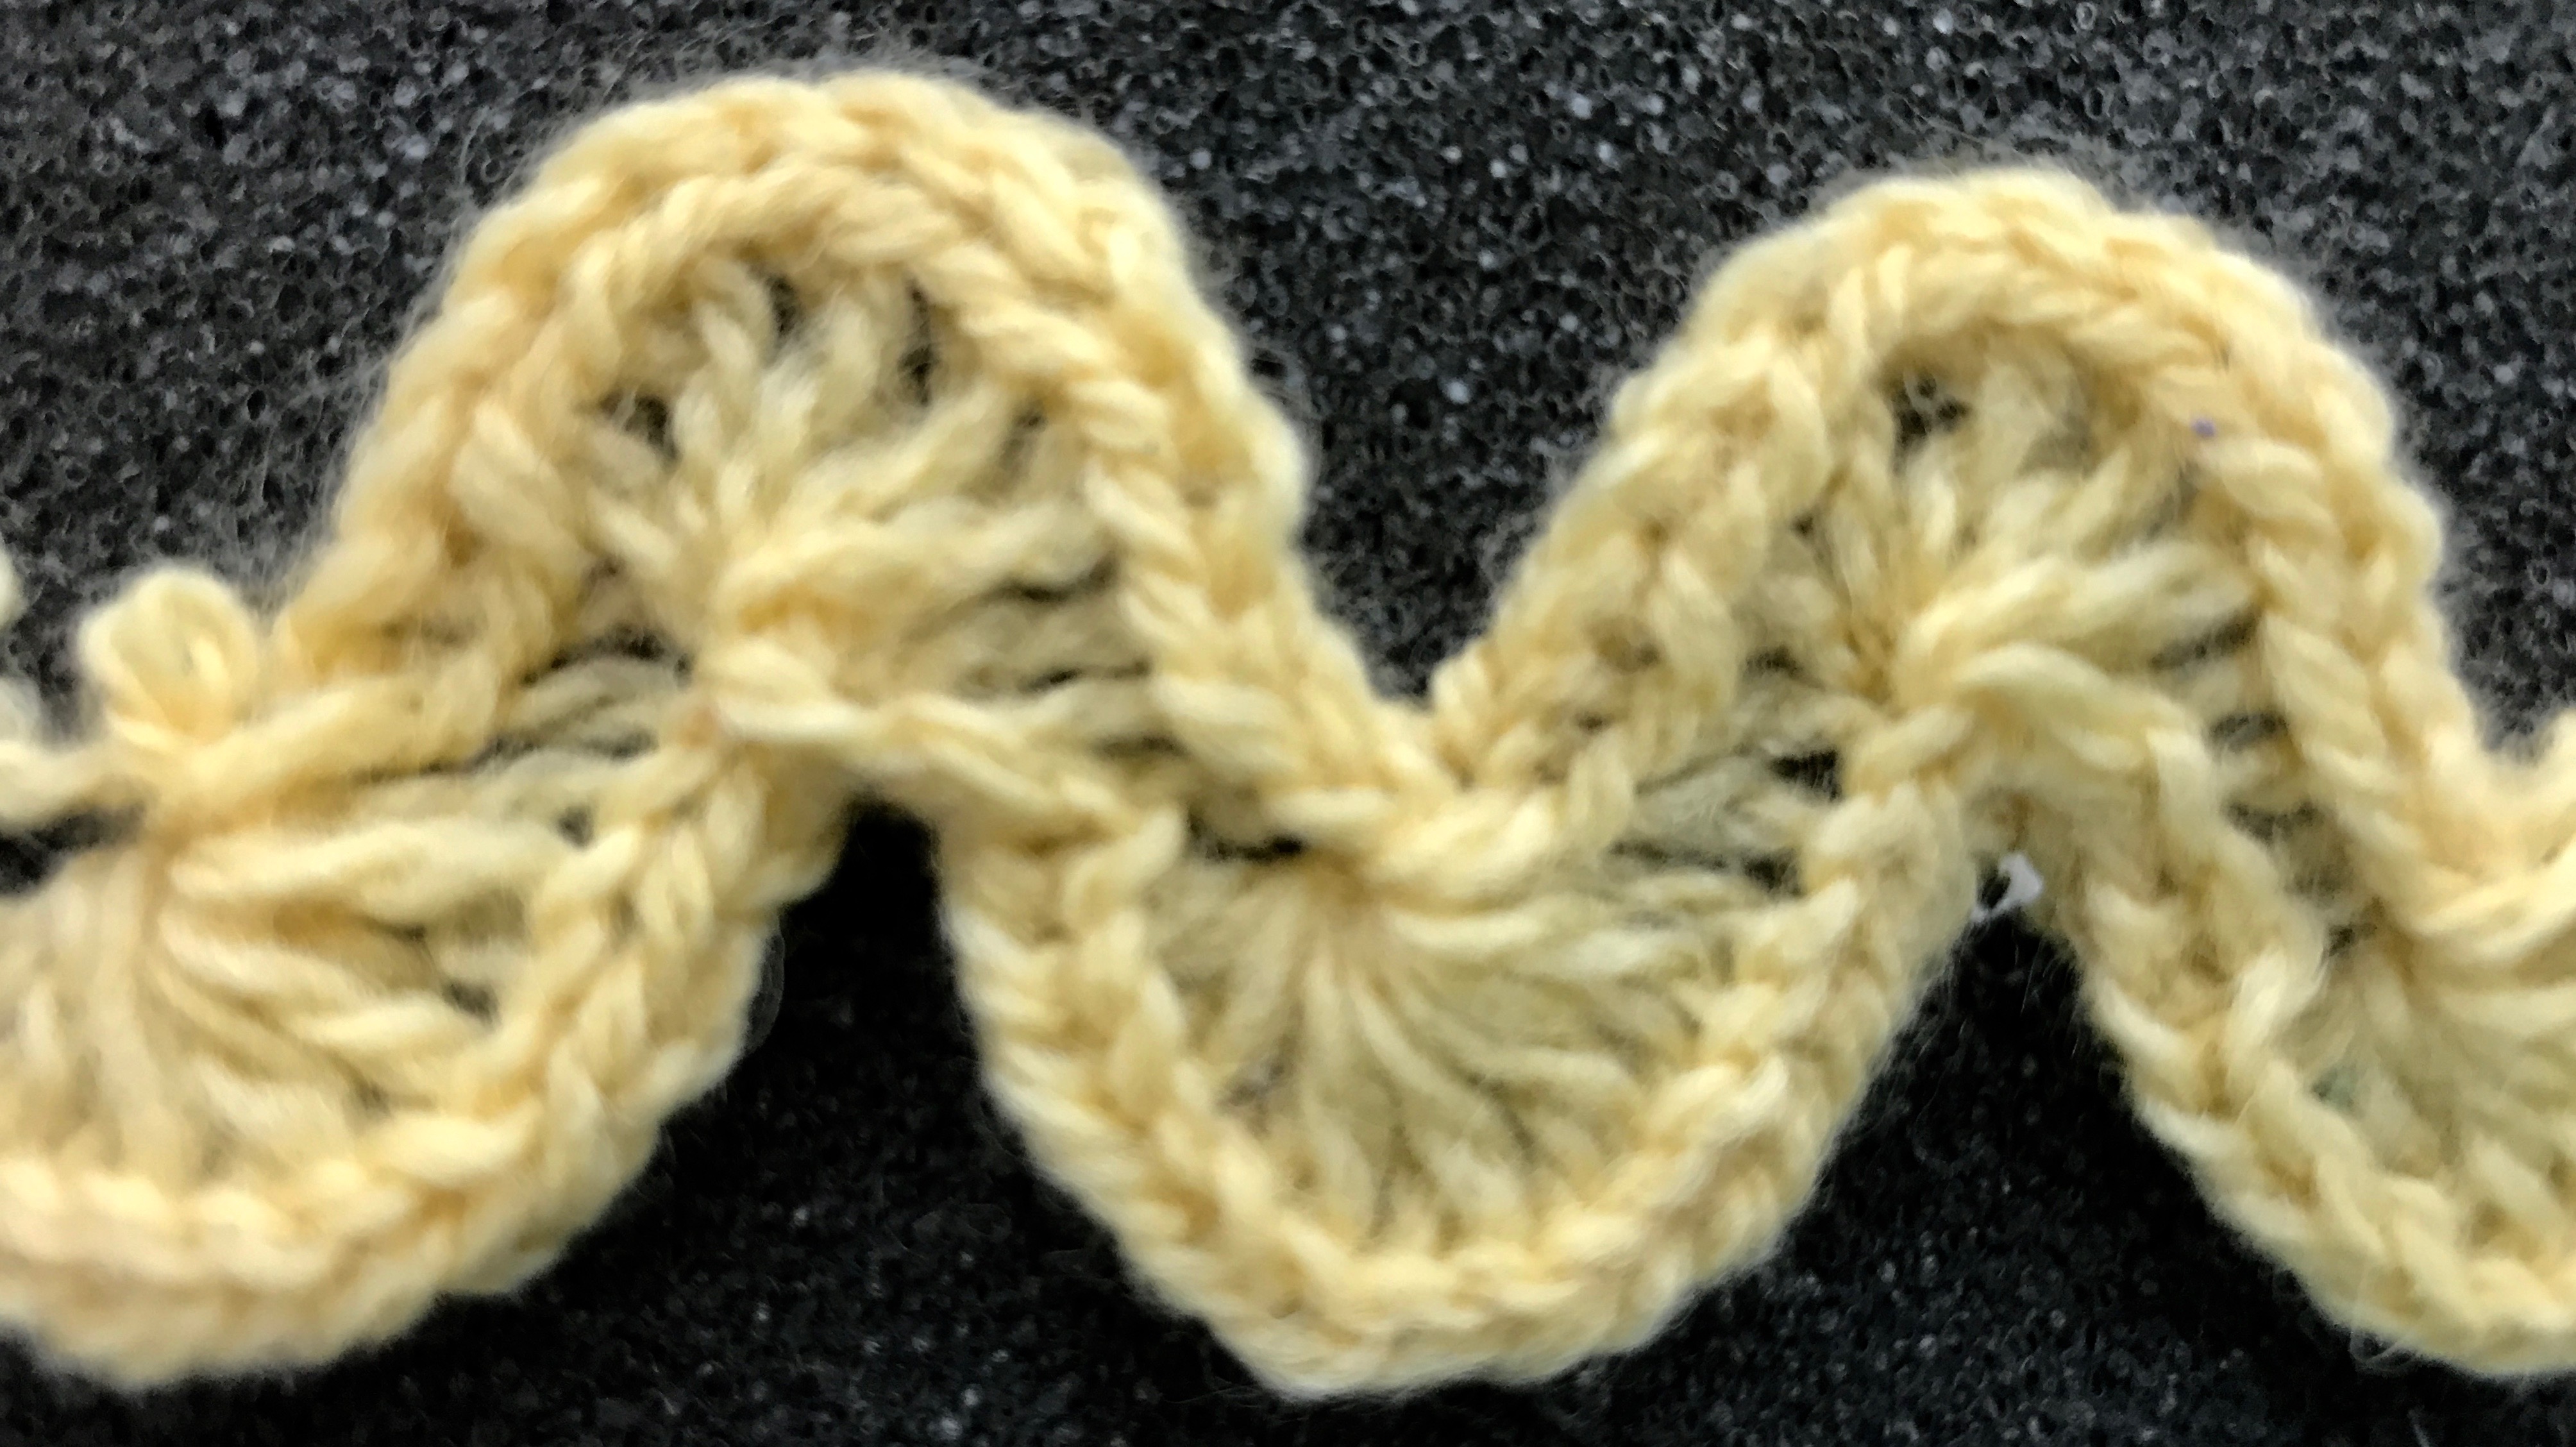
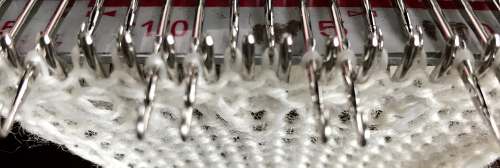
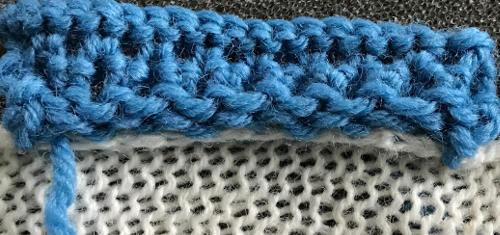
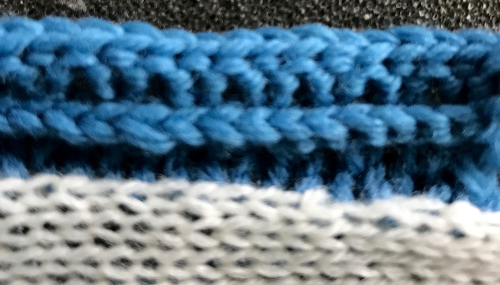
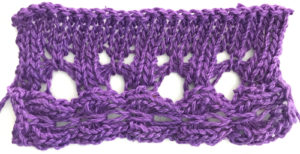 The yarn used is cotton and appears to have a tendency toward biasing on knit rows as seen in the tendency to lean in one direction in the above photos. It has no stretch, so stitches that knit off several tuck loops remain elongated. A look at the structure on the purl side:
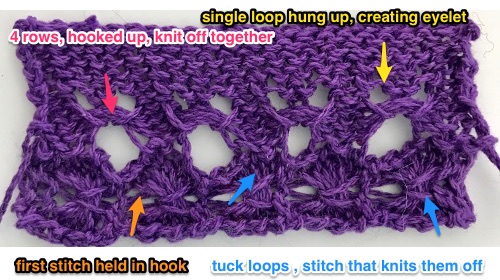 For more trims in this family, please see later post
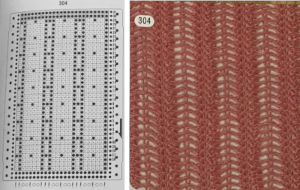 If using the pattern on electronic machines, the needle selection needs to match on the top bed. Depending on the model electronic, the pattern may have to be reversed for accurate needle selection.
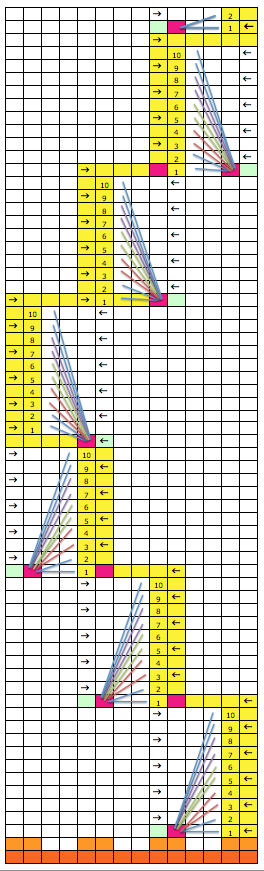
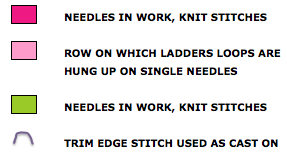
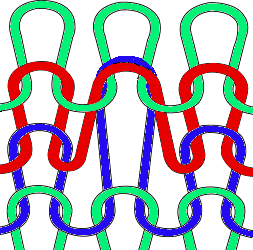 When using card 304, tucking happens for 3 rows forming loops that span across needles out of work, then all stitches on needles on rows with numbered markings on blue cells knit for one row. Orange gradient-filled cells represent rows on which tuck loops are being formed on the held single stitches, which in turn grow in length.
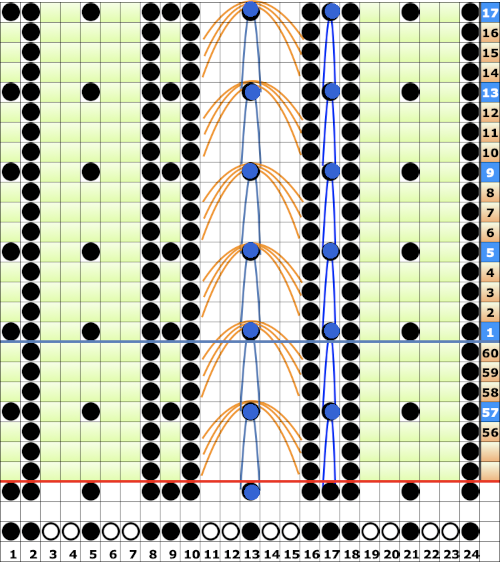 The full 24 stitch repeat, shifted for my preference, with the smallest electronic 8 stitch repeats outlined with red border


 On the 930: the odd number of needles are automatically placed on the left, with the pattern used in the isolated design setting.
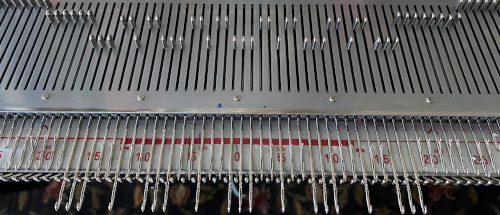

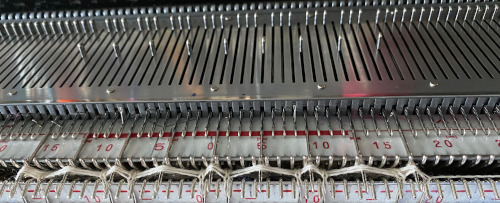
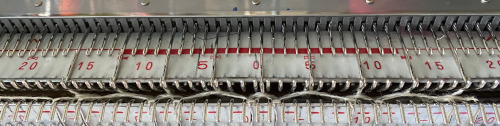
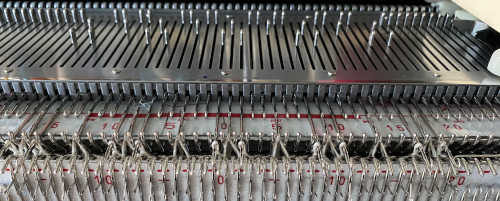
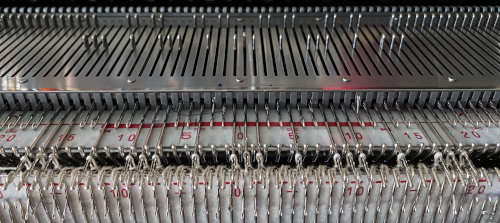 the tuck loops still form on the main bed, the ribber is set to knit every needle in both directions.
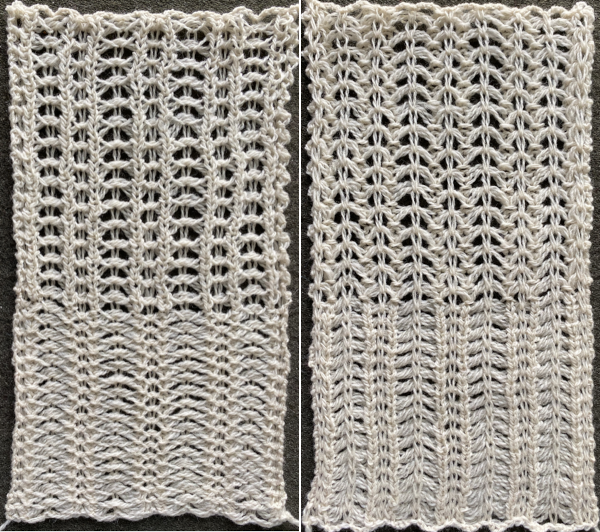
 The resulting knit, very different in appearance and in width than the previous sample, using the same tensions



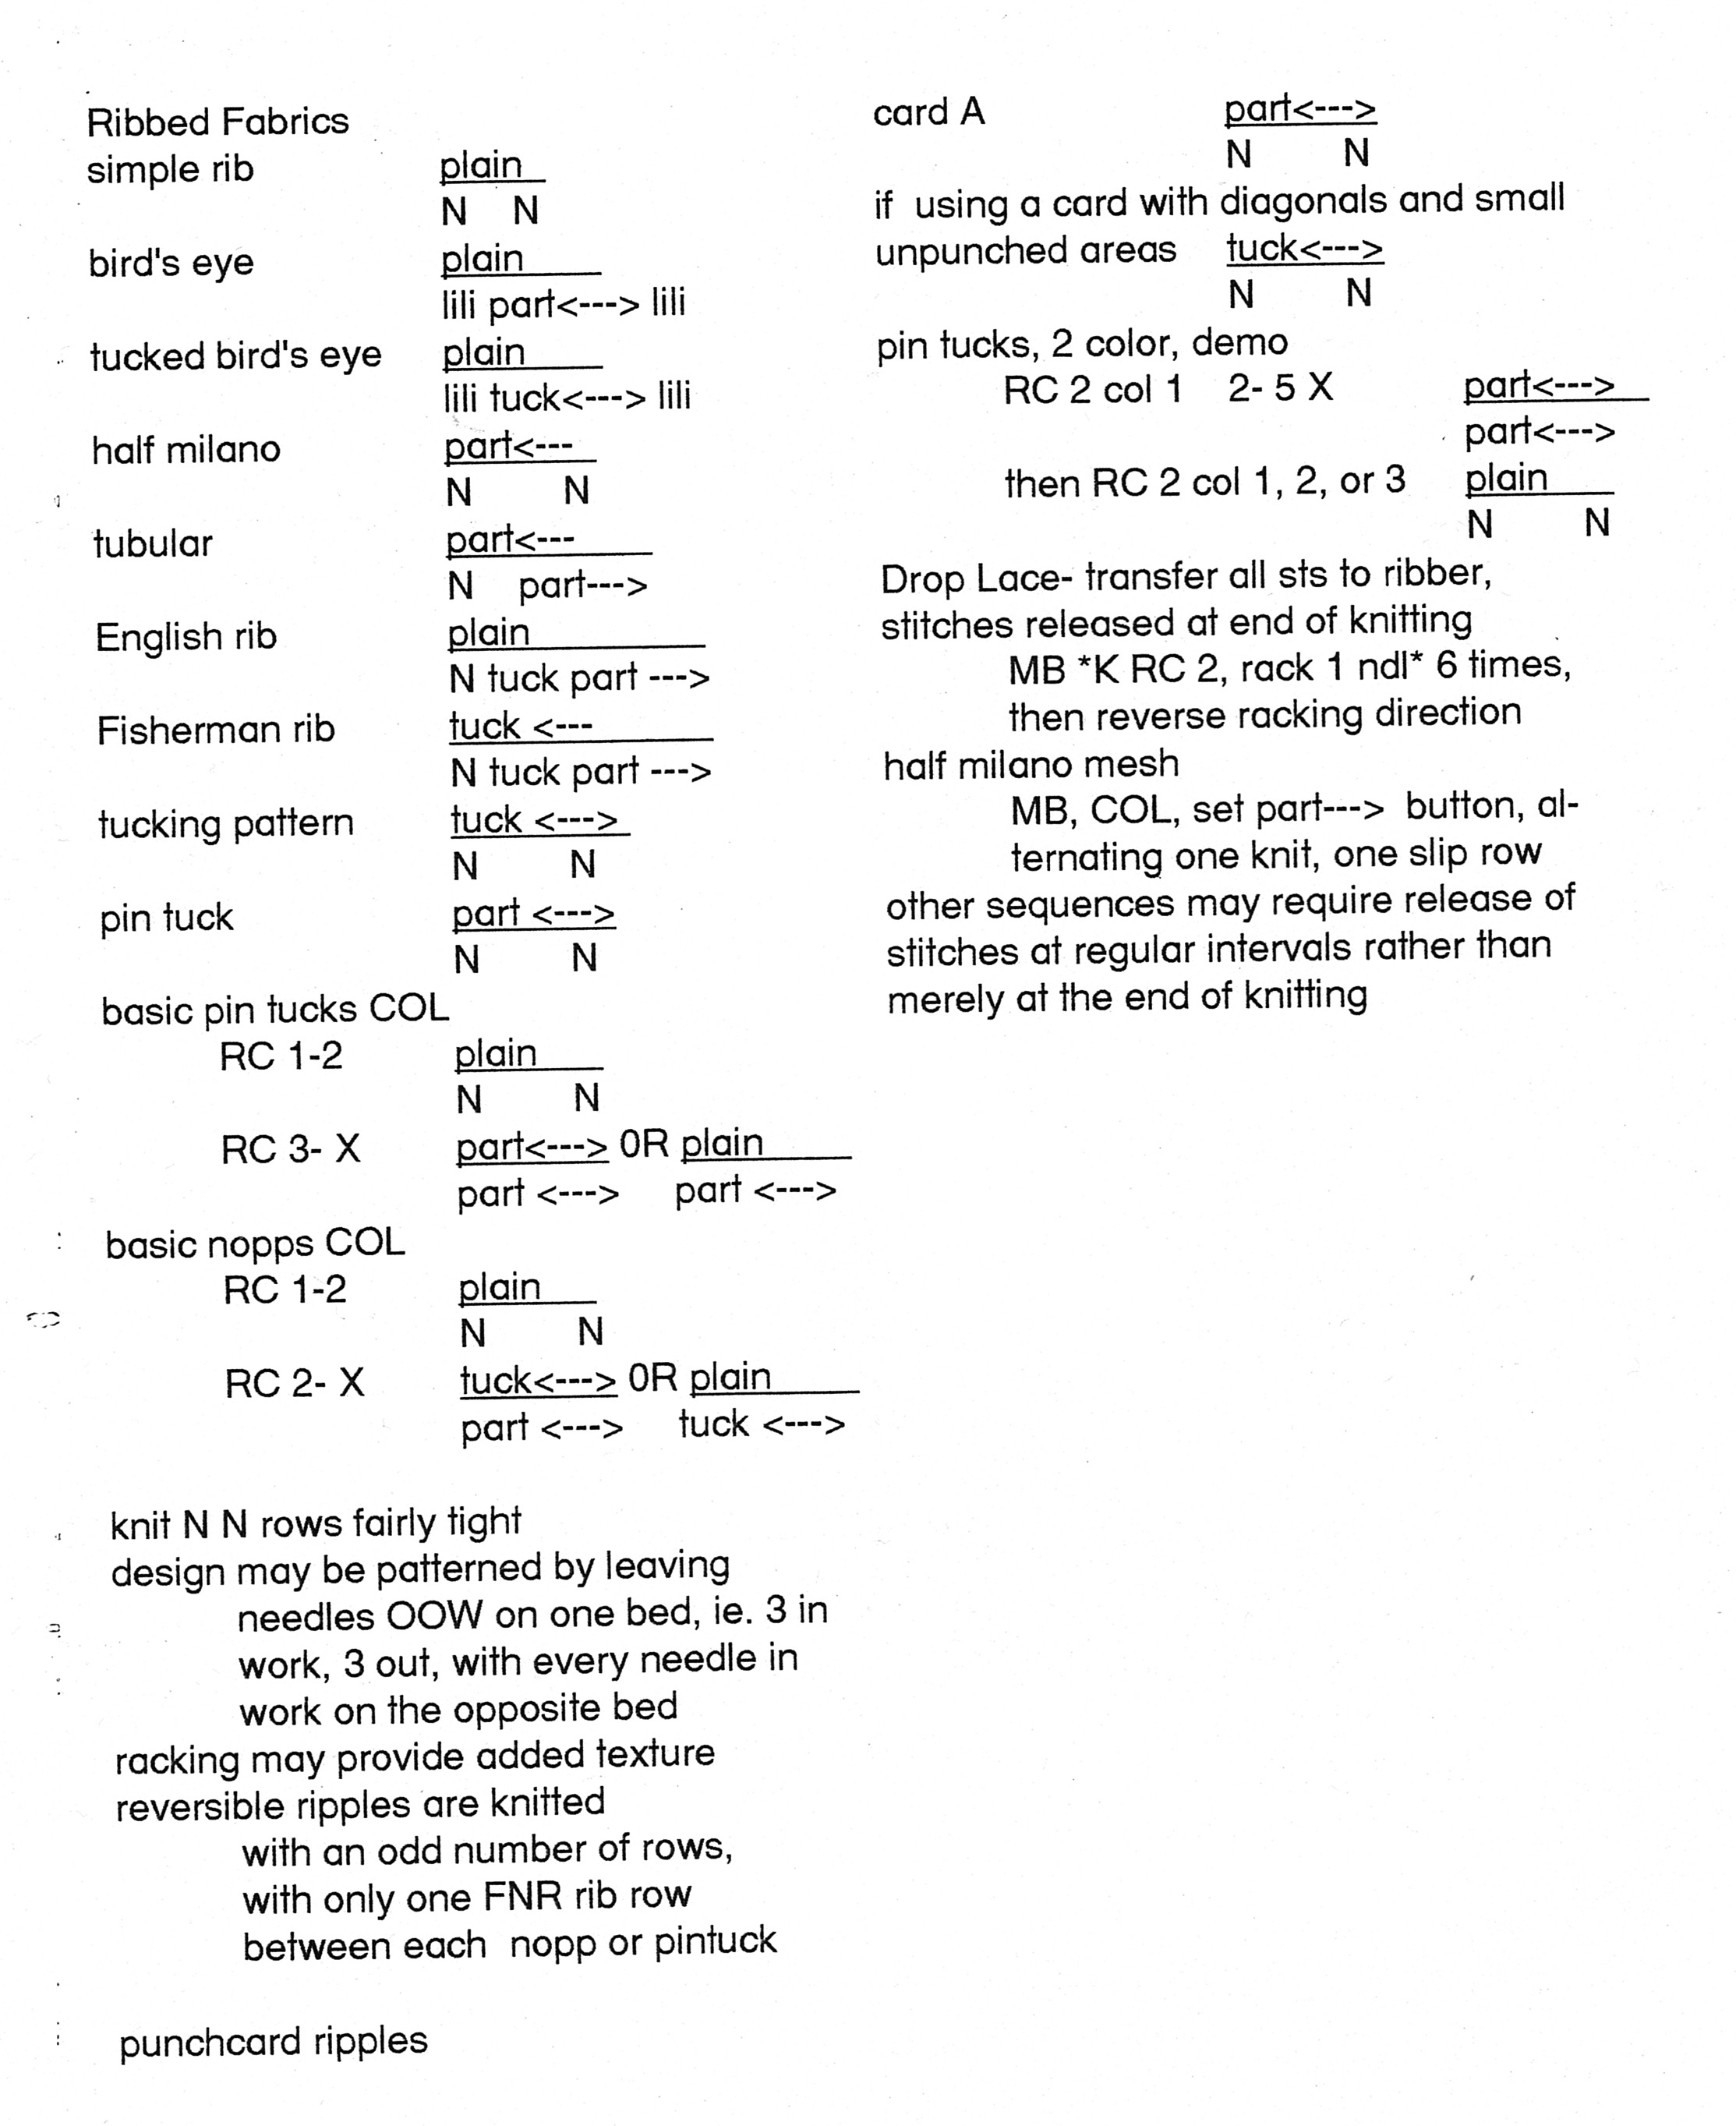
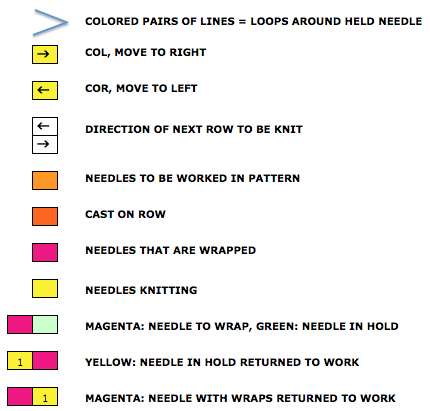
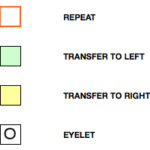
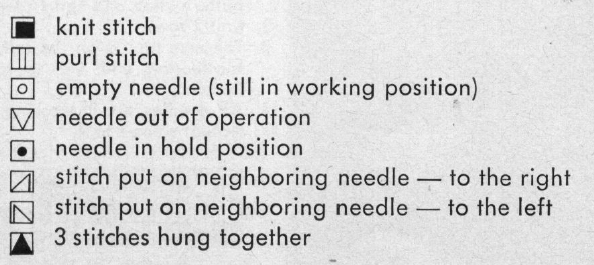
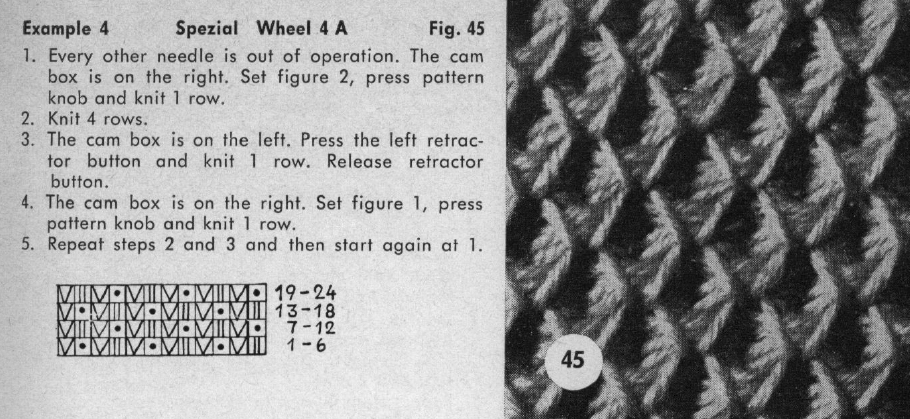 Translation of symbols used in Knittax patterns.
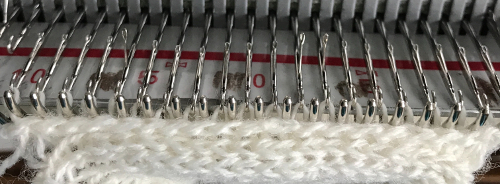
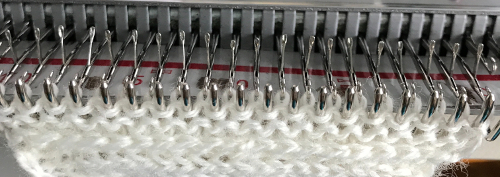
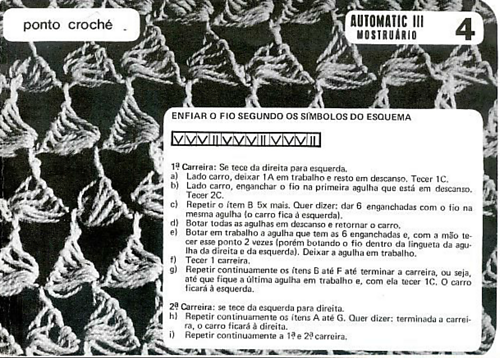
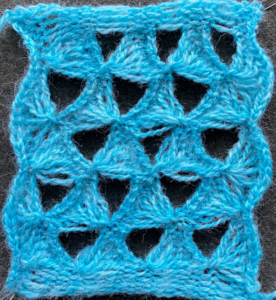
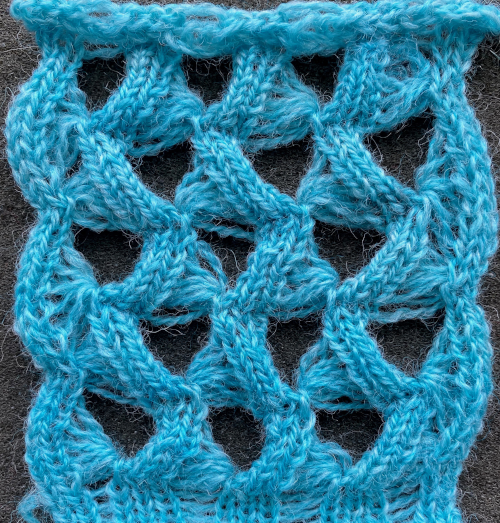
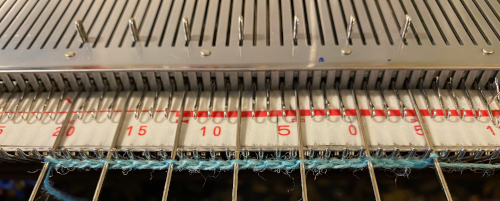
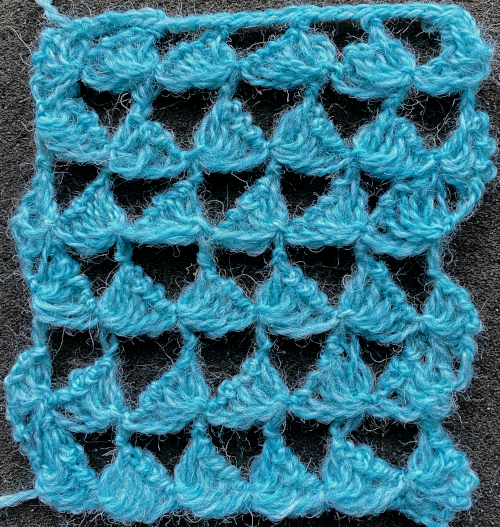
 On the purl side, this creates structures that emulate crocheted shells. My first attempts at trying to knit anything like this were with thin yarn, and I had enough issues to give up for the moment. Things worked out much better when I switched to a sport weight yarn that seemed to like knitting at T 10 for stocking stitch. With NOOW set up, my sample was knit at T 9. Waste yarn and ravel cord are often a good way to start, but not always necessary; the same is true of weight. I began with a crochet cast on, every needle, multiple of 4 st + 2, then dropped the alternate pairs of needles between the first and last 2 pairs of needles in work, pulling the needles back to A position, determining the width of my “shells.”
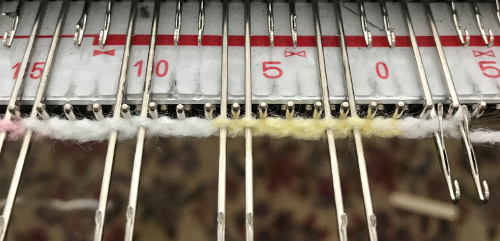
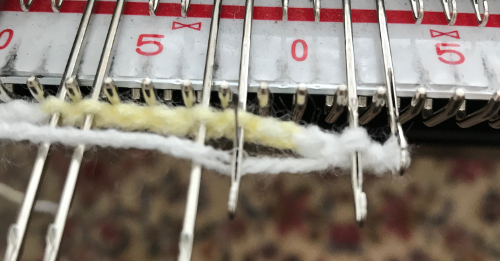
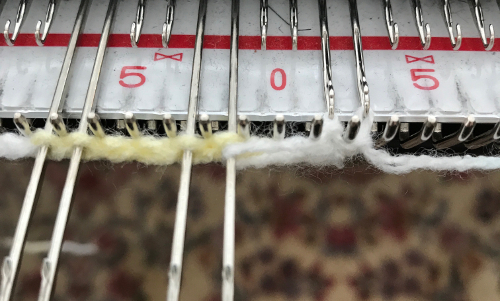
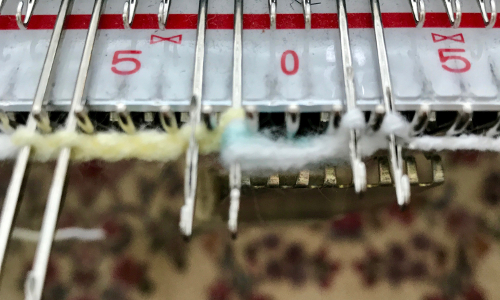
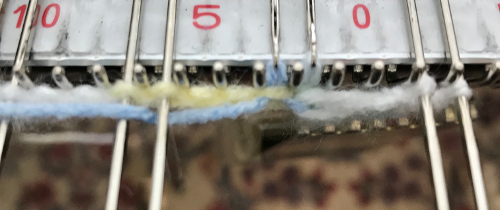
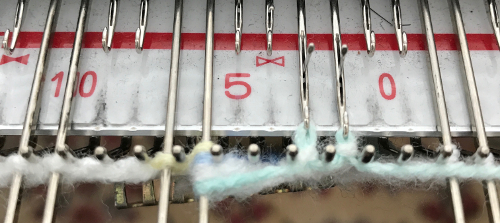
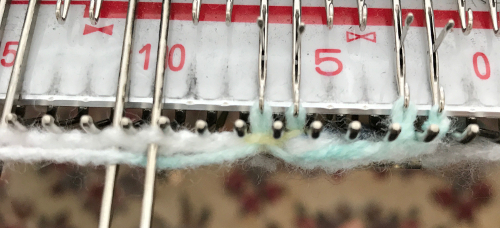
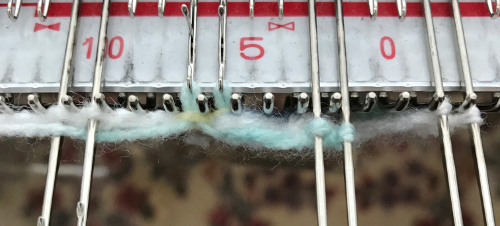
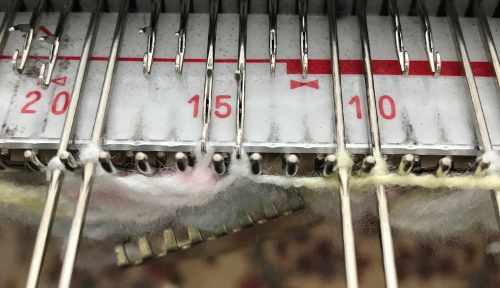
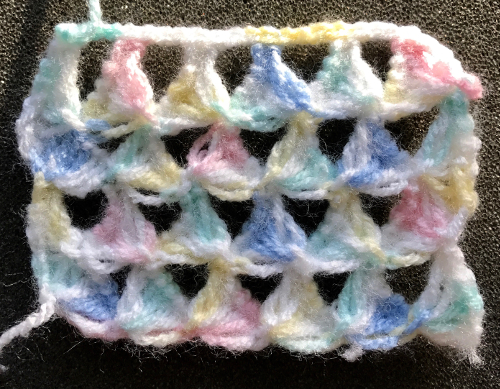
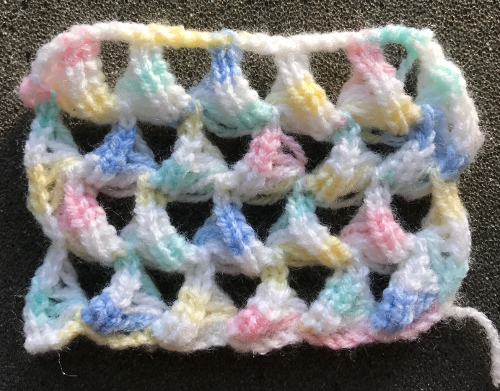 Variations can include the number of needles in and out of work, yarn choices, etc.
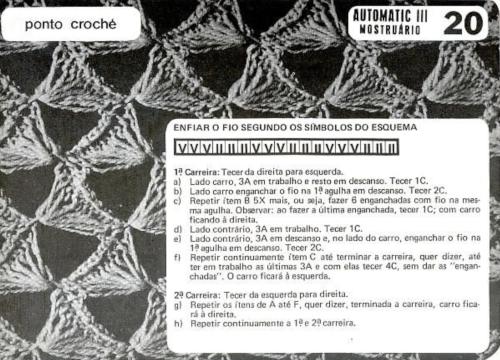

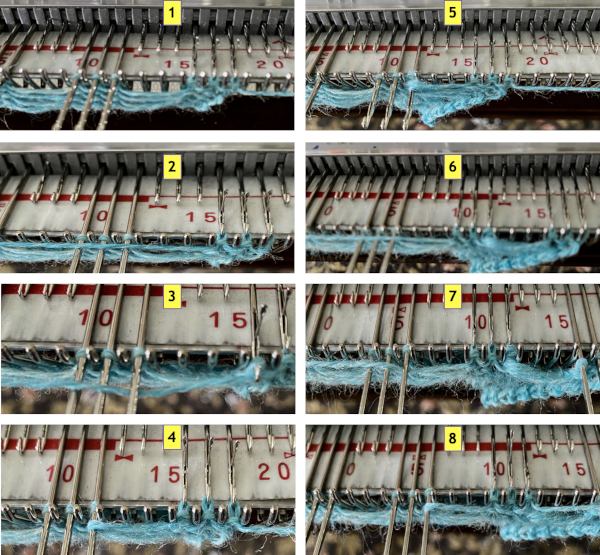
 The illustrated needle arrangement for #4,
 I like to begin using a chain cast on, and then dropping chains off needles out of work

 The fabric shares knitting sequences with the first 2 samples.
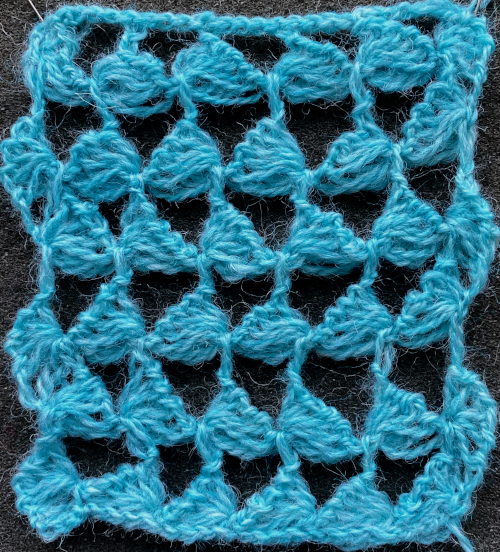
 Here, a similar technique is used for a trim, and both sides are shown.