I touched on knitting with 2 carriages in some previous posts:
2011/03/30/knitting-with-2-carriages/
2011/03/29/lace-meets-hold-and-goes-round/
2015/03/31/combining-tuck-stitches-with-lace-2-automating-them/
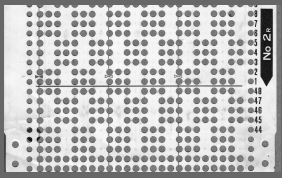
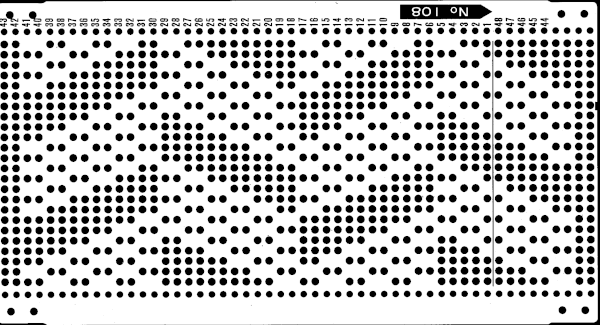
If 2 carriages are in use for patterning extension rails are a must. For this discussion we are excluding the lace carriage as the #2, the intent is to use 2 knit carriages with each set to desired cam functions. As one carriage is put to rest and the other one is set to move from the opposite side, the card does not advance, so the last row selected is repeated one more time. In one of those lightbulb moments today (any excuse not to do laundry) it occurred to me that starting out with an odd number repeat pre-punched card, coming from the opposite direction at the end of each odd row repeat, an even-numbered repeat would actually be knit. The card below is a Brother issue with all standard knitting machines. Card number (2 in this instance) may vary, depending on the year of purchase. Color changes here as well would have to be planned for every even number of rows, so respective carriages can travel to and from each side.
The swatch below begins with locked selection row on punchcard row marked #1 (standard location); tuck setting is used in first 2 segments, FI on third; pattern produced is “OK”, but not actually tucking for 4 consecutive rows; note how much narrower FI is than tuck. Tuck tends to be short and fat, slip and fair isle short and skinny when compared to plain knit in same yarns 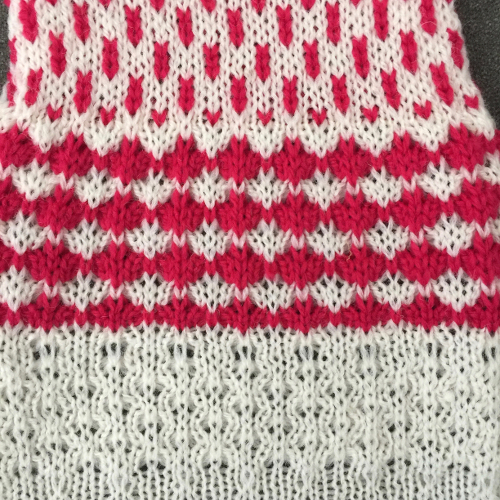
Since Brother preselects for the next row of knitting, setting the first selection row one locked below the usual spot on in this case #48 got me what I wanted, each color now tucking for 4 rows

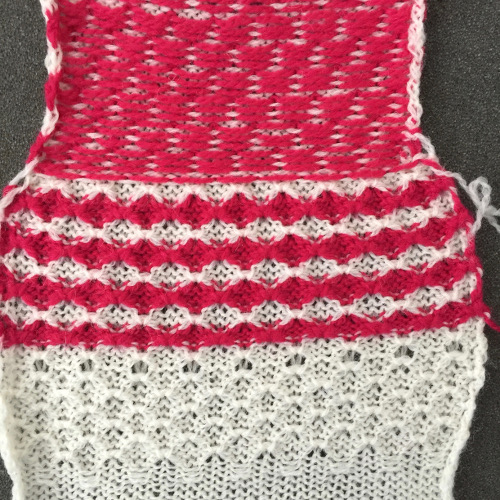
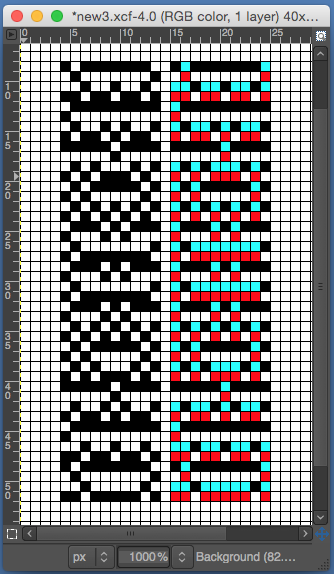
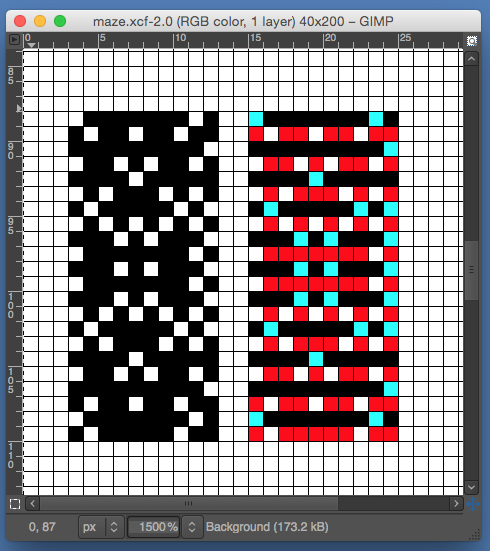
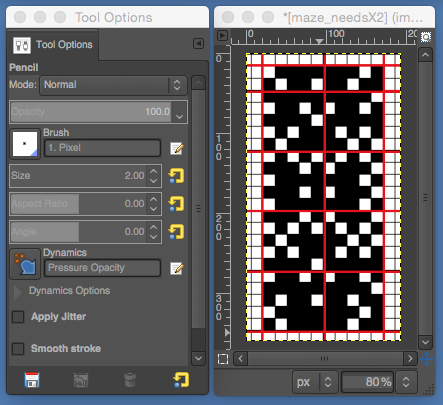
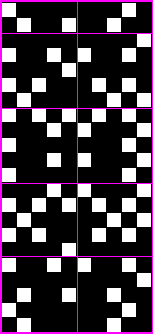
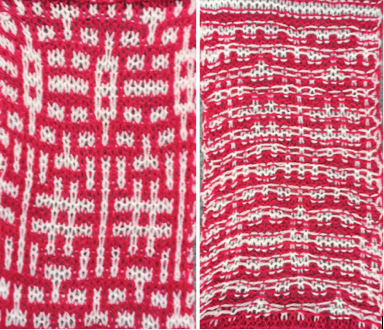
Then something a bit more exciting occurred to me; one is an odd number, so any card where single rows are punched could be executed in theory, changing color every 2 rows (remembering to start with first selection row one row below # 1-row mark on the card). This sample was knit with 2 carriages, using a maze card, illustrated in a previous post, in which each row had been punched only one time, requiring for the repeat to be elongated X2 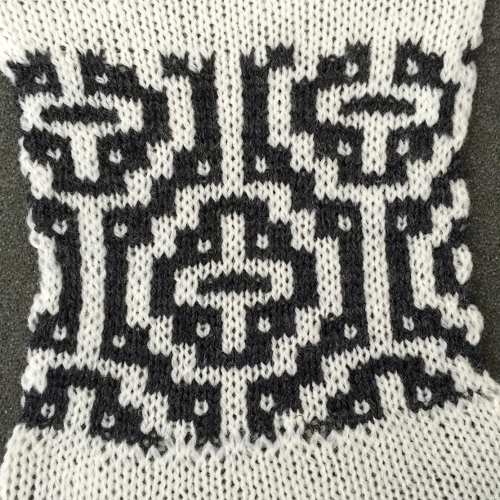
the image from the previous post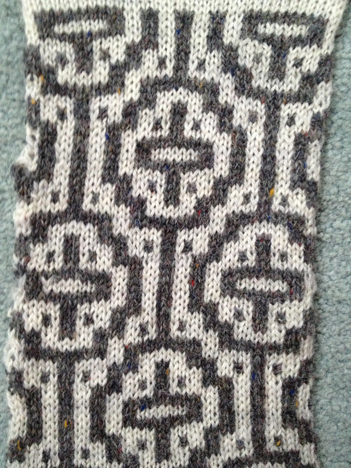
Using 2 carriages allows for combining yarns using different tensions, cam settings, fiber content, or sometimes using materials that the single bed color changer is not “friendly” with. Also, there is no pushing the wrong button, causing errors in sequence, or dropped knitting if no yarn is picked up.
A punchcard carriage may be used on electronic machines. I work on a KH892, and a 910. The 910 is from a much earlier model year than the punchcard machine. The back rail for the KH to travel on, is a different shape, with slits as opposed to smooth, and a bit more raised. The electronic carriage set on KC locks on the belt and advances the card appropriately, but the fit is quite snug, making it hard to push, while the 892 behaved well on the 910. If borrowing carriages and sinker plates from different model years or one type of machine to use on another, proceed with caution and listen to your machine. Sometimes the span of time between model issues is irrelevant, even if model years are only a year apart, and the swap is not the best for successful knitting, may “work” in one direction, but not as well in the other.
sample back rails: 910  892
892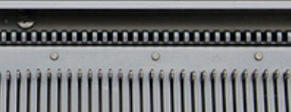
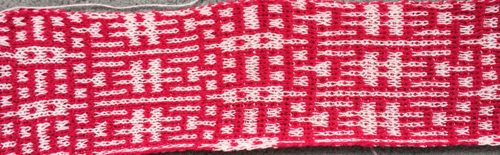
Dec 7, 2018 Knitting studio simple lace with 2 lace carriages transferring stitches
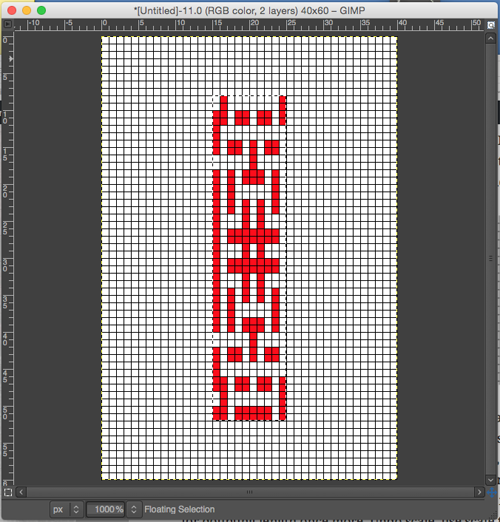
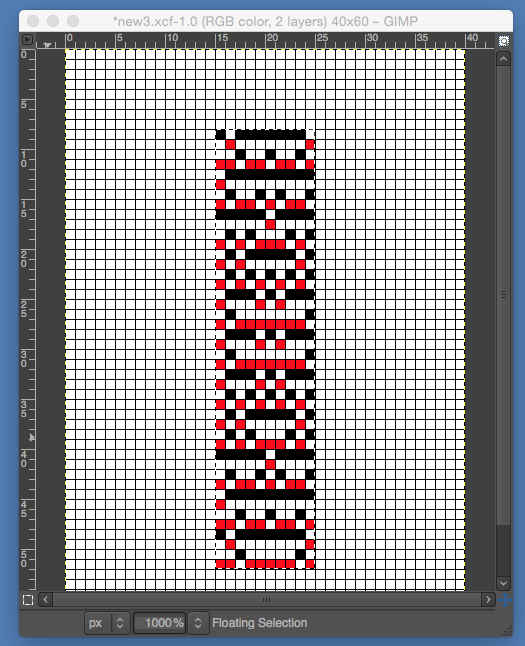
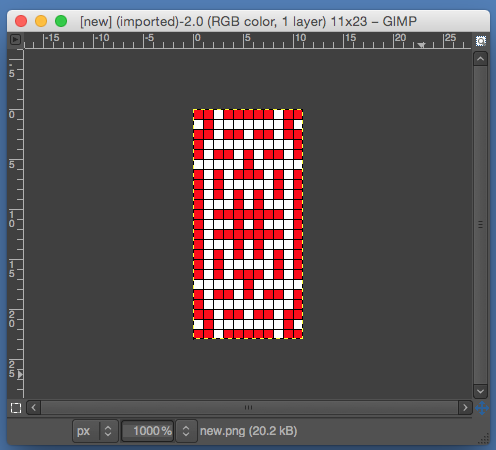
 the BMP in Gimp, explored in two renditions, eliminating double lines
 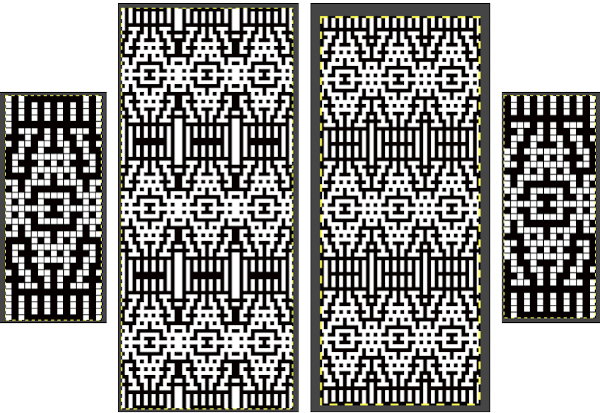 The proof of concept swatch for the version on the right and knit in tuck stitch
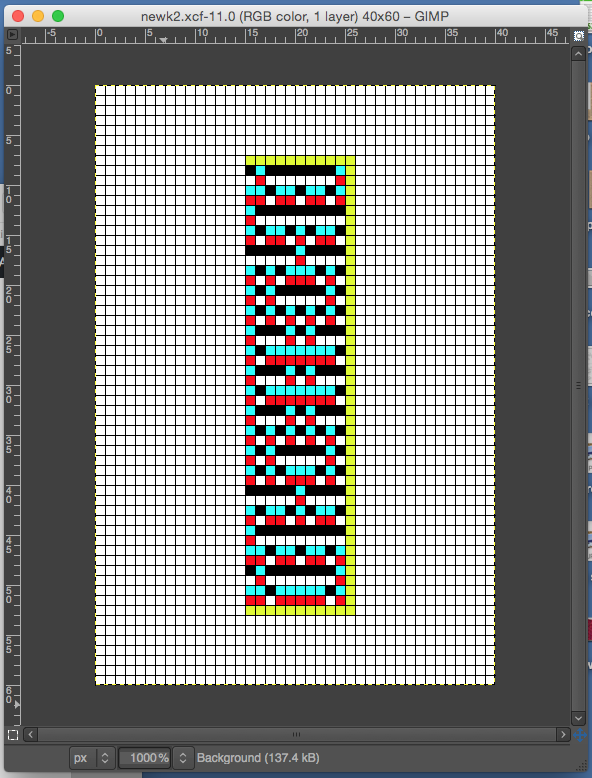
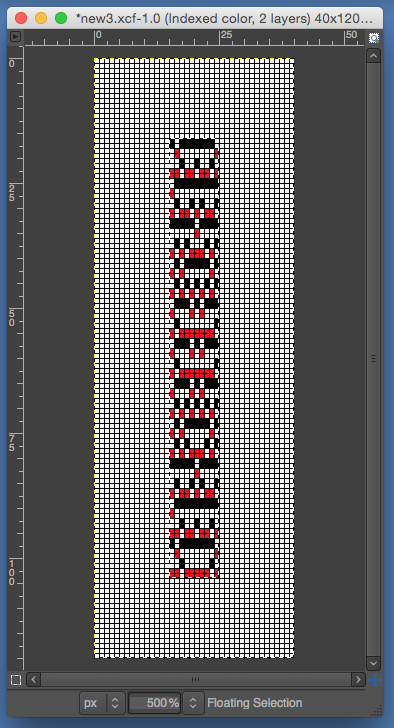
 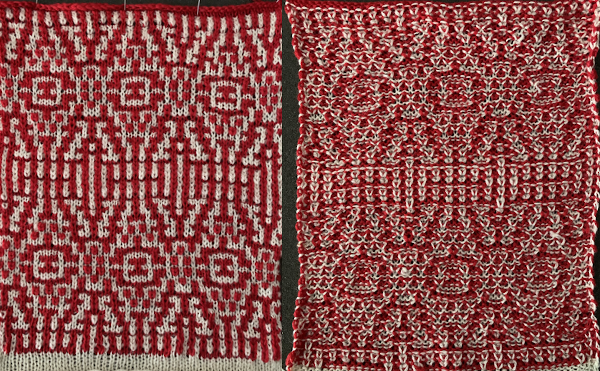 the double-length BMP ready for knitting, 14X68


 marking the knit stitches in odd rows
  marking the knit stitches in even rows
  markings for all knit stitches
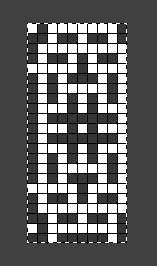
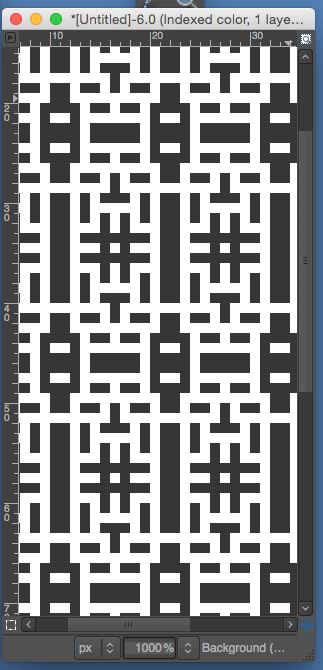
 Shared in an earlier post: using point grids,
  the pattern may be drawn over them;
  staggered units may require some cleanup and “erasing”, as represented by pink squares


 The resulting fabric using slip setting, rows 4 and 5 make motif problematic for tuck setting
 The 2 fabrics side by side, showing in this instance a slight difference in the overall repeat in the last swatch; in the left sample green is color one, in the right one white is color l
  the same motif knit in the tuck setting is wider, both sides are shown below
  If the yarn used is capable of being blocked fairly flat, because of the short floats, finished items in these fabrics may not need to be folded over or lined as traditional FI items often do.
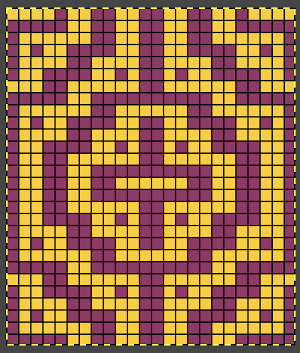


 tuck 1 color
 slip 1 color
 tuck 2 colors
 slip 2 colors
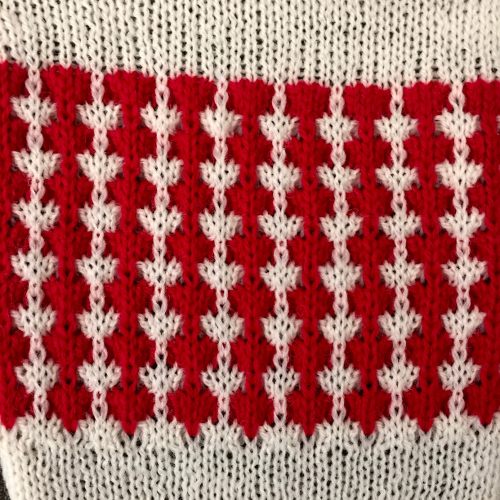
 last but not least, slip stitch adding a third color front, still changing colors every 2 rows

 The repeat enlarged and punched for use in the pictured samples
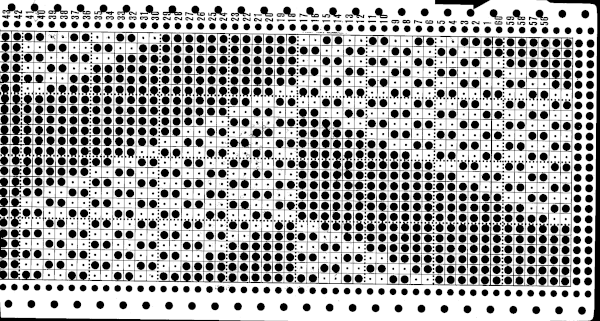

