A simple braided cable (and card)

When creating braided cables one may punch cards to aid in the accuracy of twists. Once the principle is established as well as some basic rules, it becomes easier to work with variations of patterns based on simpler ideas.

Ladders may be used for marking repeat edges as well as for contributing to pattern interest, or for latching up on reverse thus creating “purl stitches” aside cables. They are one of many things guided by personal preference/ taste.

All over cables narrow fabric considerably, looser tension than for stocking stitch in the same yarn is a must.

A place to start experimenting with in terms of row spacing is to cross stitches a minimum of every number of rows equal to the number of stitches crossed, ie. 4 stitch cables every four rows, six stitch cables every 6 rows. Usually, for crossings involving more than 6 stitches, extra yarn will be needed for the additional stitches to move far enough across the metal bed to complete the cable and knit off properly on the following row.

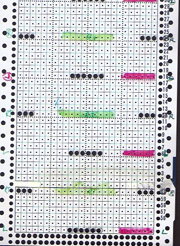
Preselection allows one to pre-plan exactly where repeats occur on the needle bed. If the repeat does not center either side of 0 when a card or other form of input is used, removable colored tape or water-soluble markers may be used to mark the needle tape between the first and last needle of each repeat. This is not needed if the repeat itself coincides with 24 stitch markings on the tape itself, as in the sample below. I actually use punchcard needle tapes on my electronic machines as well for consistency of markings.

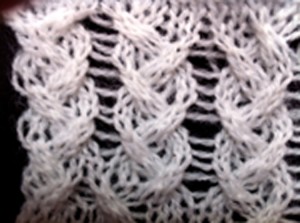
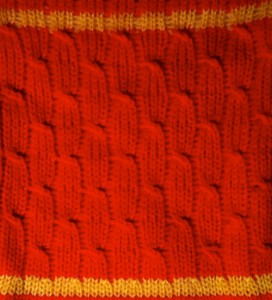
A simple braided cable may be created by working with alternating twists on six stitches.

In the image below:

screenshot_15

Program repeat, as usual, set to advance normally, KCII if there are needles OOW.

KC carriage remains set for plain knitting throughout

1. when needles are selected take center stitches off first on a 2 prong tool, hold to front and side

2. remove stitches from selected needles on a second tool, place them on the center needles

3. place the held center stitches on the needles now empty

Many cables may be translated into a punchcard or programmed pattern. It takes a bit of time to sort out the necessary “rules” and attention to detail while knitting is still required, but the process is overall quicker and more accurate.

Passap knitters can perform similar functions, except it is the pushers that are pre-selected for the next row of knit, not the needles themselves. Tech 129 with color reverse will bring up pushers to correspond to  Brother markings. The machine remains set to N throughout, sets of stitches outside the area of cables may easily be transferred to the opposing bed for a ribbed version of the fabric. It is necessary to sort out where patterning occurs on the needle bed, non involved pushers on the front bed should be placed completely out of work.

A confession

I have to admit I can and do hand knit but now operate in life is short mode, and have decreased patience for projects that require a huge time commitment (relatively speaking) to complete. At a knitting seminar in the early 90s a demonstrator (who happened to be male) used to tour with a sweater he had “completed on the machine”  that had more than 3,000 (yes, thousand) cables in it: complex twists inside larger diamonds in turn formed by cables. IMO such a garment would be faster done by hand. One of the advantages in hand knitting is that errors are more easily seen since one has the opportunity to observe what happens on the knit side closer to the event. The fixed spacing on the machines that twists must travel can be a challenge in forming fabrics, particularly in all over patterns.

One possible solution is to combine machine and hand knit panels. Hand knit center arans may be joined to plain side and sleeves knit in stocking stitch on the KM (also a solution when larger sizes are required), and stitch patterns may be used in isolated areas or selectively rather than all over the garment. Patterning shifts in the knit/purl ground in garter stitch patterns may produce knit and purl “illusions” of shapes otherwise created by moving stitches in cables.

I have recently been playing with this crossing idea. The original intent was to try it out in an all over pattern in a brick repeat, and only one row of knit in between transfer rows. With yarn at maximum tension, after the first round of transfers the second round of them became impossible to perform. Am still at the drawing board, but the idea may well simply end with a 2 inch patch as opposed to anything larger. Wonder if Barbie is in the market for a lapghan?

Follow up: the new working repeat with 2 rows of knit between cable crossings

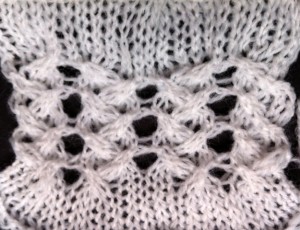
a test on standard KM: the ladders were a “surprise”, a by product of the distance the stitches were moved

the same fabric with ladder “floats” being hung on adjacent needles to diminish ladders and produce holes

the stocking stitch fabric top and bottom of this last swatch is considerably wider than its cabled portion, a possible consideration for trims or insertions based on this idea; “you can’t always get what you want” but sometimes one can still quite work with what one gets.

Holding and “cables”

Susan Guagliumi has written 3 books on hand techniques on the knitting machine

her first classic

her previously most recent

published November 2014

Unknown

On her website, some of her articles and Studio KM publications are available for free download. Included are ones discussing a horizontal cable, two-color electronic cable. 11/12/15 Please note: the site now requires subscription and login, links, as posted here as they are, will fail to connect.

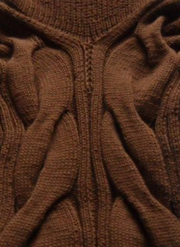
In creating large-scale cables in the past tension changes, supplemental threads, and other ways to compensate for moving a larger number of stitches on a metal bed (things start to get hairy when crosses become larger than 4X4) have been discussed. An interesting, clear, possible solution to produce textures or macro cables such as in this piece

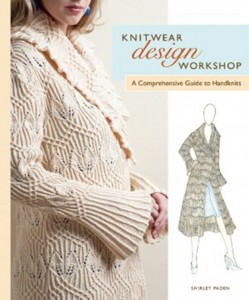
may be found in her books and may be viewed in her youtube video. Handknit interpretations that also add lace to the mix may be found in Shirley Paden‘s portfolio photos of garments, she is the author of


Using punchcards to track cables and twists in pattern 2

This post was originally written intended for punchcard machines only, with the passage of time electronic pattern tracking, samples and associated repeats were shared.
Links to some later posts including cable manipulation and patterning
2023/05/30/a-return-to-plaiting-and-double-bed-hand-transfers/
2021/03/11/slip-stitch-patterns-with-hand-transferred-stitches-double-bed/
2021/02/01/slip-stitch-patterns-with-hand-transferred-stitches/
2021/05/09/double-bed-embossed-patterns/
2012/01/19/using-punchcards-to-track-small-cables-in-pattern-1/ 

2011: Cables seem to be in vogue once again in myriad permutations. They pose some interesting issues when created in machine knitting. Interweave Knits Winter 2011 published an article on “Cables 101” that includes a way to color code and graph cable crossings. “Back in the day” of regular, worldwide machine knitting seminars, several authors provided collections of machine-knit cables including George Le Warre at Passap universities (copyrighted, George presently in England).

Simple crossings are a good place to begin and produce texture. If one is not interested in freeform but rather constant, recurring patterns it is possible to use punchcards to produce visual cues when stitch twists and crossings are to occur. This is not an option in Studio Machines, easy on Brother because of the fact that needles pre-select, and Passap pushers may be used for a similar set of clues with a bit more fiddling.

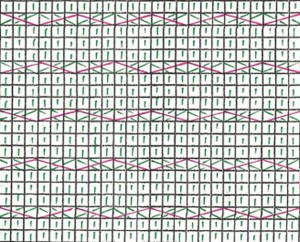
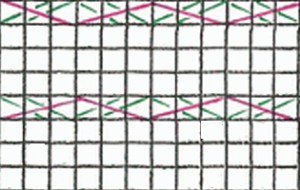
When color-coding information for referencing as one knits, it is possible to be generous with symbols or edit down to bare elements. For example, one way to approach a schematic follows below, where knit stitches are illustrated as well as cable crossings. Red indicates stitches moved to the front, and the green indicates those traveling to the back in each cable set. In hand knitting, vertical or horizontal bars would represent knit and purl stitches. Since these are identical in this HK graph, they could all be eliminated

A

B the isolated repeat

The choice then remains whether or not to revert the crossings to match the HK pattern. One way to do that is simply to reverse positions for colors. The mantra becomes “red moves first, green moves second and over red”.

With all machines, if the knit carriage is left set for normal knit, even if the patterning option is engaged (KCI or KCII if there are any needles out of work) needles will be selected, but the fabric produced is stocking stitch. The usual considerations are in order: the number viewed on the card outside the machine corresponds to the design row being read by the reader, but the punchcard holes in view are not necessarily the same as the design row selected. Because one is producing the cables on the purl side of the knit, if hand knitting charts are used the cables themselves will be mirrored. In many instances, this may not matter, but if one is using the twists for representational crosses ie. in trees, owls, diamonds, and other geometric shapes, it is a good idea to scan the repeat, mirror the image vertically, and then begin translating it into machine knit interpretations. Relatively easy with simple scanning and printing software (ie. the flip horizontal function in Preview, a bit harder by hand.

When I can I color code my cards: ie. with lace I draw a line across the card when I reach each knit row sequence with a color pencil. This provides me with an easy-to-follow visual cue as to when the rows must occur, and also facilitates returning to the previous selection sequence when mistakes in patterning occur.

Some basics: with a punchcard, there is no row length limitation, but repeats are limited to 24 or a factor thereof. In this particular use wherever needles are selected, one has a visual reminder to move those needles in the desired direction.

I used the cards below to illustrate the idea in my intro to knitting classes. When needle selection occurs in the first, remove the selected stitches off the machine with a 3 prong tool in each desired location, then insert a second 3 prong tool back through the front of those same stitches, in turn removing from the initial tool used. Rotate the twice transferred stitches 180 degrees consistently either clockwise or counter-clockwise throughout, and return them to their original position on the needle bed. The result is a consistently textured fabric with no counting stitches or rows between repeats.

a swatch using it

This card begins to address regular cable crossings, mine was punched in repeat the full 60 rows. Color may be assigned to help with opposing twists’ directions ie. to left (pink) or to right (green) when the corresponding color bar appears just above the card reader.


The wonders of blocking

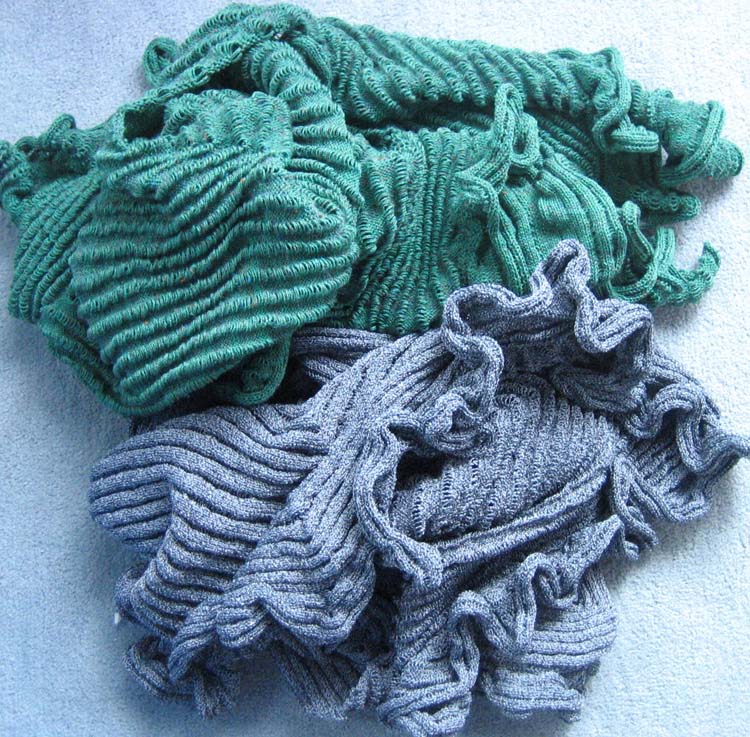
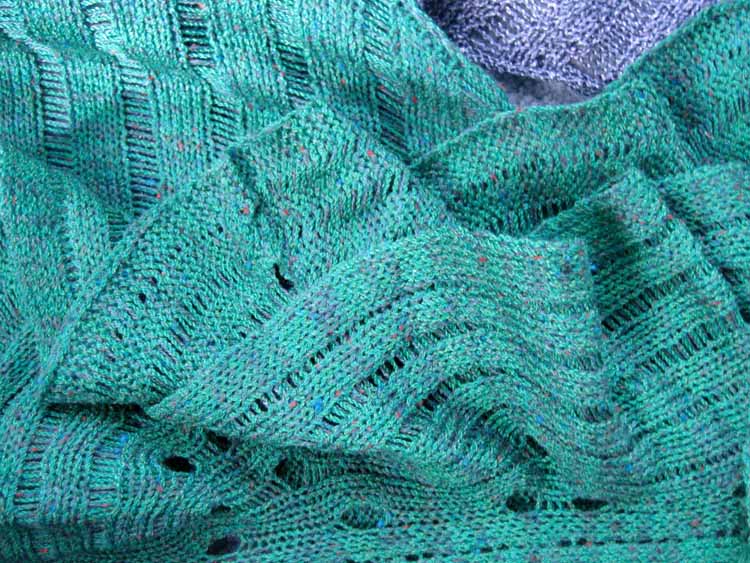
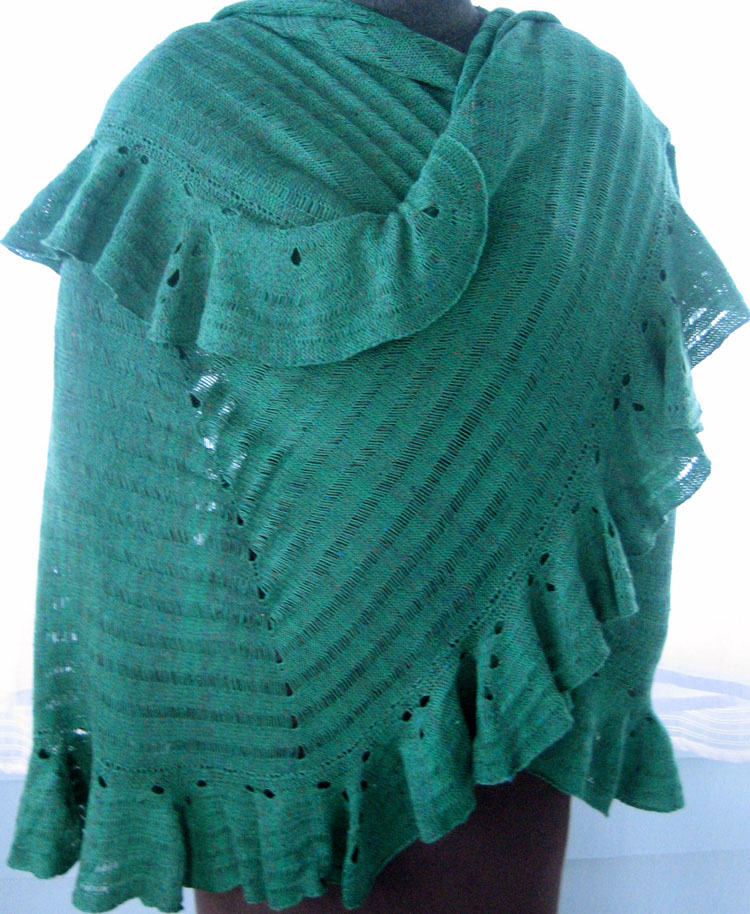
Blocking is one of those knitting preferences that can arouse strong pro/con arguments, and goes the range from casual to nearly compulsive with wires, pins, and assorted tools used to achieve desired results. My shawls continue to sell well: the photos below illustrate part of the process and 2 of the most recent in their family. All shaping and joining are achieved through the knitting process; the shawls are reversible, may be worn and draped in a  variety of ways.

before steaming and pressing

unblocked1

detail shot after steaming/pressing

blocked1

one way to wear, purl side facing out

shawl1