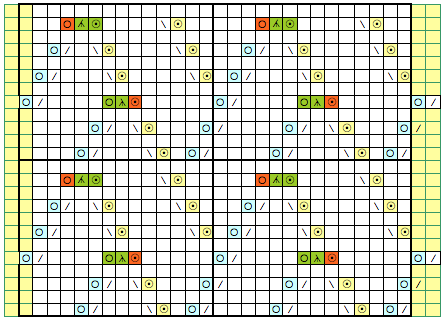
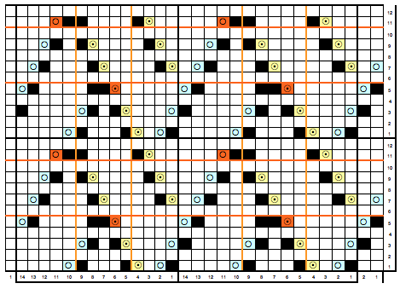
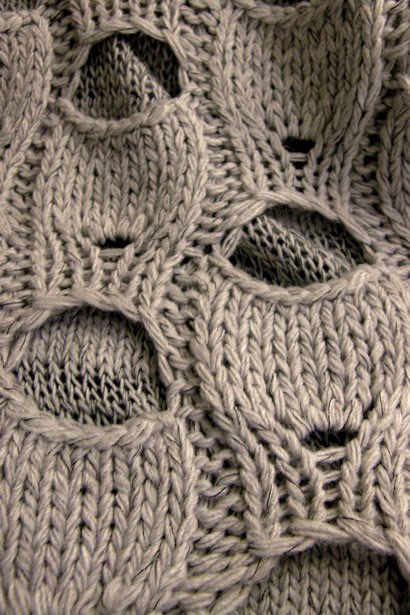
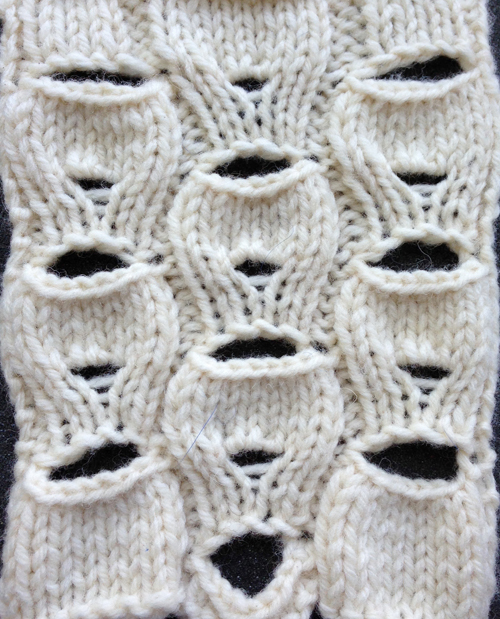
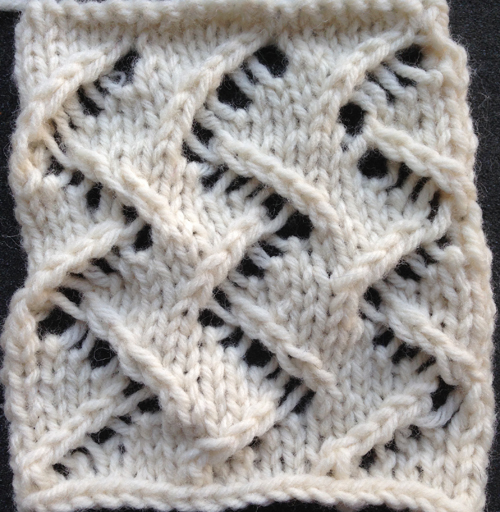
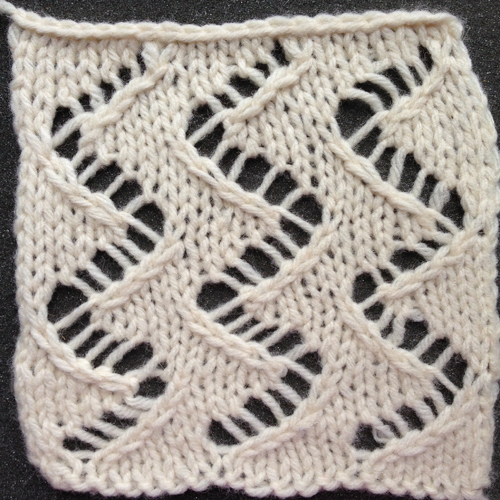
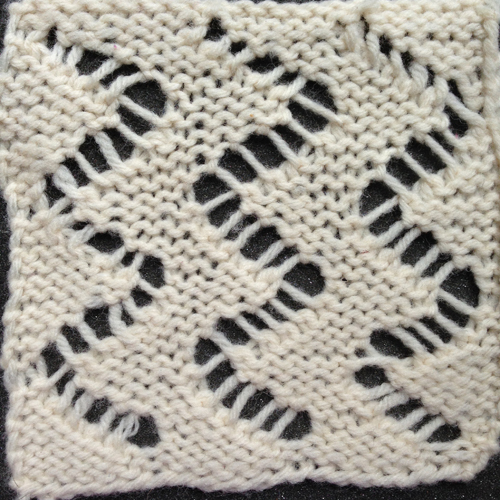
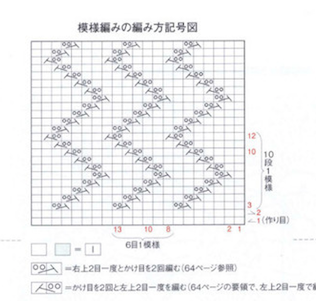
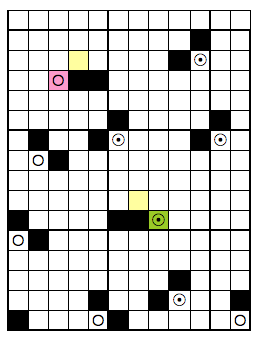
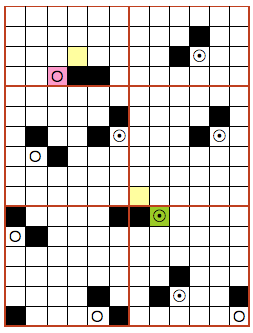
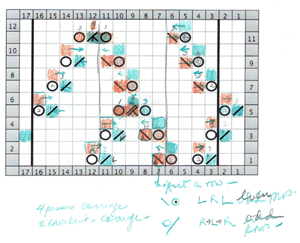
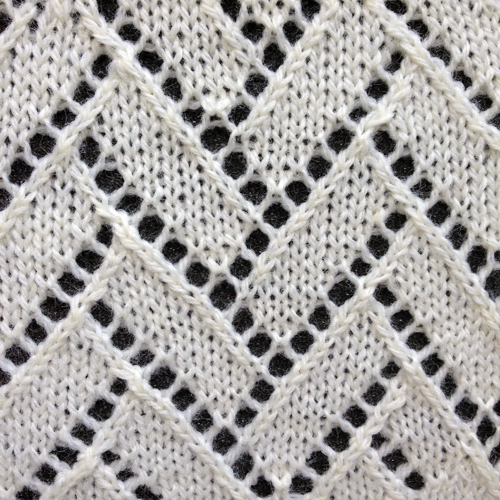
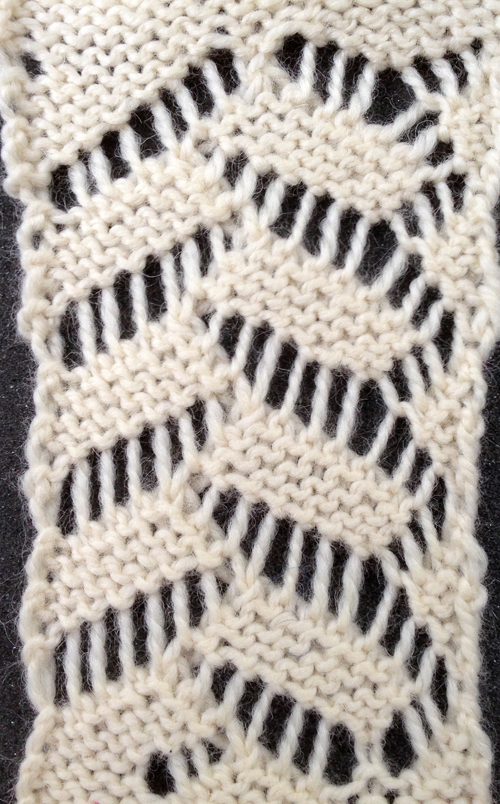
These pattern repeats may become quite large, and are suitable for designing and downloading with software. Testing repeats in a small section to start with insures methods and accuracy when planning the larger ones. Here I would prefer a wider, brick repeat, however, I am working with mylar on a 910 so in this test, settled for a vertical repeat, the result is shown below. The pattern reminds me of shadow knits.
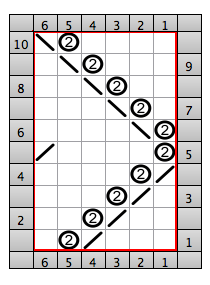
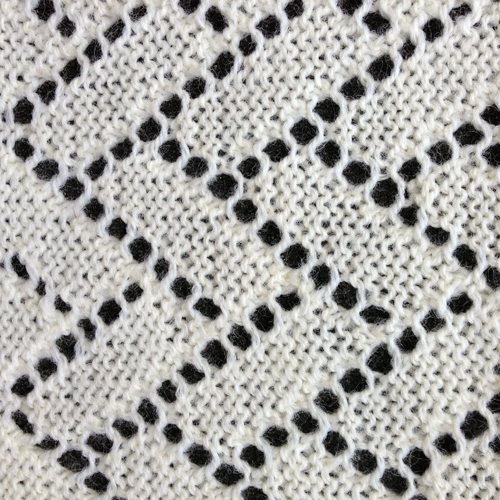
knit side 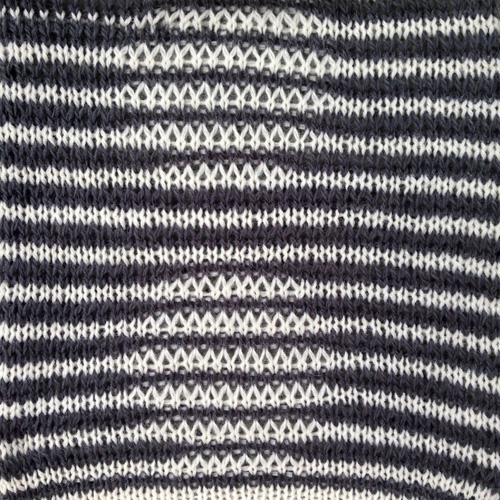 purl side
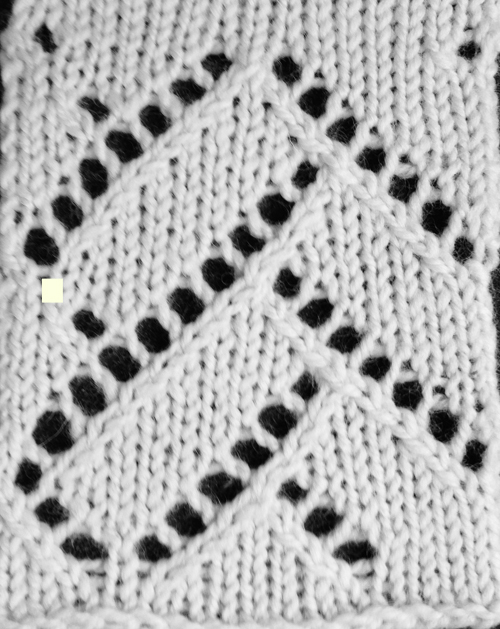
 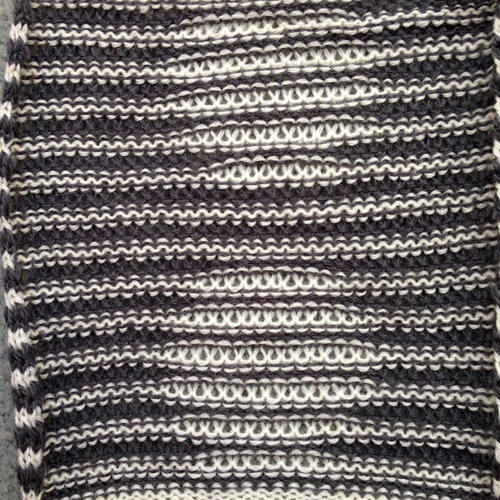 purl side, as it would appear in a sideways knit
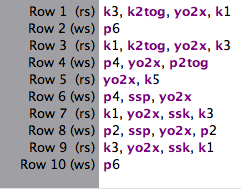
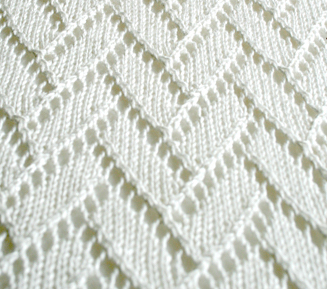
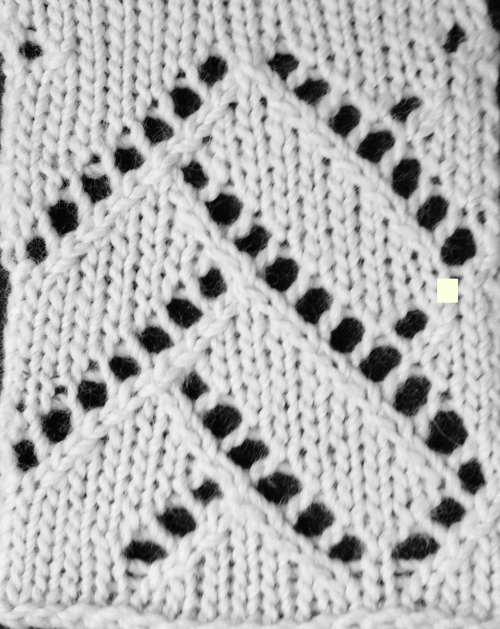
 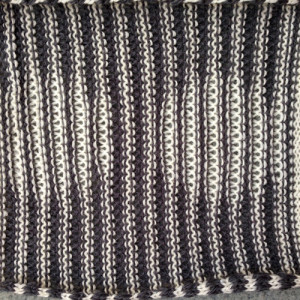 charting things out
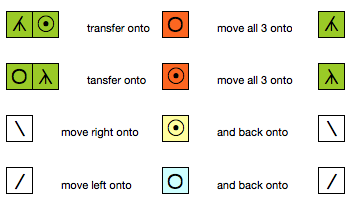
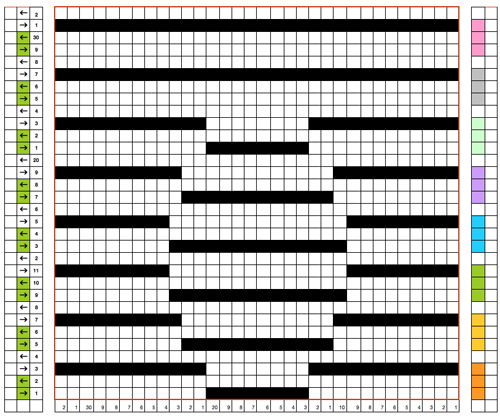
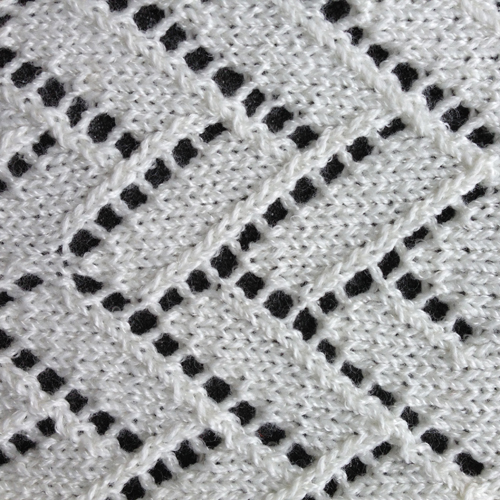
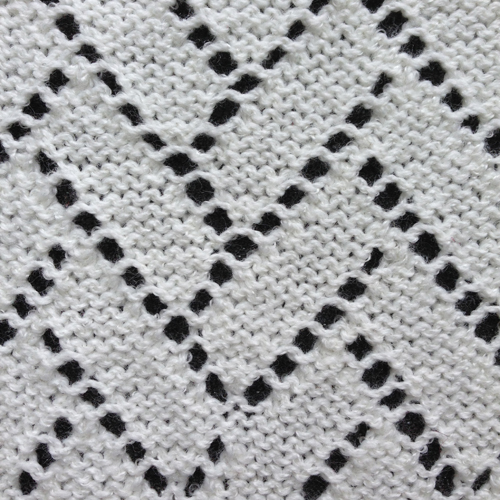
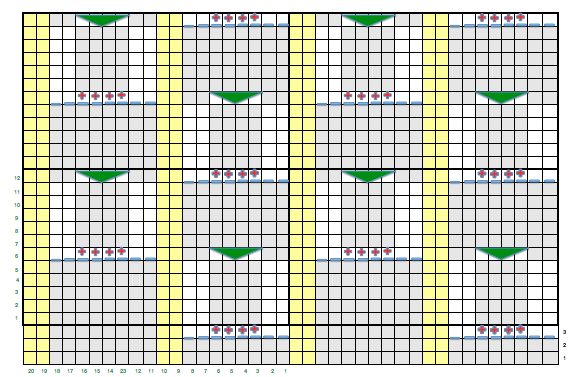
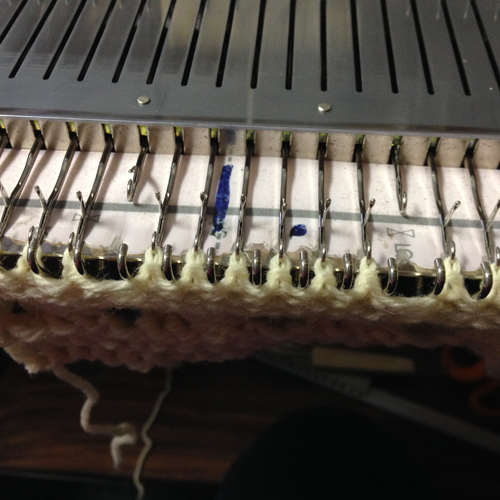
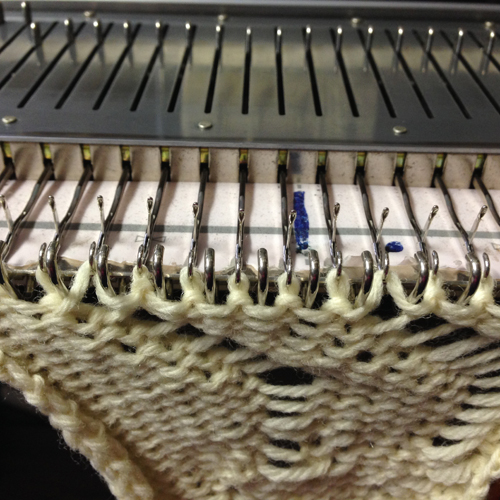
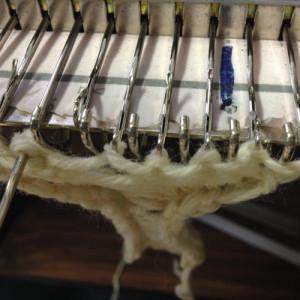
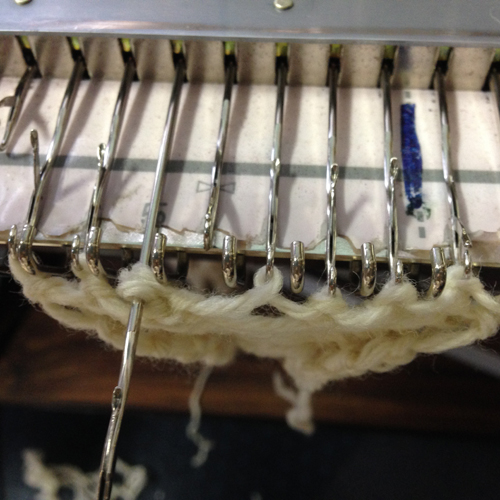
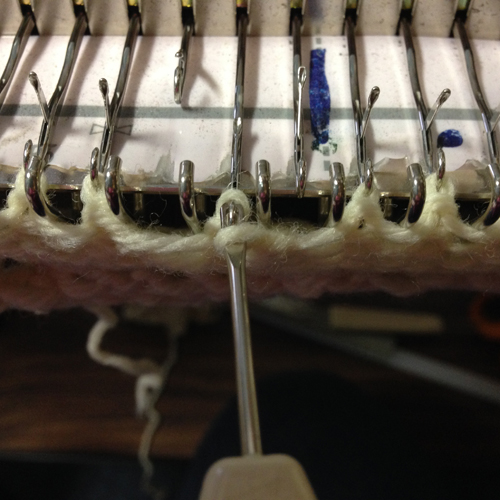
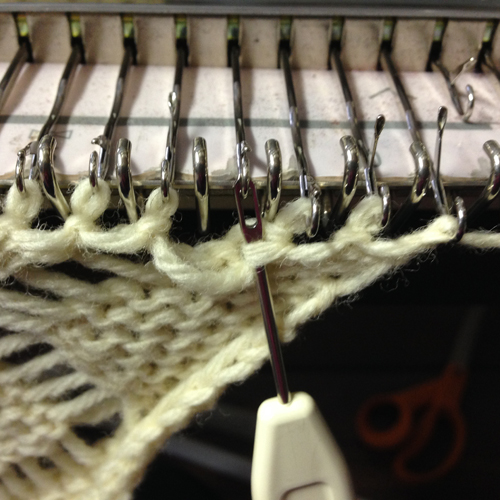
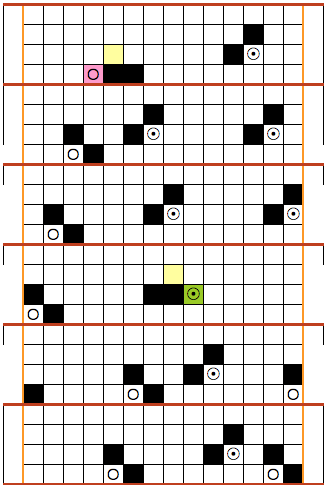
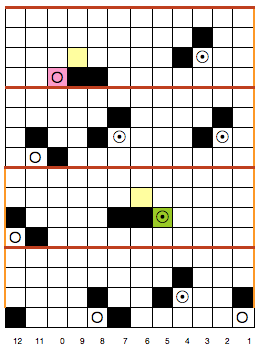
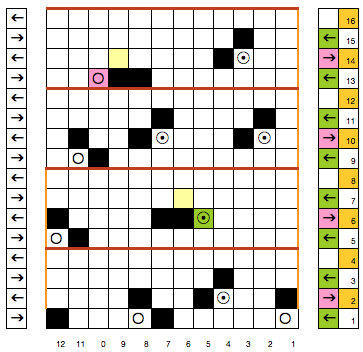
As it stands, the repeat is 32 stitches wide, 32 rows high. The colored 3-row segments on right, if collapsed would result in an all-black row, with no overlap. Colors are changed every 2 rows unless the repeat is designed differently. Care is needed on the color changer side, making certain both colors are not picked up together as the color is changed, resulting in the ribber knitting both yarns together. KCII is used, canceling needle selection. An extra needle is put into work at each end on the main bed. This fabric widens considerably, so casting on and binding off need special consideration. Before pattern knitting starts, all stitches must be on the ribber bed alone, with needles in work, but empty, on the main bed.
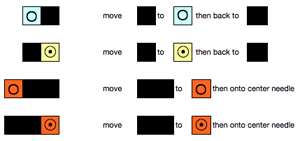
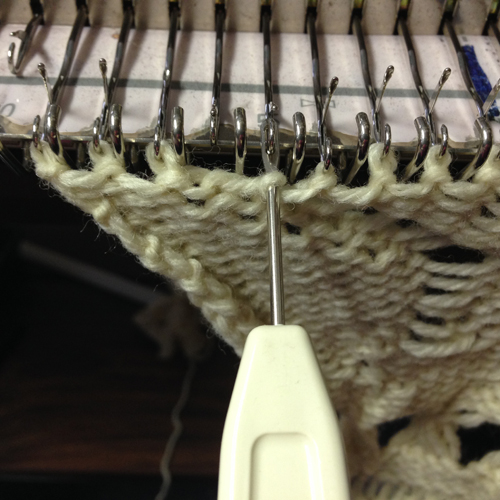
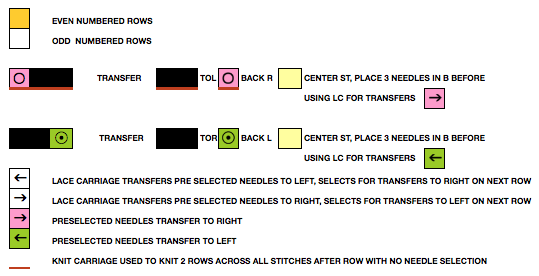
I chose to knit my swatch with a first-row selection from left to right. The KC is set to slip in both directions, the ribber N/N throughout. This knits all stitches on the ribber, selects needles for main bed stitches to be knit on the next row. On RC 2, selected stitches will knit, while preselection for the next row will place all main bed needles in B position as the carriage moves to the left, leaving them ready to get “dropped”. Use your tool of choice to drop stitches and return them to the B position once again. Color is changed, and the sequence repeats.
Previous blog posts on the topic: 2 colors per row, Japanese machines, on the Passap, an edging, stitch dropping tools, and occasional bits of info in other threads, ie. on drop stitch “bubbles”.
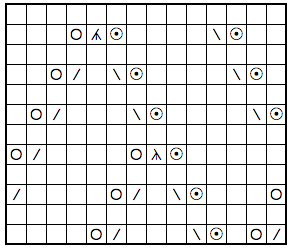
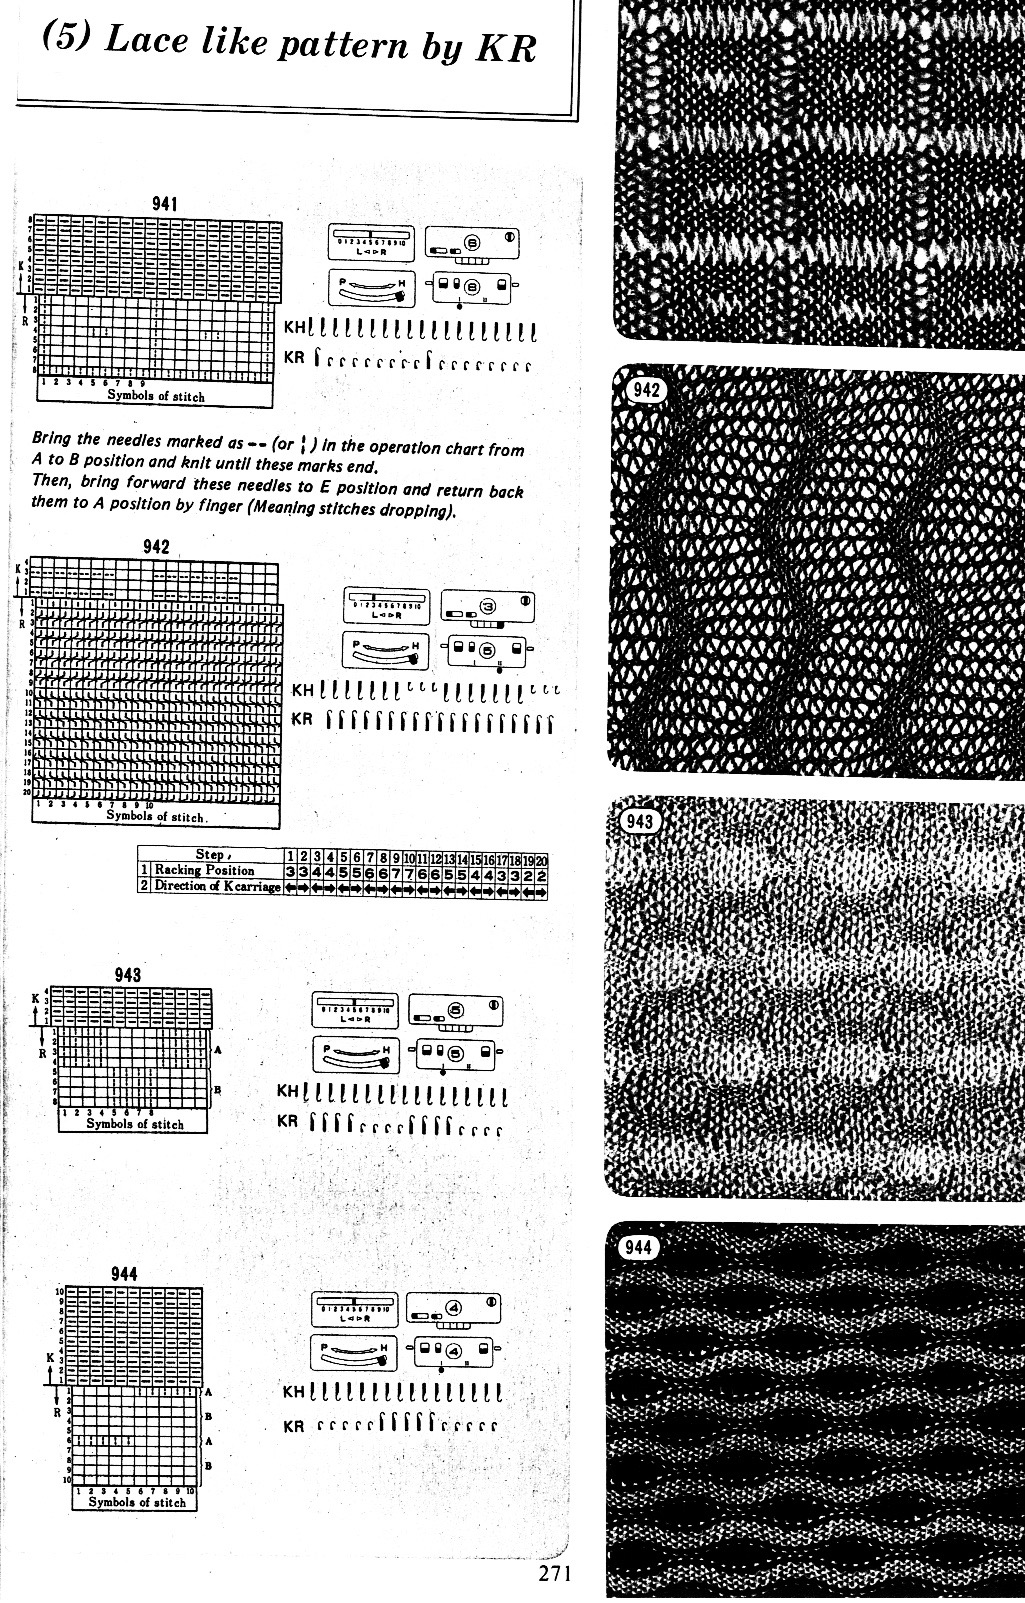
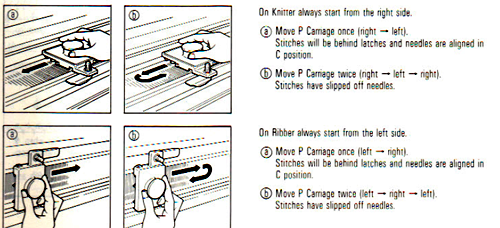
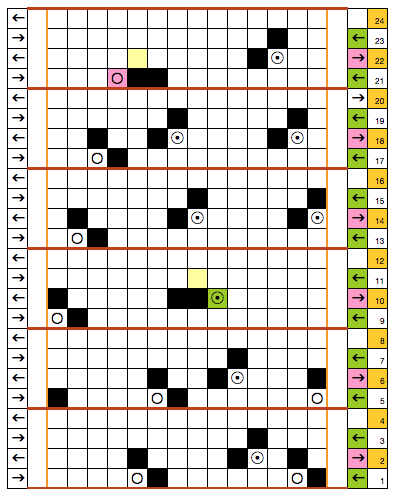
I prefer to automate needle selection whenever possible. Published material often requires hand techniques. Some samples are readily available for inspiration: the first image shows basic settings and some variations from the Brother pattern books. Stitches to be dropped are created on the ribber. Pattern 942 may be released at end of knitting. Cards (or mylars) may be marked to track racking handle positions, addressed in my previous post: 2015/11/07/unconventional-uses-for-punchcards-1/, or rows marked in color for other repetitive functions
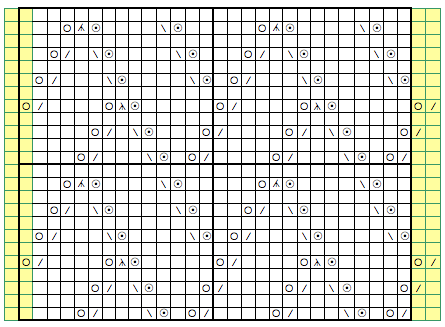
 from the ribber techniques book page 23:
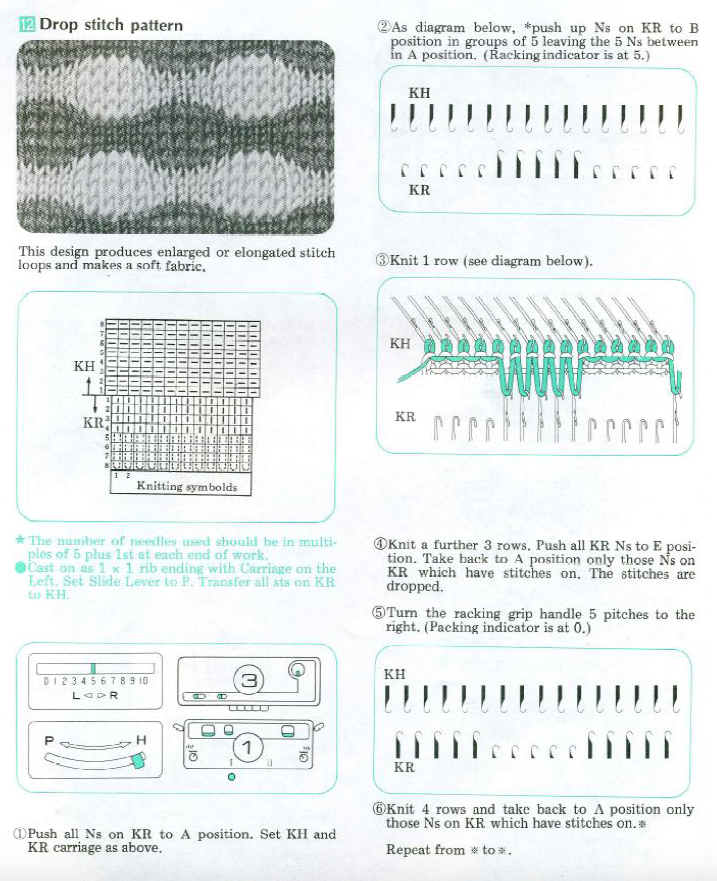 For a cumulative list of related posts please see: 2017/11/04/revisiting-drop-release-stitch-lace/
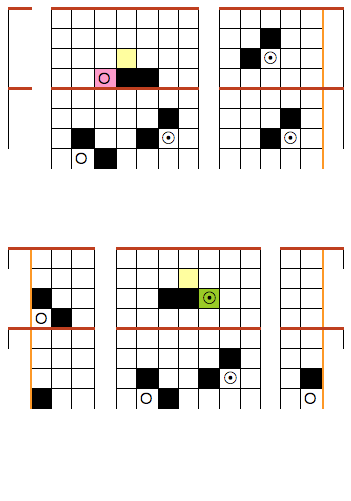

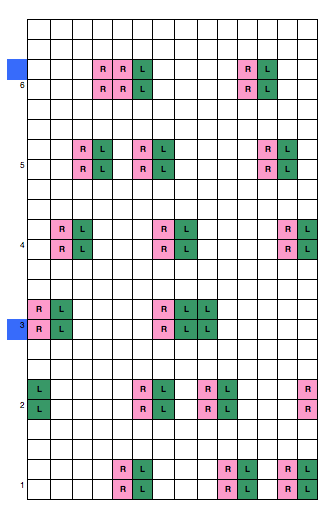

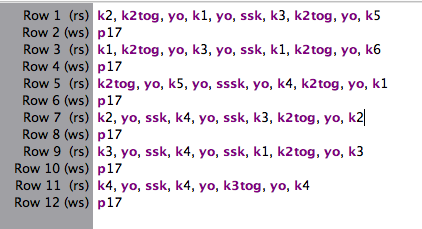
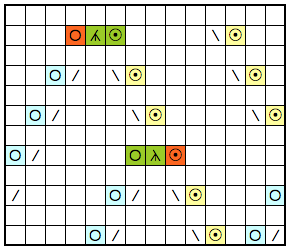
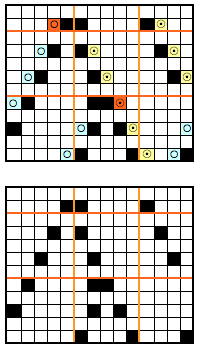
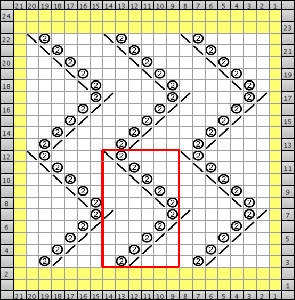
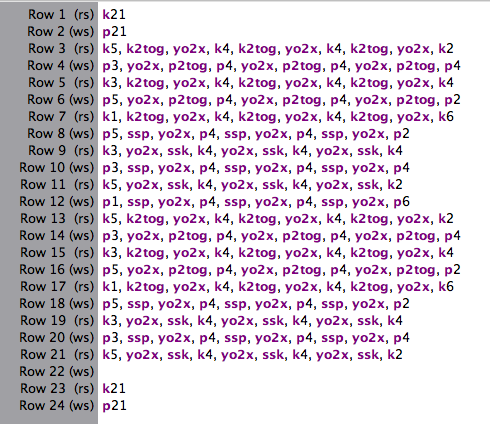
 looking at charting differently, back to Excel: single repeat