The goal is to produce a large-scale mesh without hand techniques or extra steps.
In both slip and tuck, every punched hole, black square in mylar, or pixel in electronic downloads that bring a needle out to D position (for some unfathomable reason Brother needle positions go A, B, D, E, poor C got skipped) will result in a knit stitch. In the slip setting the non selected needles get skipped creating floats, while in the tuck setting, the non selected needles will hold a loop in the needle hook until that needle is returned to the D position. Side-by-side loops are troublesome in any stitch type. That said, tuck can be employed to sequentially lay down loops in some patterns where the lace carriage moves to produce side by side empty needles as part of the planned design.
The usual caution with such fabrics: extension rails must be used since both carriages engage the belt. The yarn needs to be “friendly” enough to not break easily. Since stitches travel across a wider gap than in single eyelet lace, the tension needs to be looser as well. Small changes can make a big difference, and so can patience. If end stitches are selected prior to the lace carriage making the next row of transfers, push them back to B manually so as not to produce decreases or dropped stitches.
Working the punchcard on a punchcard machine: 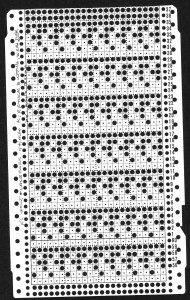
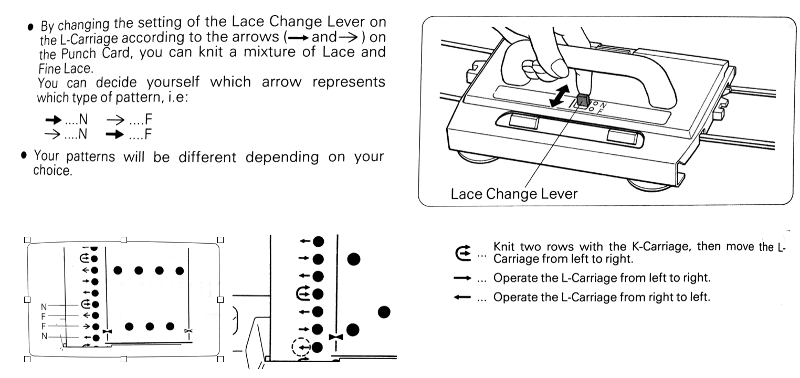
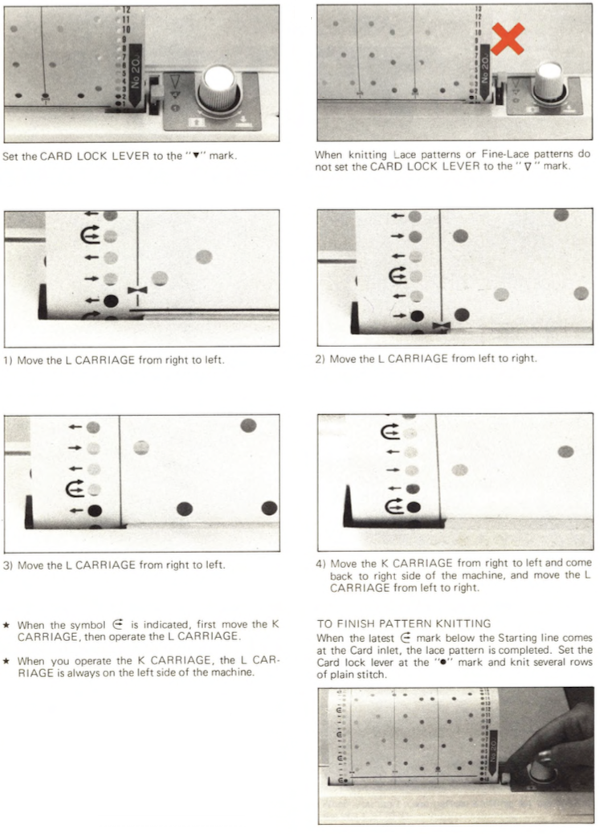
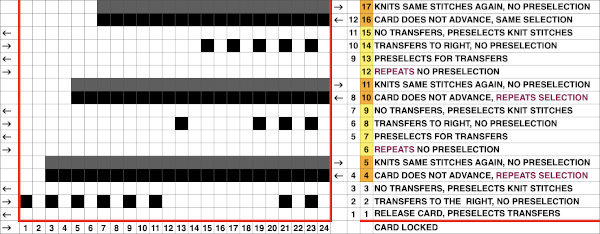
The lace carriage is set for normal lace, preselects the first row of knitting with the punchcard not locked on its first pass to the right. The KH carriage is set on KC I with both tuck buttons depressed. Each carriage works in sequences of 4 passes throughout.
Actions performed by the carriages as they make their next pass to the opposite side:
Lace carriage
COL: moves to the right with no preselection
COR: no transfers, preselects for transfers to the right
COL: transfers to the right, preselects transfers to the left
COR: transfers to the left, preselects for the first tuck row. There will be 3 single needles with 3 stitches on each of them and two empty needles on each side
Knit carriage:
COR: knits first tuck row, makes the same preselection
COL: knits second tuck row, preselect the next tuck row, on a different needle position
COR: knits third tuck row, in the alternate location, preselects for all knit row
COL: knits all stitches, preselects blank row
Some observations: the top bind off as seen in the swatch below, was tight for the fabric. To maximize its width, the bind-off should be around at least 2 gate pegs, even 3 if needed. This allows for completing the task on the machine without adding more work and adding hand techniques. Tuck stitch produces a knit that tends to be short and wide, lace wants to open up with blocking as well, so this fabric definitely will want to spread. The top approximate 1/3 of the swatch below was kit using the same white yarn but in standard single needle mesh, making the size difference in “holes” created with the tuck method easy to see. The white is a 2/8 wool, the other a 16/2 mystery fiber I usually use as waste yarn.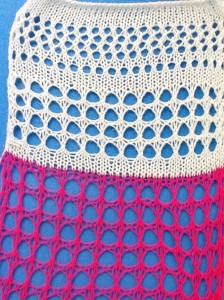
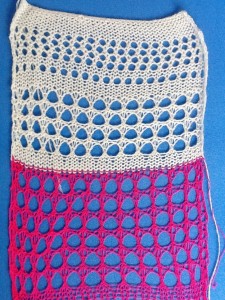
For me this experiment will probably fall in the “now that I’ve done it, broken several rules, and have a good result I am over it” category.
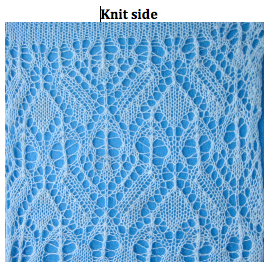
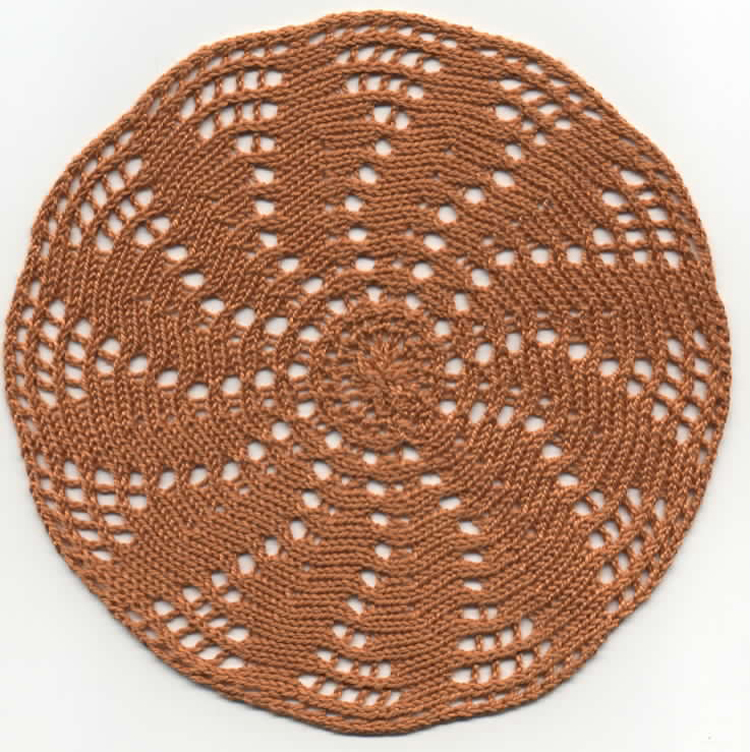
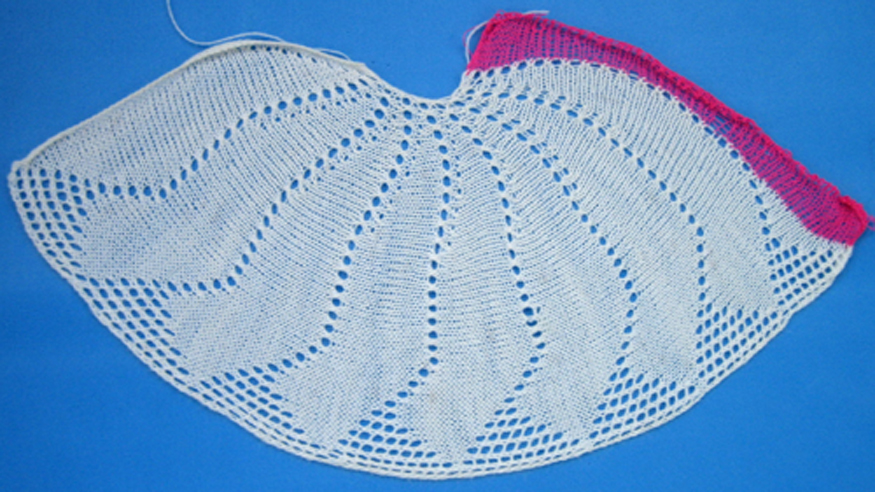
 Any circular knit that is shaped with sideways holding segments will need to be seamed when completed. Taking that into account, at least one row is knit with “doily” yarn from left to right after several rows are knit in waste-yarn before the transfers to create open stitches are begun. It is a personal choice and preference whether upon completion of the required number of segments to join by rehanging open stitches and binding off on the machine or grafting (the method I prefer) with the work off the machine after several rows of waste yarn and dropping the work off the KM.
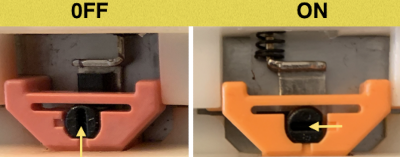
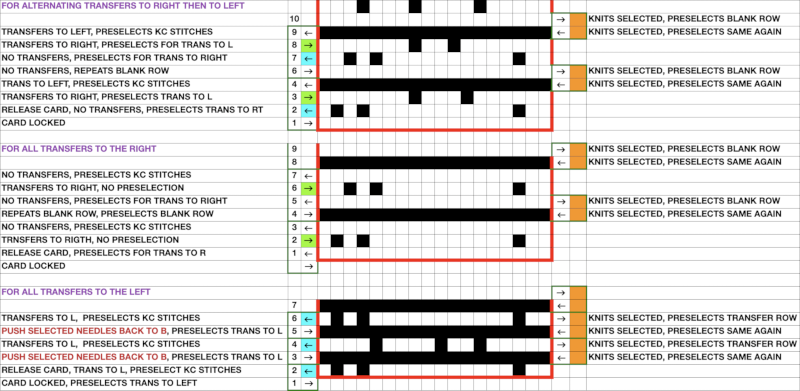 Beginmomg with the LC on the left, the end needle selection is canceled. The two positions in LCs for both punchcard and electronic KMs
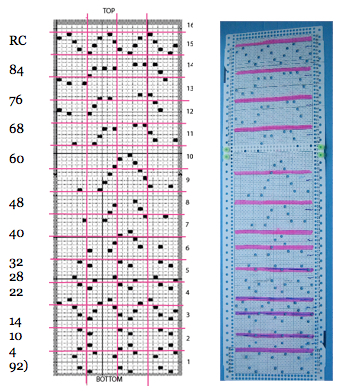
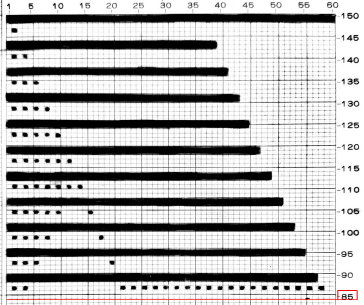
 Back in 2002 exchanges with a fellow member of an Australian Yahoo Group, OzMKers, led to her final edit of this half punchcard repeat for the test doily. All transfers are in the same direction, to the right
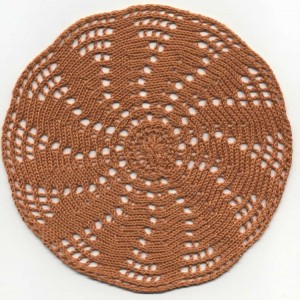
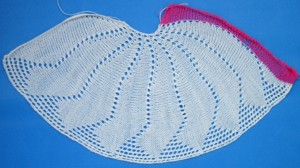
 A 24 stitch sample, knit in cotton yarn. The center of the circle needs to be managed as opposed to simply gathering it in order to keep the finished shape flat.
 It is possible for the lace carriage to transfer while at the same time preselecting every needle to be knit by the next pass of the knit carriage from the opposite side. An expanded view of part of the repeat:
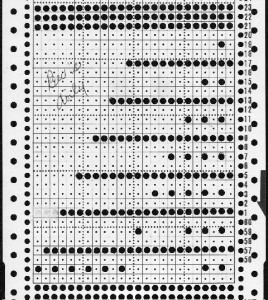
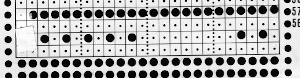
 In order to get the repeat working properly, I found I needed to edit out one of the punched holes at the start of each repeat, revised card
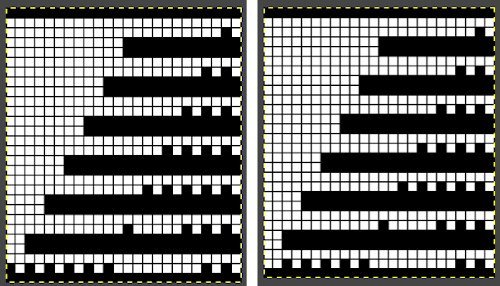 If drawing on the back of mylar for use on the 910, either image may be drawn as is, with the number 1 pattern case “A” selector reverse lever to up position.
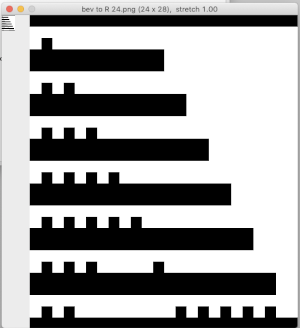
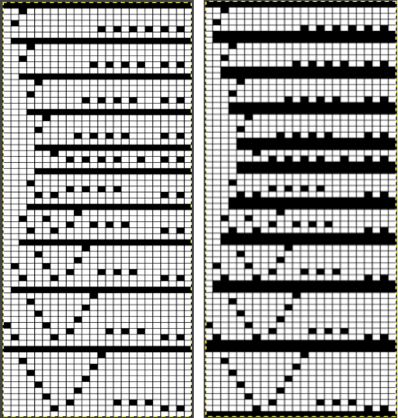
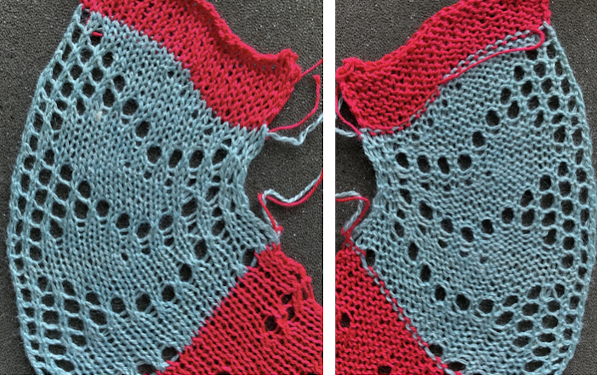 In turn, this repeat as given was used in 2020 for a pattern test on my 930 for all transfers to the left. Note: here the knit stitch black pixels are followed by a blank row, and the transfer marks occur on design row 3, directly below the next series of all black pixels
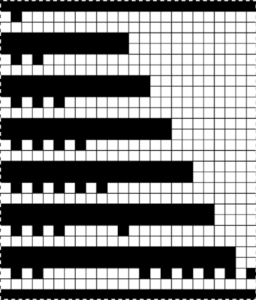 Depending on the machine model, the .png for the repeat may, in turn, need to be mirrored horizontally.
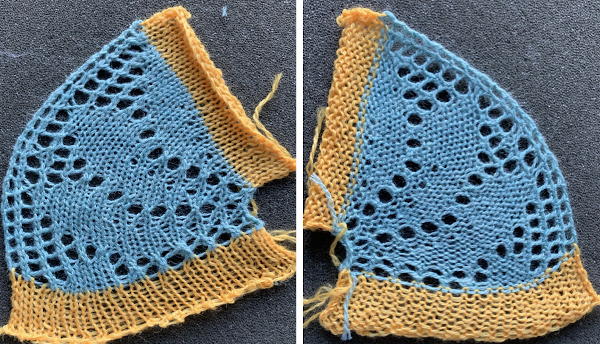 A 40-stitch adaptation from the Bond site to try
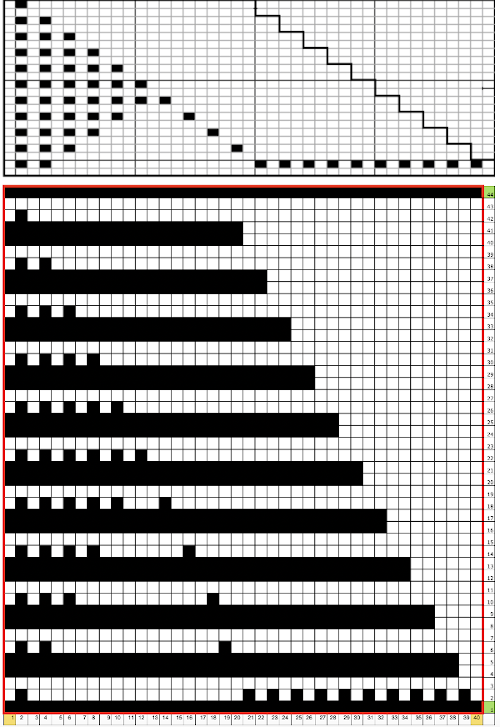
 The electronic repeat as drawn on the mylar,

 Subsequent posts on knit edgings: