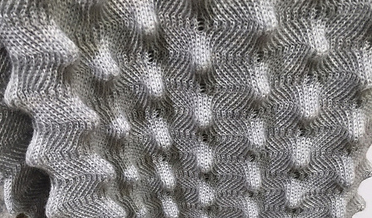
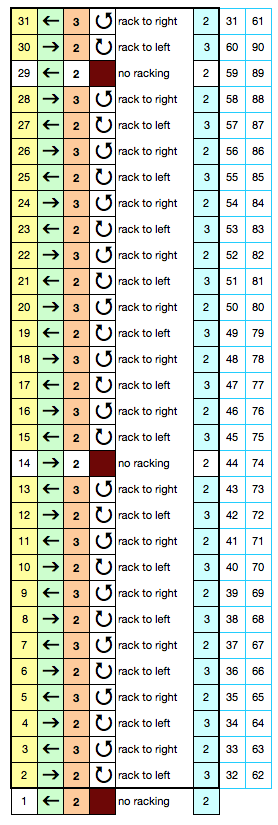
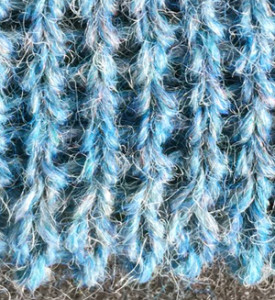
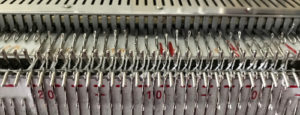
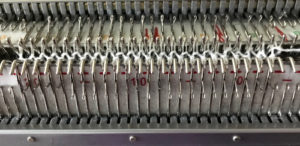
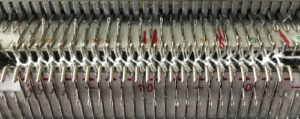
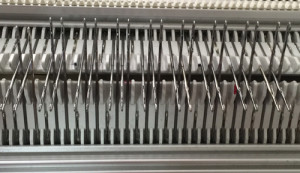
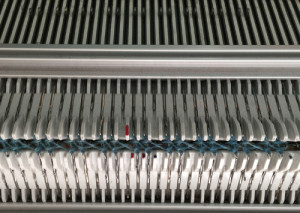
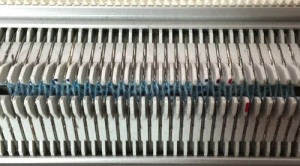
Transitions in ribbing from EON to FNR fabrics

It is always helpful to use a familiar yarn when testing techniques and to have some idea what baseline tensions produce each desired fabric before combining fabric types, structures, and techniques. This will ensure that the knit result will be both manageable to produce, and will match your desired concept.
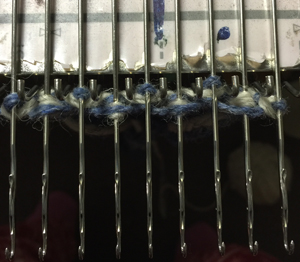
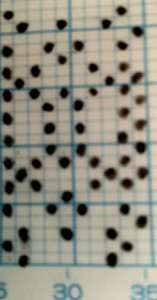
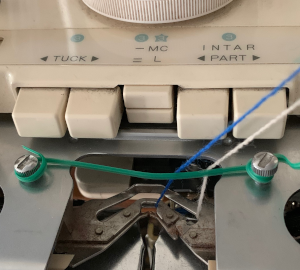
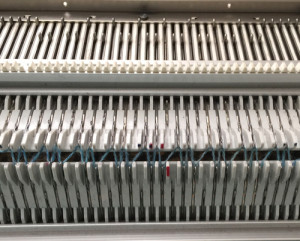
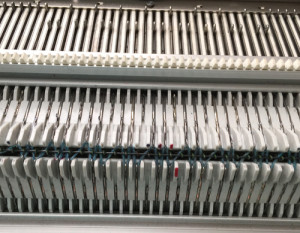
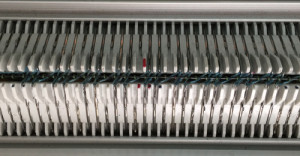
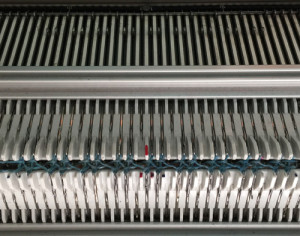
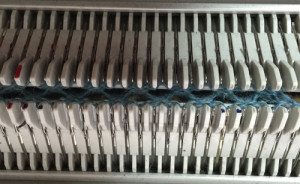
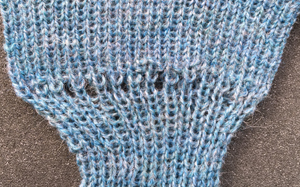
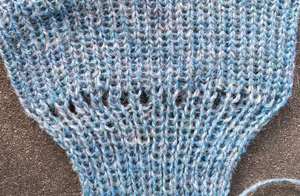
Any time an empty needle is brought in to work, the first knit pass will create a loop on the empty needle; the second pass will form a full stitch, resulting in a hole. This is seen in lace transfers or when bringing empty needles into work closes single ladder spaces.
Use garment yarn double thickness in the EON needle rib if the aim is to produce DBJ, which will yield a different thickness knit. Test for other fabrics ie patterned English rib, etc. Swatching is worth the effort, avoids producing whole pieces where combined results are disappointing.

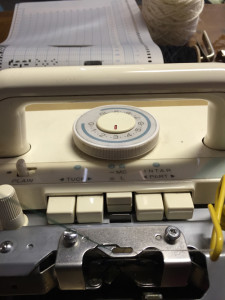
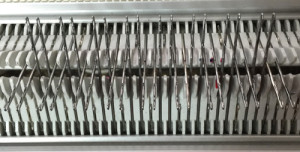
EON rib set up for your brand machine
Knit 20+ rows
End and begin the test with COR; trim off one yarn end, to be woven in using your favorite method
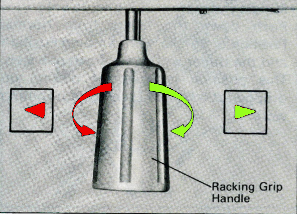
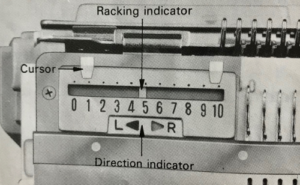
Racking handle at half pitch
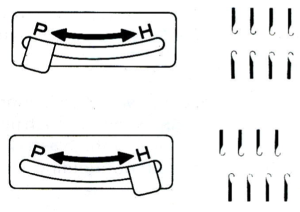
Bring all needles into work both beds
Observe the needle rule appropriate for your double bed fabric Set both carriages or locks to tuck
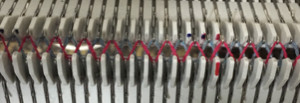
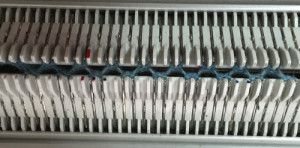
Reduce stitch size tensions by one whole number, knit one row, which will produce a “zigzag” across all needles, with a loop on each needle, both beds
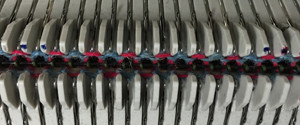
Set both carriages to knit circular; this will be a slipstitch, tension may need to be loosened by one number to accommodate the added yarn, knit 2 or 4 rows
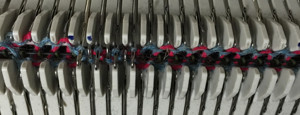
Set both carriages to knit, enlarge stitch size one or 2 numbers if needed, knit one row
Proceed as required for pattern

Depending on which direction your first row of “garment” fabric needs to be selected if using a color changer, planning for that may affect which side of the machine needs to be your final location before knitting the first row of pattern.

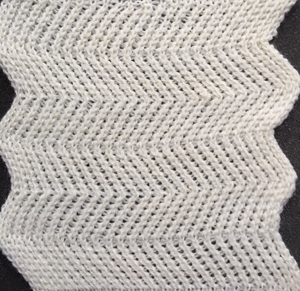
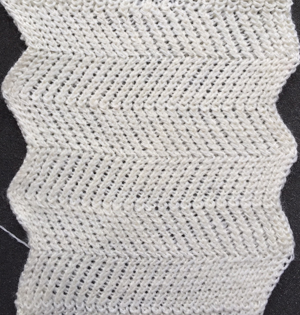
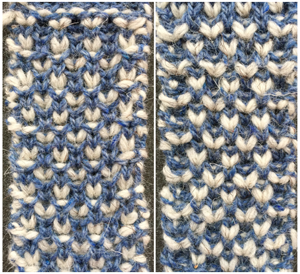
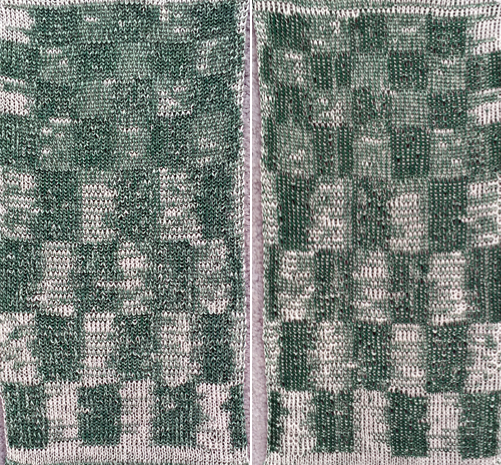
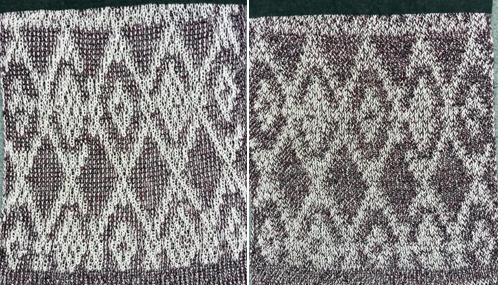
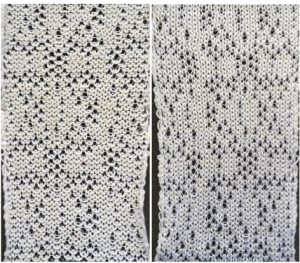
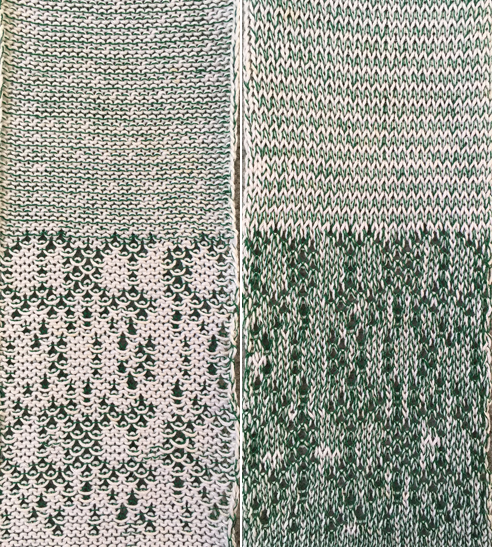
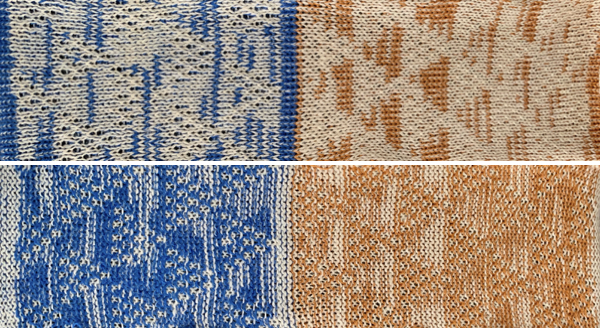
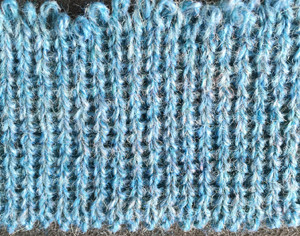
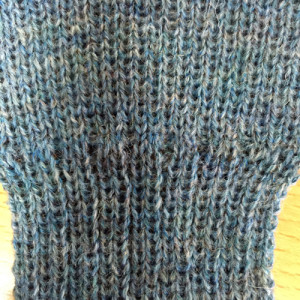
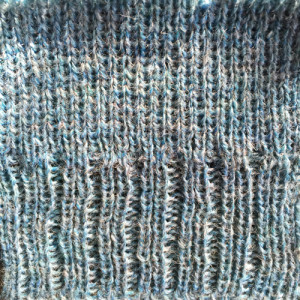
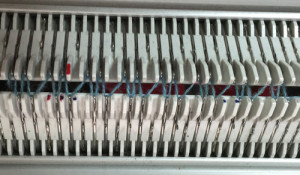
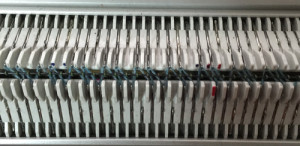
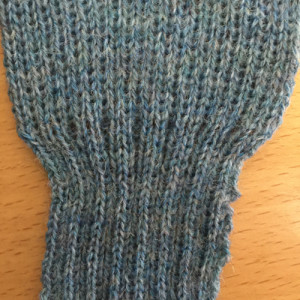
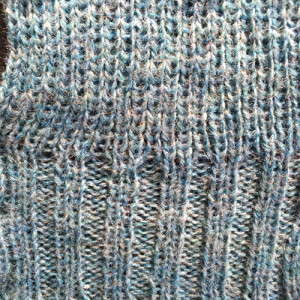
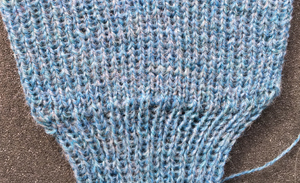
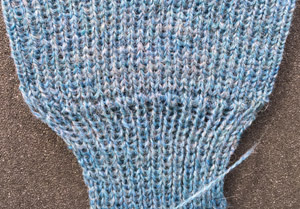
The swatches below illustrate the transitions, are in their “just off the machine” state. I used the same tension throughout. The EOR rib was knit single strand, the resulting difference in width is easily seen, though the density difference is obviously not observable in a photo.  The yarn used is one of my “throw-away” acrylic/ wool blends.

side 1 “holes”
holes frontside 1 “no holes”no hole frontside 2 “holes”holes_backside 2 “no holes”no hole back

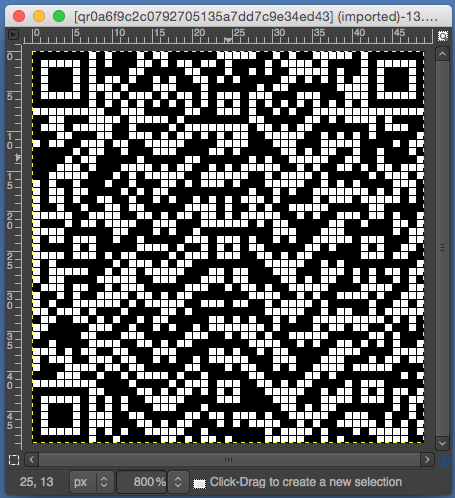
QR codes for knitting (2) or other textile techniques: “happy holidays” a few ways

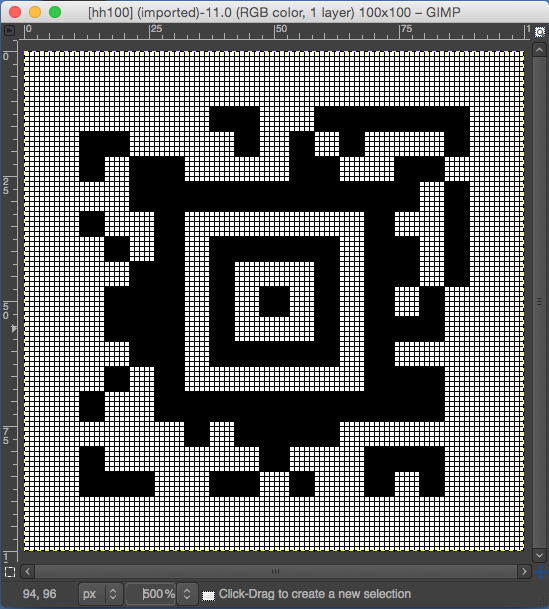
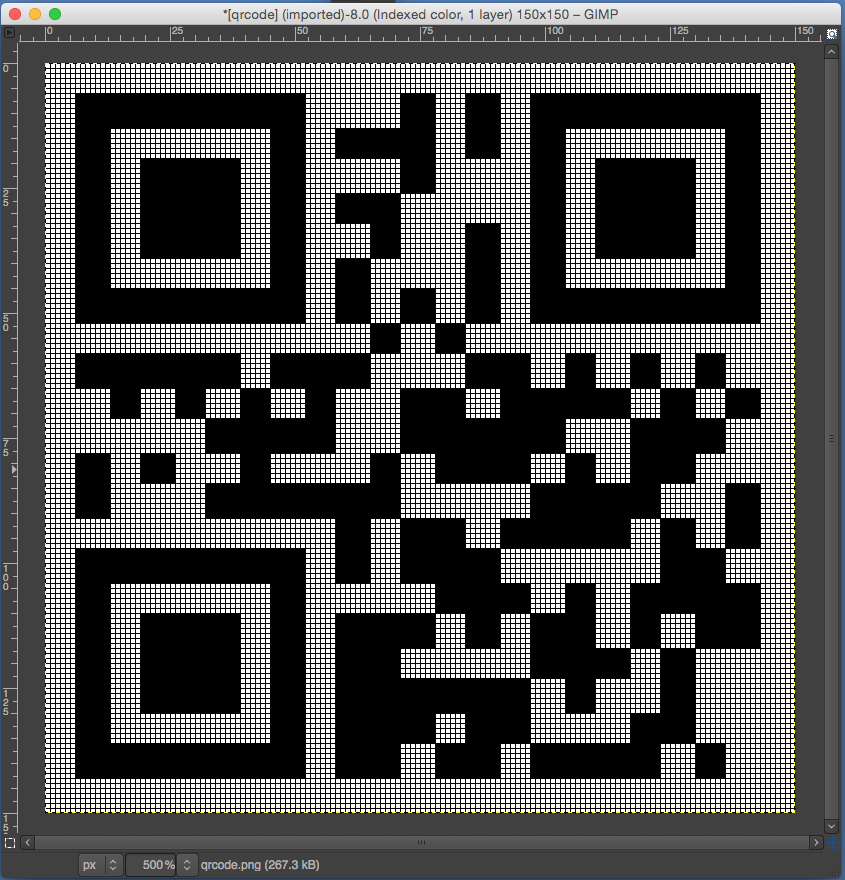
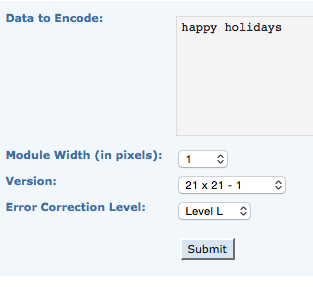
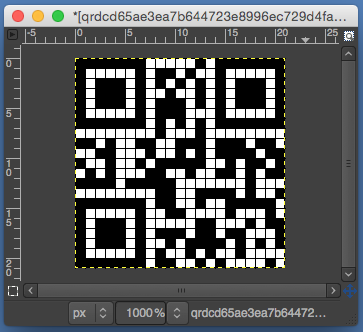
I reviewed, edited, and added information to an earlier blog post on QR codes and knitting earlier today. The results from the same steps in processing the generated images may be applied to any fiber technique which results from using counted, single units.  In light of the coming season, I thought I would offer some “happy holidays” variants. In assembling them, I found an additional free online generator that allows for far more control on output code pixel dimensions than others I have previously experimented with.

Aztec (smallest unit possible 100 pixels square)QRA100onto the morovia website the “blanket” size QR150 getting back to knittable, less than punchcard width screenshot_45QR21a less than 50 wide repeat for mylar, and surprise!screenshot_53QR49

Unconventional uses for punchcards 1: tracking racking positions in ribbed fabric

In a long-ago post I shared the punchcard image below. The card is used double length throughout. Cast on in your favorite method.  “Memorize” the first row of pattern, set card to advance EOR, set KC to tuck in both directions, set RC (ribber carriage) for normal knitting throughout. This is a racked pattern. The numbers to the right of the card are for the racking position on each visible row (takes into consideration your eyes can view card 7 rows above card reader teeth). There are only 2 positions in this card as written, 4 and 5, so the results are vertical columns in a textured rib

checkerboardthe corresponding swatch, both sides are shown 

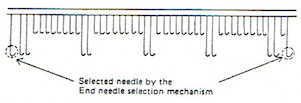
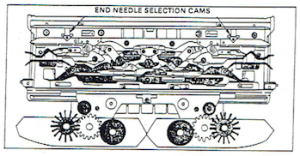
The tracking for the racking sequencing may be created for any punchcard, whether punched holes are required in the card for patterning or not. The image below is taken from the Brother Ribber Techniques Book. If KC is used, no holes are punched, and the carriage is set to plain knit, though the card advances, all needles knit. End needle selection is not a factor. page 17

the racking handle movement repeat isolatedworking repeat

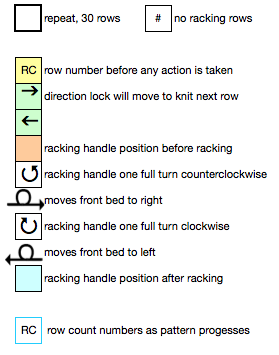
In the card, for use on Brother, the first row of the repeat with the machine on racking position 10 would be placed on row one pre-marked position found on stock brother blank cards. Always check markings for your machine. I have a roll purchased for Brother kms specifically that actually are stamped for Studio, with # 1 two rows below where it should be on right.  No holes need to be punched in this instance. Needles are brought into work and filled as illustrated on the ribber book page. Knit one row across stitches with the card set to advance normally. In this instance marking row numbers in preferred colors will indicate when the racking sequence changes direction. Green rows rack to left, orange to right. The racking handle position repeat is 20 rows high (shown on left), a minimum of 36 rows for the card to roll properly) is met by repeating it twice, and the “motif” is broken up to accommodate the fact that the reader is working on 7 rows below the row number visible on the machine exterior. Rows 34 and 35 would become the 2 every square punched rows always placed at the top of pattern cards. The blue numbers on right reflect the racking handle position for that row before the next row is knit. They can be marked on any blank square if the card is blank, or alongside existing row numbers as seen in the punchcard for the checkered swatch. It is helpful to have consistent habits if one needs to stop for any length of time ie. always knit row, rack to position or stop after knitting, rack upon return.whole card

The machine can be set for double length for racking after every 2 rows knit.

Using the method for cables and crossed stitches  (3 posts)

Lace cards on 260 bulky PDF

Working with generated mazes: GIMP charting 2

My previous posts on using gimp to generate charts and images suitable for knitting: 1, 2, 3, 4. I am working in Mac OS 10.10 now, so there may be some variations in results from earlier OS or for Windows versions users.

the edited repeat from the previous postcropped

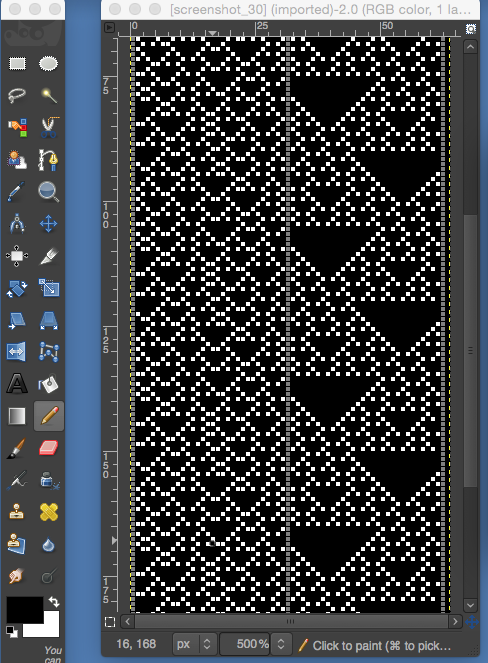
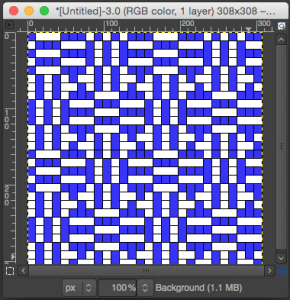
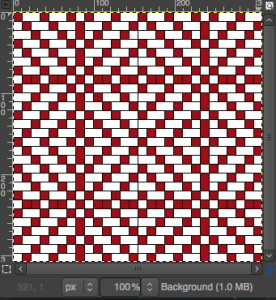
It is possible to knit this design in DBJ with the same separation as for knitting it as a maze, both are 2 color slip stitch patterns, the maze separation is less laborious. To process for use in DBJ, the image needs initially to be doubled in length. The easiest way to achieve this is to create a new gimp document, several times the size of the repeat, select and copy the corrected repeat, in turn pasting it in the new, larger canvas. I used 40 by 60; color 1 is red, color 2, white, most of my charting is done at 1,000 times magnification

copy and paste

drawing a vertical line in nonpertinent color to border areas having several rows with no second color present, as seen below, may help define end or start of selections when attempting to invert colors. Color invert may be achieved in RGB mode, not indexed. Below the inversion occurs on “even-numbered” every other row. The program in my OS now showed the previously red squares in blue, the alternate squares in black.

screenshot_16
After using color invert, nonpertinent color (blue) may be erased (using the pencil tool, each square on the grid is a single-pixel) as well as those yellow “border” squares. In the image below the black squares on the left represent all holes that will be punched out in the card. One drawback of this program, because of the scale using single pixels, is that no text to include row numbers etc. is possible. The final repeat is 10S X 44 R.
screenshot_24_DBJ

If one wants to avoid using double length in the automated machine settings, the image of holes to be punched may be doubled in length. To do so color mode needs to be changed to indexed (4 colors) to retain image clarity.screenshot_19

screenshot_20X2

 fabric knit in DBJ, long stitch on left, bird’s eye backing on right 500_2355

Maze and mosaic knitting, my previous posts: drawing motifs, from design to pattern (Excel), from pre-punched cards,  and references and pubs. The repeat worked out for slip stitch and edited down to 2 colors. Again, the black squares on the left represent all holes that will be punched out in the card.

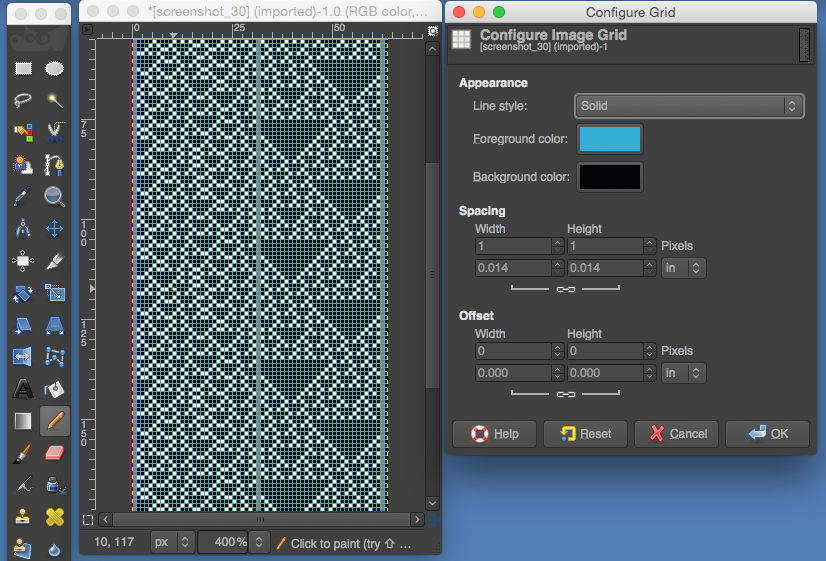
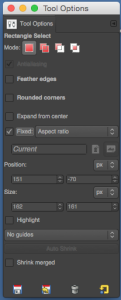
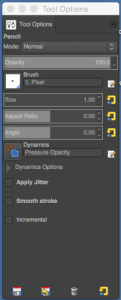
screenshot_21-mazeTo further mark the repeats in blocks, making charts easier to follow in absence of numbers, the subject of drawing straight lines comes up. Most of the online tutorials for using gimp are for its Windows version. The pencil tool may be used. Normally, tool options are displayed in a window attached under the Toolbox as soon as you activate a tool. If they are not (Mac), you can access them from the image menu bar through Windows → Dockable Windows → Tool Options, which opens the option window of the selected tool. In theory “Ctrl: this key changes the pencil to a Color PickerShift: This key places the pencil tool into straight line mode. Holding Shift while clicking Button 1 will generate a straight line. Consecutive clicks will continue drawing straight lines that originate from the end of the last line.” On my Mac, I worked out this method: first select color and pencil tool. Place a pencil dot where you want the line to start. If you press the shift key, a crosshair will appear, press the command key in turn as well for straight-line mode, click where you want the line to end. Consecutive clicks will continue drawing straight lines that originate from the end of the last line. Pressing both the shift and the command one at once after the initial pencil mark will call up the color picker and require a color selection and an OK.

windows: dockable itemswindows_dockable dialogues

gimp lines

separation for maze knitting 10S X 22R, elongate X2
maze_needsX2 borderknit as a single bed slip stitch, changing colors every 2 rows screenshot_01as dbj 500_2361

The dropped stitches were a problem when using the ribber on one of my two 910s, that adventure can be the topic for another post.

Working with generated mazes: GIMP charting 1

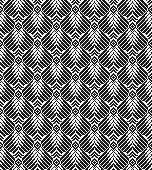
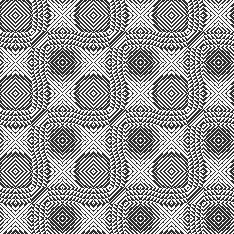
Laura Kroegler shares an online generator for “mosaics”unikatissima offers them for mazes and cellular automata. Representations of such patterns have cropped up in relation to hacked knitting machines and electronic downloads such as those seen in the Claire Williams blog, and in published information by Fabienne, who of late also has a Kickstarter project. Such patterns may be charted for hand knitting or for use on punch card machines once the size of the repeat is taken into consideration. Mirroring either vertically or horizontally can make the image far more interesting, but that has to be a consideration in planning if the stitch repeat has a constraint of a 24 stitch limit. A beginning unit 6 stitches wide will allow for the horizontal mirror to be repeated twice on the punchcard. The minimum punchcard length is 36 rows. The maximum scroll down to height in the Kroegler generator is 20, so for the least punching, an 18-row max would “fit”. The caveat here is that if the generated pattern is to be knit as DBJ or as a single bed slip stitch, those 18 rows need to be color separated accordingly. For the design to be charted out easily, it may be saved, and then in turn gridded in Photoshop or Gimp with the grid matching stitch size in the generated pattern preview (ie below note X and Y values are 5 X 5, so grid used would be 5 X 5 pixels as well).
After reviewing the tiled generated pattern, the image may be carefully captured from the screen and saved. I worked with an 8-stitch repeat for my tests. Below are screen grabs of the resulting patterns after some of the various options offered were tried. Mirroring this repeat horizontally makes it too wide for a punch card (16 X 2=32).

38_400

40_400

42_400

46_400

44_400

using a 5X5 grid after capturing a portion of another generated image, using a simple 8X8 repeat, outlining single repeats, thinking punchcard machinescreenshot_34

checking the result tiled to predict possible knit “look”screenshot_28

If working with a 6 stitch repeat, horizontal mirroring becomes possible for punchcard machines, perhaps making things more interesting; the program can generate a single repeat as a png, and punching holes is a drag so maybe length remains on the short side in anticipation of the punching holes and color separating for knitting the motif as either DBJ or single bed slip stitch, so here goes: having the generated image produced so each stitch and row is represented by a single pixel allows one to work within any program preset to superimpose a 1X1 grid:screenshot_07

screenshot_08my saved png, supposedly for an 8X12 repeat newgridded in gimp, revealed as  11W X 23 Hscreenshot_09

testing tiling: oops!screenshot_10

the trimmed repeat, eliminating double lines, 10 St W X 22 Rows Hcropped

tiled, looking closer to original, cropped_tiledand then there is the knitting of it if one chooses to do so as single bed  “floatless fair isle” as opposed to double bed dbj

For the latest version of gimp for Mac OS, version history may be found at the gimp website, for Mac Yosemite and Mavericks’ latest information on version 2.8.14.

2020: latest Gimp update for Mac, my Mac OS: Mojave 10.14.6, now swatch testing on a 930 with image2track cable and software, which allows for easy use of larger repeats. Newer thoughts and observations: the maze can be generated using only black and white. If all boxes for options are checked as seen below, there will be shifts in the overall design. A small, working BMP may be saved for download, but only part of the overall repeat will be selected by the generator. Quitting the generator, and opening it once more entering the same options will generate a new image, so saving and naming each is a good habit to form the BMP in Gimp, explored in two renditions, eliminating double lines The proof of concept swatch for the version on the right and knit in tuck stitch the double-length BMP ready for knitting,  14X68

One more, using different option selections the BMP in Gimp, explored in two renditions, eliminating double lines My latest process for the required color separation


A tale of 2 donuts

Gauge swatches are often the bane of many a machine knitter, as are math calculations. I have recently come across several instructions for hand knit donuts, embellished in a variety of ways, and was curious about turning the knit sideways in order to create a machine knit version. Yes, there are formulas for creating such shapes, but once in a while “winging it” on small projects may provide an easily achieved, workable result.

I began with the formula: 30 stitches in width, divided by 3 = 10; 5 stitches used to create held, narrowed bands at both sides, the 20 remaining stitches knitting throughout the length of the piece, for 20 wedges/ repeats.
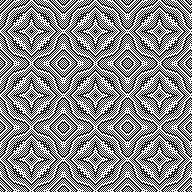
The method: cast on with waste yarn over 30 stitches, knit one row in “donut”  yarn; set the machine for hold; bring 3 needles opposite the carriage into hold, knit to the opposite side, repeat two times: bring 2 needles opposite the carriage into hold, knit to the opposite side, repeat two times; bring 5 needles into work opposite the carriage, knit across to the other side, repeat twice. At this point, all stitches will have been knit, begin sequence over again. This chart reflects 3 repeats, 30 stitches by 6 rows. Knitting begins on the left, and holding stitches begin with carriage on the right:DONUTS

A single repeat may be programmed into an electronic machine, knit with the carriage set to slip throughout, and with end-needle selection canceled (covered in previous posts).

When I taught courses in machine knitting, the first “garment” made after several weeks of swatching and learning the various stitches, was a “baby hat with earflaps”, with the proviso that the same directions had to be used by everyone in the class for stitches and rows, but each student was free to select yarn and stitch type. This often became the first lesson in the importance of gauge, with results varying in size from mini doll size “hats” to gigantic ones. For my donut versions, I used the same directions. The striped one is produced with a random sock yarn that gave my machine fits at tension 8, and produced a very tight fabric; the yellow is from a good quality 2/8 wool at the same tension, resulting in a much looser knit, and a much larger final product. I was casual about seaming the 2 open ends of seaming the knit together on the machine by simply using a latch tool bind off, an invisible seam could be created by grafting with Kitchener stitch. I did a bit of stuffing as I went along in seaming the lengthwise portion of the piece in the second donut, as opposed to leaving a smaller opening in the first, making the process easier, and I paid more attention to seaming of the side “tube” stitches. Once again, it is obvious that changing the material may change the size of the final product significantly, making those tension square calculations important for any predictable results in sizing.

donuts


Brother KMs: punchcards and their use

I have recently become involved in a year-long project at UMass Lowell and will share details as they develop. Most of my blog posts are written for those who already have a basic knowledge of techniques. Since I may soon be involved in teaching basics to non-knitters on Brother models, I am in the process of getting some informational notes together and thought I would share them here as well.

The first 24-stitch punchcard readers appeared in the mid-1970s.  The reader sits on the far right of the knitting machine; it actually reads 7 rows below the row visible at eye level on the machine exterior, establishing a numerical relationship between motif repeat design rows and those viewed

reader

cards may be purchased pre-punched (1), as individual 24X60 blanks, or in continuous rolls (2); a card punch (3) is used to punch holes card_suppliesrows: for any card to roll in a continuous pattern vertically (rows), cards are joined to form a roll. A minimum of 36 punched rows is required. Snaps are used to join the beginning and end of a single card or multiple cards sequentially. There are excellent, free downloads now for pattern books including designs for all varieties of MK fabrics. It is possible to have the machine knit rows in double-length ‘automatically’, it is the only built-in possible alteration of the pattern. Masking or cello tape is a temporary solution to testing repeat variants or to repair errors (both sides of the card), otherwise re punching of the whole card is required for any changes

stitches: the maximum repeat width (stitches) is 24, 24 squares, one line on the card. On Brother KMs the repeat is centered with 12 stitches on either side of the center “0” marking (2). The needle position indicator is marked in thick and thin lines (1), each representing one whole design row repeated in width. If one wishes to shift motifs on the knit piece, invisibly join designs, etc., the only alternative is to determine the width and needle locations required and then to shift the knitting position on the bed by repeat or its segments.

needle tape

motifs must fit together within the 24 stitch limit, so individually they must be factors of that number: 1,2,3,4,6,8,12,24 (height calculations must have a minimum of 36 rows punched, so different math is involved there as well)

anatomy of a card: all squares are punched top and bottom for 2 rows each. They are not part of the design and overlap the first and last pairs of rows respectively when snaps are in place. Hence, the design motif remains continuous.

Any image will be reversed on the knit side, of note in planning lettering or motifs where direction matters. With the change knob set to KC or SM punched holes in the card will preselect needles to the B position, unpunched holes will leave them in the B position. A 24-stitch repeat with needle selection for row 1 (card is from a set supplied by Brother with machine purchases).

anatomy

Markings as they appear on the needle bed:    The extra markings on the needle tape in my machine are water-soluble ink marks from one of my projects to help track techniques.
End needle selection: The card in place in the reader: line up the two pairs of holes at the right edge and clip those together with a card clip, do the same on the left.
The numbers on the right side of the card should be continuous. If there is a gap in the numbers, the back piece has been put in on top of the front one, and if fed in this manner the card may jam. Unsnap and join the card properly to knit patterns in a continuous loop.
Preparing for pattern knitting from a Brother manual:  The elongated triangle is used to knit each punched row twice.

Working with motifs in networks
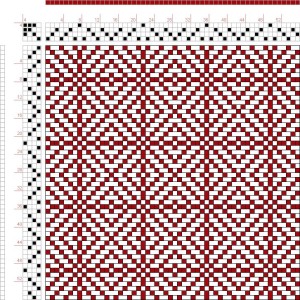
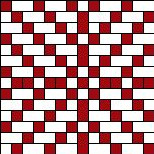
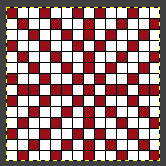
with 24 stitch limit: checkerboard is formed with the isolated motif, originally measures 8 stitches by 16 rows; repeats in the charts below are outlined in green, and colored squares correspond to holes punched in the card

checkerboardadding simple patterns adding shapestaggering horizontally for brick repeat (now too wide for the card) horizontal staggerstaggering vertically for half drop repeat, (row adjustment)vertical staggercheckerboard begun with an 8 stitch repeat straighthalf drop: repeat begins to change in width half dropbrick bricktriangle triangleadded larger repeat variationsvariation 1

variation 2

variation 4

Electronic machines are able to use punchcard designs as well. Only one pattern repeat needs to be programmed. Factors of available maximum width in stitch repeats depending on machine brand:

24: 1, 2, 3, 4, 6, 8, 12   30: 1, 2, 3, 5, 6, 10, 15   40:1, 2, 4, 5, 8, 10, 20  60: 1, 2, 3, 4, 5, 6, 10, 12, 15, 20, 30

More to ponder: knit stitches are not square, they are rectangular, so representational knits, no matter the size, require some mathematical adjustments to retain their aspect ratio. An interesting illustration of this is seen in attempts to knit a circle.
Common ratios for knitting are 4:5, and 2:3 (height to width) with stitches usually wider than tall.
Gauge is the stitch-to-row ratio that allows one to calculate height and width for finished knit pieces, it is the basis for creating and shaping the items which in turn may then be assembled into garments or size-specific end products.
The Diophantine equation (referred to in knitting as the “magic formula”) may be used to calculate increases, decreases, and shaping. There are many excellent how-tos and calculators to aid in the process. The old Brother accessory calcuknit and its emulator took some of the “work” out of the process and were later replaced by similar functions in consoles or software. Sometimes charting out the shapes based on such calculations was referred to as “ragu charting”.

A postscript: punchcard machines continued to evolve and became easier to operate over the years. Those markings on the end of the needle bed did not always skip the letter C. The KH 800, 1971-72 which preceded 24 st punchcard models, had several more needle positions, including the now-missing C 

An illustration of one of its fair isle cards and accompanying instructions for the settings  

Carpet or pile stitch knitting on Passap and Brother KMs 2

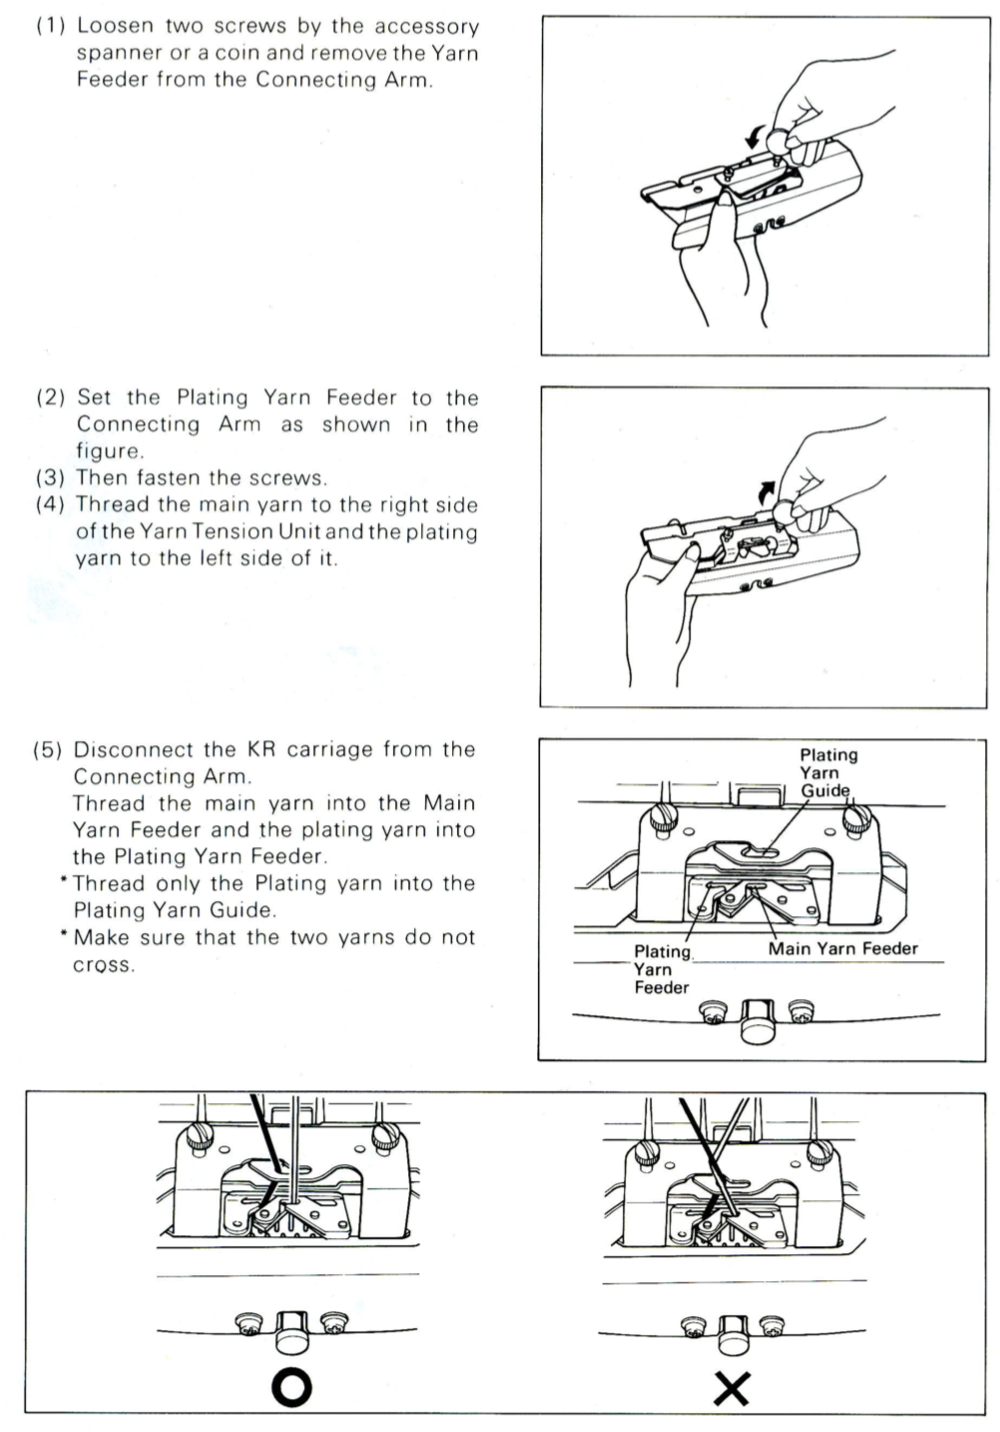
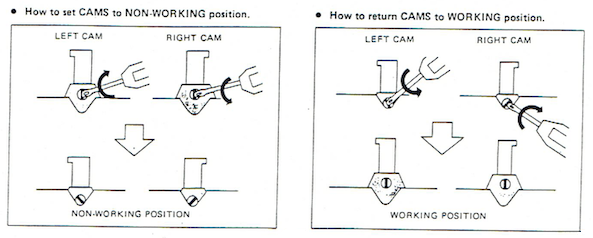
Trial swatches do not necessarily require a permanent edge. The main bed cast on with all open stitches is familiar to knitters accustomed to using a single bed Brother cast on comb. A quick version of the same type of cast-on is also doable when both beds are in use, and the goal is to knit all stitches only on one bed or the other. The broken toe cast on for rib is so-called because if comb and weights are hung in the wrong location on the needle bed when stitches on the opposite bed are dropped, so will the comb be along with weights, heading for your feet. If the ribber is going to be the bed doing the knitting that anchors dropped stitches or pile in Brother kms, please note prongs of ribber comb line up directly in front of main bed needles (blue arrow) and to each side of the loops on ribber bed needles (red arrow). The ribber comb wires will anchor down loops on the needle bed where plain knit rows will be formed. As mentioned above, this method will result in stitches all being open, does not produce a permanent edge, is suitable for quick swatching or for waste yarn at the bottom of the weighted fabric. It is possible to perform this cast on with ribber comb with wire already inserted in both brands, but the broken toe method is potentially less hazardous to needle health. brokent_toe_arrowsAnalyzing what is required to move between km brands with the goal of achieving 2 color or isolated pile motifs: in Passap with the back bed set to FX, one arrow key, EON pusher/ needle selection changes every 2 rows. In Brother, this may be achieved on the main bed by pushing in one tuck button and programming a repeat.  The alternate, adjacent cam button, left in its normal position, will knit every stitch when knitting direction is reversed regardless of whether any needle selection is happening. On the ribber, lili buttons may be used for alternate needle selection. Its levers determine whether tucking or slipping, in one direction or both, occur. The number of stitches on the ribber must be even. An easy visual check is to check markings on needle tape, which consists of what I refer to as dashes and blanks. For an even number begin with one, end with the other.  Passap will automatically revert to the alternate pusher for patterning on the subsequent 2 rows. In using lilis this is not an automatic function, and some handwork is required to obtain the same effect by changing the first needle selection every third row as seen in this post.

If the ribber is chosen as the loop making the bed, the needle selection on it needs to be manual for any pattern other than across whole rows. In my swatch, to knit across all needles the ribber carriage is set to slip in one direction, knit in the other. The all knit rows in pile knitting need to follow the ones with tuck loops on the opposite bed.  Extra needles are on the main bed, which creates fabric backing. The ribber carriage can be disengaged and used to drop stitches after all knit rows on the main bed.

In the actual knitting, if a plain one color pile with plain color backing is the goal, some rules may be broken. The thickest, most stable pile is achieved when the yarn anchoring the loops is as dense as possible. If the goal is to knit every stitch across each row to create loops and in turn drop them, one is, in fact, working an every needle rib. This makes it possible to create tuck loops on either bed creating the backing across the whole row because in fact there are stitches on each side of the tuck loop on the opposing bed anchoring it in place. Normally when 2 or more needles tuck side by side, rather than the stitch formation usually seen in tuck patterning, the loops do not get anchored, drop off, and create a float like those seen in slip stitch patterns.

In my first sample, the fabric is cast on the main bed, the loops are formed on the ribber. The carriages are set for the main bed to tuck traveling to the right, knitting to left. The ribber is set to slip to left, knit to right. The ribber is used to drop the stitches, simply by disengaging it from the main bed and running it across from one side to the other. Dropping stitches occurs (on either bed) after all stitches have been slipped there for one row (no needle selection if patterning). The starting side for my swatches was on the left of the machine. It is helpful to have a ruler or tool to help push loops down between the beds after dropping each row of loops and also to occasionally drop the ribber in order to check whether any loops may be caught on gate pegs.

In this swatch, I had some problems (blue arrow) on the right side related to changes in tension while determining what might be the best. Section 1 has every needle tucking on the main bed. Section (2) begins to try to emulate the Passap pusher selection using an EON 2 row tuck repeat on the main bed, resulting in things going awol and loose, even at the tightest tension possible on the main bed. Any time patterning is used on the main bed, end needle selection is canceled (KCII). The tuck repeat2 row tuck

the settings (here lili buttons are not in use1X1 card MBno lili2

ribber loops2To create every needle loops for pile on the main bed: CO is on the ribber. With settings on the image below left (no lili buttons in use), the ribber tucks loops on every needle traveling to the right, knit all stitches moving to left. Moving to the right the main bed knits on every needle, slips the whole row moving to the left, giving the opportunity to drop stitches off. With settings on below right, lili buttons are in use, and the ribber now produces an EON needle selection, every row. Left alone the selection is what would be seen using the 1X1 card on the main bed, its repeat 1X1tuckloops on MBThe yellow yarn is a 2/8 good quality wool knit at 4.2 on the main bed, 3.2 on the ribber. Switching to a rayon twist of similar thickness created instant havoc. The dark grey was a mill end, tighter twist 2/8 wool. Red arrows show what happens when loops are caught up on gate pegs and not immediately noticed. The green arrow indicates longer loops that can happen when knit stitch on either side on the opposite bed do not knit off properly. The result is a dense wool fabric, so the tendency to roll at the top and bottom of each piece toward the “knit” side of the fabric needs to be considered at the top and bottom edges of finished pieces.

knit with no lili buttons in usemain bed loops2

In 2 color knitting, or creating isolated motifs whether on one color or striped ground, anchoring loops by tucking on every needle is no longer possible, making reverting to EON needle selection on ribber a necessity. The results are dramatically different. These swatches were made using lili buttons or hand selection on ribber, loops on the main bed. If things don’t work in one color, they will not in 2, so one color, every needle pile is a place to start evaluating the results

1X1 lili selection left me with “where are the loops?”white_lili

In the bottom section here I tried 1X1 hand selection for 2 consecutive rows,  the narrow band in center back was back to 1X1 to separate areas using lilis, at the top I used lili buttons and brought an extra needle into work on ribber before traveling to the right every third row (making needles in work on ribber an odd number), returning it to out of work before knitting back to right. Dropping stitches every 4 rows makes tracking the sequence easier. The resulting pile is far more “subtle” than samples worked with every needle tucking on the bed creating the backingyelllow-lili_500

So far I still have had no luck with getting anything that does not look like a variant of drop stitch lace when attempting patterns separated for 2 color knitting, either in embossed one color, or in striped 2 color versions.


Carpet or pile stitch knitting on Passap and Brother KMs 1

Pile, carpet, or loop stitch are terms used for a raised relief fabric made on KMs using both beds, with or without programmed patterning motifs on either bed. Two-color patterns are sometimes also called “punch pile”. Depending on the machine brand and on the thickness of the yarn, loops may be formed every row or every other, varying the pile density. Beds are always at half-pitch, the same setting used for every needle rib. The “needle rule” is disregarded. The first and the last needle are always on the non-patterning bed, to anchor down any loops close to the edge of the fabric. In machines with automatic end needle selection, the function is canceled. Some yarns and designs will even tolerate loops being dropped at the end of knitting. Sometimes dropping them every few rows will work. If any yarn splitting or fussy knitting off because of fiber content occurs, then dropping stitches may be needed after every row of loops formed. If using multiple colors of yarn on either of these 2 brands, having them equal gauge/weight is helpful.

The Passap knitting machines, as well as the Brother, did not have a built-in yarn feeder to facilitate knitting this fabric such as that possible in the Studio brand. Particularly with the advent of the E6000 Passap model, for a while, there was keen interest in how to produce similar fabrics. Susanna Lewis was among the first to describe knitting pile across multiple brands, whether punchcard models or, later, electronics.

The fabric loops are created with one pass of the carriage, the next row of knitting is intended to anchor down those loops, and with no needle or pusher selection, no stitches knit on the patterning bed. This fact gives one the opportunity to drop loops without disturbing pattern selection. Some of my drop stitch lace previous blog posts discuss designing such fabrics. Color separations are required. The E 6000 console performs many of these automatically, one simply has to plug in the appropriate “technique” number. The default DBJ separation made by the console in Brother electronics may not be used because blank rows for no needle selection need to be added in order to attempt the long loop or stitch fabrics. This, in turn, requires the knitter to do the work. Design rows are expanded

  • Graph        Motif        Color
  • Row 1        Row 1       Color 1
  • Row 2        Row 1       Color 2
  • a blank row is inserted  on top of each of the separated rows, so for each 2 color design row, there will now be 4 charted rows

The E 6000 has some built-in technique choice options for knitting and automatically adding blank rows in charts where needed. This allows for the locks, empty of any yarn, to travel from and then back to the color changer achieving stitch dropping. My preference is to work with stitch dropping tools instead of the extra rows “knit” without yarn. Also, if the goal is to work between KM brands, keeping the separations more compact is practical, particularly if one plans to use the end chart with a punchcard or a mylar sheet for programming.

I had tried some pile fabrics on the E 6000 in the past, found the knitting too loose for my liking, but by light felting (wool yarn) result, I had a stable, attractive fabric that could easily be cut and sewn in combination with other knit companion DBJ fabrics. Another option in wearables to add stability may be an iron-on knit interfacing used on areas of pile knit. When I pushed the back bed tension as much as physically possible with the yarn used and was happier with the result. The only problem I encountered was in thinking I could knit a few extra rows on the back bed only before dropping the knit off the machine for inspection. The old adage still applies: if more than a row or 2 are to be knit across all stitches on any single machine bed, each yarn has an optimum tension required for stitches to form properly. Pushing limits will lead to problems. I had a lovely lock jam. For wide ribs, the same principle applies the more stitches on either bed, the closer tension on that bed to what number would apply to stocking stitch on that bed.

CARPET STITCH KNITTING ON PASSAP E-6000 with release stitch tool. Use any 2 color Fairisle pattern from the pattern book that accompanies the machine. Both Passap manuals are now available for free download online. I randomly chose # 1407 for my test.
Start with all stitches on the back bed. If the piece is started with ribbing, transfer all the front bed stitches to the back bed. For test swatches, if open stitches do not matter, it is possible to do a quick single bed cast on the Passap in a couple of ways, the “broken toe” cast on will work across brands. Have an extra needle and pusher on each side of the back bed when setting up work for patterning. Set the back bed tension as tight as possible, with the front bed 1 – 1.5 tension numbers looser than the back bed. As always test a small swatch before committing to a larger one.
Start with all stitches on the back bed, with an extra pusher on each side on the back bed when setting up for patterning

One-color carpet stitch in design:  Technique 256,  handle down, black strippers are recommended. I rarely if ever use black, go for orange first, sometimes combining with one blue or switching to 2 blues if the fabric calls for it. Ignore console instructions. The back bed is set to FX  left arrow key <–, not BX as instructed. Do not use the AX setting by mistake. FX will tuck right to left, knit left to right (toward the color changer, which in Passap sits on the right side rather than on the left as in Brother machines). Knit rows help anchor loops. Back bed pushers are in 1 up, 1 down set up.
Using one arrow key means the same selection is repeated for 2 rows before the switch is made to the adjacent pusher and the corresponding needle.  The front bed is set to LX (slip) throughout. The racking handle is down (setting for every needle rib).  Two rows are knit, then the front bed stitches are dropped (Passap knitting beds are in reverse position to Japanese machines set up with their ribbers). If loops are long they may need to be pushed between the beds before knitting the next row. Passap machines have pushers for this purpose, in Brother rulers or any number of tools may be used for the same purpose.

Two-color carpet stitch:  Technique 185, black (or other) strippers, 184 may also be used, its graphic gives the added reminder for 1X1 pusher set up on the back bed. The back bed tension setting is the same as for the one color pattern, the front bed knits in LX throughout. In theory, stitches may be dropped every 4 rows. Some yarns may split and catch the alternate color requiring dropping after each color is used, others will tolerate much less frequent dropping. It is all an experiment to start with.

Again: the back bed tension must be as tight as possible, the front bed at least 1.5 tension numbers higher until tests determine what is best for the yarn being used. Multiple strands of some thinner yarn may also be worth a shot. Weights are needed on the knitting, no matter what brand machine is in use.

One-color trial: back tension too loose, note change in texture after tightening back lock tension; the loops are formed on the purl side

passap front 1col

passap back 1col

the 2 color version, with adjusted tension on the back bed

Passap front2col

note vertical stripes in backing
passap back 2col

At the end of knitting the pile, add anchoring rows of knitting on the back bed only (tension may need to be changed after a couple of rows), proceed as preferred.

embossed one color pile (black 2/8 wool)Passap black pile

One-color pile, striped background:
Technique 185, black strippers, handle down. Locks set as for above.
Knit two rows with the pile color
Set all front bed pushers down to rest position, change to the second color
Knit 2 rows, the back bed only will knit
Drop the front bed stitches, set all front bed pushers to work position-

Previous posts with info on accessories useful for dropping stitches and loops 1, 2, 3.

This method is a hack intended to emulate pile knitting created on the Studio machine. The ribber features had specific options for such fabrics. These pages are from the Singer SRP-50 ribber manual and one of their punchcard books and share some principles while illustrating setting and card design. Food for thought on any adaptation for use on other brands. Studio settings were reviewed in post-2015/02/20/pile-knitting/.

The comment on this post, clarified in an email, was actually in reference to knitting a solid singlecolor pile on the Passap. Tech 256 is intended to be used with a stitch pattern. This is a fabric that is slow to knit. My Passap had long been unused, and I had issues with yarn splitting and the yarn mast not maintaining even tension, which accounts for the occasionally pulled loops where they did not drop off properly, and the changes in some of the stitch sizes in a few rows on the reverse side. Looking at the Studio information again, I went back to the drawing board for a solution and a proof of concept swatch
1. cast on so that all stitches are on the back bed
2. knit a few rows in stocking stitch sorting the tightest tension at which your yarn will knit, also experiment with the front lock tension in order to produce as large a loop as possible that will also drop off properly, end to  begin your test with locks on the right side: 
3. bring back bed pushers to the up position, set the back lock to EX with the left arrow key. All needles will tuck moving to the left, and knit on their return to the right
3. the front lock is set to CX, it will knit on all needles to the left creating loops on the front bed, while the back lock does the same, slips all needles moving to the right.
When the locks reach the left side there will be loops on every needle on both beds. As they move from left to right, the needles on the back bed will knit, securing the loops there and anchoring the ones on the front bed while the front bed is slipped
4. with locks again on the right side, use stitch ditcher or another tool to drop off loops on the front bed, returning needles to proper work position, follow with a pass using a single eye tool to push loops between the beds, checking that none are left in the needle hooks
*make 2 more passes with locks from and returning to the right, drop off loops**, and continue from * to **
The difference in the size of the long stitches between loop rows in the photo was eliminated by tightening the tension on the back lock,  it is evident that even are anchored even in those segments. As with any fabric, the larger the intended piece, the more likely some further adjustments may have to be made.