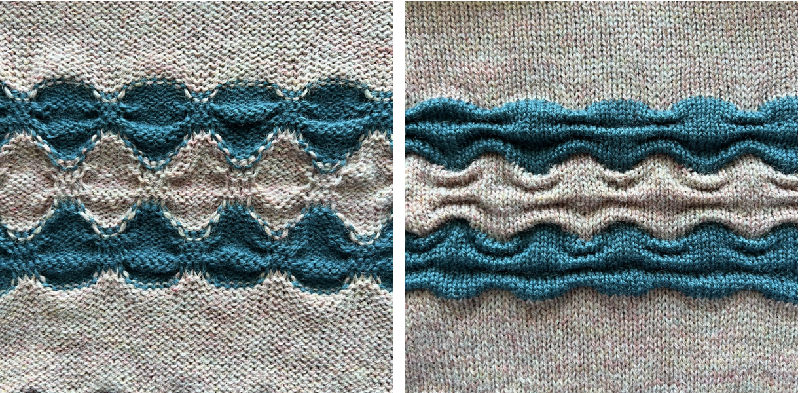
Colored stripes combined with lace patterning can produce interesting fabrics. Many variants may be found in Missoni’s knitwear. At times the lace holes themselves may nearly disappear, while the stripes become distorted by the transfers, the change in gauge, and the creation of the holes, which in combination begin to create a bias direction in parts of the knit. Below is a simple sample illustrating some of the above points:
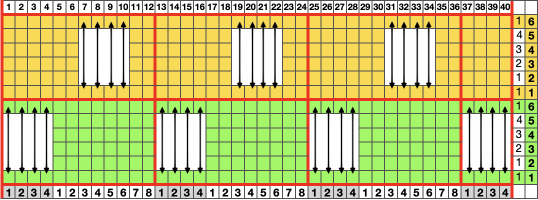
the working chart (Intwined)

the text for hand knitting created by the program the additional knit rows creating garter stitch in part of the pattern provide added texture in a hand knit, but are impractical in a machine knit

Rather than deal with working out the lace transfers for use with the lace carriage for my swatch, I chose to use a multiple transfer tool, and begin with a 7 stitch transfer as opposed to a larger number one. Below are some of the tools that may be used to hand transfer stitches in larger numbers than with the tools usually provided with KMs, a garter bar may be used as well

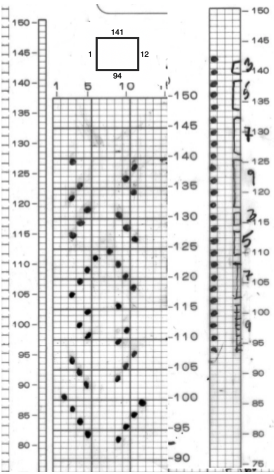
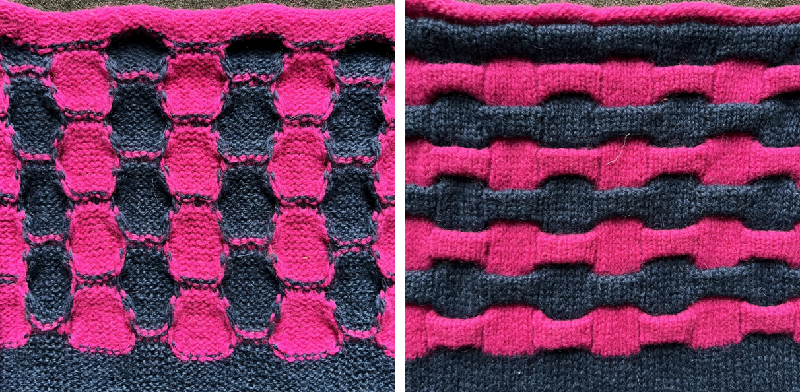
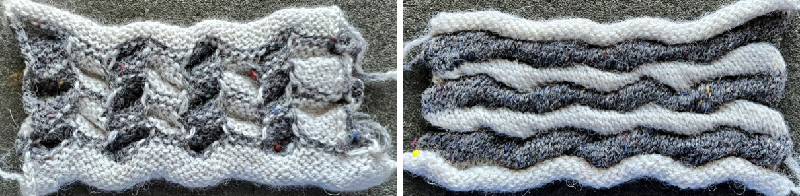
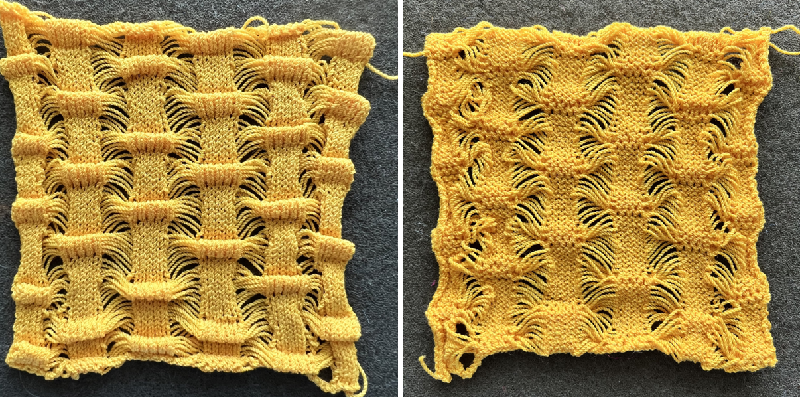
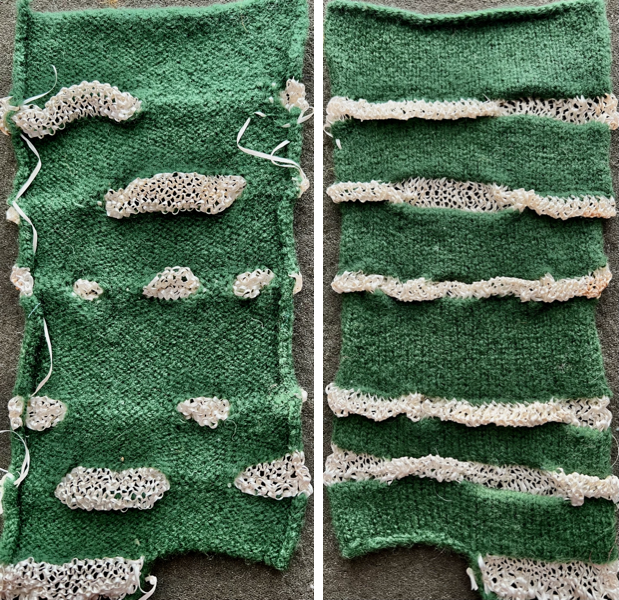
The image below shows the fabric as it appears on its knit side. The bottom illustrates the repeat in one color. The red mark indicates where the transfers were made after knitting the first row of each color, the yellow indicates transfers made before each color change. In the former the “twist” apparent as the transfer knitting is completed, has one yarn wrapping around the other. In the latter, the “twist is all one color”. The yarns used were a rayon and an acrylic, on standard km. If a color changer and lace carriage were to be used in combination, only the second option would be possible (more on that in a later post).

the purl side

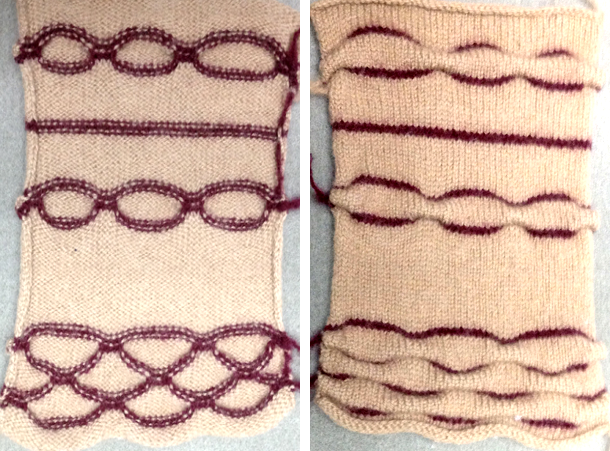
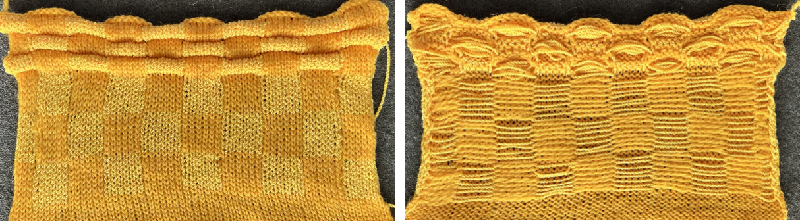
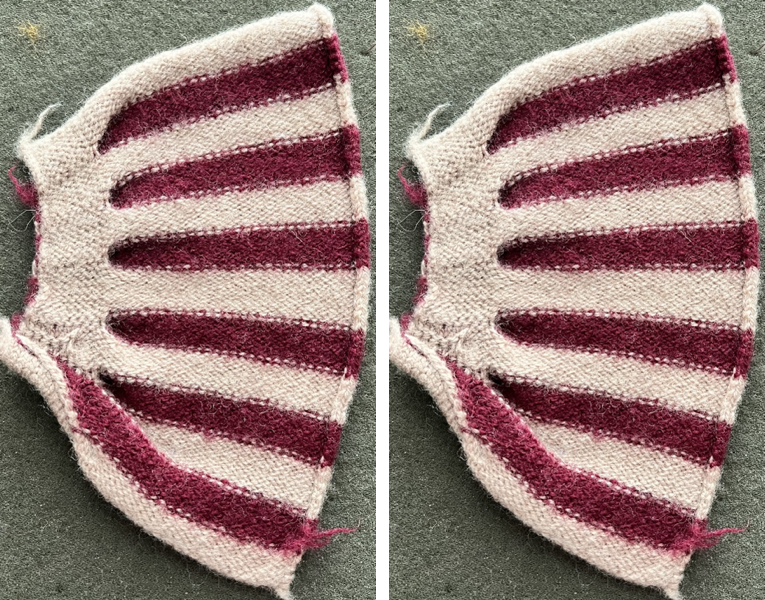
Below is a hand knit sample with a wider repeat, adding garter rows. The yarn used was a worsted weigh wool on size 8 needles. Of note is the difference in undulation in bottom and top edges
knit side (red mark here indicates garter stitch row detail)

purl side

a possible use for this pattern might be a center or recurring panel in a wider knit


 B
B A
A


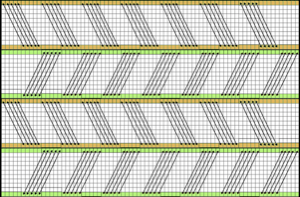
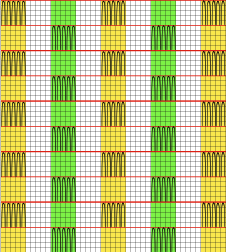
 Going straight up: in the 2014 chart color blocks illustrate needle groups that get picked up and transferred onto the same color row on the machine, with no specific references to needle tape or any other markings.
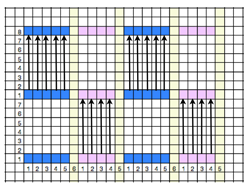
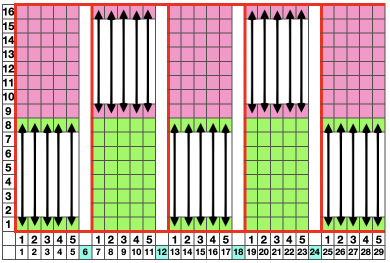


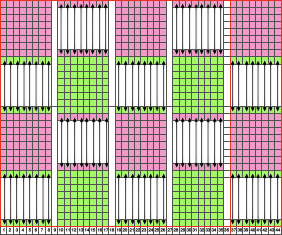
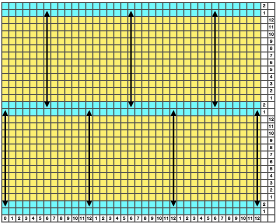
 now with some changes.
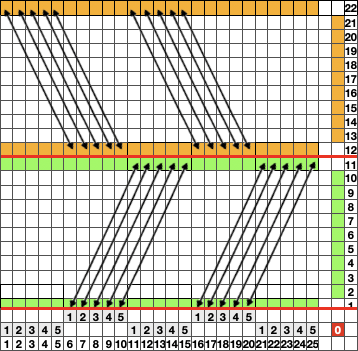
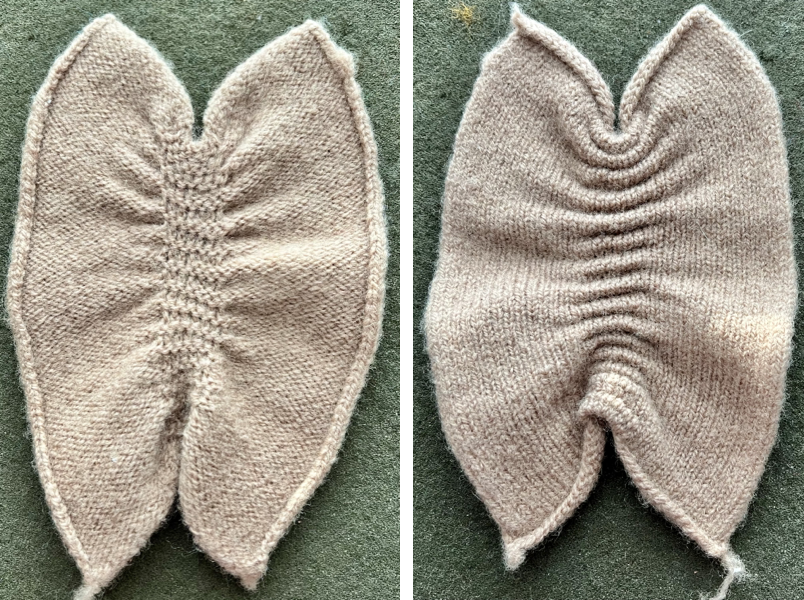


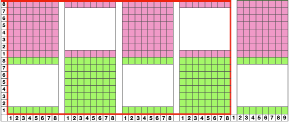
 In any fabrics requiring needles OOW, unless waste yarn and weights are a necessity, one may simply do a crochet cast-on across the required number of needles, then drop off cast-on stitches where NOOW are needed, pushing them back to A. In binding off using the latch tool bind off, treat empty needles as though they had stitches on them, and the top and bottom edges will match in width.
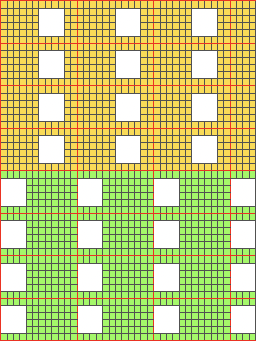
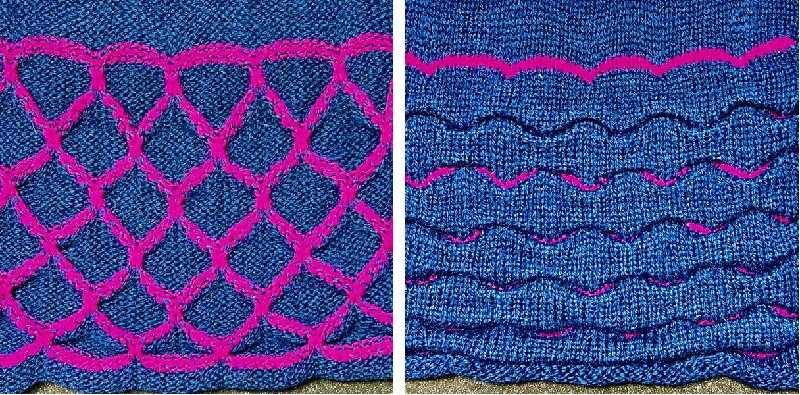
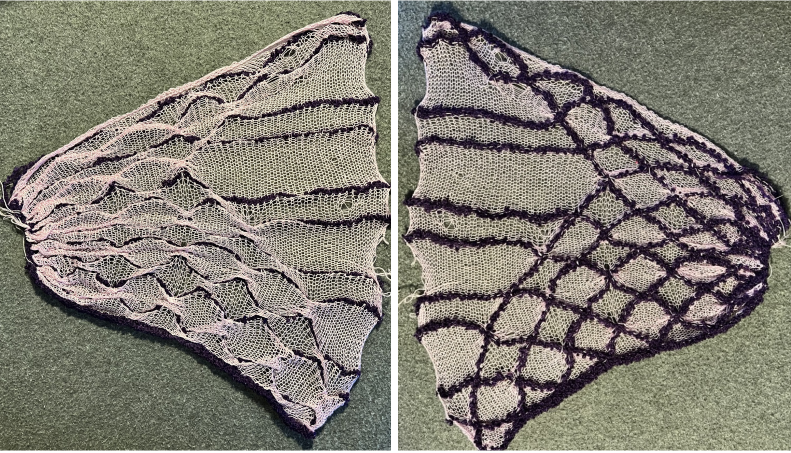
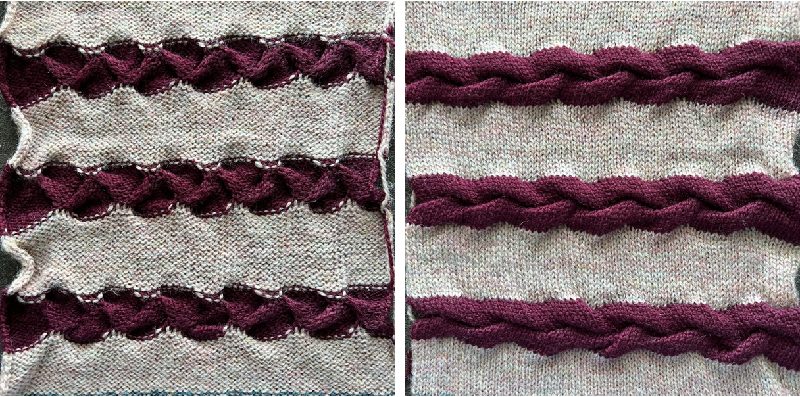
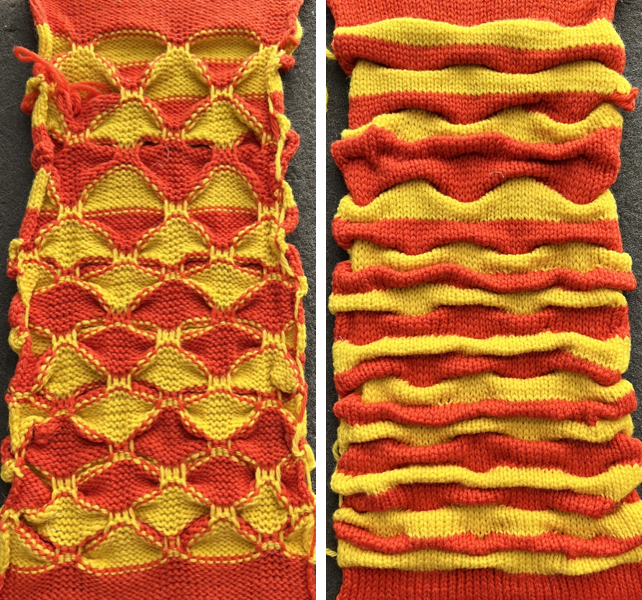
 The same technique, used as a band rather than an all-over pattern


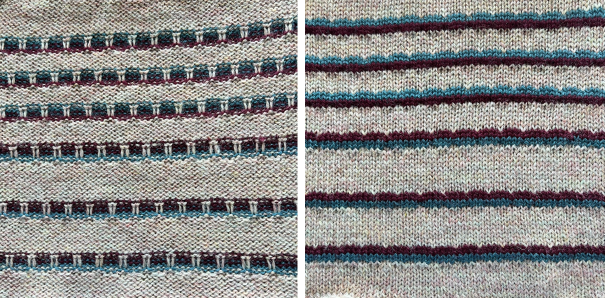
 the swatch
 its accompanying swatch


