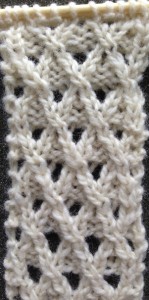
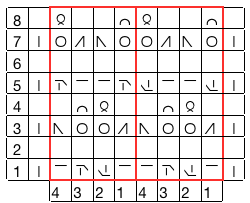
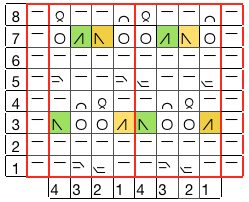
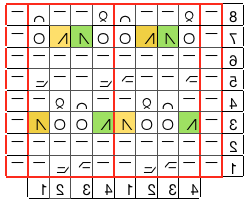
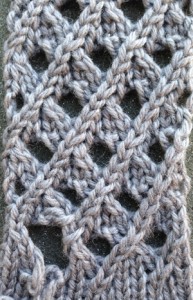
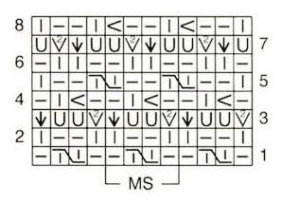
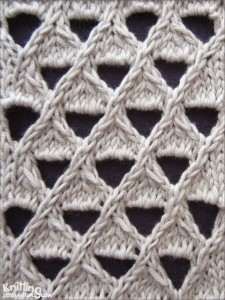
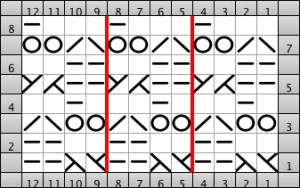
In hand knitting complex cable crossings are often worked on the same, knit side of the fabric, making them a bit easier to visualize and track. Knit and purl combinations in surfaces on either side abound.
In machine knitting, one is always facing the purl side. When attempting to duplicate a hand-knit pattern and the direction of the cables crossings in the machine-knit need to be reversed as seen in an illustration from an earlier post on machine knit symbols
Common representations in MK pubs take into consideration that the purl side is always facing the machine knitter for single-bed crossings:
Crossings of more than 3 over 3 stitches become difficult on home knitting machines unless special techniques are brought into play.
Methods and suggestions vary, depending on the source.
The least satisfactory one is to knit the whole row prior to the cable crossings at a looser tension. If there is plain knitting between crossings, the change in stitch size across that particular work may be quite noticeable. “All over” cabled fabric will be obviously narrower than plain knit, a feature that may be used in garment shaping to gather the resulting fabric in selective areas ie cuffs, or waistlines above peplums.
Generally, a looser tension will be required than when using the same yarn in stocking stitch knitting.
To start testing the best number of rows knit between crosses, it is a good idea, to begin with at least the same number of rows as the total number of stitches involved in the cross ie. 4 rows for a 2 X 2 cable, 6 for a 3 X 3.
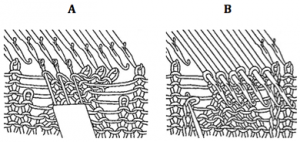
Ladders created by leaving needles OOW may be used as markers for vertical rows of cables. They may in turn be left as created or latched up in segments or at the end of knitting to create purl (or other) stitches on both sides of the cables on the fabric’s knit side. An alternative method for latching up illustrated below, produces tuck stitches in ladder spaces
Working the knit on the single bed, extra yarn for a bit more “give” may be created by dropping one stitch on either side of the 2 groups to be crossed. The dropped stitches may be latched up after each cross and will appear as purl stitches on the knit side, or left unraveled for open vertical space on cable sides. Bringing needles with crossed stitches all the way forward out to the hold/ E position helps them knit off more easily and visually check if indeed all stitches have been placed on the alternate group of needles.
A: crossing stitches, B: latching up the ladder
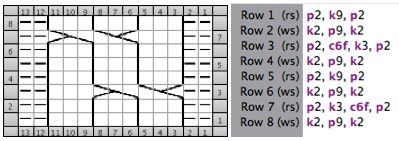
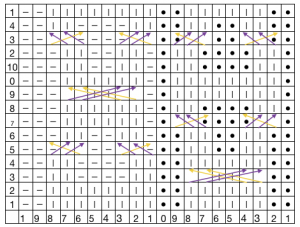
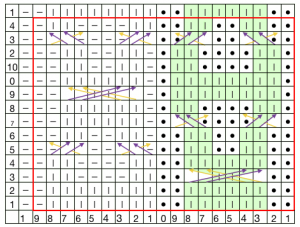
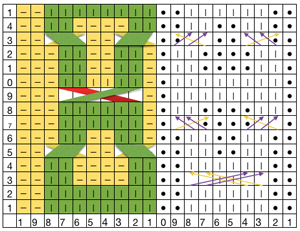
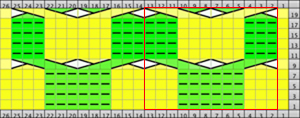
Sometimes the cable configuration may be changed for a similar look to render crossings easier ie. using a 5-stitch cable crossing 2 and 3 stitches respectively, may be substituted for a 6-stitch one. A larger number of crossings may be broken down into smaller groups ie in this 9-stitch cable modification. The chart below is for hand knitting, created in Intwined, with their accompanying directions. Not all publications or software approach HK and symbols and charts in the same manner, requiring varying degrees of study and interpretation in how to either follow or adapt them.
Creating longer stitches to facilitate moving them for cable crosses may be done on any one row by using additional strands of yarn and knitting involved stitches back to the A position, creating elongated stitches. If slightly shorter lengths are needed, cardboard or another spacer may be placed against the rear rail to keep loops even size while pulling yarn back. In the “old” days of MK seminars, a favorite such spacer was made from cutting segments of extra (narrow) strips from window venetian blinds. Bringing needles back into work requires a bit of care and at least a claw weight, to keep long stitches formed from bouncing off the needles. The larger cross can then be executed and made easier if one has adjustable 7-prong tools. After the cross, the larger stitch size may be adjusted slightly by pulling cautiously on the long end of the yarn. The Brother knitting techniques book is available for free download on more than one site, here is one option. It is a very good resource apart from any standard manuals. Creating the longer stitches is described and seen in the illustration below, found on pp 68-69 of the book. Also shown there: how to carry up the yarn rather than cutting it after each cross, thus avoiding extra ends that later require weaving in
Larger groups of stitches may be cabled by using holding to shape each section, then removing each of them off the respective needle groups, and crossing them as wanted.
As an experiment: for a single, long crossing strip, I found 7 stitches to be pretty much my maximum manageable width, with tension adjustments. The number was chosen with the intent of using two 7-prong transfer tools to hold and move the stitch groups.
The process: working over a group of 14 stitches for a 7 X 7 crossing.
COR: Set your carriage for holding. I had a needle out of work on either side to make tracking easier.
On the side opposite the carriage bring all beyond the 14 cable sts to hold, and knit one row.
Now pull all the needles out to work except for those involved in the cable. Knit 3 rows across the 14 stitches.
Bring 7 stitches opposite the carriage to hold. Knit an odd number of rows on them (7 in my sample). Yarn will be resting on top of some of the needles that have been on hold, watch that it remains free as you move stitches.
Cross the long strip with the group of 7 stitches towards the front of the fabric, the rest toward its back / the purl side facing you.
Bring the cable group’s 14 stitches and the remaining ones on the side opposite the carriage into work, knit one row, there will still be stitches being held on the carriage side.
All stitches in work: knit desired even number of rows, ending with carriage on the same side as at the start of the process, and repeat the process for crossings to continue in same the same direction.
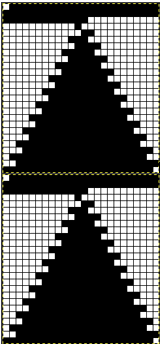
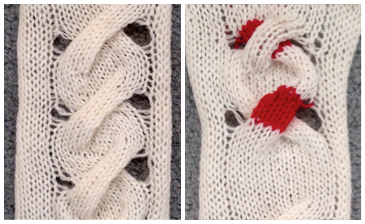
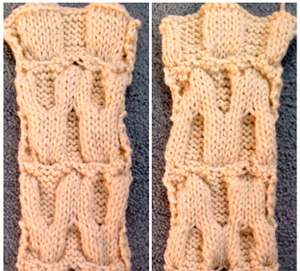
Each cable group may also be knit in individual strip forms and then crossed. At least one of the group pairs needs to be knit with a separate strand of yarn. Some experimentation on the number of rows knit, etc., and attention paid not trapping the yarn in the wrong place when crosses are made is required. Both methods are fiddly, but manageable after repeats are sorted out. My sample is knit in acrylic, which flattens considerably with steaming. On the left are crosses made with a single long strip, on the right, for illustration purposes, the red represents a second strand of yarn that I was able to keep continuous.
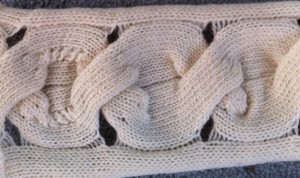
To work cables with 2 separate strands of additional yarn, work each cross segment separately, then remove it on waste yarn, dropping it off the needles. Rehang each strip in the desired location, crossing as required in the pattern. Cut yarn ends may be woven in as plain knit rows between crosses are formed if the piece is one color. The experimental swatch below is from one of my much earlier posts on the topic. Though my examples here align in a straight vertical manner, this method allows for placement anywhere on the knit, in desired spacing, repeat, and cross formation.
Large safety pins, hand-knitting stitch holders, and thin circular needles may be used as alternative tools to remove any strips of knitting and in turn, used to ease those stitches onto their new needle placement.
Using yarns that are not fragile or easily broken when tension is applied, and that have some amount of “give” at all, such as wool as opposed to cotton, also renders the process a bit more friendly. Yarns with “memory” such as wool will also retain dimensional qualities and spring back after any blocking. There are no single best ways to achieve any specific machine knit fabrics; personal preferences and adjustments evolve with experience.
Please enter “cables” as a search topic on the left to visit my previously published related posts.
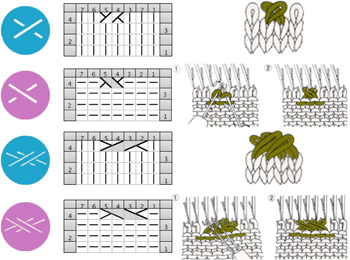
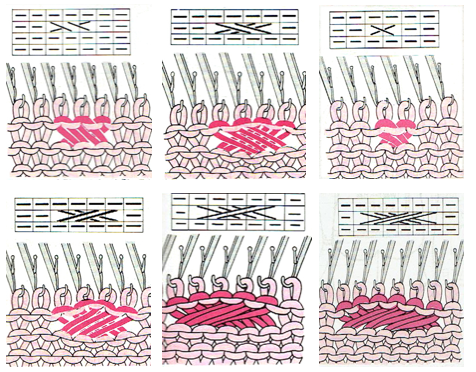
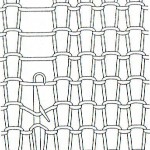

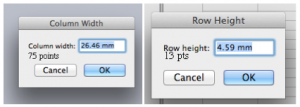
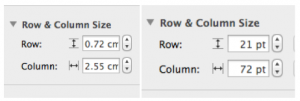
 default cell measurements in mm and points
  When opening an Excel document, to view only one page: on the bar at the top of your spreadsheet click the View menu and then in turn choose the Customize Toolbars and Menus. The window below will appear, click on the commands tab.
 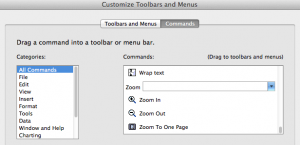 Scroll down to “Zoom to One Page” on the list, “click and drag” it to your toolbar, releasing your mouse button to place it using the vertical line that appears as your guide to determine its placement.
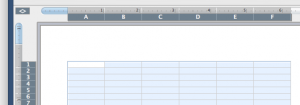 If the chart toolbar is in use, left-click on the arrow at the right, where Customize toolbars and menu are the second option offered; a right-click will allow you to modify toolbars as a first choice and offer the commands as an option.
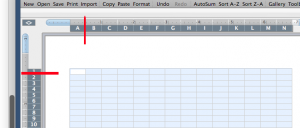 The format menu may also be used; first, select the whole sheet, then on the home tab, click on format, and select format row height or format column width alternately to specify desired measurements The latter method may give better control over unit specs in some instances.
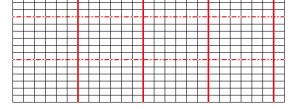 Common ratios for knitting are 4:5, and 2:3 (height to width) with stitches being usually wider than tall. Single-page workbooks to start your chart editing created in Excel to save for printing were deleted in 2024 because of failure to open in usable form in Windows 10 OS. A 2024 PDF for developing a punchcard repeat on a rectangular 4:5 grid
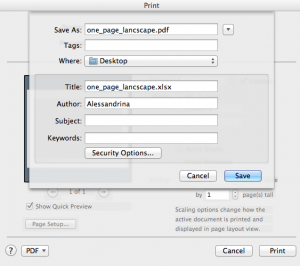
 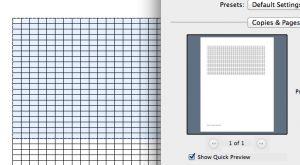 If you wish to have the graph paper as a permanent file, proceed as above, but from your printer screen select PDF, then save as
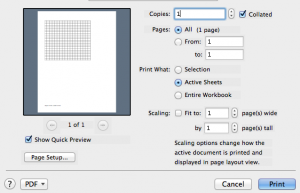
 An online PDF generator for printing graph paper for knits (including shadow knitting) in 2 ratios and orientations may be found at
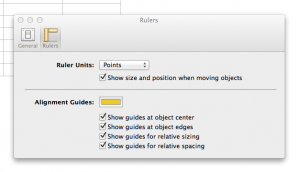
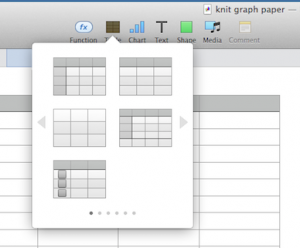 a place to start
 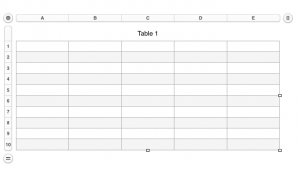 Uncheck alternating rows on menus on the right, revise options
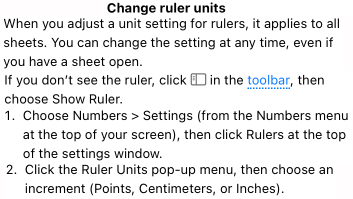
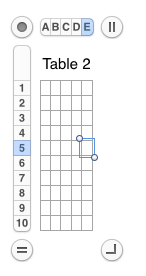 and you will also have the benefit of viewing the number of rows and columns in your document. Click on the circular target icon on the upper left, drag the _| symbol on the bottom right, and all units on the sheet will be resized to display measurements.
 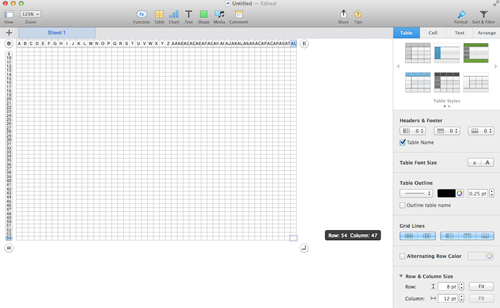 For thicker, darker, or even in different colors and types of lines changes are easily made when working with the borders menus.
 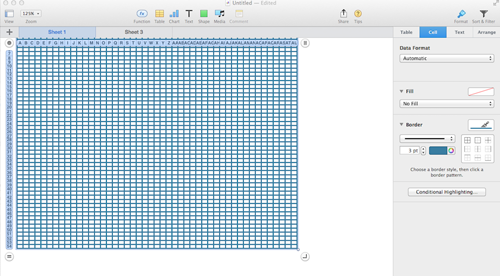 Clicking on any cell leaves only your graph; selecting print from your file menu prints exactly what appears as the sheet number chosen, and /or saved; additional adjustment options are offered on the right
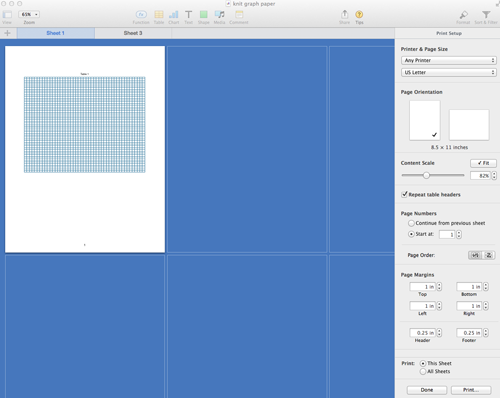
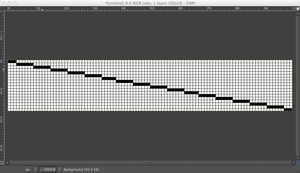
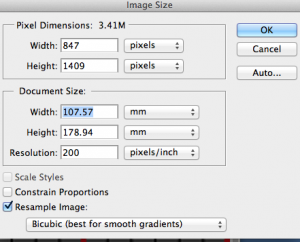
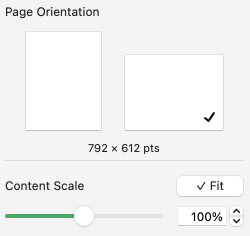
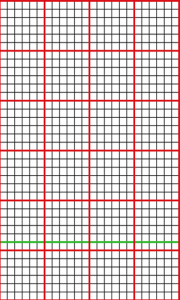 saved it, opened the image in Photoshop, adjusted the image size as below, and when printed the output was nearly dead-on in terms of size and would make tracing motifs from it onto a punchcard over a lightbox super easy
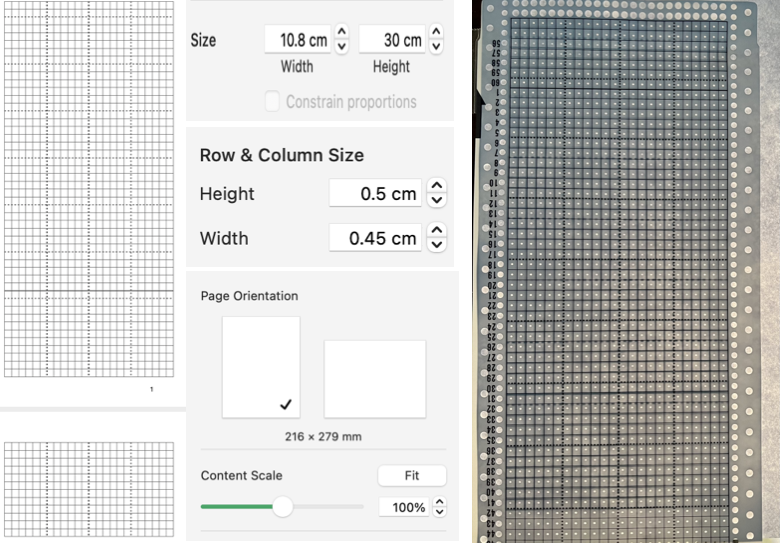
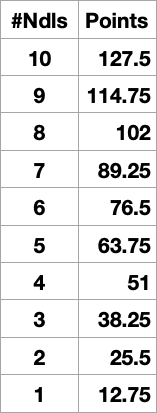
  Using Numbers the closest I could get to punchcard cell size at that point was using point values, 19 for rows, 18 for columns, and printing aspect ratio remained off.





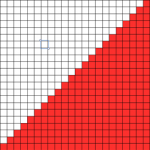
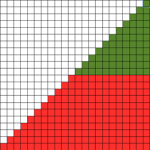
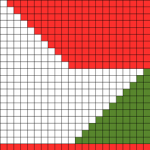
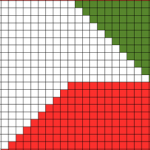

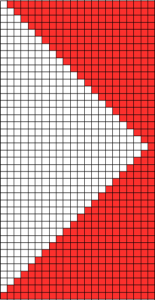
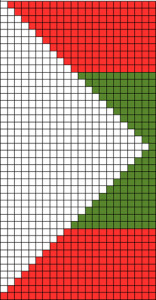
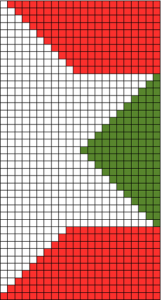
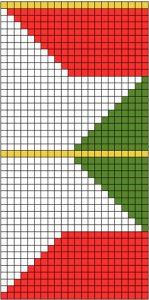
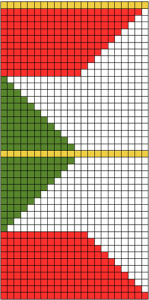
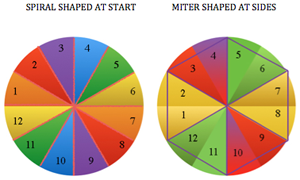
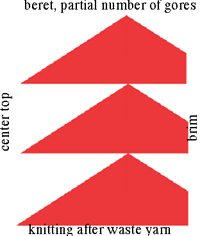
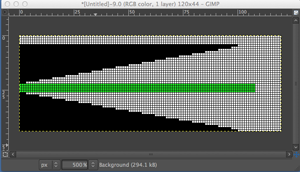
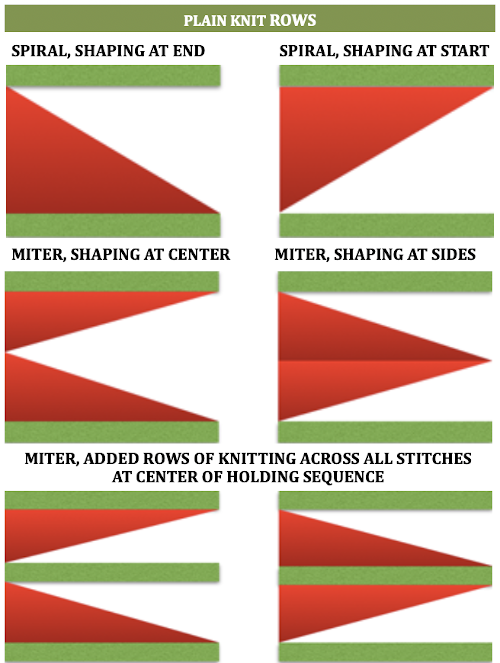 A spiral gore is the first or second half of a miter gore, conversely, a miter gore has 2 consecutive spiral gores, knit in a mirror image.
 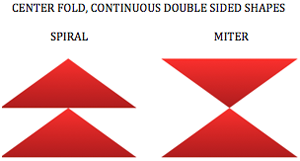 GOING ROUND: numbers 1-12 represent knitting sequence for wedges, thicker lines at segment edges = rows across knit width at end of each sequence, 2 rows or many more depending on planned design shape