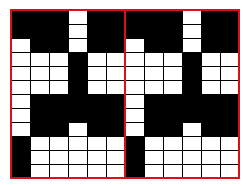
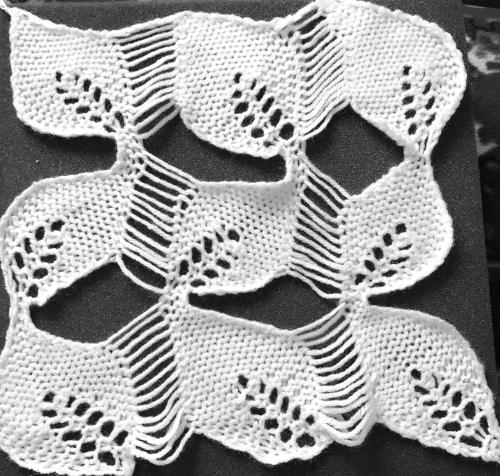
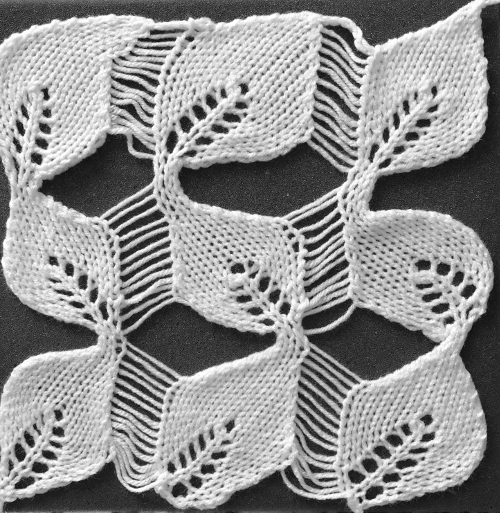
Another Ravelry thread recently looked at knitting this pattern, from an old Knittax pattern book
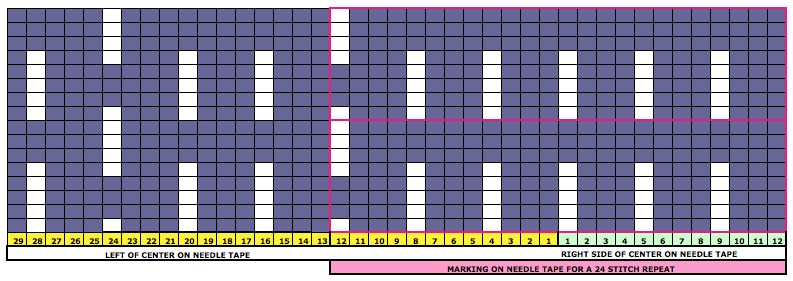
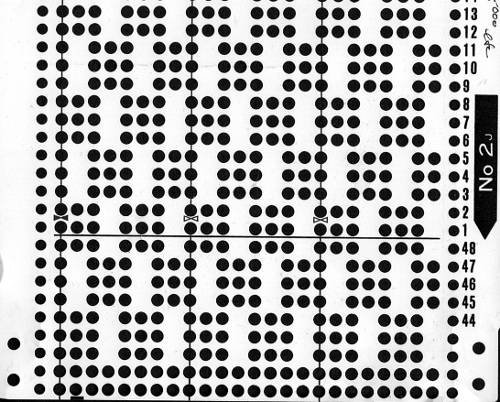
 I found this in a different manual, with a similar structure, and “English” directions
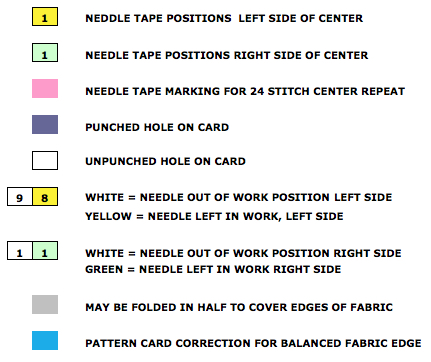
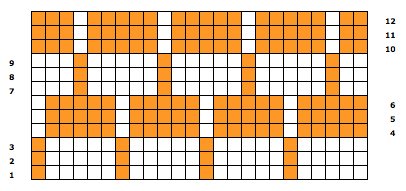
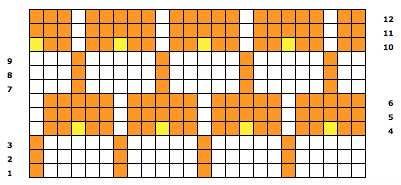
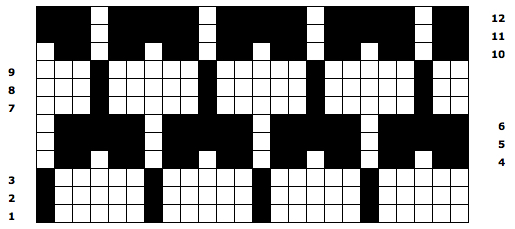
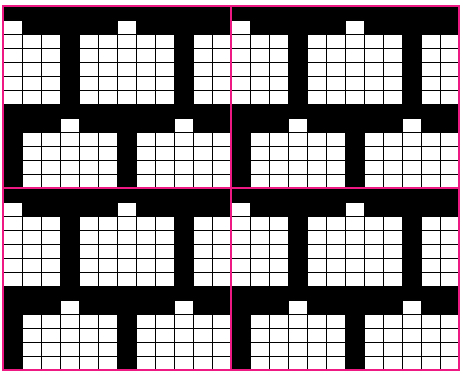
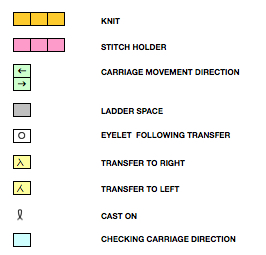
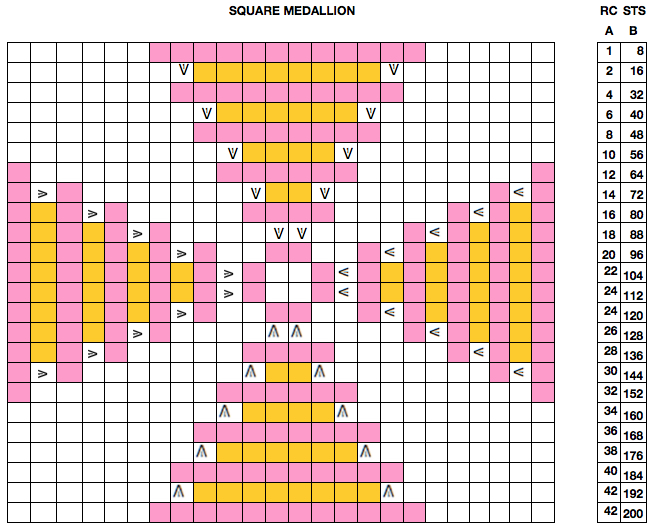
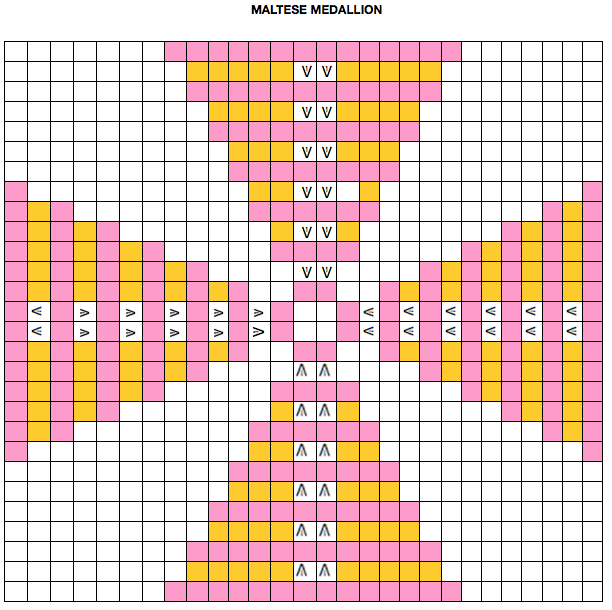
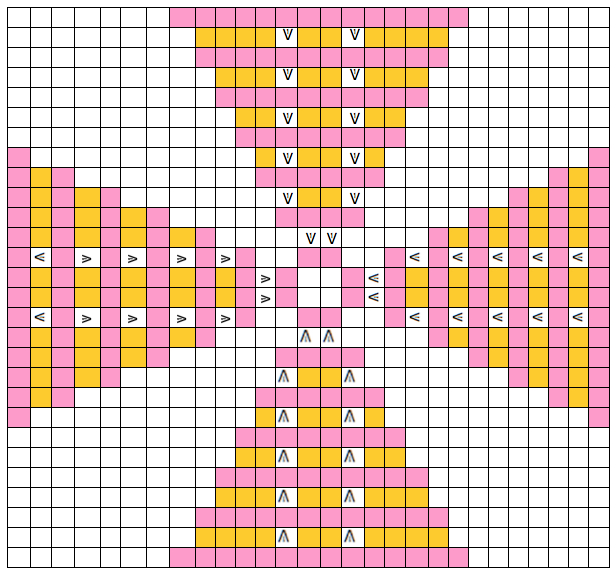
 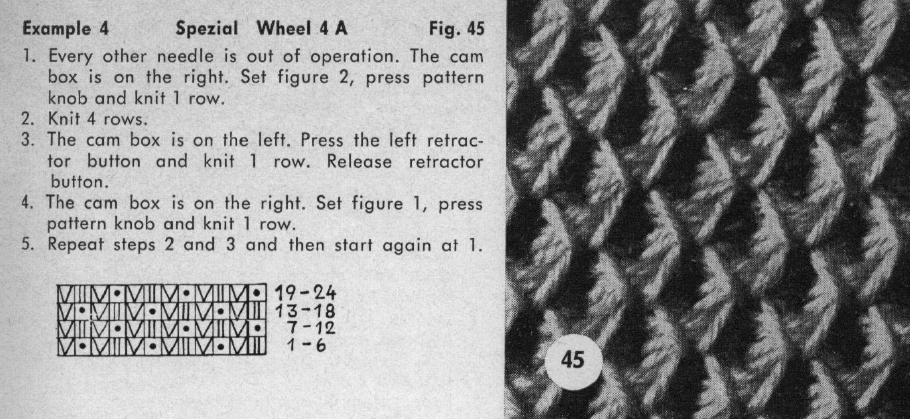 Translation of symbols used in Knittax patterns
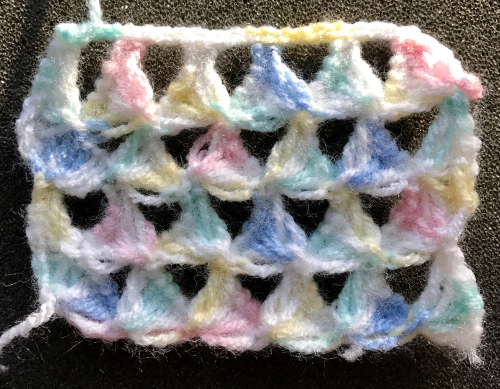
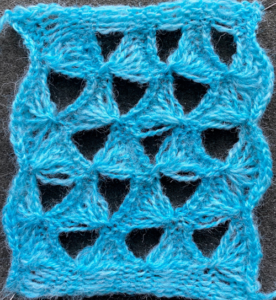
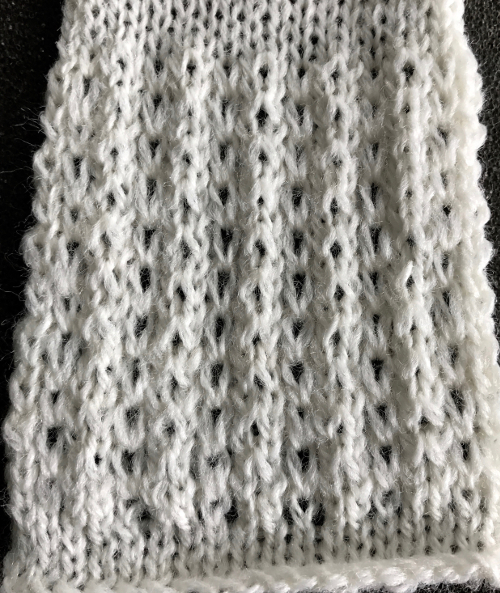
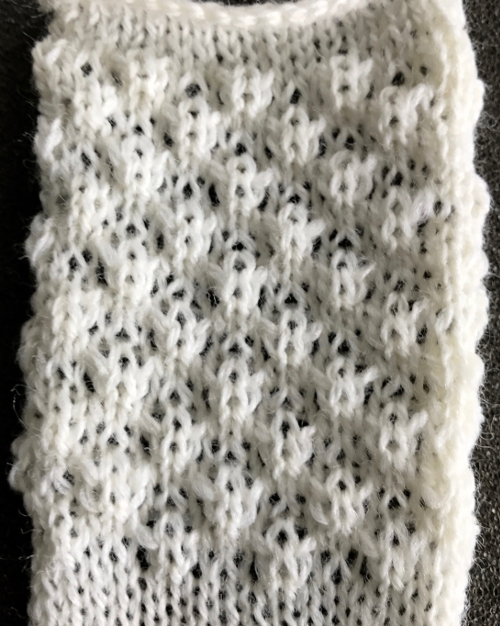
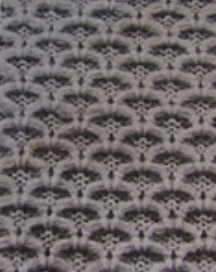
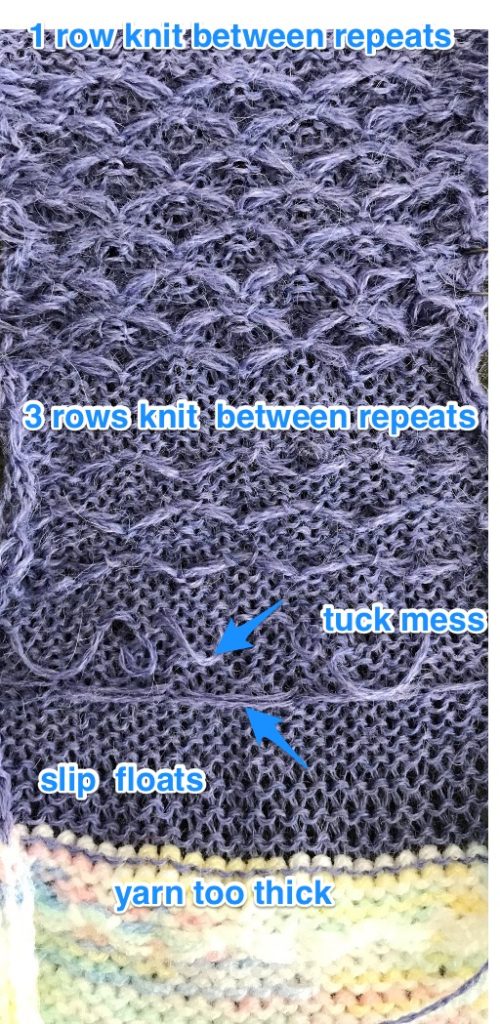
 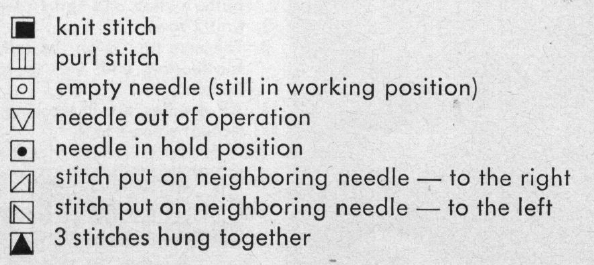 On the purl side, this creates structures that emulate crocheted shells. My first attempts at trying to knit anything like this were in thin yarn, and I had enough issues to give up for the moment. Things worked out much better when I switched to a sport weight yarn that seemed to like knitting at T 10 for stocking stitch. With NOOW set up, my sample was knit at T 9. Waste yarn and ravel cord are often a good way to start, but not always necessary, the same is true of weight. I began with a crochet cast on, every needle, multiple of 4 st + 2, then dropped the alternate pairs of needles between the first and last 2 pairs of needles in work, pulling the needles back to A position, determining the width of my “shells”
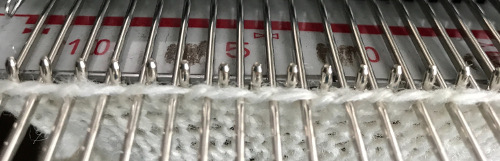
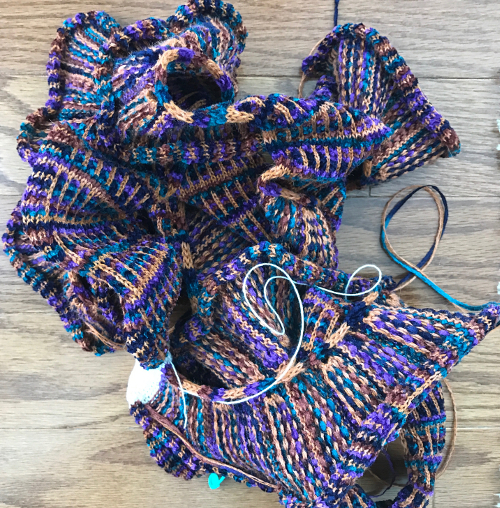
My initial experiment was an adaptation of the concept, with more needles in work than in the inspiration photo.
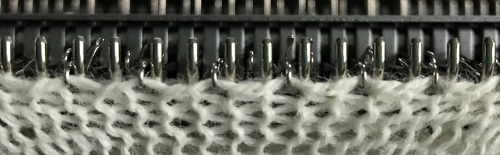
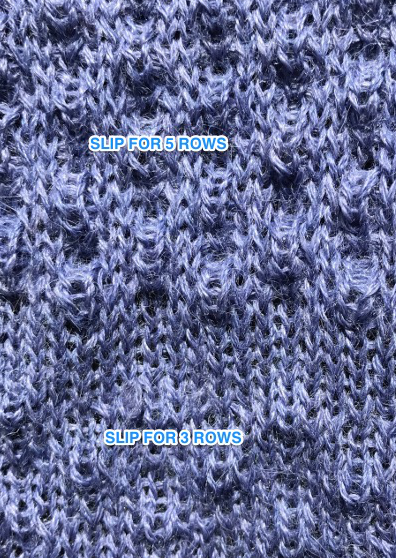
Working from right to left, starting with COR; the first pair of needles on carriage side in work, remaining needles away from carriage are in hold position 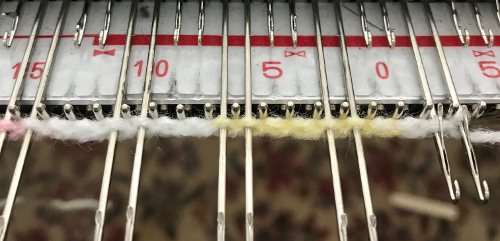 moving toward left, the adjacent needle in the first pair in hold gets wrapped; be sure to retain proper positions for knitting and holding
 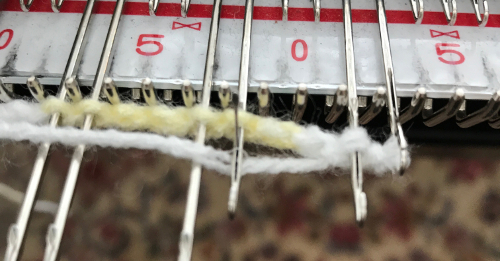 the first wrap completed, needles in position to continue
 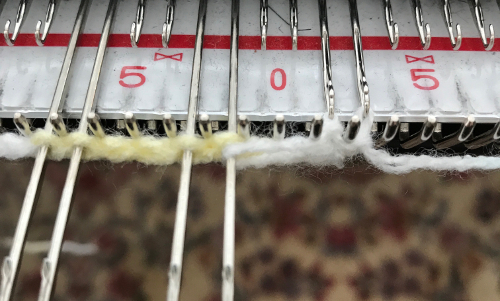 the process is repeated X number of times. I chose to wrap X 5, which requires 10 rows of knitting, making the row counter usable to track rows in easy increments. When wraps are completed, push wrapped needle and its partner into work, knit one row
 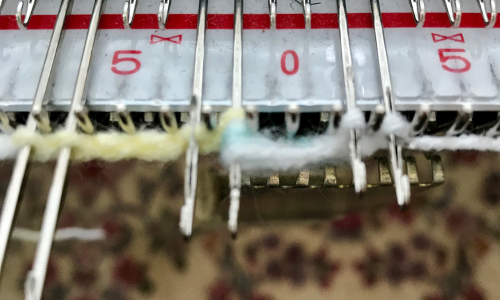 make certain all the loops have knit off, wrap the first needle to their left, bring pair on the right to hold
 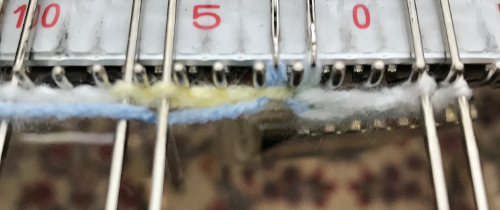 continue for your desired number of wraps
 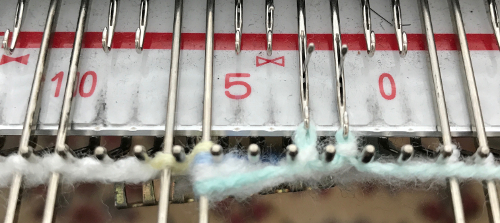 return wrapped needle and its partner to work position, knit one row, wrap next single needle on left
 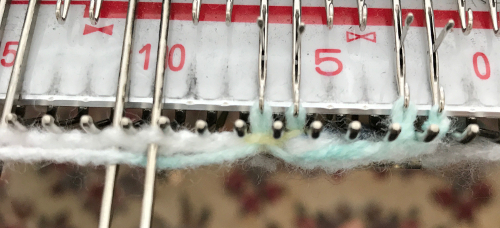 remember to bring needles to right of the pair just knit into hold
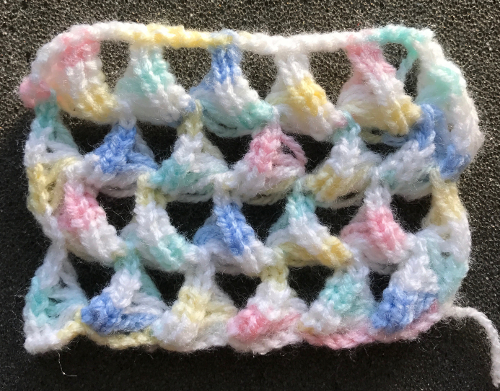
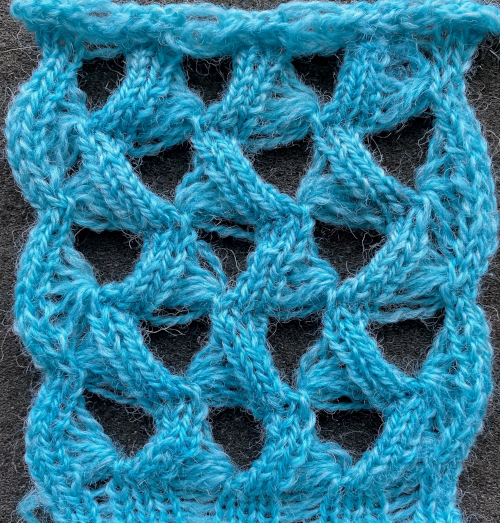
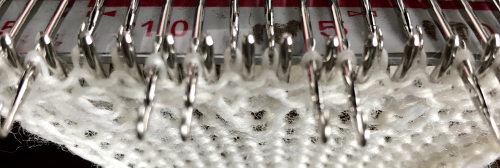
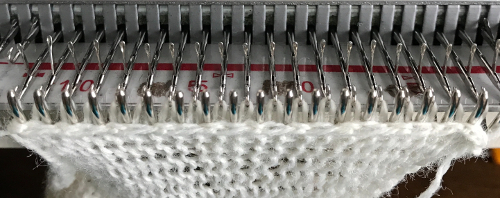
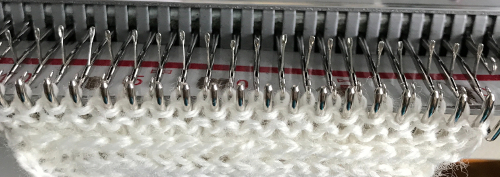
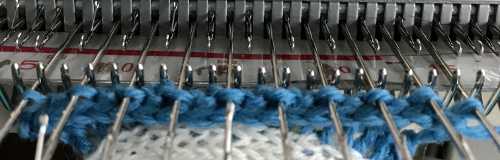
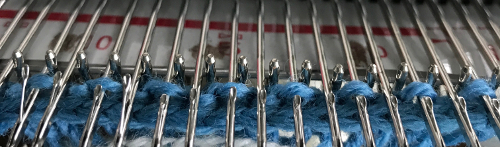
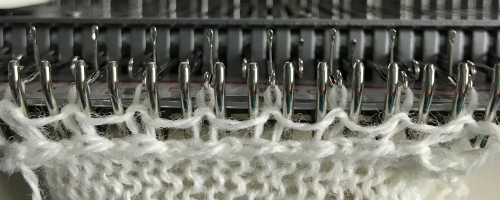
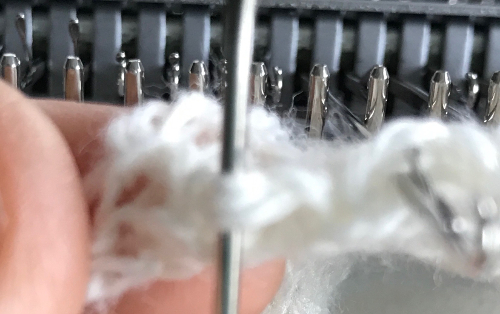
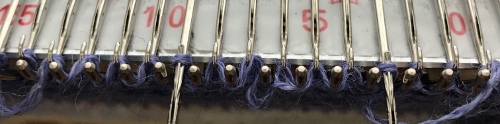
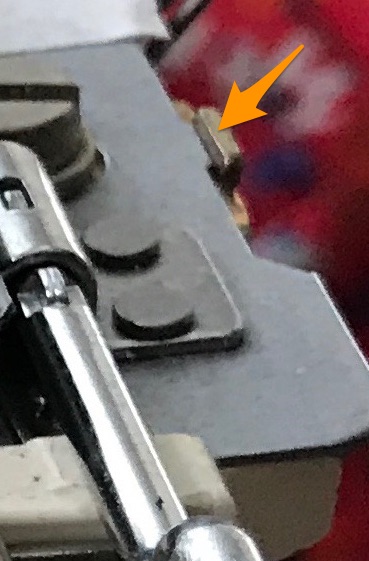
 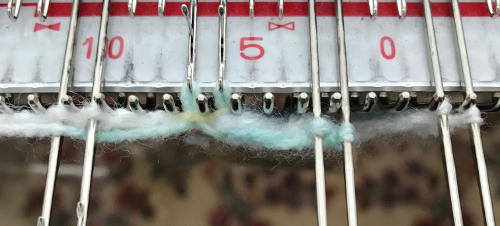 repeat to end of row. Reverse process moving from left to right (in progress photo). I found a single tooth from a claw weight on the pair of stitches doing all the knitting helpful.
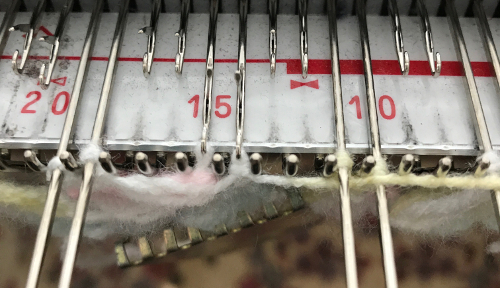
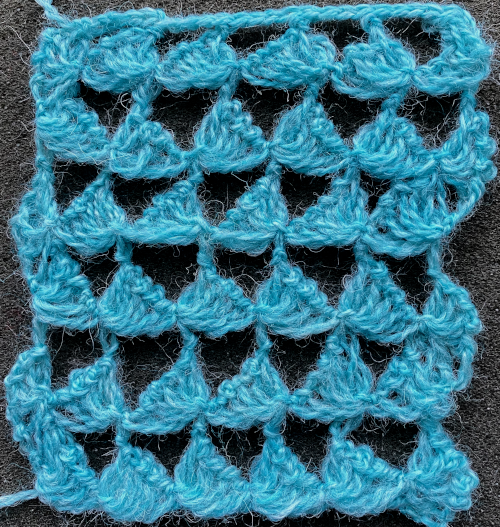
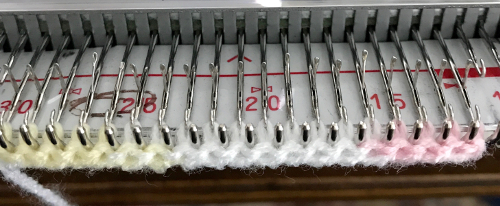
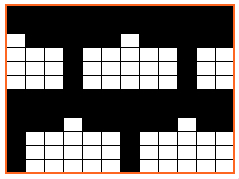
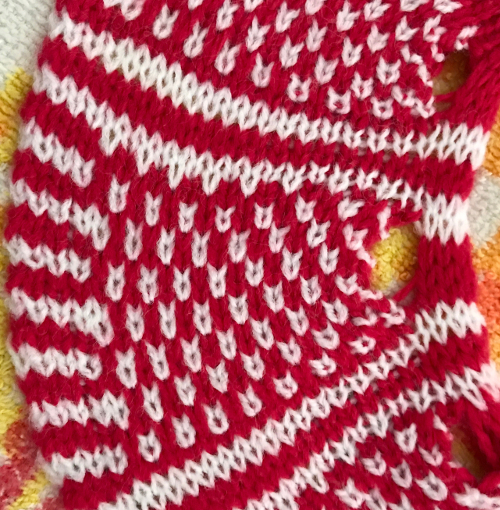
 Variations can include the number of needles in and out of work, yarn choices, etc.
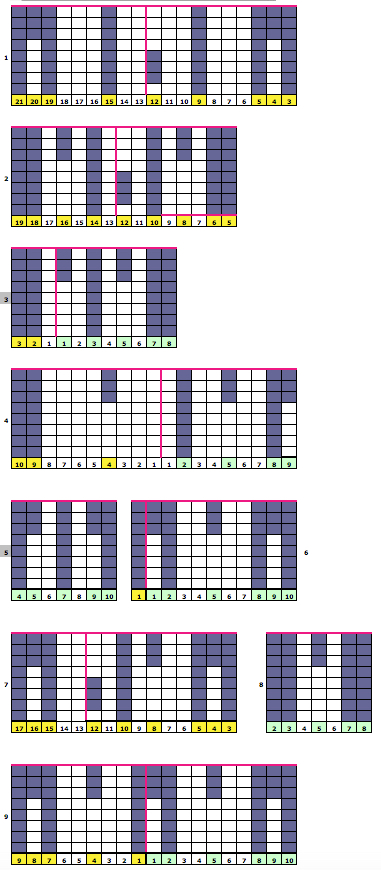
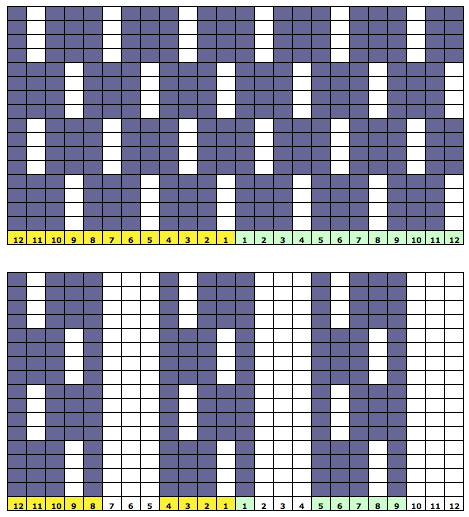
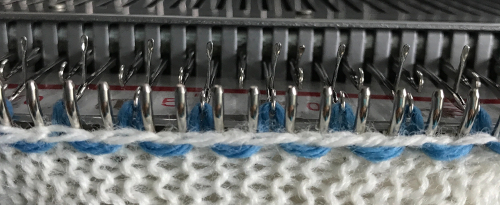
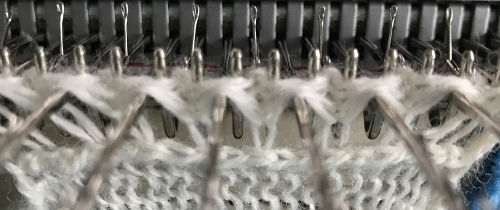
 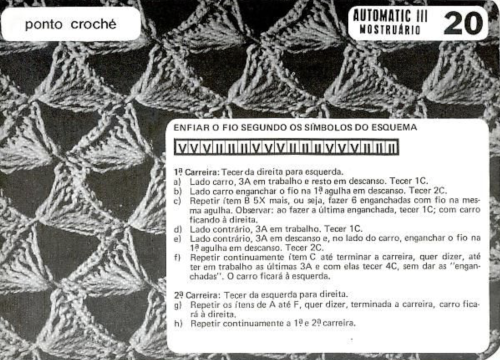 The needle arrangement to match the symbols with 3 in work, 3 out of work
 ![]() The same steps sequence is followed as for the first swatch, using a 2/8 wool. Summarizing the beginning series of movements starting with COR
The same steps sequence is followed as for the first swatch, using a 2/8 wool. Summarizing the beginning series of movements starting with COR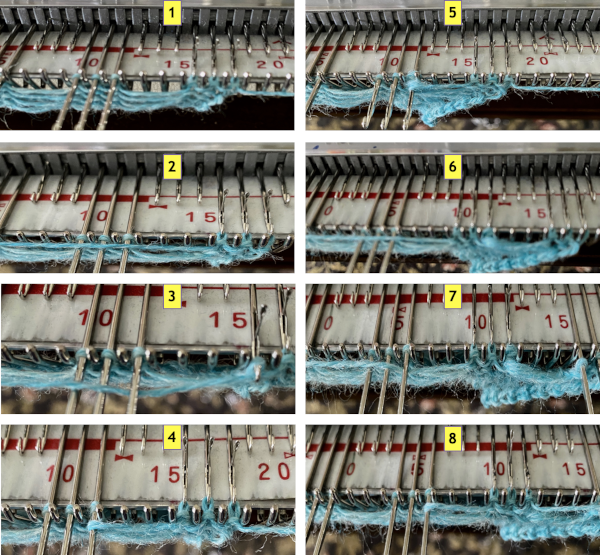
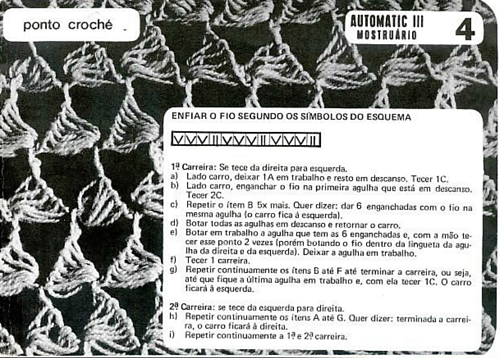
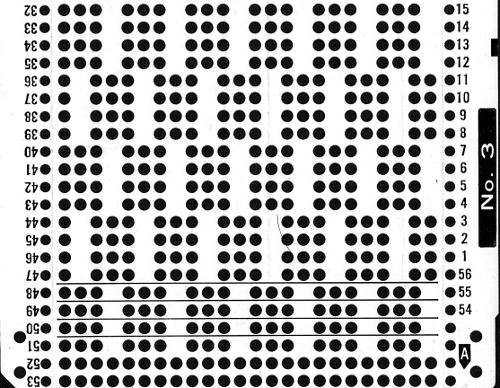
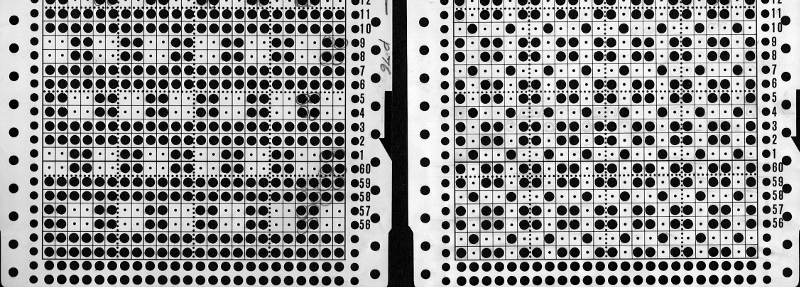
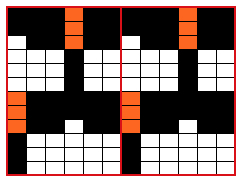
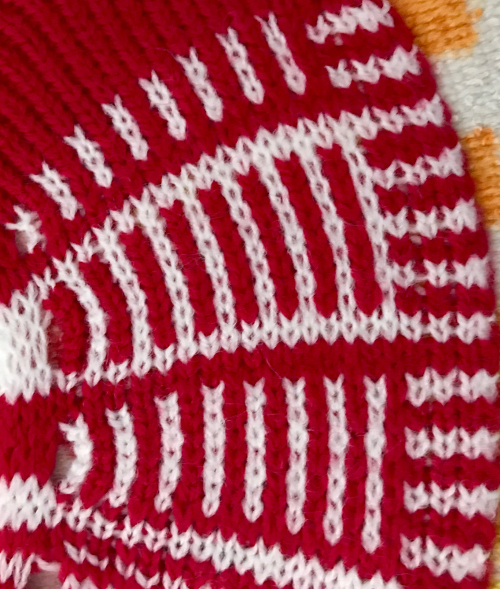
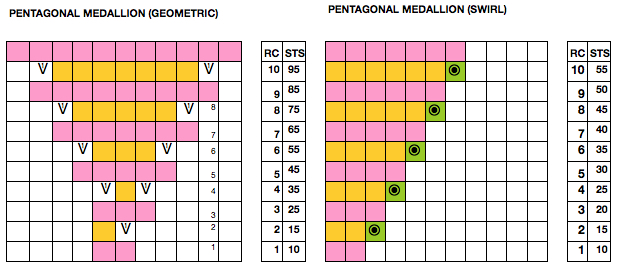
 The full series of patterns may be found in the Portuguese language booklet
 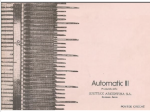 The illustrated needle arrangement for #4
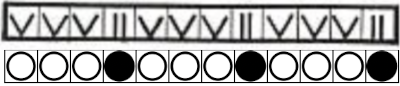 I like to begin using a chain cast on, and then dropping chains off needles out of work
 1: COR, leave the first needle in work, pull the remainder out to hold, knit 1 row
2: COL, bring the thread under the first needle in hold position  3: COL, knit 2 rows, repeat 1-3 5 more times, creating a total of 5 wrapped loops, ending COL
4: COL, put the needle storing the wrapped threads into work, and knit this stitch by hand twice, leave it in work
5: push the adjacent needle to its left into work, the needle on its right out to hold, knit one row, ending COL
Repeat steps 2-5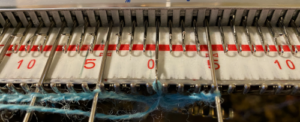 The fabric shares knitting sequences with the first 2 samples
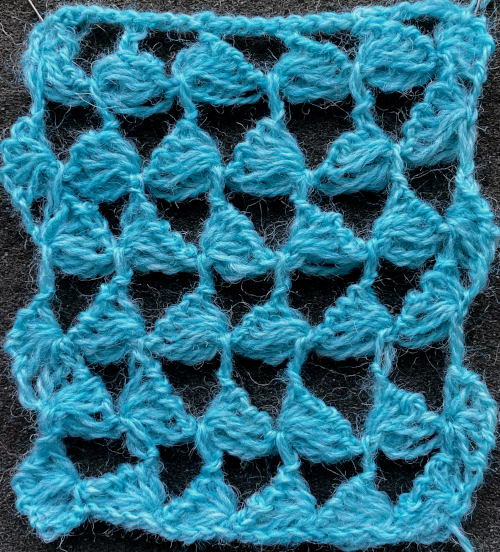
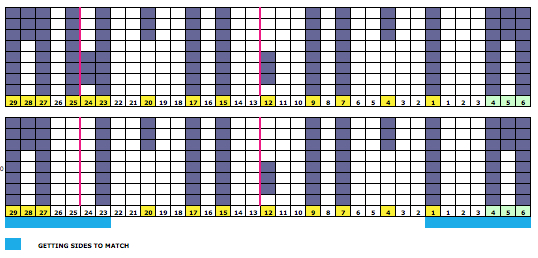
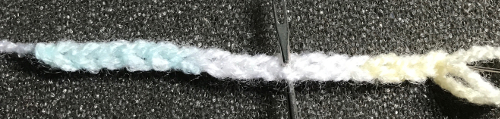
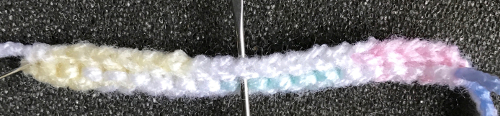
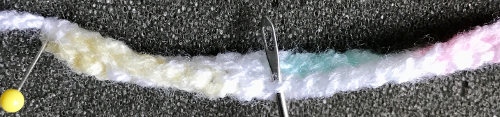
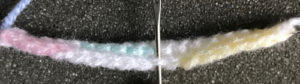
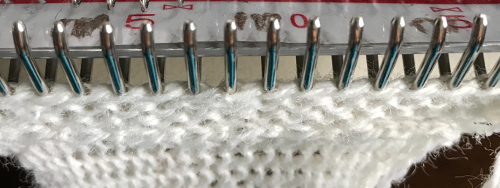
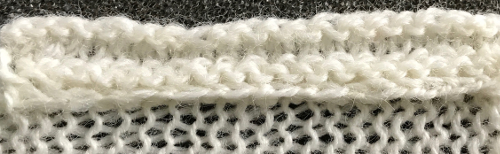
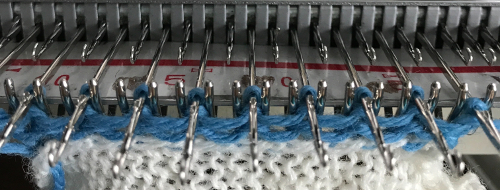
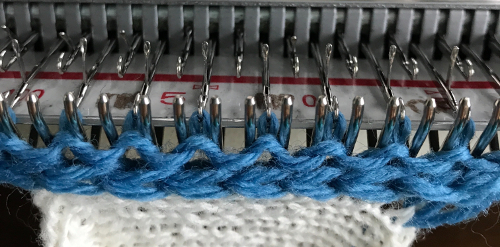
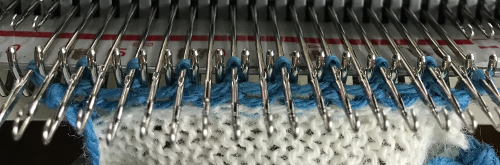
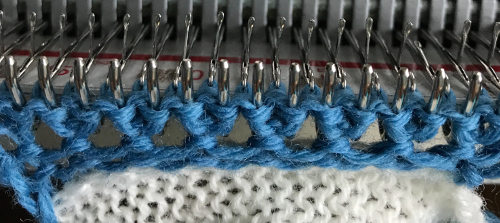
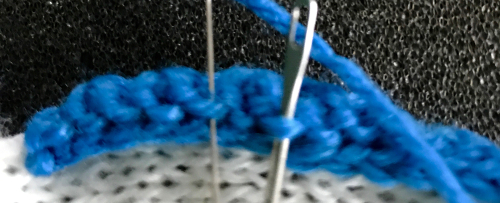
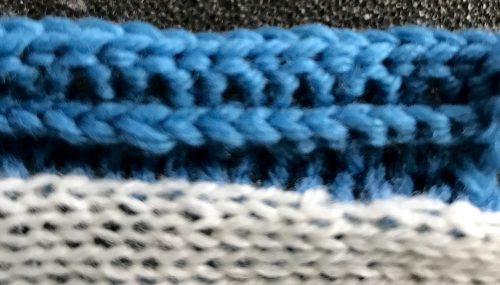
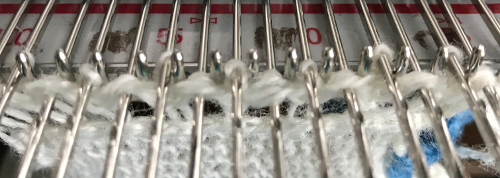
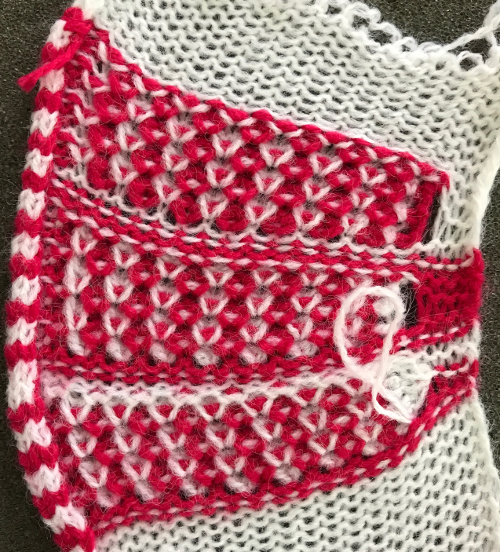
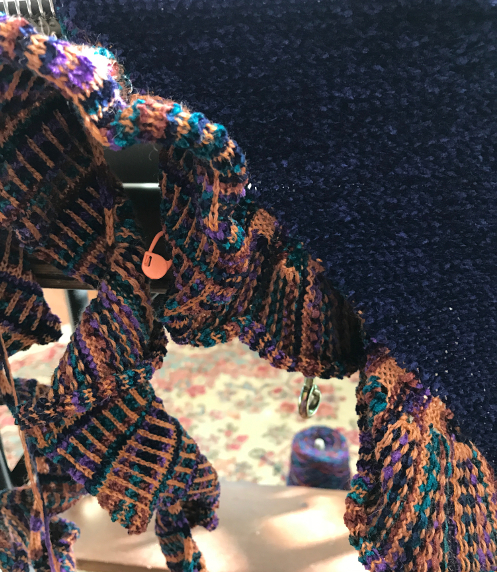
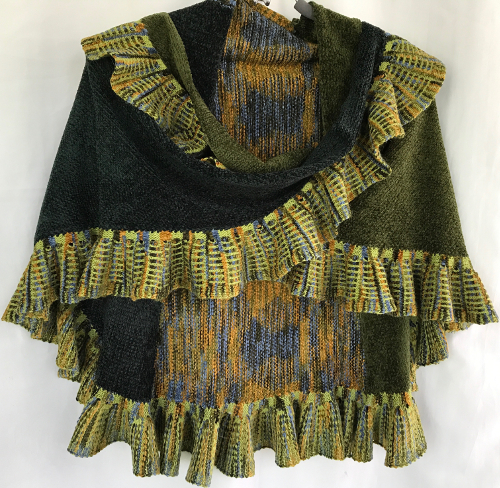
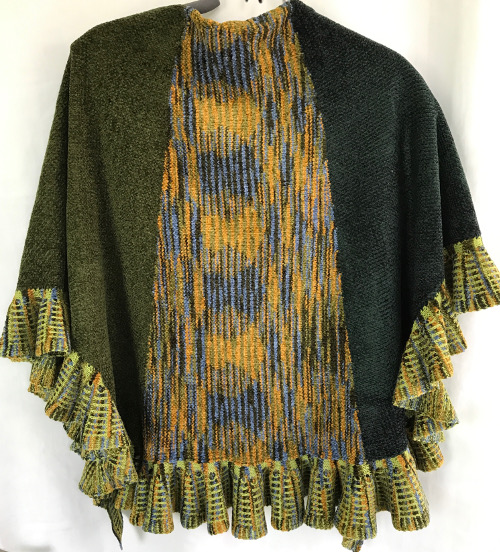
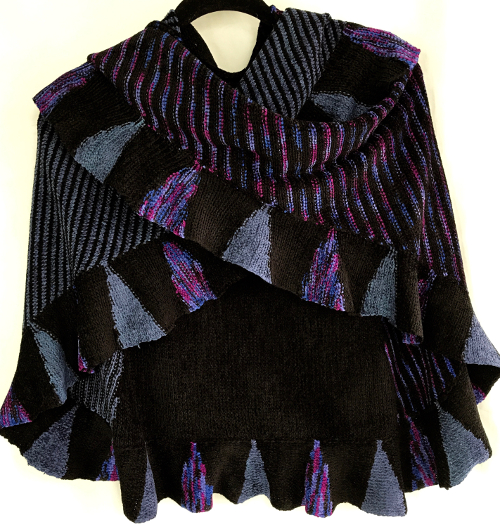
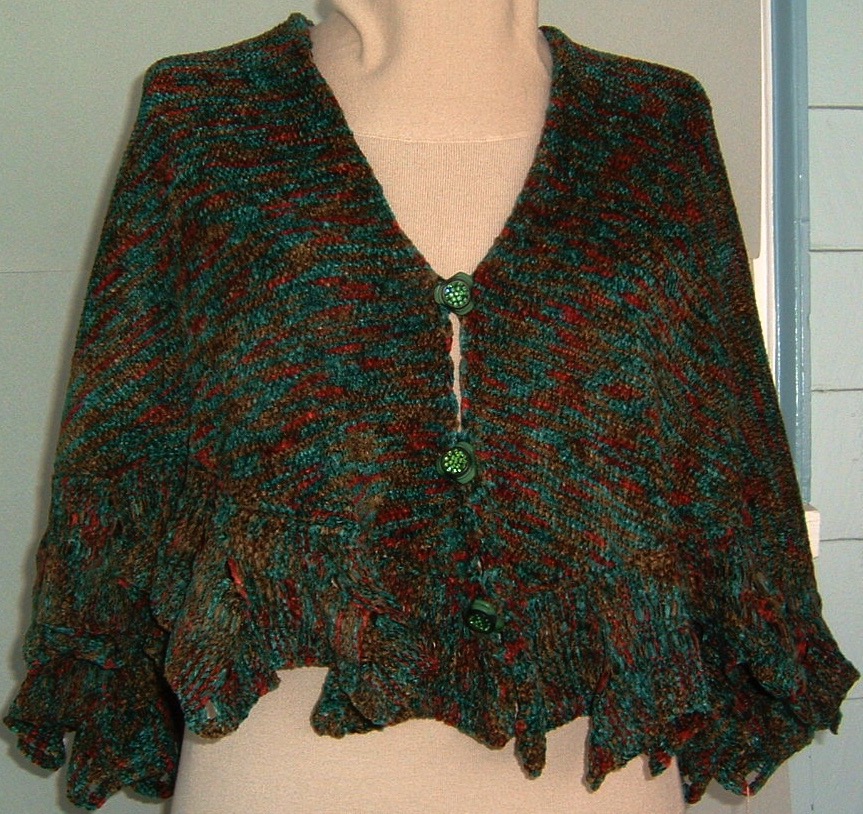
 Here a similar technique is used for a trim, both sides are shown
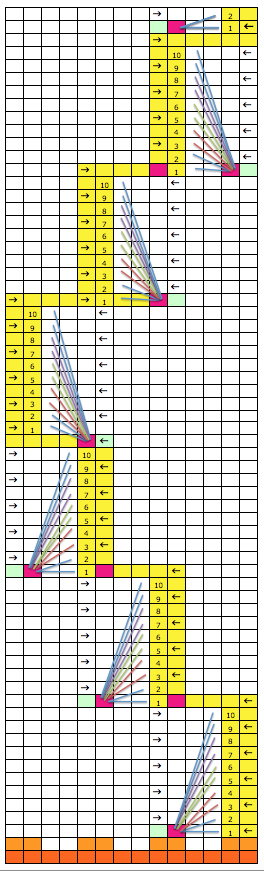
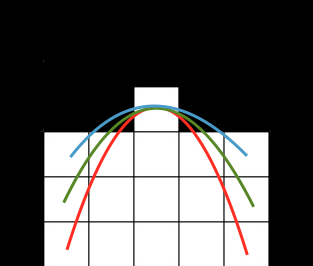
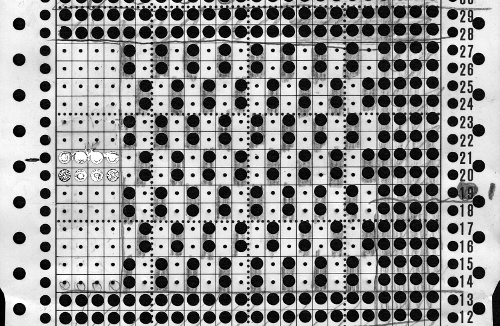
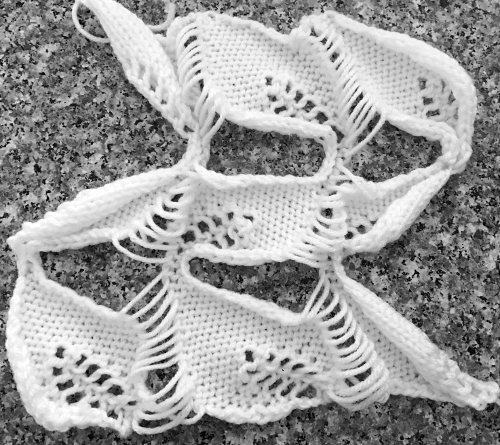
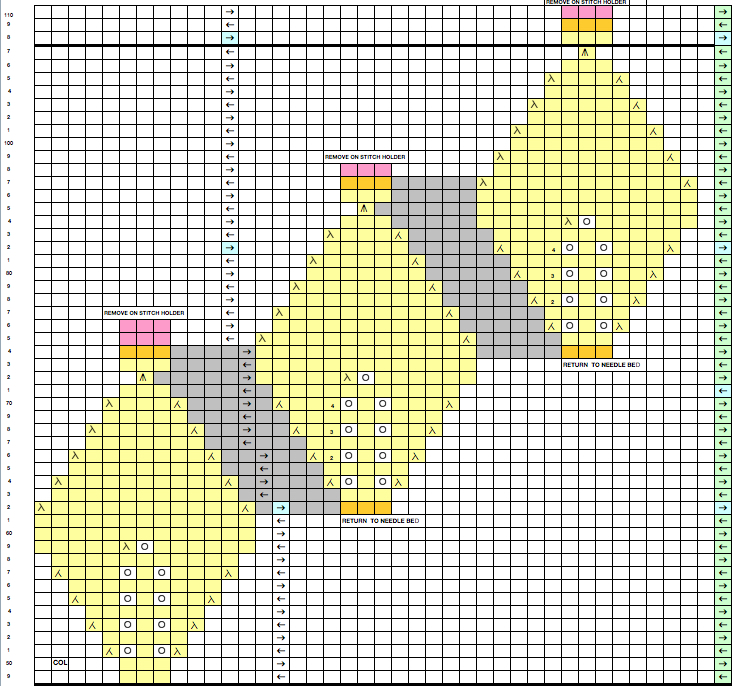
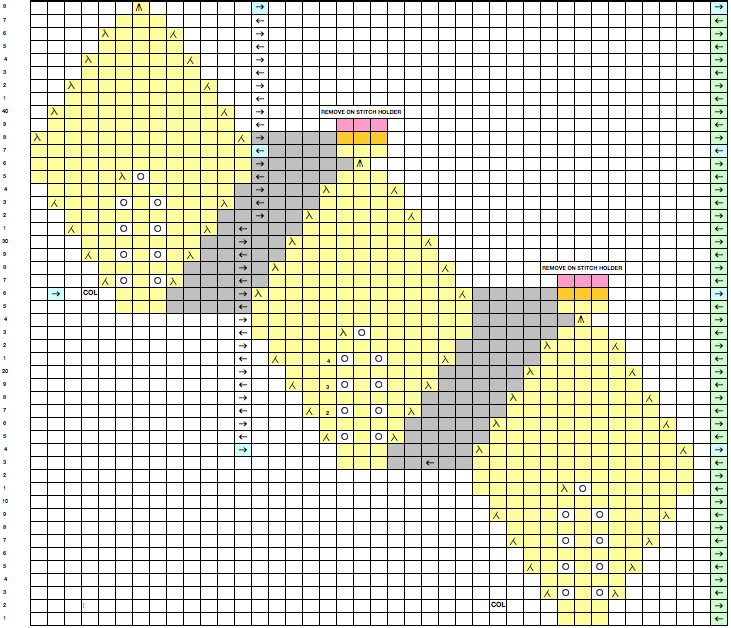
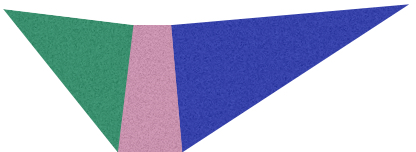
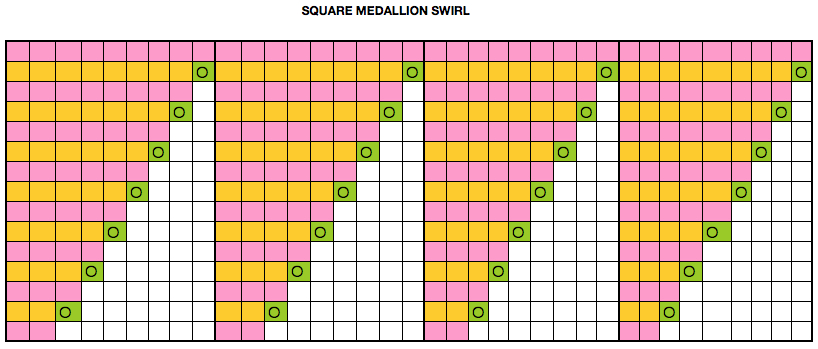
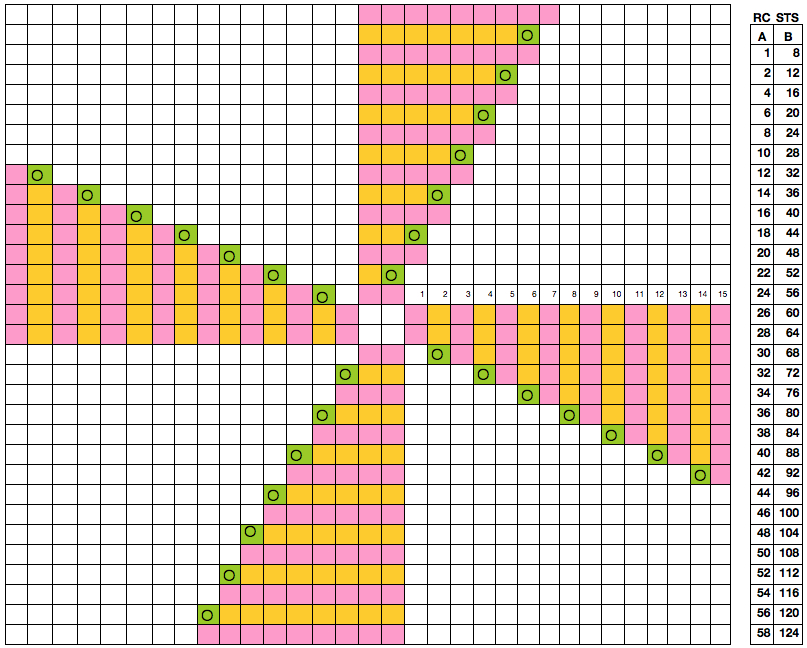
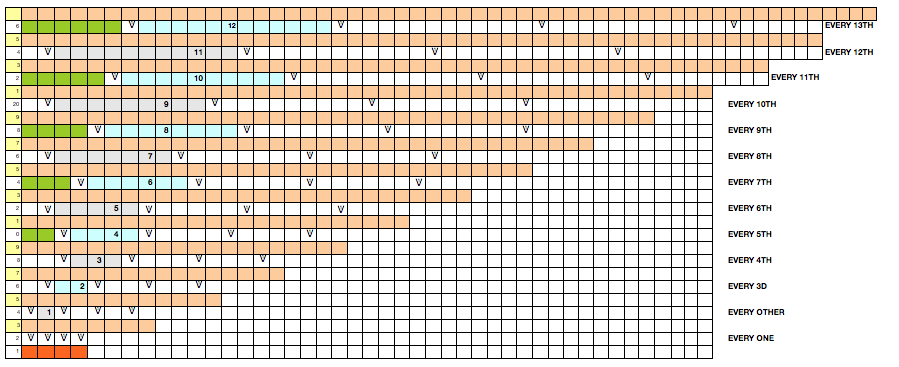
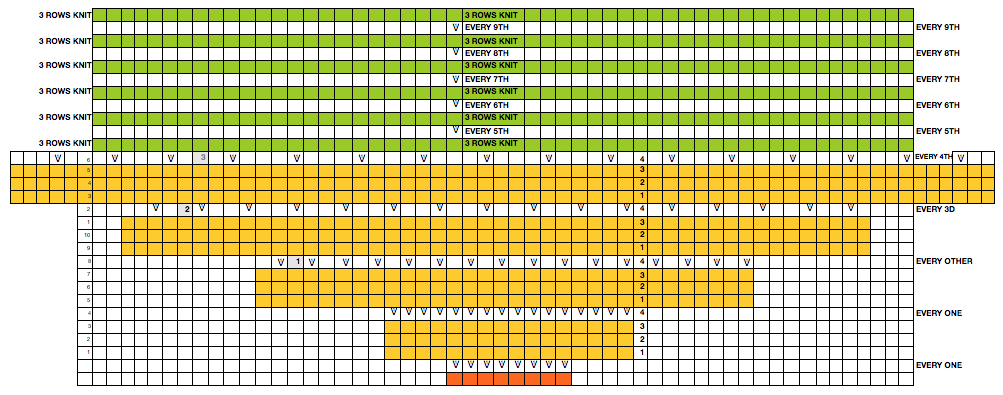
 trying to imagine the process in chart format
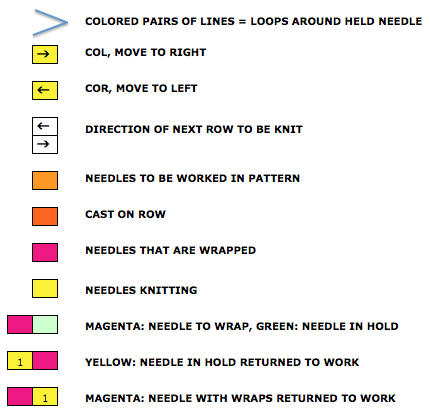
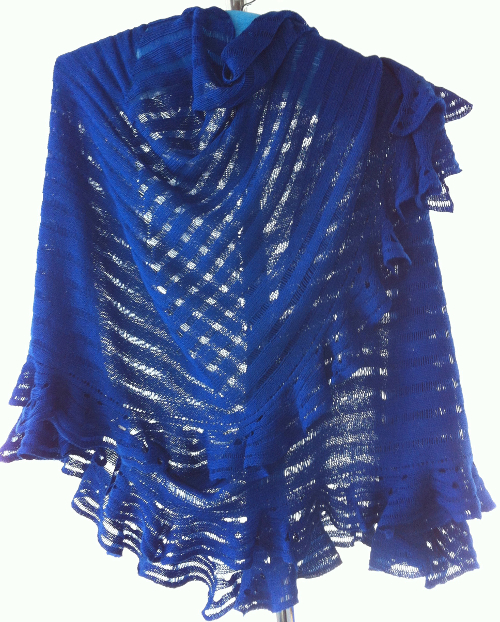
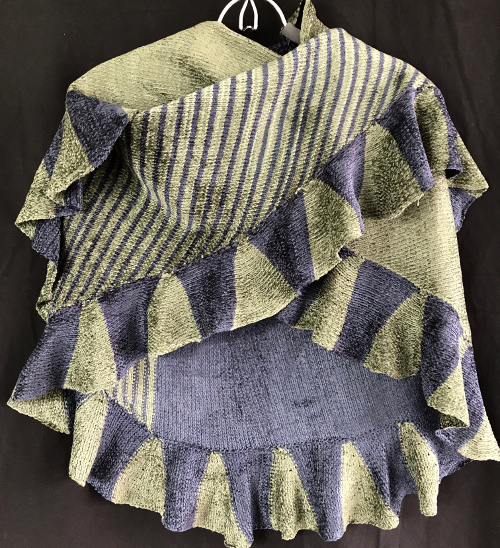
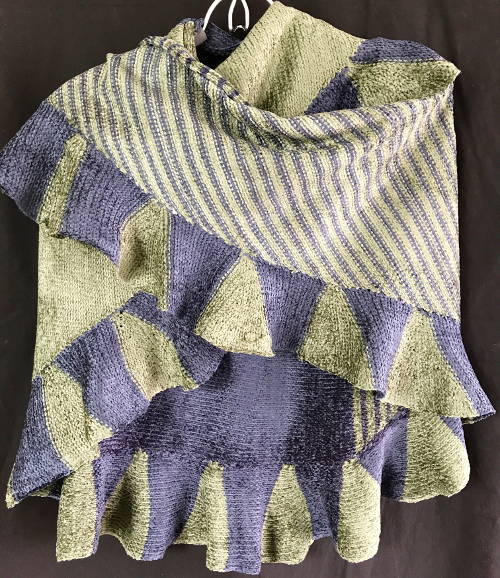
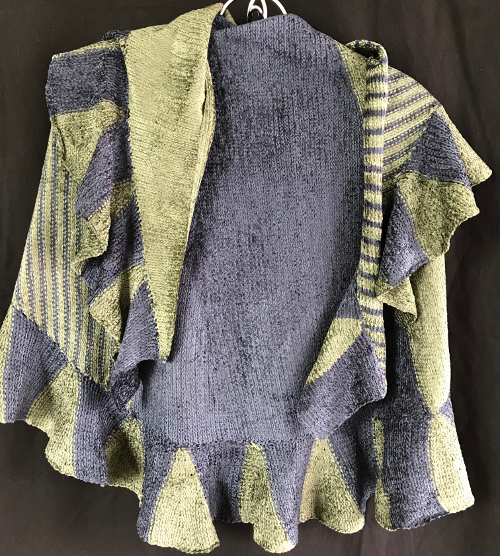
Online inspiration:
a youtube shawl
techniques that use holding while moving across the needle bed in a similar manner, though not necessarily producing “crochet-like” fabrics: https://www.youtube.com/watch?v=XR_7Ys9KIaU&t=4s
http://postila.ru/post/29275341
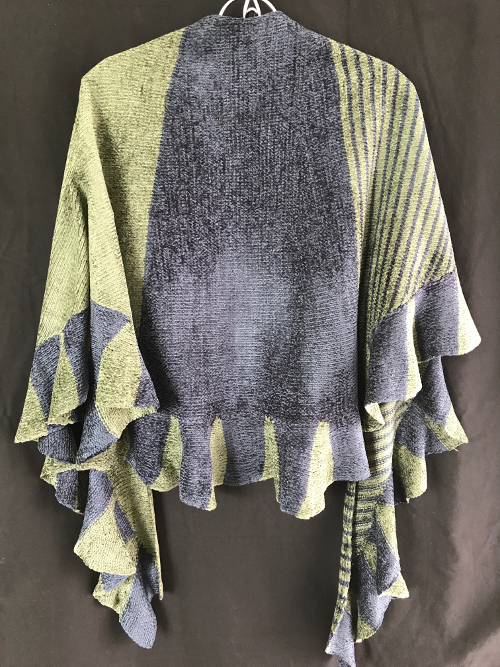
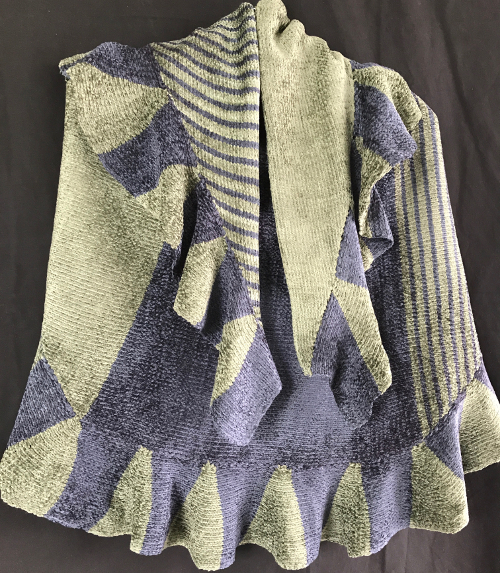
A follow-up post with more fabrics inspired by the Knittax pattern book

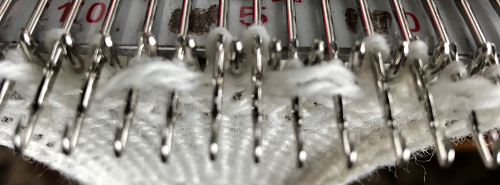


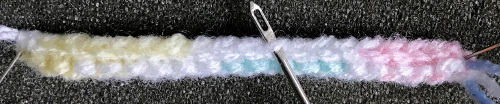
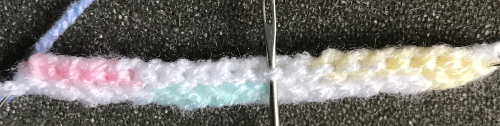
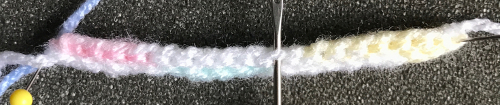
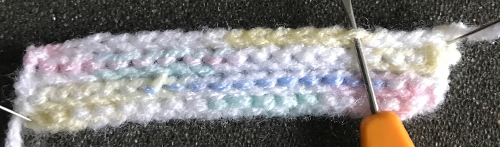


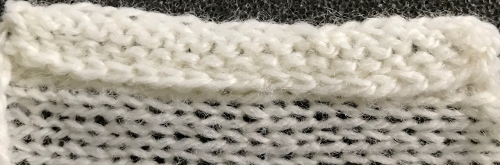


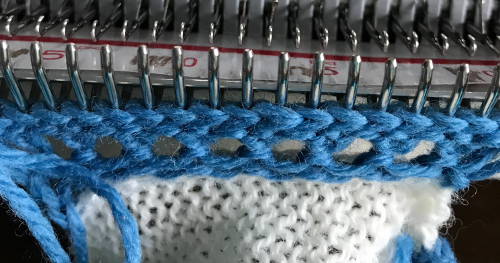
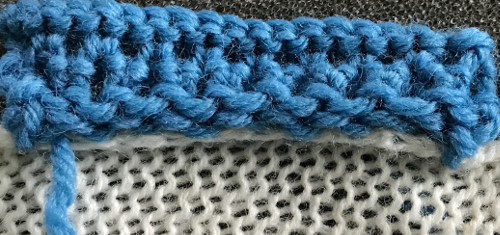

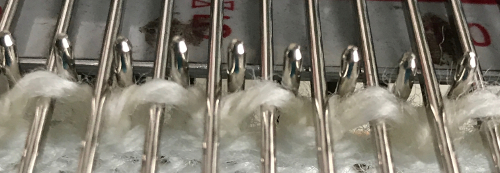


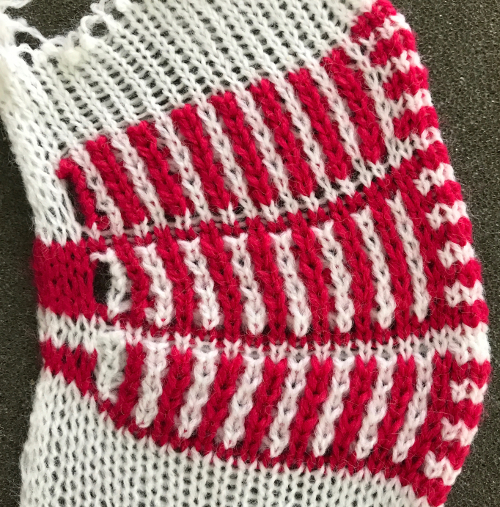
 a bit closer,
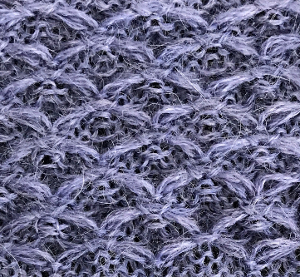


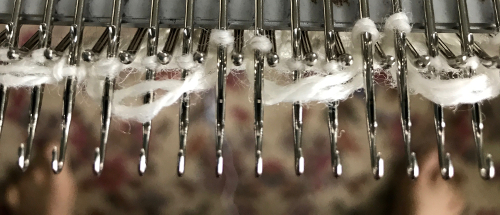
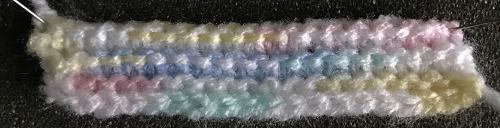
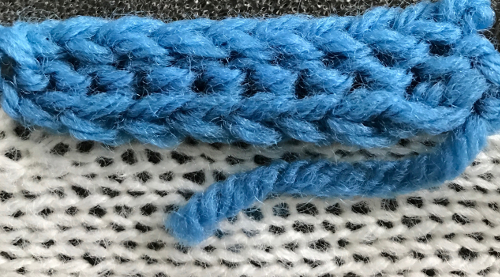
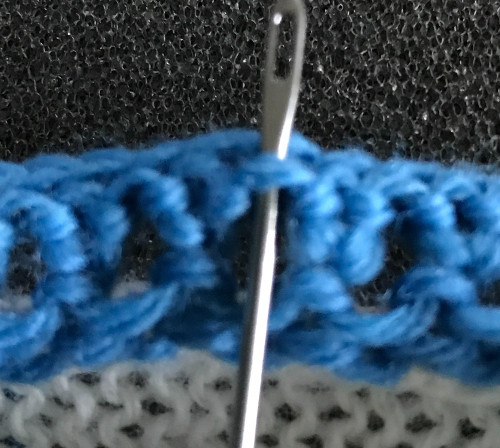
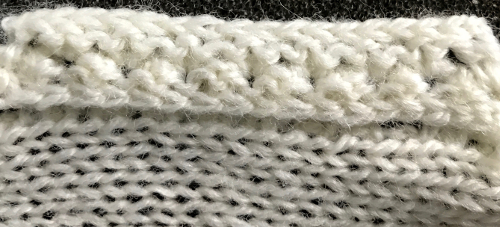
 felted wool
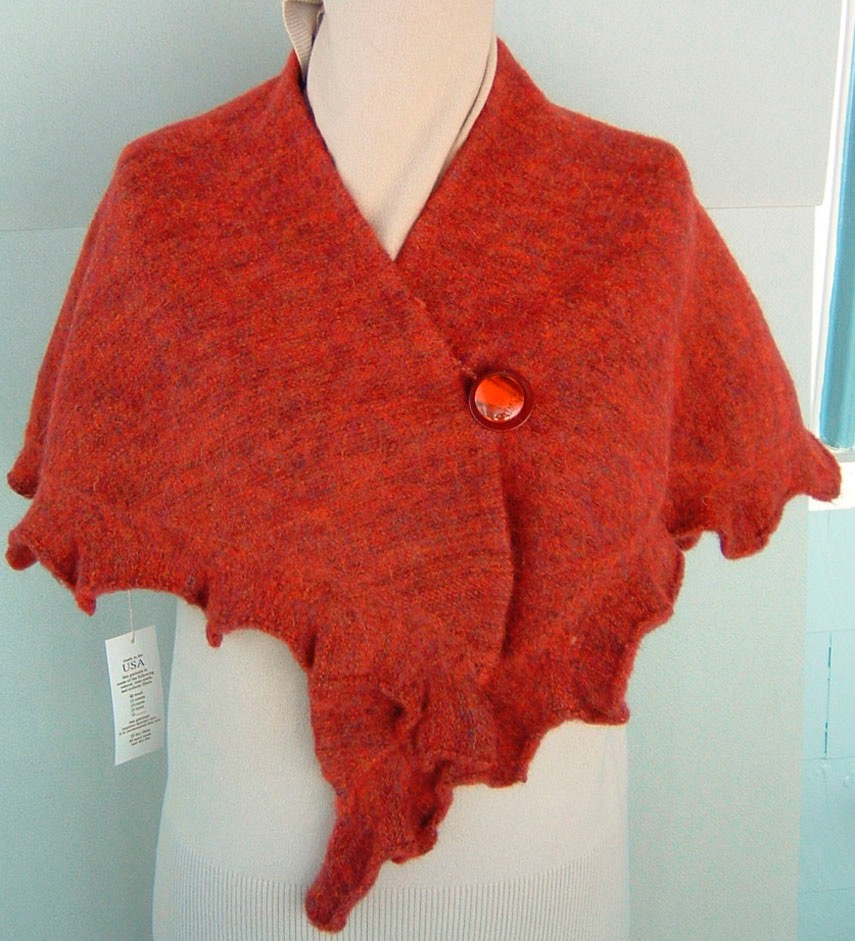


