Previously published:
ArahPaint and Gimp in knit design 2
ArahPaint meets Gimp in knit design 1
Subsequent posts on using Gimp Layers to process images:
Using Layers in Gimp for color separations
Layer/Transparency/Color to Alpha Gimp Update for Mac 3_more on color separations
Gimp allows one to work on multiple images with only a single window open, left mouse clicking on any one of the images will bring it into view for editing. In the dark theme, it is hard to see the difference, but a lighter border actually surrounds the active image distinguishing it from the others, outlined here in yellow 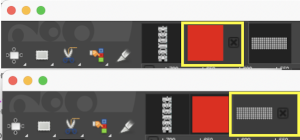 In Arah, multiple windows may be opened at any one time, and left-clicking on any one of them will bring it to the front for editing.
 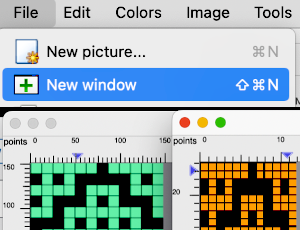 When working using the same file in more than one window, the degree of magnification needs to match in each.
Spreadsheets and paint programs may be used to achieve color separations for designs intended for specialty fabrics, many worked on the double bed.
Two places to begin exploring them here are for knitting single-bed mosaics and double-bed jacquard in its form where each color in each design row knits twice.
It is unlikely to happen often in knitting that more than 6 colors are used in any one fabric except perhaps in an elaborate color-changing fair isle.
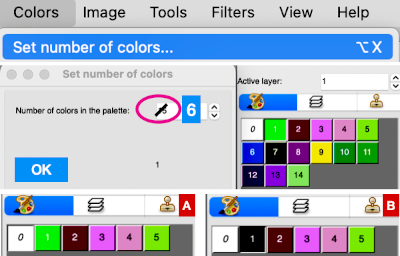
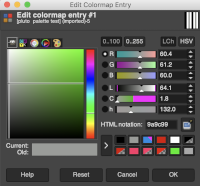
The palette that appears in Arah when opening a new file is random, as seen here when two new files of the same size are loaded  If one’s preference is to reduce the number of colors, the specific number may be set by choosing from the colors menu, editing the number identified as that for the working palette, changing it to the new value, in this case, 6, and the palette reduction occurs as seen in A. For most knit repeats a black color is handy, any one of the 6 colors or more may be adjusted as described in the previous post, seen in B, where black has been added, replacing the color in position 1.
  More Gimp information: https://docs.gimp.org/2.10/en/gimp-palette-dialog.html
Some of the related content in brief: the former versions of GIMP had a “Save palette” command. Palettes were stored in a specific folder via the preferences pane. Easy to do and manage. It no longer exists.
To save the palette of an image, indexed or not, you must now import it from the image.
The “Palettes” dialog is dockable: from the Image menu, select Window, Dockable Dialogues, Palettes.
A few dozen more or less randomly chosen palettes are supplied with GIMP.“Import Palette” allows you to create a new palette from the colors in a gradient, image, or palette file.
Right-click in the space to the right of the illustrated palettes to call up the import option, or for palette editing. 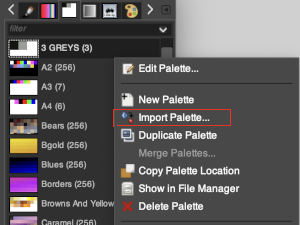 It is not necessary to index the image, this image was used in RGB mode.
 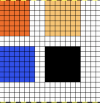 A palette name can be assigned, and if previously used, a number will be appended by the program.
The number of colors: the default is 256, you can set the number to any you choose. Gimp will try to create a palette by spacing the number of colors evenly across the range of the gradient or image. Each screengrab in the top row shows the initial selections for gradient or image, and the second row of screengrabs notes other changes made when choices were available and the results. White dots mark selections as seen while using the program. 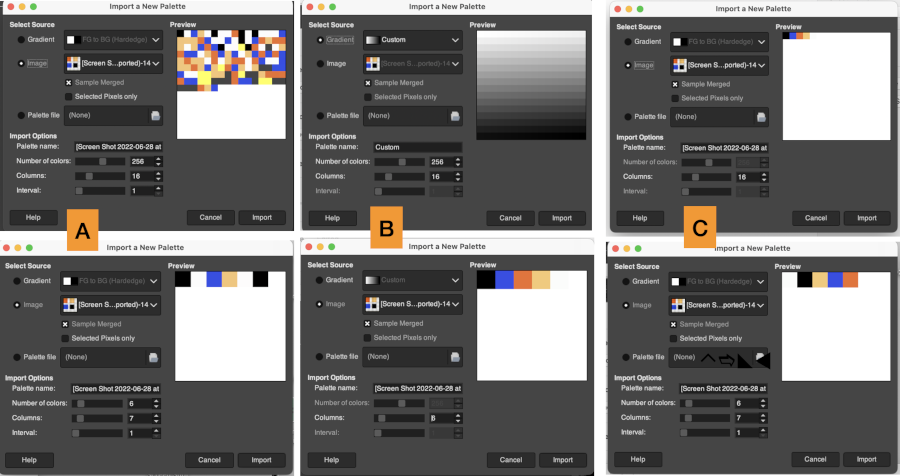 Using the same image, indexed to 5 colors, the custom palette is rendered in a one-step process. The gradient seen in the first position on the top left was randomly assigned by the program and does not influence the results.
 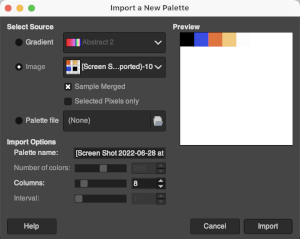 The Columns selection number settings only influence the way the palette is displayed and have no effect on the way the palette is used. The lower the number, the larger the display size of each color unit.
Double-clicking on any palette color will magnify the palette view on the theme color background. Left-clicking on any color makes it available for drawing, the selection will have a dotted bounding line and the selected color will be assigned to the foreground position, 
 Right-clicking on a color results in these options.
  The imported palette will be added to the Palettes dialog and is automatically saved in your personal palettes folder when you quit GIMP so that it will be available in future sessions.
In Arah, the color palette will always display the colors of the active layer. The working image contains colors intended for use in my designs. In addition, please see the note from the developer in the comment at the end of the post. 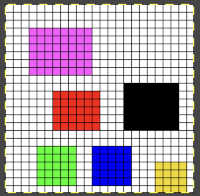 The palette tools:
  A: if you press this icon the program will underline the colors actually used in the image, since all colors are used in this case, each color is underlined in either white or black in this instance
 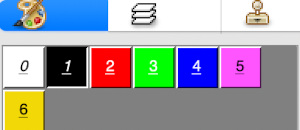 D: adds color(s) to the palette
  B: removes unused colors in the above palette, it would restore the original colors
C: removes duplicate colors, not applicable in this instance
E: removes the last unused color, will not work if all colors are used.
Changing color positions in the palette: to switch the position of two colors in the palette, click the chosen color in the palette, move the cursor to the color you want to switch the position with, and press the left mouse button while holding the Ctrl key on the keyboard. In this instance, the color was duplicated in the new position.  Knitters designing for dbj are likely to work with a limited range of colors, often 3 or 4 max, in specific palette ranges to ready images for download.
If color separations for 3 or more colors are done in shades of grey in terms of technical details, you need a pattern image that is 8-bit greyscale, with each color in a range of 8-bit values. So for 4 colors, it would be 0-63 color 1; 64-127 color 2; 128-195 color 3; 196-255 color 4.
Binary images have only 2 possible intensity values, normally displayed as black and white with values of either 1 or 255 for white, and often 0 for black.
That convention may have led to the selection of white as color 1 in automatic separations such as the KRC Japanese one, where white is selected first. In a greyscale or color image, a pixel can take on any value between 0 and 255. 
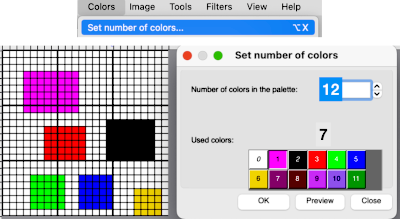
 Designing for fair isle, or when attempting to visualize and illustrate slip and tuck fabrics with frequent color changes, more colors may be required even though the final download will be in black and white. There is a quick way to add random colors assigned by the program and based on the initial palette:
  The magic wand tool allows you to work on consistently colored areas without having to select and outline each.
To alter a single color using the bucket tool, click on the wand, then on the color single color area you wish to change, it will become outlined by bounding lines.
Click on one of the colors in the expanded palette, and it will automatically appear in the foreground color position, and it may then be used to bucket fill the chosen area. 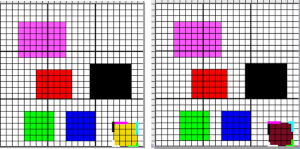 Flatten the image using the merge-down tool.
If the foreground color, in this case, white/0, needs to be changed, in order to choose all pixels in the foreground color, click on the wand, and use Tools > Select by color or Shift+W. This function works only on 8-bit pixel images. Click on the color you wish to use to replace the ground, and bucket fill with the newly selected color. 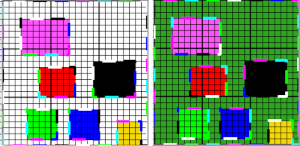 Flatten the image using the merge-down tool.
Changing multiple color blocks in the same color could be selected by the tool, but filling each of them one at a time was required.  In Gimp a similar tool is the fuzzy select, which also allows for changing the color in a selected area or for selecting and changing all pixels in that color. Selected areas will also be outlined in dashed bounding lines. Bucket fill may then be used to replace color(s). The option is offered to choose either foreground or background for the fill.
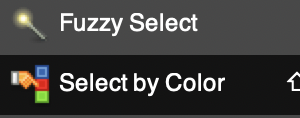
 2023 in Gimp 2.10.34 use and hold the shift key prior to selecting and using the bucket fill tool to change all the areas outlined by dashed lines. The bucket-fill tool itself now works again on any area with a defined boundary, no other, following action is necessary.
Click on the rectangle select tool and then on any spot in the work area or on the image to set the image. The dashed lines will disappear.
In terms of saving the palette in Arah for future use, I saw no specific directions in the manual.
The color palette displayed is always the one used in the active layer. As a workaround: open the image, and the associated palette will be displayed. The repeat begins drawn 24 pixels in width, by 24 in height.
Select clear from the edit menu, or bucket fill area with white
If the size of your intended drawing area is different, choose the option Resize Image from the Image menu. With the chain link intact, the new canvases are created keeping the aspect ratio. Enter a new value for width/height, hit return, or move the cursor to the alternate value, and its number will automatically change to a matching one. Click OK to use the new canvas, or reset if you wish to return to the original 24 by 24 pixel one for a different edit.
With a broken chain link as one of the two values is altered, a preview is available. If both values are to be changed, break the chain link, enter the two values in turn, and a preview appears for each step. Ok is used again prior to saving, or choose reset to return to the previously used setting. 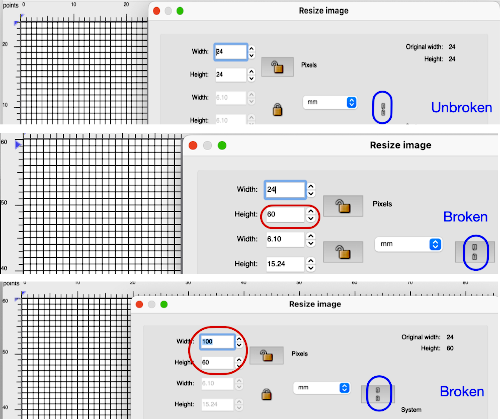
 Color separations can make specialty fabrics possible to knit which are outside the possibility of doing so simply by changing cam settings. Two instances are mosaics and DBJ where each color in each design row knits twice. Separating each may be done in two ways. The first method, convenient for longer repeats, requires that the result be elongated X 2, whether in the repeat design software or after download to the machine or using the elongation X2 function in the punchcard models. For illustration purposes here I will be working to create files that do not require elongation.
Mosaics and Mazes are constructed in similar ways and are sometimes referred to as floatless fair-isle even though technically speaking usually 2 stitch floats do appear on the purl side in the alternate color used with each color change.
Many such repeats may be knit using both the slip and tuck settings, the latter is the more interesting of the two on the purl side.
When learning structures it may be worth beginning with a published design.
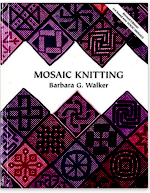
Kathleen Kinder decades ago published two books, one with 24 stitch repeats, the other with 40 stitch repeats, with the separations included as well 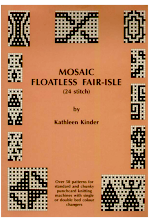 This, by Barbra Walker and intended for hand knitting, offers a huge library of designs for inspiration and conversion
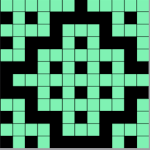
  Following specific rules it is also possible to develop DIY repeats from scratch. That said, the repeat used in this blog post happens to have a known value of 12 pixels by 12
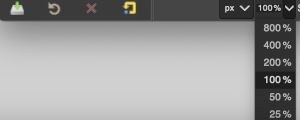
 Magnification in Gimp is achieved by selecting or typing in new percentages at the bottom of the window.
 Entering and exiting the full screen may be controlled via the view menu
  To exit, it right-click at the very top of the window to expose menu options and select deselect full screen.
  In Arah, if you press any number from 0-9 on the keyboard, you will change the zoom directly to that level (1 means 100%, 6 means 600%, 0 means 1000%). The plus + and minus keys- as well as the magnifying lens icons, will zoom in and out
  To use the entire space available in the window, choose Fit to Window from the view menu or select Ctrl+zero.
If working in more than one window this option makes repeats the most visible, scaling back can be done by counting the number of selections, helping to match the new picture magnification to the first.
Press the escape key on the keyboard to return to the original 100% view.
To work using the full screen, select the option from the view menu. To exit, right-click at the very top of the window to expose menu options, and select exit full screen  Separating the design: ultimately the planned final graphic repeat would be a BW png used for electronic download, programmed as a fair isle one, but knit using tuck or slip settings, it may be drawn initially using only in those 2 colors. Black may need to be added to the palette selections.
One may always draw on a large canvas and then crop as needed, but as a starting point, it may be easier to simply match canvas size to the published repeat being used.
It is handy to have an extra column to help track image processing during the separation, the repeat above is identified as being composed of 12X12 pixels, one could begin with a 13X12 canvas.
A second way to provide the 13th column is to work using 2 windows, matching magnification, and the second with a different, larger pixel measurement than the first. Copy the contents of the original work area and paste them into the larger canvas in the other window. Crop to new size if necessary.
To illustrate the two-window process, here the original BW repeat has already been drawn and elongated X2
A. Use the rectangle-select tool to capture the whole image in the first window, bounding lines in the colors of the palette in use will outline the selected area
B. Use the edit menu or command C to copy the selection, edit paste, or command V in the new window to place it.
When pasting on a different size ground, the bounding lines will also appear in the new image, the contents remain moveable,
C. Place the selection where desired on the new canvas, when satisfied use the X, merge down tool to flatten it.
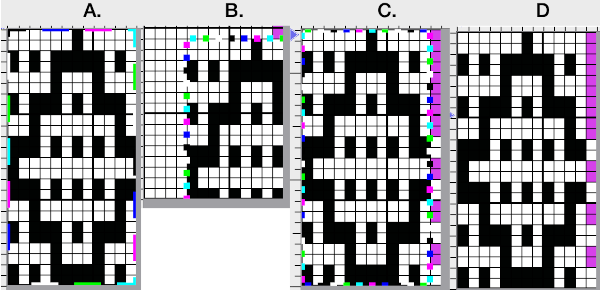 The quicker method begins with a canvas one pixel wider than the repeat, 13X12.
Adjust magnification, for comfortable viewing in the editing process.
View: show grid 2
Colors: set the number of colors to 6, and adjust the #1 color to black, white is in position 0 in the palette by default
Activate the pencil tool, and draw a vertical line on the far right in an easy-to-see color choice other than white or black
Using black, fill in pixels for your first draft of the pattern repeat
Image multiply YX2, resulting in 13X24
Using the pencil tool fill in the first 2 design rows followed by every other pair with white.  Magnify image A to a comfortable work viewing size.
B and C: using the rectangle select tool, with the left mouse button, place the pointer on the purple pixel, drag the mouse across each pair of marked rows,  release the mouse, and use Command I to color invert, and merge down
 to eliminate the bounding box.
The purple pixels will change color as well, making it easier to track what rows have been altered already.
D: crop the image, removing the row with colored cells for the final repeat
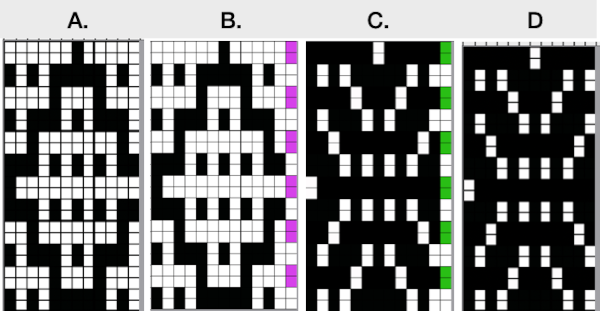 If for some reason you are processing an image that is color reversed, the steps are identical, but tuck or slip stitch fabrics, black pixels or punched holes knit, white pixels or unpunched squares tuck or slip. For this reason, the cropped final result would need to be color inverted prior to knitting or punching holes.
 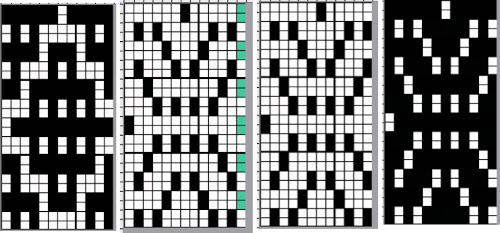 This separation for 2-color DBJ results in its potential use in many fabrics other than DBJ and may be performed by some programs used to download multiple color patterns to the machines prior to knitting the fabric. One such fabric is drop-stitch lace.
Punchcard machine users would need to separate the colors manually, or if Dak is available, the separation may be done using the program and a corresponding template may be printed as a guide to punching holes.
This method is the automatic default one for any 2-color DBJ knit on the Passap.
Each color in each design row will be knit with each pair of consecutive color passes. Completing one design row containing 3 colors will require 6 carriage passes, 4 colors 8, and so on.
The built-in color separation in electronic machines wherein each of only 2 colors in each design row knits only once does not apply when using more than two colors, though it is possible using Dak or by downloading a special card reader technique to program separately from the design when using the Passap E6000 in addition to the pattern repeat.
This separation of a 2 color pattern results in an elongated version of the design regardless of any dbj backing used.
Begin with a 2 color image, 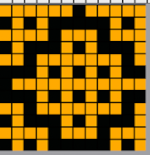 an extra column of pixels is added here as well:
A: multiply YX4 to 13X48
B: mark alternating pairs of rows in the extra column with a contrasting color
C: following the color cues on the far right column, on rows with no added color use the pencil tool to replace black pixels with white, leaving only the orange cells
D: on rows marked with the third color replace the orange pixels with white, leaving only the black pixels
E: crop the image eliminating the extra column
adjust the remaining orange color to black
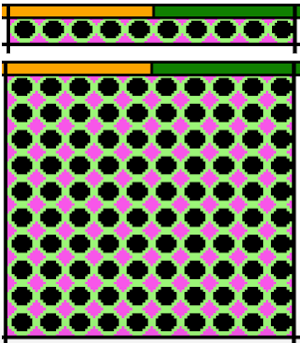
index the result to B/W, and the image is ready to save and use 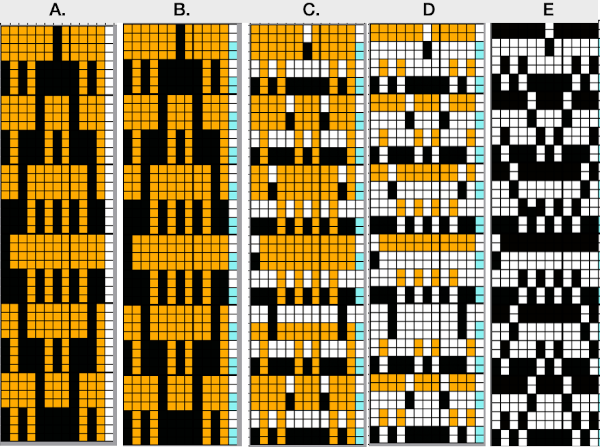 The difference between single repeats for each type of fabric, no further elongation is required. A: mosaic, B: DBJ
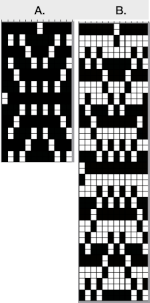 Using layers in Gimp opens up the possibility of several color separations for fabrics using only 2 colors.
Both img2track and Ayab are capable of opening 2 color images.
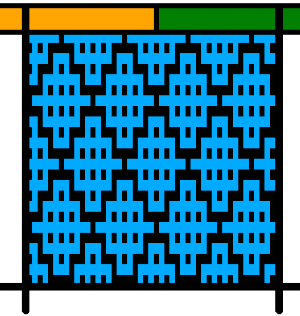
In img2track this is what would appear, after the download the KRC function needs to be activated in the knitting machine. 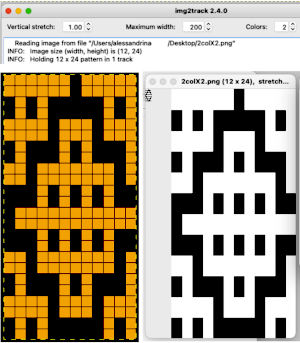 Ayab: the repeat should be programmed in width equal to the number of needles planned to be in use. The color change happens as the file is loaded into the program, the ribber classic option is used
  to render results that would match the KRC knitting machine selection after an img2track download. Here the repeat is also tiled in height.
  My personal preference is to work with images designed in black and white. With the 910 presently stored, my blog swatches are knit on a 930 using img2track.
A note for Mac users like myself using desktops with the M1 chip and Mac OS Monterey. Img2 track requires an FTDI driver for its download cable, on June 6 finally released a beta version of a more recent driver, I do not plan to install it at this moment, function in the upcoming Ventura OS would be unknown.  Ayab does not launch automatically. These are the steps necessary to run the program, following suggestions by Adrienne Hunter via the Ayab FB group:
open a Terminal window (Applications/Utilities/Terminal) and type these two lines:
cd /Applications/AYAB.app
./Contents/MacOS/AYAB
The app may also be found and then opened via using Spotlight search if you prefer  Once the program is quit unless you choose to keep the terminal icon
 in your dock, it will disappear and the above process will need to be repeated. Once the text has been entered, and Ayab has been launched, a message similar to this will appear, showing your last log in.
 To launch Ayab again, simply use the up arrow key and hit return to repeat the command
  Creating an AYAB desktop shortcut for Mac that will work without opening the terminal each time
Using Finder, open Applications and find AYAB. Right-click on AYAB and select “Show Package Contents”.
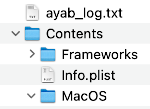 Locate “AYAB” under MacOS.
  While holding down the command and option buttons, click and drag that icon to the desktop. This will create an ayab shortcut that does the terminal stuff for you
  you can change the icon by copying and pasting the icon image in “get info” but it works fine without it. These icons will appear in your dock after double clicking on the icon
 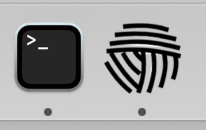 The ayab window opens with only the load image option highlighted
 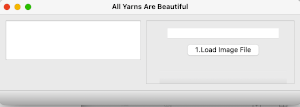 Click on the load image file to open an image, and the remaining features of the program will now be available
 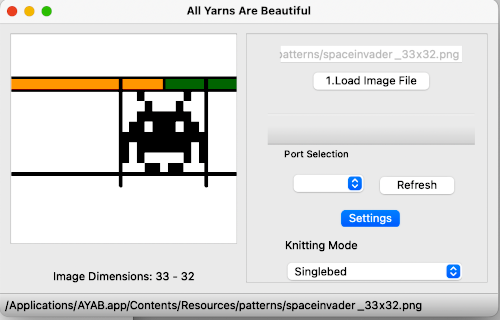 If you quit ayab, the terminal window remains active
 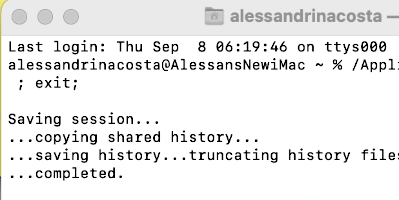 Quitting terminal called up this window for me only the first time I did so.
![]()
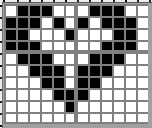
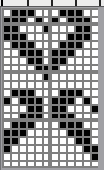
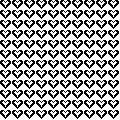 12X10 to 12X20 brick
![]()
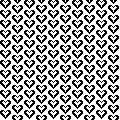 24X24
24X24 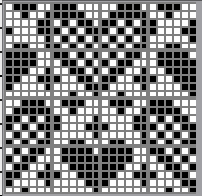
![]()
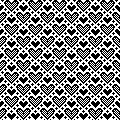 24X28
24X28 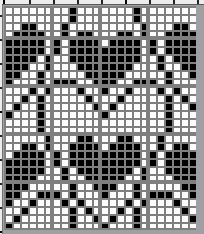
![]()
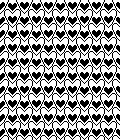 10X8
10X8![]()
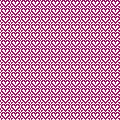 32X32
32X32 ![]()
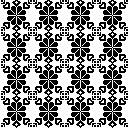 34X34
34X34 ![]()
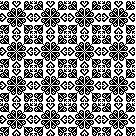 43X43
43X43 ![]()
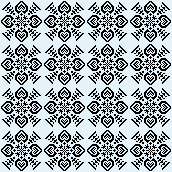 adjusted to 44X44, an all symmetrical suitable as a single motif or in larger formats
 ![]()
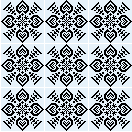 brick 44X88
 ![]() brick tile
brick tile 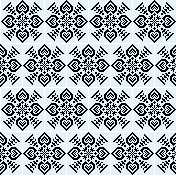 half drop tile 84X44
 ![]()
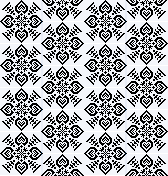
![]()
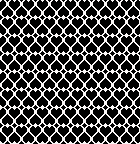
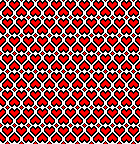 the 2-color version
 ![]()
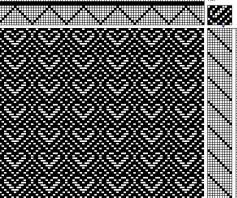
 From weaving drafts: a mosaic-like design
 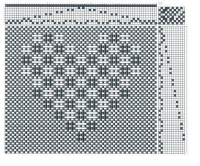 the 68X58 png
  cropped to 67X58 to avoid double stitches

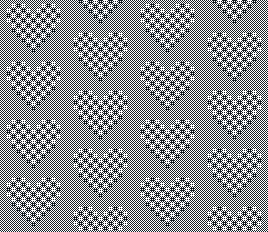 the source for a much smaller repeat
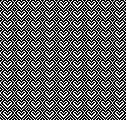
  the 14X20 png
 ![]()
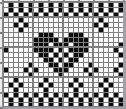
 When all you need is a border, repeats that may be used vertically or horizontally, presented in punchcard configuration, 24X21:
![]()
![]() 24X20, rotated for horizontal use would become usable on electronic models only
24X20, rotated for horizontal use would become usable on electronic models only 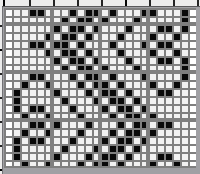
![]()
![]()
![]()
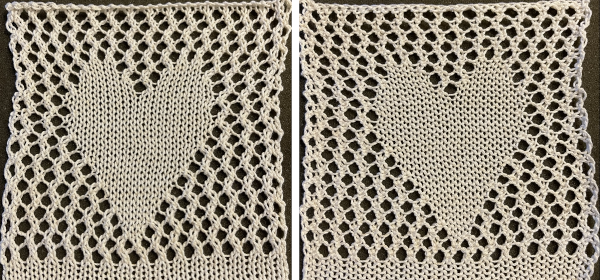 See the post for additional repeats and my method of developing the design.
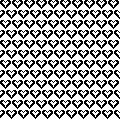
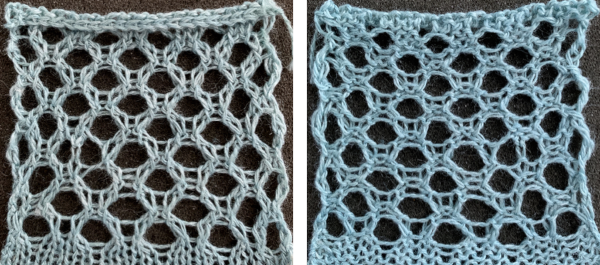 and single transfers to create the heart shape.
![]() brick repeat, 24X88
brick repeat, 24X88![]() with more knit stitches between shapes, 36X88
with more knit stitches between shapes, 36X88 ![]() the knit rows separating the stripes of heart motifs are highlighted in red.
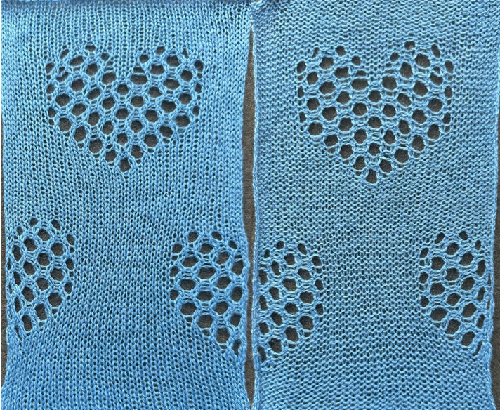
the knit rows separating the stripes of heart motifs are highlighted in red.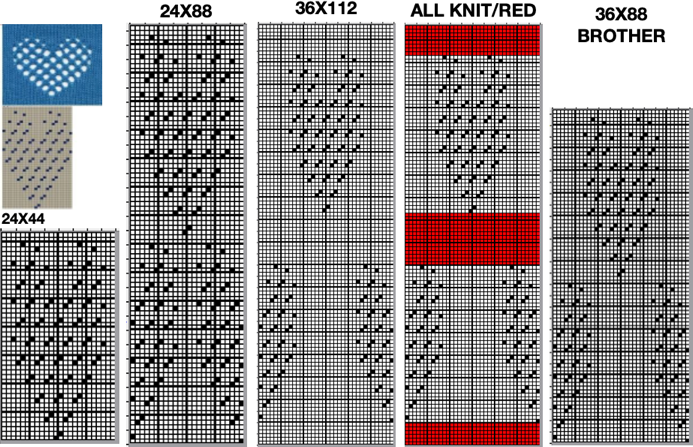 A small proof of concept knit in 2/18 wool
  A Studio 560 was my first electronic model machine, owned decades ago. Among the mylars saved even though the machine was sold many years ago, I found this repeat, 24X47 cells, the last offered in this series. Studio mylar sheets were marked in 6X5 blocks instead of Brother’s 5X5. The punchcard repeat chart here is outlined in 6X6 blocks of cells, the convention in Brother punchcards.
 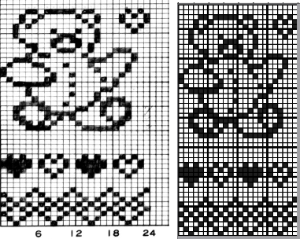 the png
 ![]()
![]()
![]() 24X78
24X78 ![]()


 Designing for fair isle, or when attempting to visualize and illustrate slip and tuck fabrics with frequent color changes, more colors may be required even though the final download will be in black and white. There is a quick way to add random colors assigned by the program and based on the initial palette:


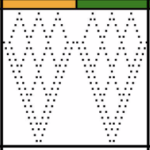

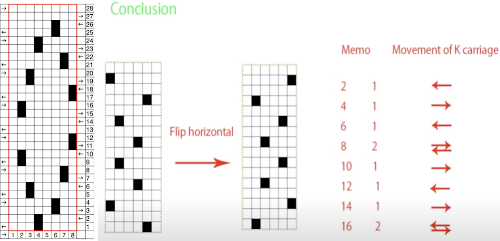
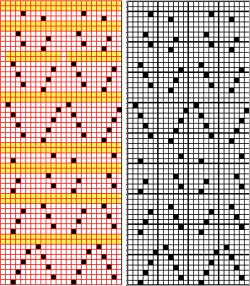
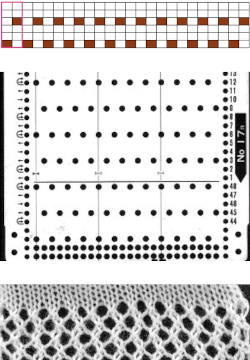 Depending on the electronic model or the software used to download patterns designed for lace, the final image may need to be flipped horizontally. This is true for use on my 930. Creating a template for mesh using numbers: begin with a table with square cells in numbers larger than you might need, ie 24 by 54. The method for doing so has been explained in previous posts. I happen to prefer cell units that measure 20 points by 20. The smallest repeat unit for use on any machine is isolated, shown bordered in red, is 4 stitches wide by 6 rows high, and drawn onto the template. The group of cells in the repeat are selected. If one hovers over any side or top and bottom borders of it, a yellow dot appears. Clicking and dragging on the yellow dot will repeat the full selection to the right, left, up, or down. Here the move is to the right
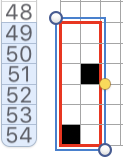
 The whole group is selected,
 Beginning at the top or bottom of the table, hide all blank rows. Using the command key during the selection process will allow this to be done on the whole table at once or in groups of rows at one time; 36 of the 54 rows are hidden.
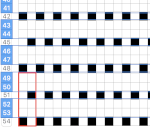
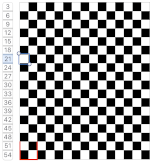
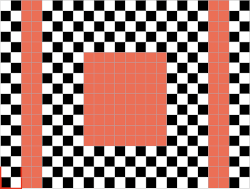 the color may be replaced with white in the spreadsheet,
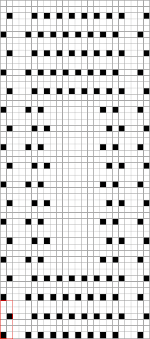
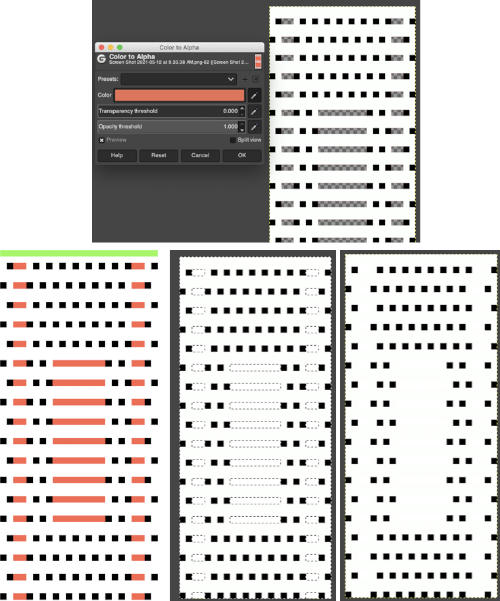 The last image is in RGB mode once more, converted to BW indexed, scaled to 24 by 54, and exported as BMP or choose any other format ie png, etc. to suit your needs.
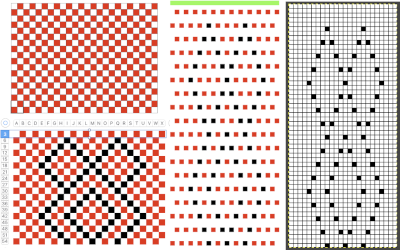
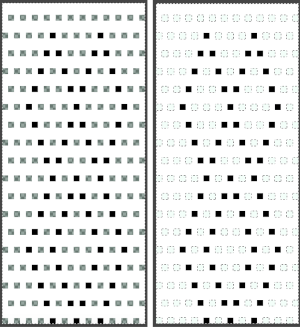
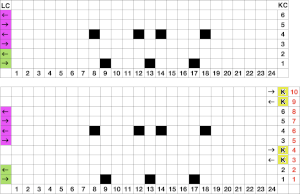
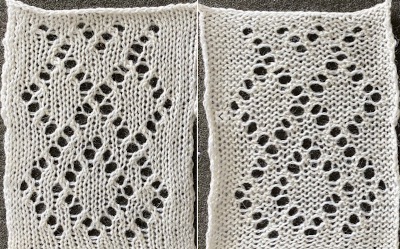 The design was not planned as continuous, but is easily amended to be so. Here an alternate version is shown, with 2 linear repeats on the left, and a single expanded repeat to its right
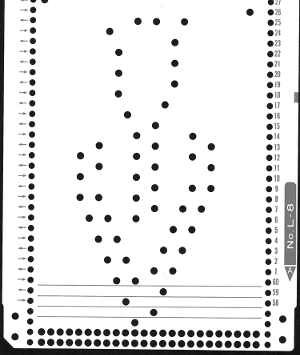
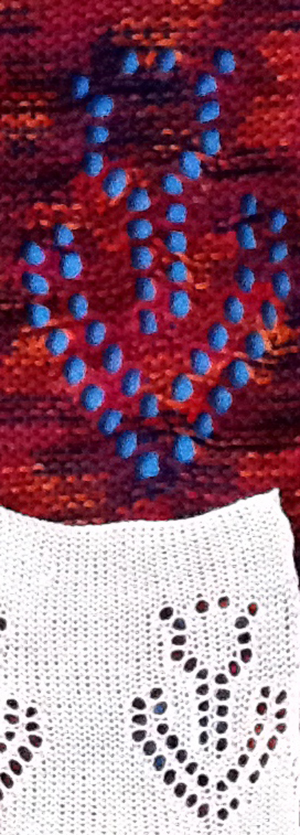
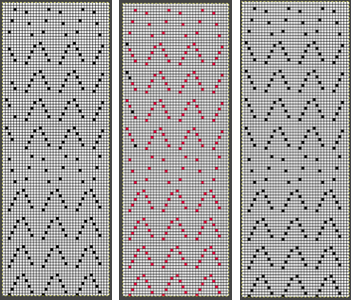
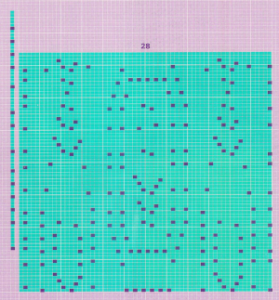
 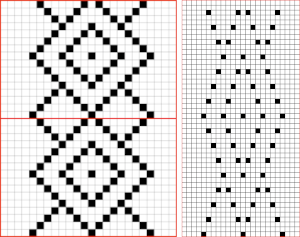 As for that mylar repeat, this is an image of the shapes with the chart collapsed, eliminating blank rows between black pixels.
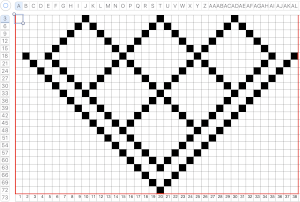
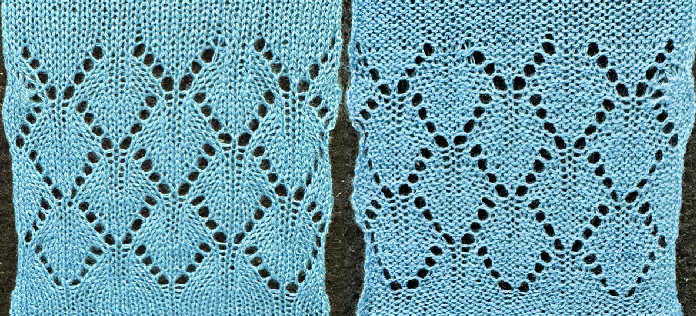
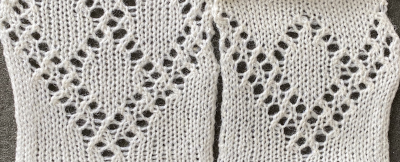
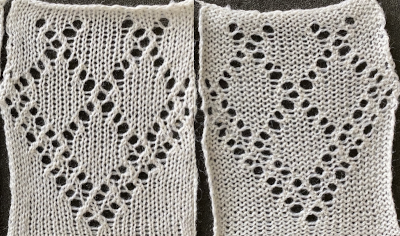 In fabrics designed this way, using the image as drawn (left), or mirroring it horizontally, does not visually change the result. This does not hold true in more complex transfer lace.
 2024:
2024: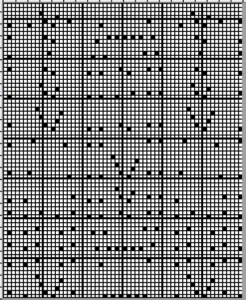




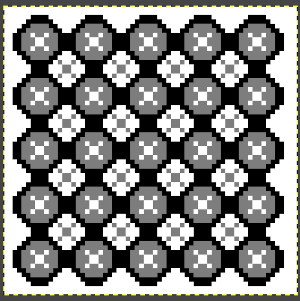
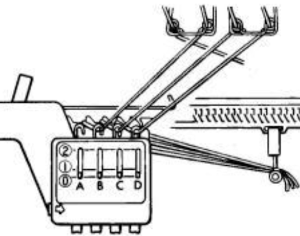
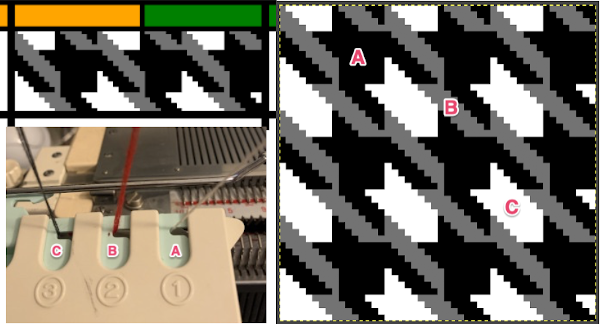
 The Ayab lettering as opposed to numbers move from right to left. The manual states that the color separation order is: white C, grey B, black A with their sequence = C (3), B (2), A(1). If the prompts for changing colors as given are followed it provides a very valuable in tracking them, but if out of habit one knits in the usual 1,2,3 sequence, the color placement occurs in an unexpected order and may result in errors. The on-screen letter prompt corresponding to the anticipated color change sometimes occurs with the knit carriage on the right, sometimes as it approaches the changer, and the size of the font was hard for me to see since the screen was not close enough for easy visibility.
 The small file makes for a quick test of proper color selection for each of the three colors used
 Having some idea of stitch counts for each color in the design in the first few rows can help identify proper, planned color placement errors
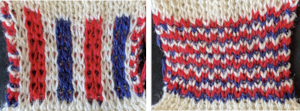
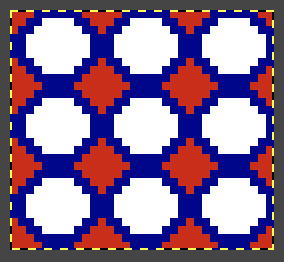 My first swatch using the heart of Pluto separation and a greyscale motif
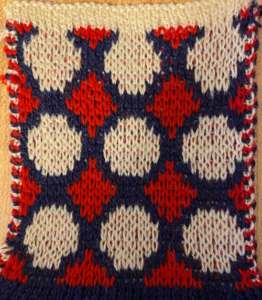
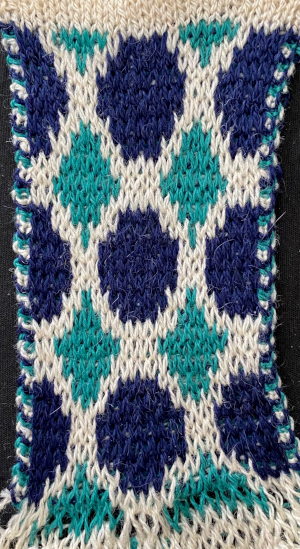
 My tested color change sequence is #1, #2, #3 colors throughout, I disregarded the prompts for color changes at the bottom of the Ayab screen. Some things to ponder: in pieces that require color changes, starting with waste knitting in the same colors can help assess the best tension, whether each color will be picked up properly, and if the colors work well together. Looking at these 3 small tests, it appears that a choice should be made when casting on about using color 1 or 2 for the preselection and cast on rows. If the setting to slip is forgotten for the first move to the left, the color in the feeder will knit every stitch rather than a pattern selection. Always check settings when on the right, making certain lili buttons are set as well. This pattern does not contain 3 colors on every row. In addition to that, when working DBJ with other color separations one is likely used to seeing knit bed needle selections on every row. That is not true here, is a function of the technique, not a patterning error. On rows that have colors missing, when that color is in use, the main bed slips, the ribber works every other needle, first in one direction, then the other, adding to the row count on the purl side of the knit.
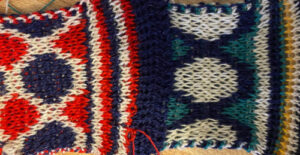
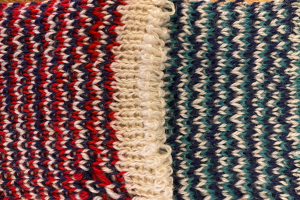
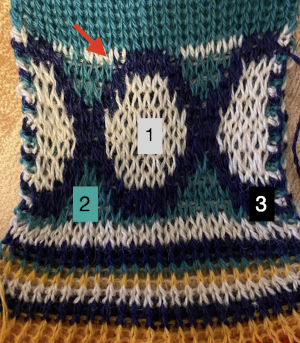
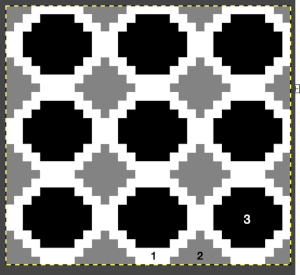
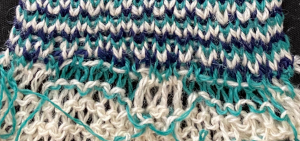
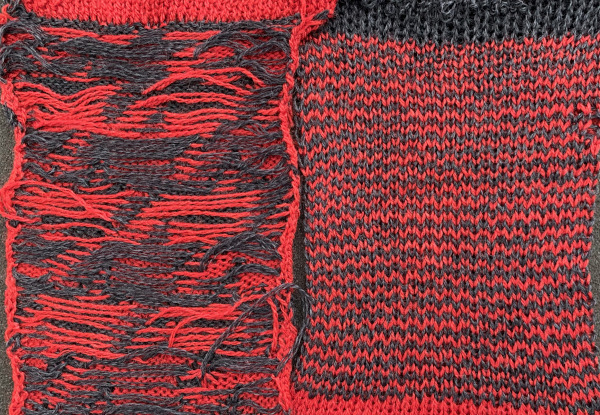
 The mess at the bottom was due to the green yarn getting caught on the needle bed and not knitting the necessary stitches on the ribber, so dropped stitches were formed
  The assumption is that if the C, B, A rotation and prompts are to be followed, the middle color 2 can stay in place, and the placement of 1 and 3 can be exchanged.
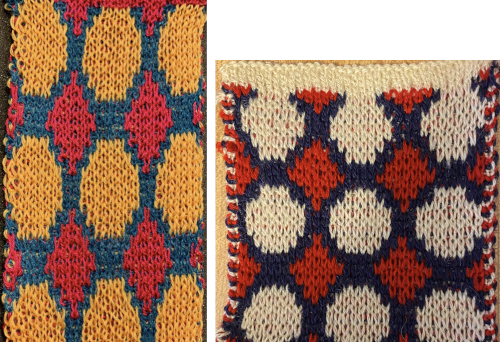
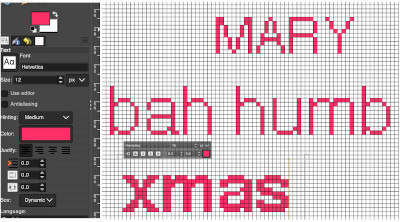
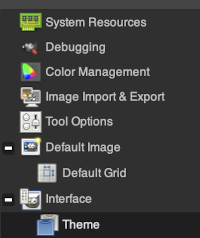 a partial illustration of
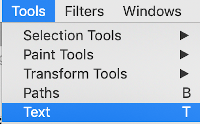
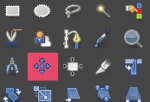
 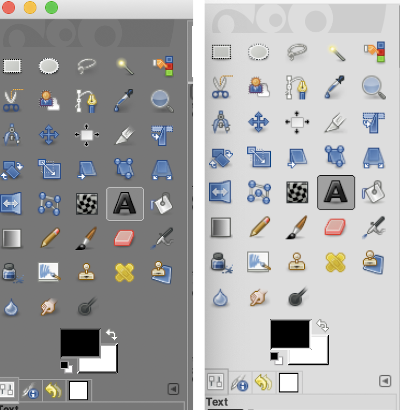 Text may be activated by choosing text in the image/ tools menu
  by clicking on the tool icon A in the toolbox
 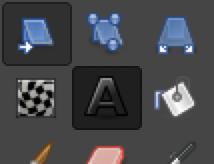 or by using t as the keyboard shortcut, then clicking anywhere on the canvas.
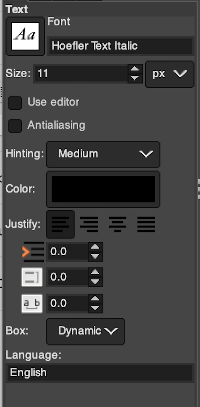 At the top of the Text tool dialog, the current Text Size, 11 in above, is shown in either pixels or points. A pixel is the smallest component in a bitmap image, and all measures in pixels depend on the screen resolution. A point is a fixed value, one inch is the same as 72 points. Standard screen resolution is often 72 pixels per inch, in which case text in pixels will be the same size as text measured in points.
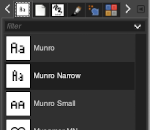
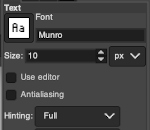
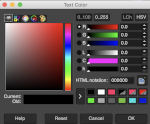 The choices listed at
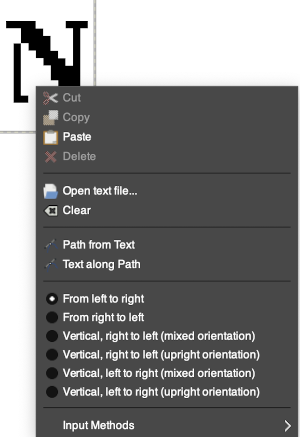
 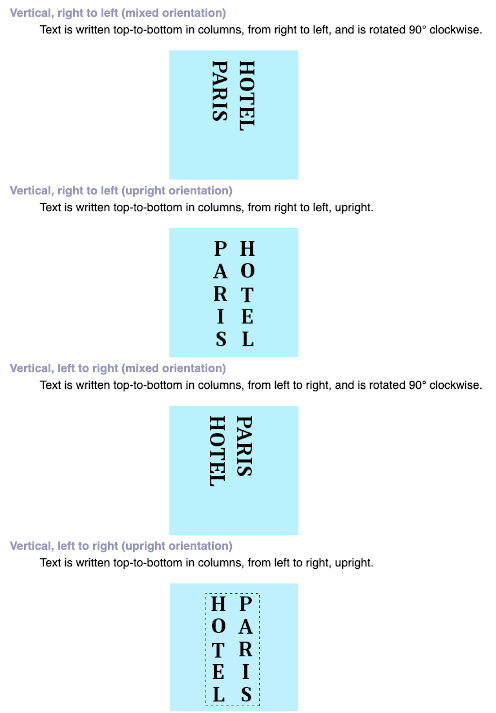 After the text is entered on the canvas, right-click on the inside of the text box to change text direction
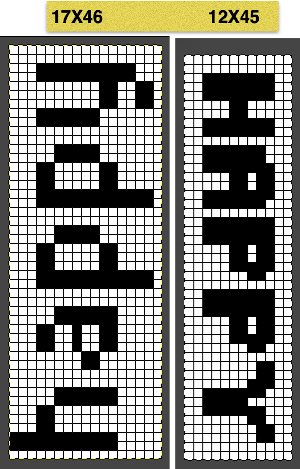
 After the chosen text is placed change its mode from RGB to B/W indexed, then crop the image to your chosen size. Export.bmp, the result loaded into img2track and Ayab
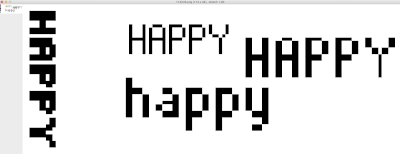
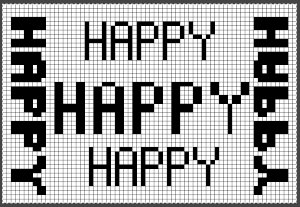
 The usual text alignment rules apply in text boxes as well, left to right
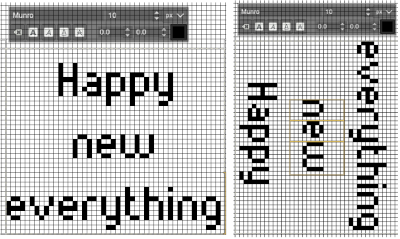 Getting more control of the process: after the text tool is highlighted and clicking anywhere on your canvas two things appear automatically. The four little boxes represent the text box, which is dynamic by default and grows in size to accommodate typed text. Anytime you click on the canvas a new text box is created.
 The spacing between the lines and between the letters may be adjusted as well. Clicking on the arrows to change the values here is one option, negative or positive numbers may be used
  or what appeared easier to me, the same may be done here
 Very small fonts are likely not to have any room for decreased spacing in the between letters in strings of text.


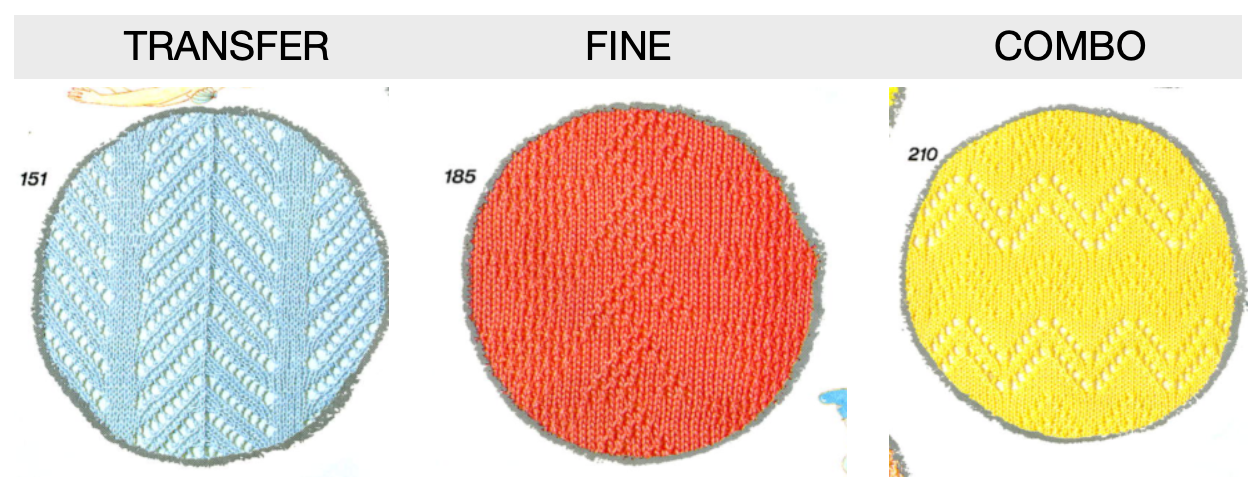
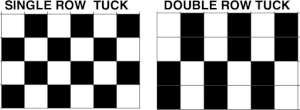
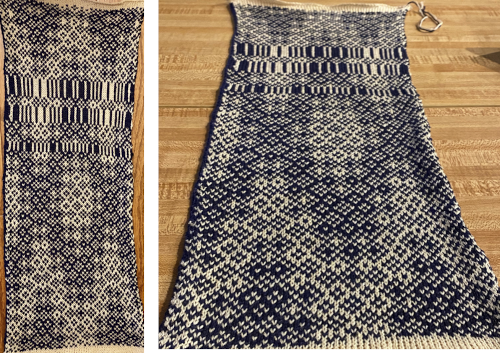
 There have previous posts on automated lace edging on Brother machines, ie
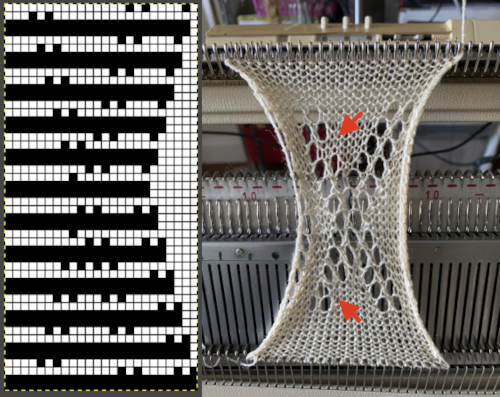
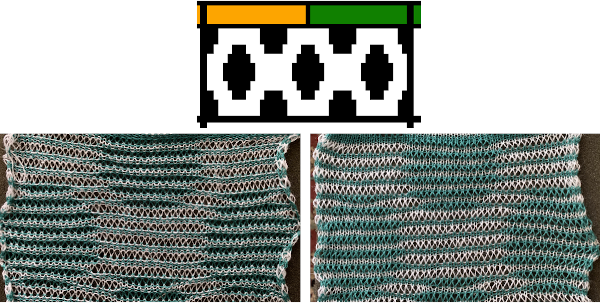
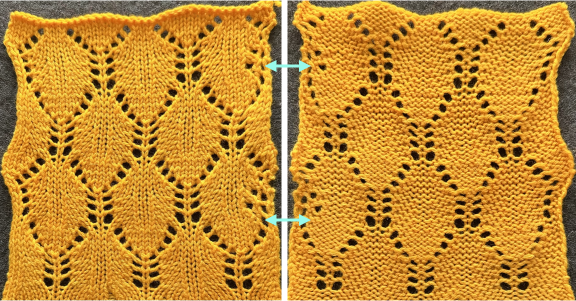
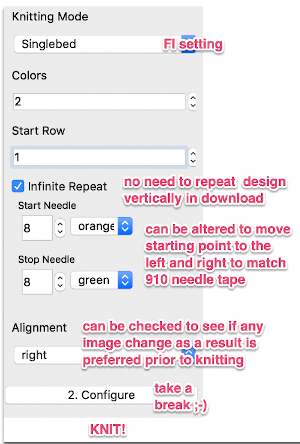
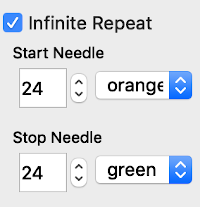
 Increments in height need to happen at sequences of 2 rows each, so the design was then doubled in height, resulting in a scaled image now 33 stitches by 46 rows in height, with a planned horizontal repeat X2 = 66. Note: the sidebar offers start and end needles are given for pattern placement on the needle bed. Sampling may occur on fewer stitches than that. Since the number of repeats programmed to add up to an even number and center alignment is chosen, the number of needles is even on each side of 0.
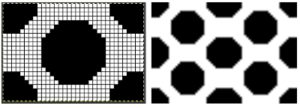
  In my second series of swatches, I decided to try for a smaller “circular” shape, with the repeat now measuring 15 wide by 20 high, and a planned horizontal repeat X3 = 45. If centered, the software places the odd number of needles on the right-hand side of 0.
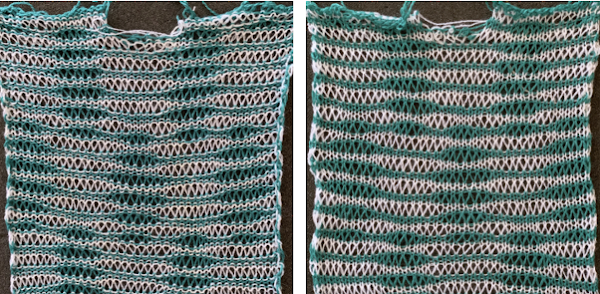
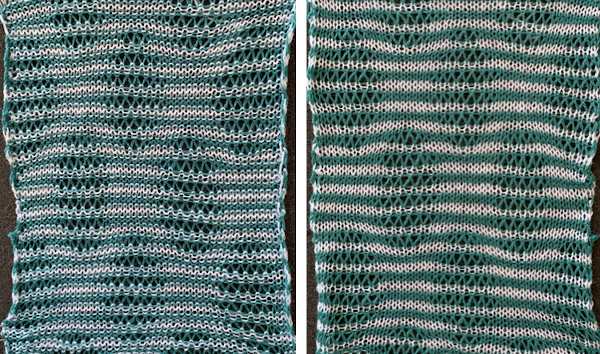
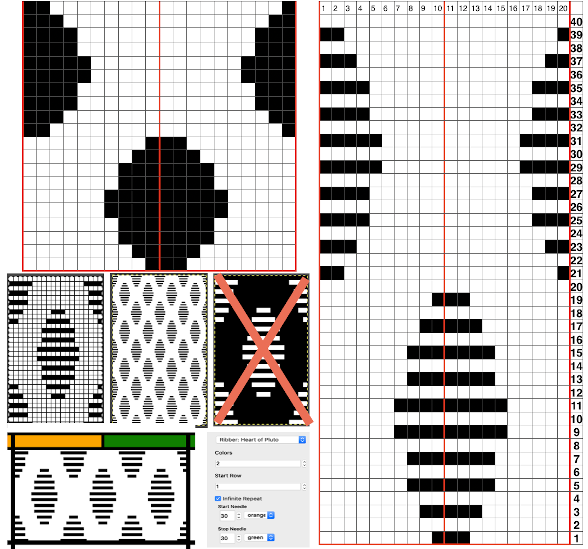
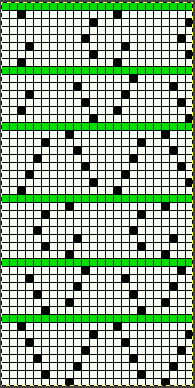
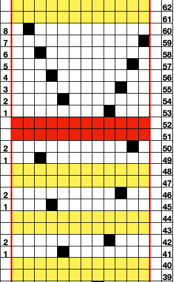
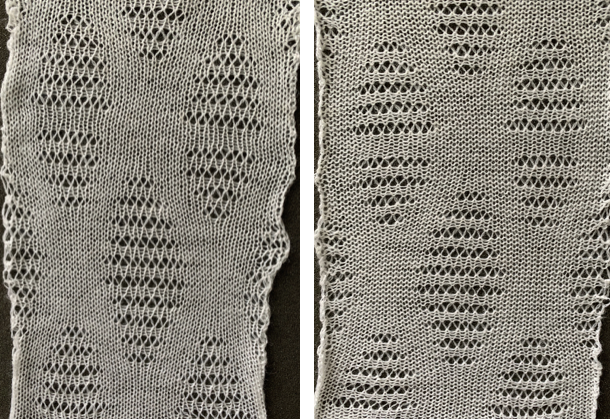 The wider horizontal band of all knit stitches was due to operator error, happened when I pushed back preselection an extra time, resulting in the ribber only knitting extra rows. For the sake of added clarity, I have added color to the chart below, assigning yellow and grey to all-white design areas in the pattern. The black squares are what I choose to drop. For illustration purposes, this is only a segment of the repeat.


 drop the loops, return needles to B position. At this point, since all needles are in B a modified stitch ditcher may be used for 2 passes, dropping the loops on the first pass and returning the whole series back to B on the second.
 COL: push all preselected needles back to B, as you knit back to the right the next group of white squares (yellow) in the next design row will be preselected
 COL: knit to the right in order to form loops on the main bed, continue for the desired number of repeats and end as suggested for the two-color version.
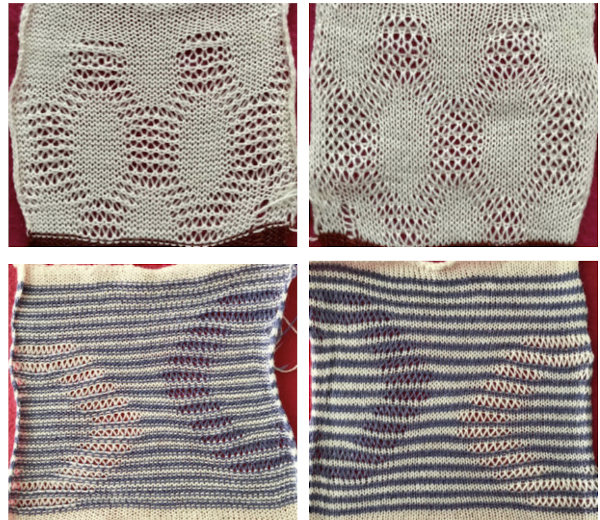
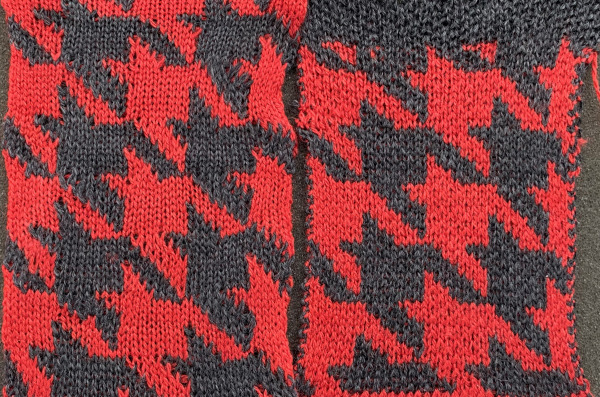
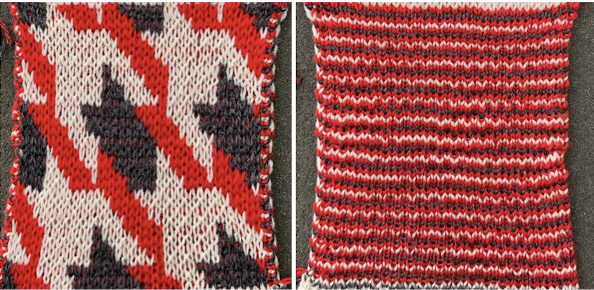
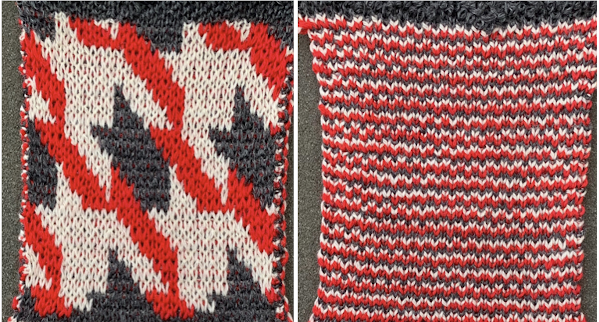
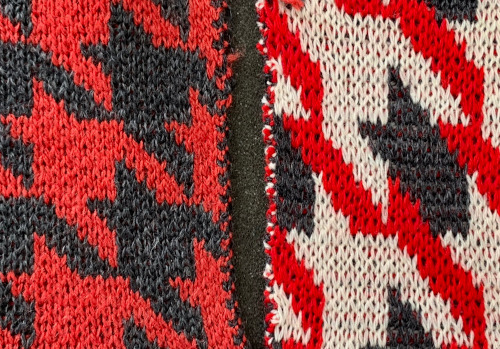
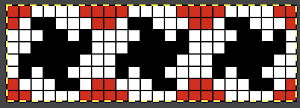
 The FI results are shown on the left, the first dbj test with lili buttons engaged and both carriages set to slip in both directions appear to the right. Note the difference in width and height of the resulting knit. The floats in FI are overlong, and there are some separation and lengthening of the stitches along the diagonal edges of the houndstooth shape
 The program does provide prompts as to which color should be picked up next, and clues as to where one is in the repeat, they are found at the bottom of the Ayab window. I happened to grab content with color B upcoming both times.
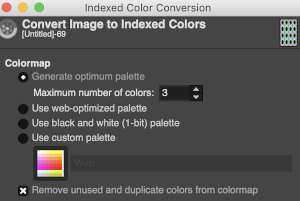
 When preparing images for download, they should be indexed to 3 colors
 It takes a while when knitting double bed knits before one can assess whether the results are correct in terms of patterning since the knit is hidden for some length as it drops between the beds. Because the Ayab prompts for color changes were altered sometimes when the carriage on the right, sometimes on the left, I dropped the first sample off after slightly more than one repeat, found its patterning to be correct, and that the prompts when on the color changer side for the following row to be knit from left to right were reliable, as shown in the knit swatches. In turn, I used an indexed greyscale image. The lettering on the right indicates where colors were placed following the give instructions, rather than where they were assigned in the original design. The manual states that the color sequence for the separation is: white, grey, black, gray, however, if the prompts for changing colors as given are followed, which is very valuable in tracking them, the knitting occurs in reverse order.
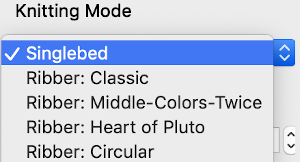
  Knitting mode options for DBJ are listed below the single bed one,
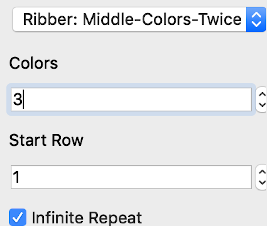
  The main bed is set to slip in both directions, the ribber as well, with lili buttons engaged. The number of colors is not altered automatically by Ayab, the change needs to be made manually.

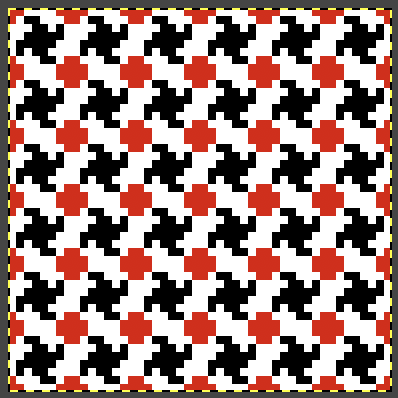
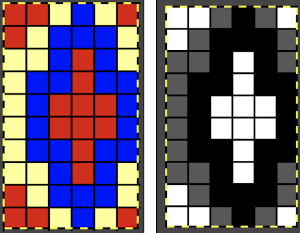 This was the set up in the color changer
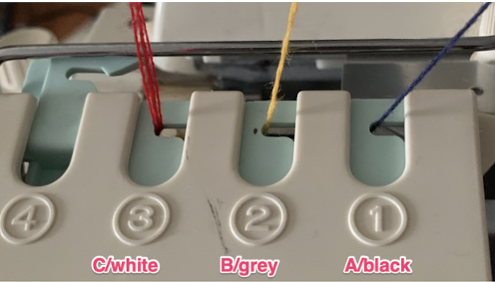


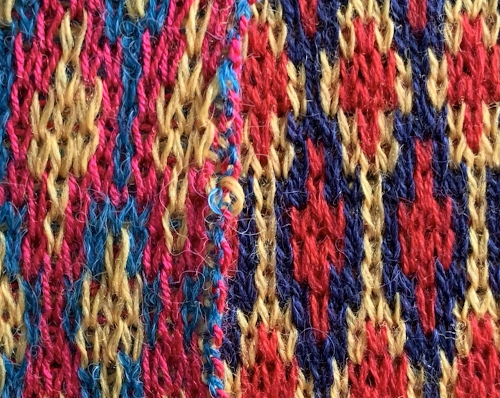 Planned possible use of the middle color twice may be seen in this image
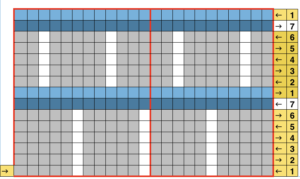
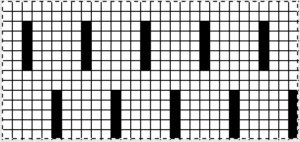
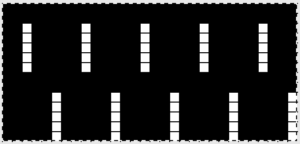
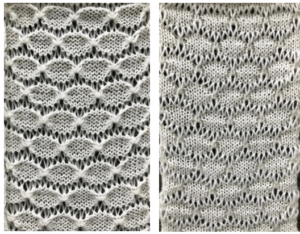
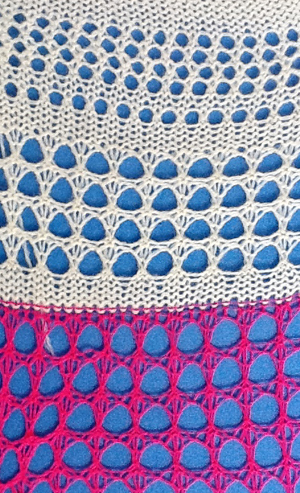
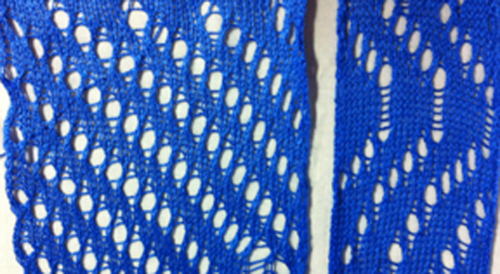
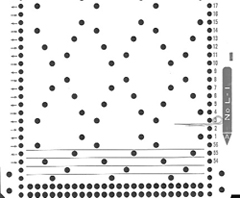
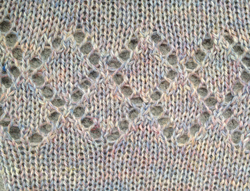
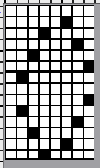

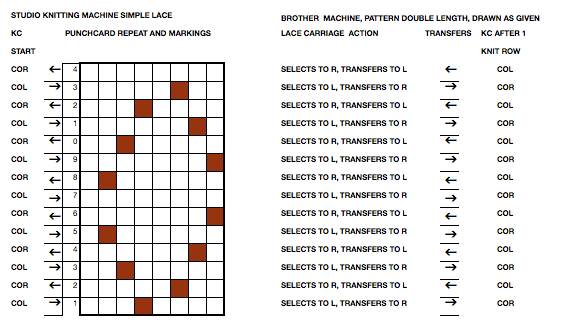
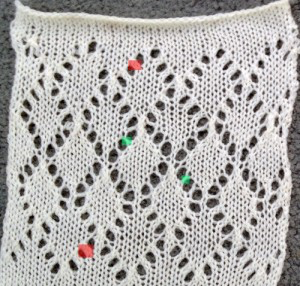
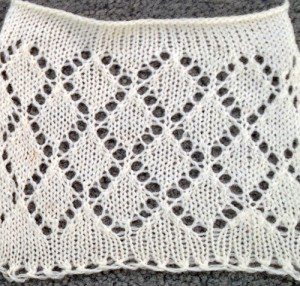
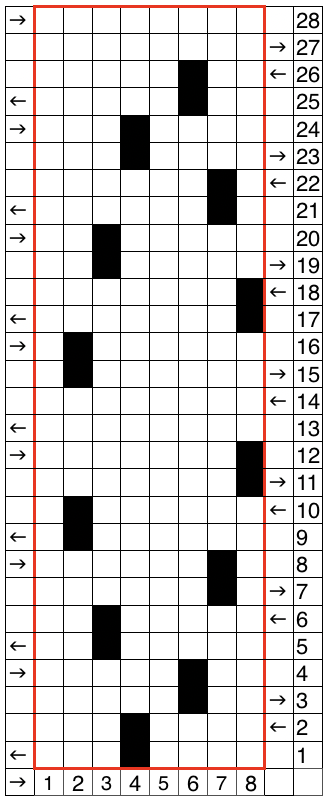
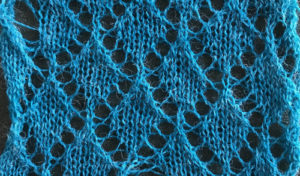
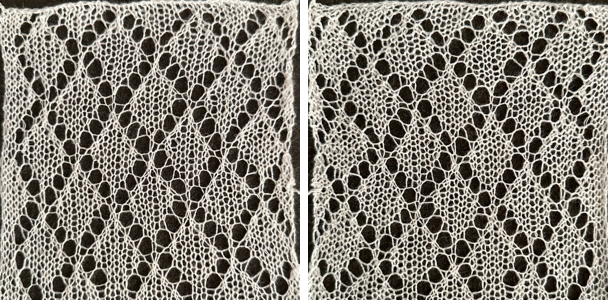
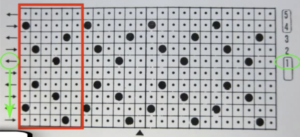 A comparison of my repeat using a single LC and the Knitlabo pattern expansion including memo options for use with 2 lace carriages