I was lucky enough to begin knitting at a time when seminars were international and abundant, Susanna Lewis was teaching at some of them and hosting 3-day hands-on workshops, and Passap in particular hosted yearly “Passap University” events for a few years in different parts of the country.
As pointed out in a previous post, some of my note-taking is in the form of scrawls.
This is information I find myself reviewing and gathering from various sources, it may require future edits.
An amended index 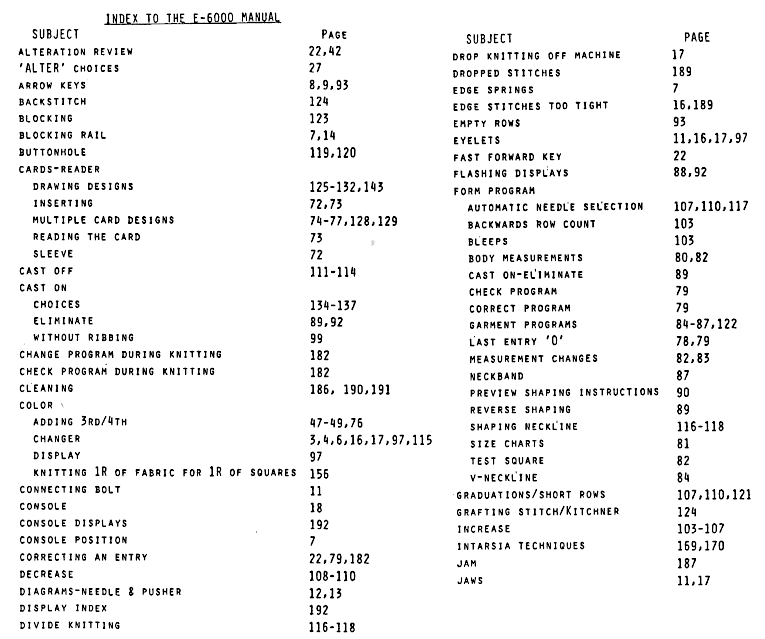 Duet Magazine handy references:
#6, Electronic pattern matching charts, p.p. 21-22
#6, Index of stitch patterns with associated pattern numbers, techniques, relative pages, and added info, p.p. 43-46
#8 Intarsia knitting, garments and image charts, p.p.19-26
#9 Using thicker yarns, p.p. 34-35
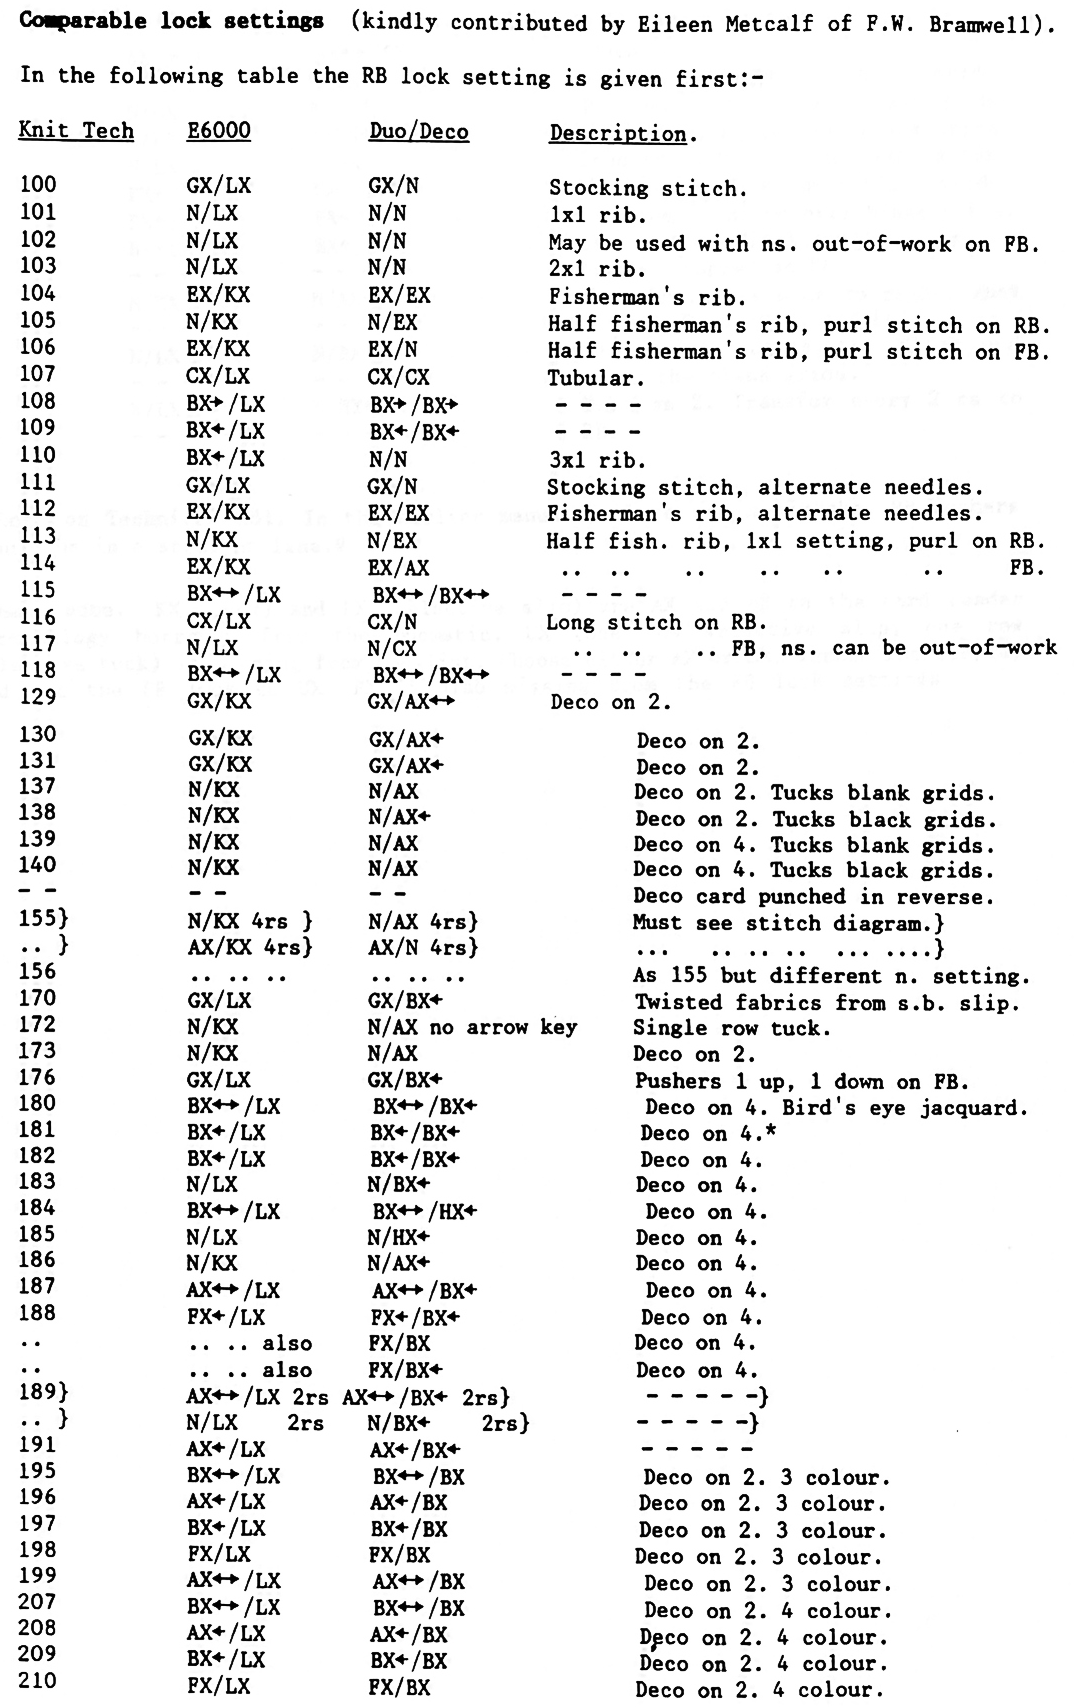
#11 Duomatic and E6000 Equivalents, p.p. 30-34,
“weaving” and samples p.p. 39-43
#14 Duomatic and E6000 Equivalents, p.p. 21-24
#12 Hand transferred lace edgings, p.p.43-47, pleated skirts p.p. 69-71
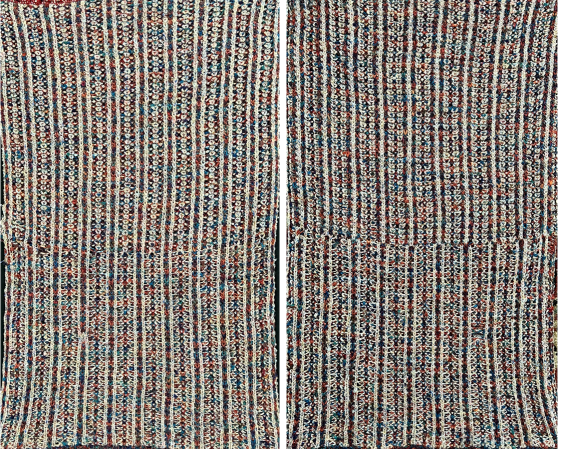
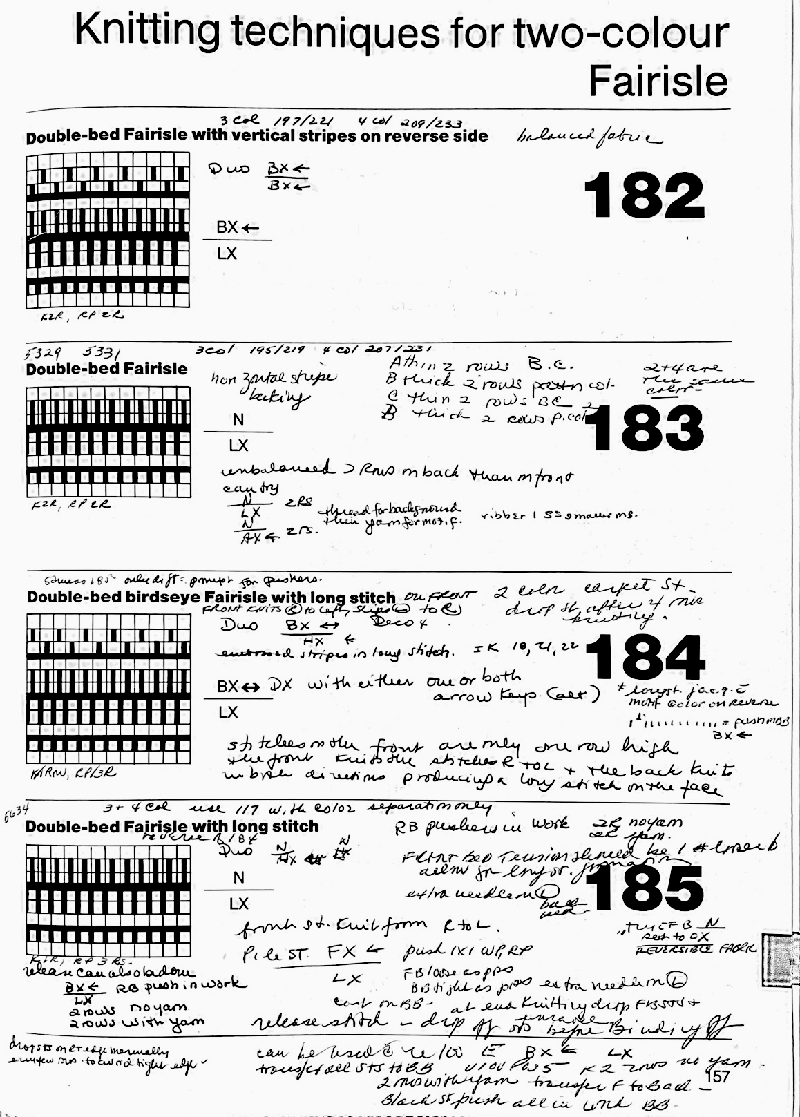
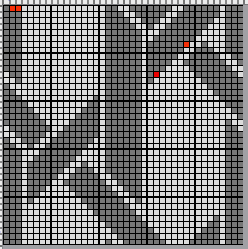
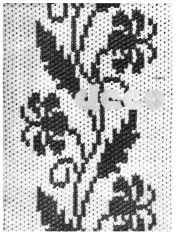
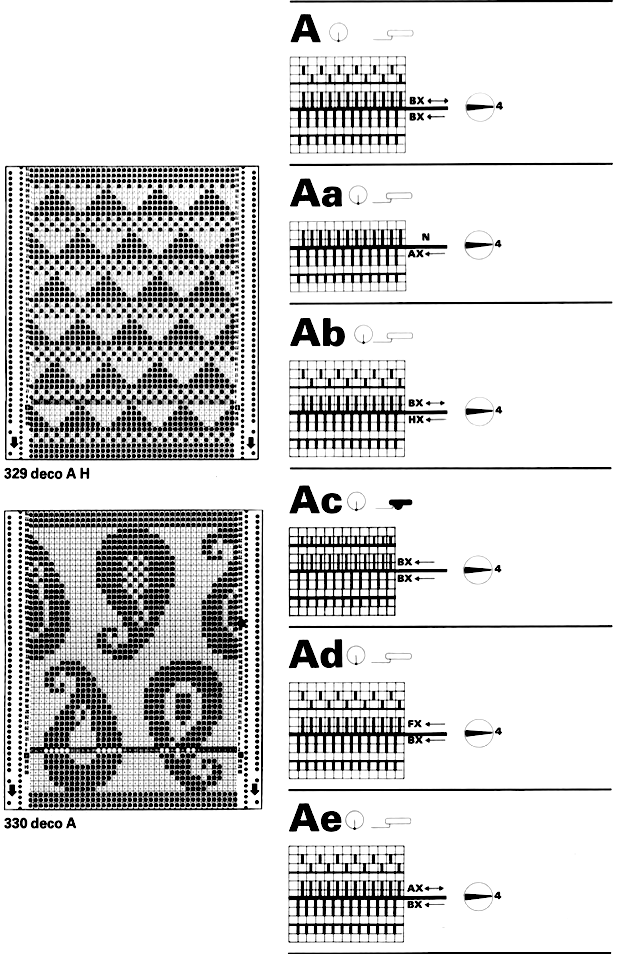
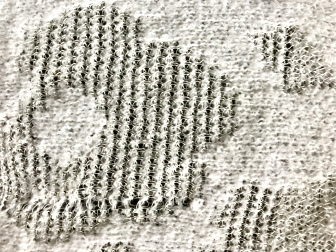
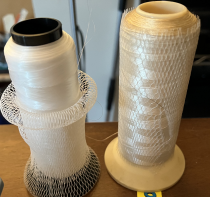
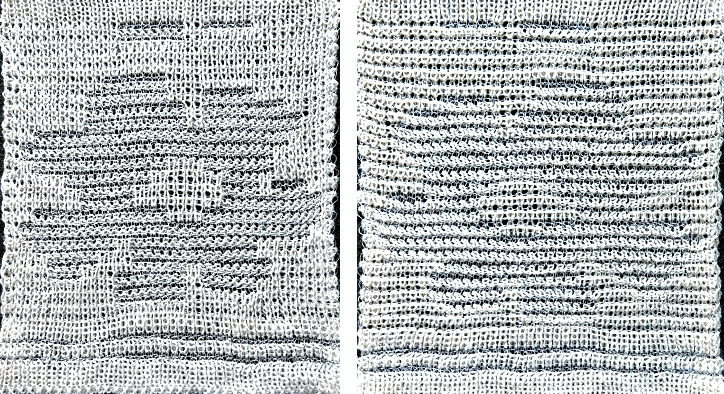
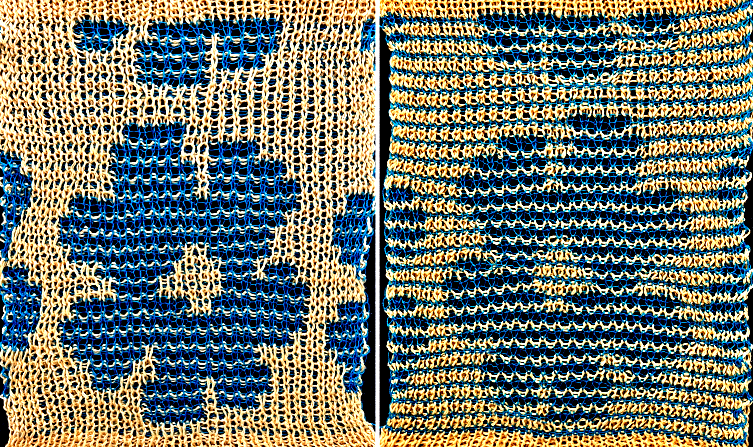
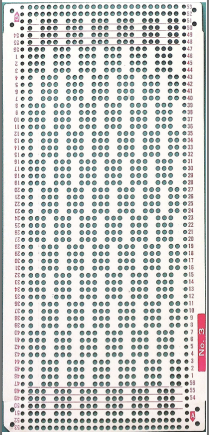
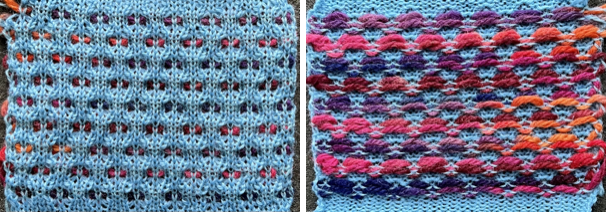
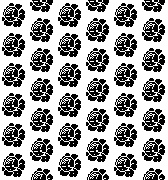
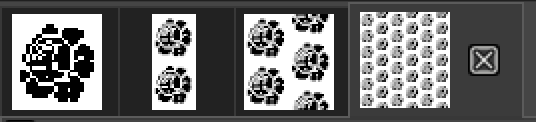
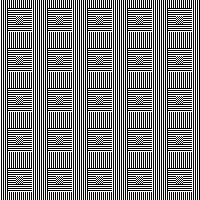
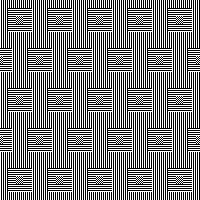
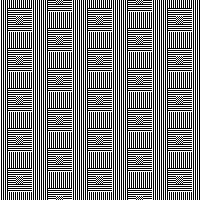
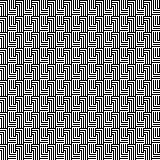
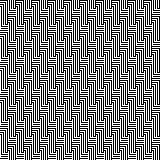
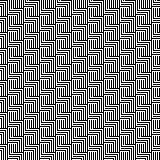
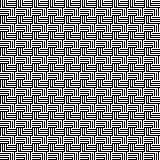
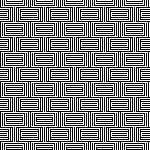
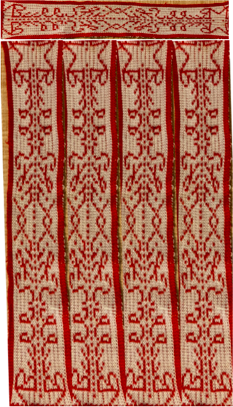
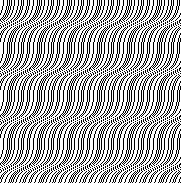
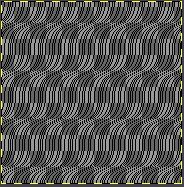
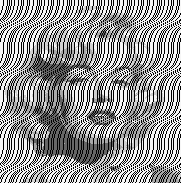
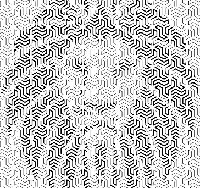
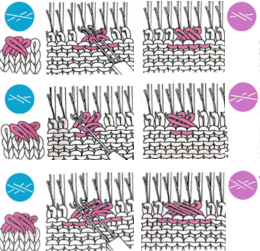
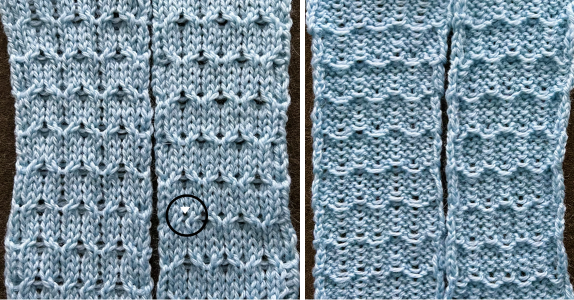
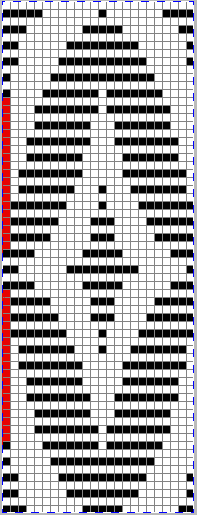
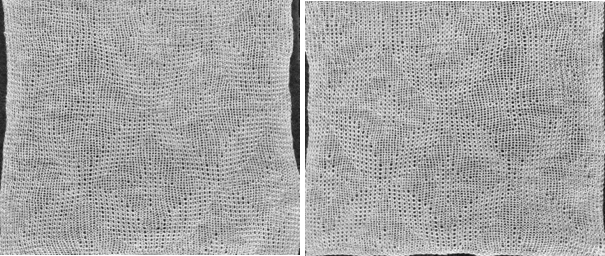
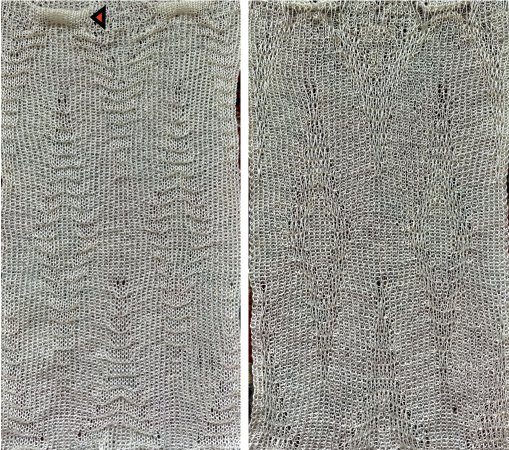
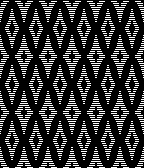
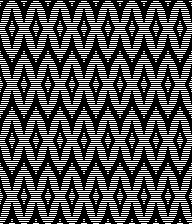
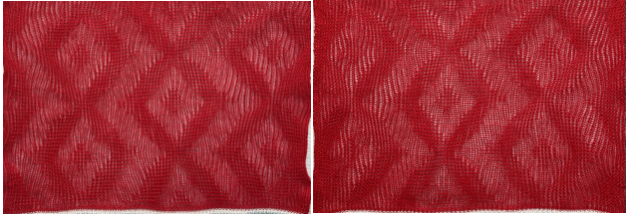
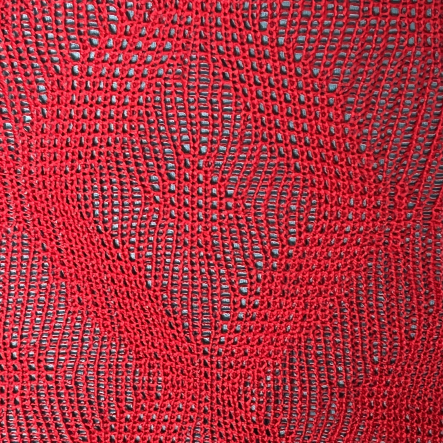
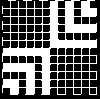
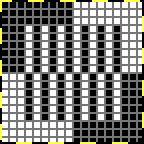
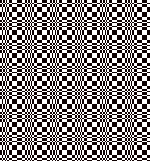
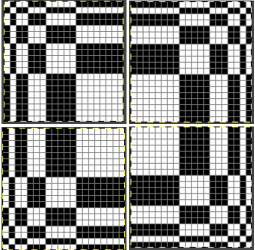
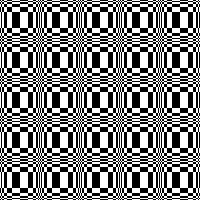
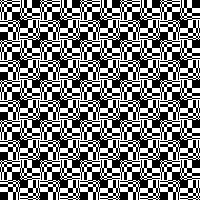
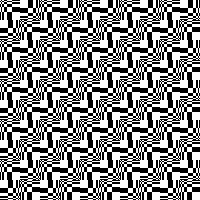
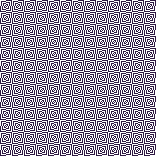
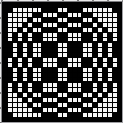
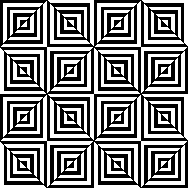
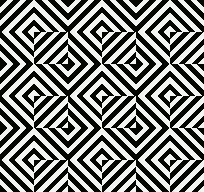
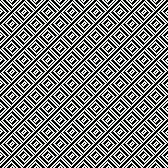
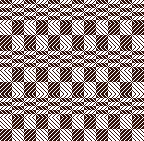
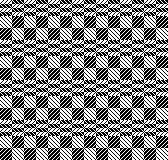
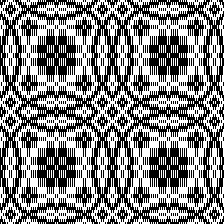
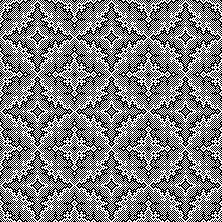
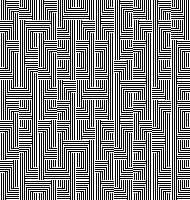
Passap University handout 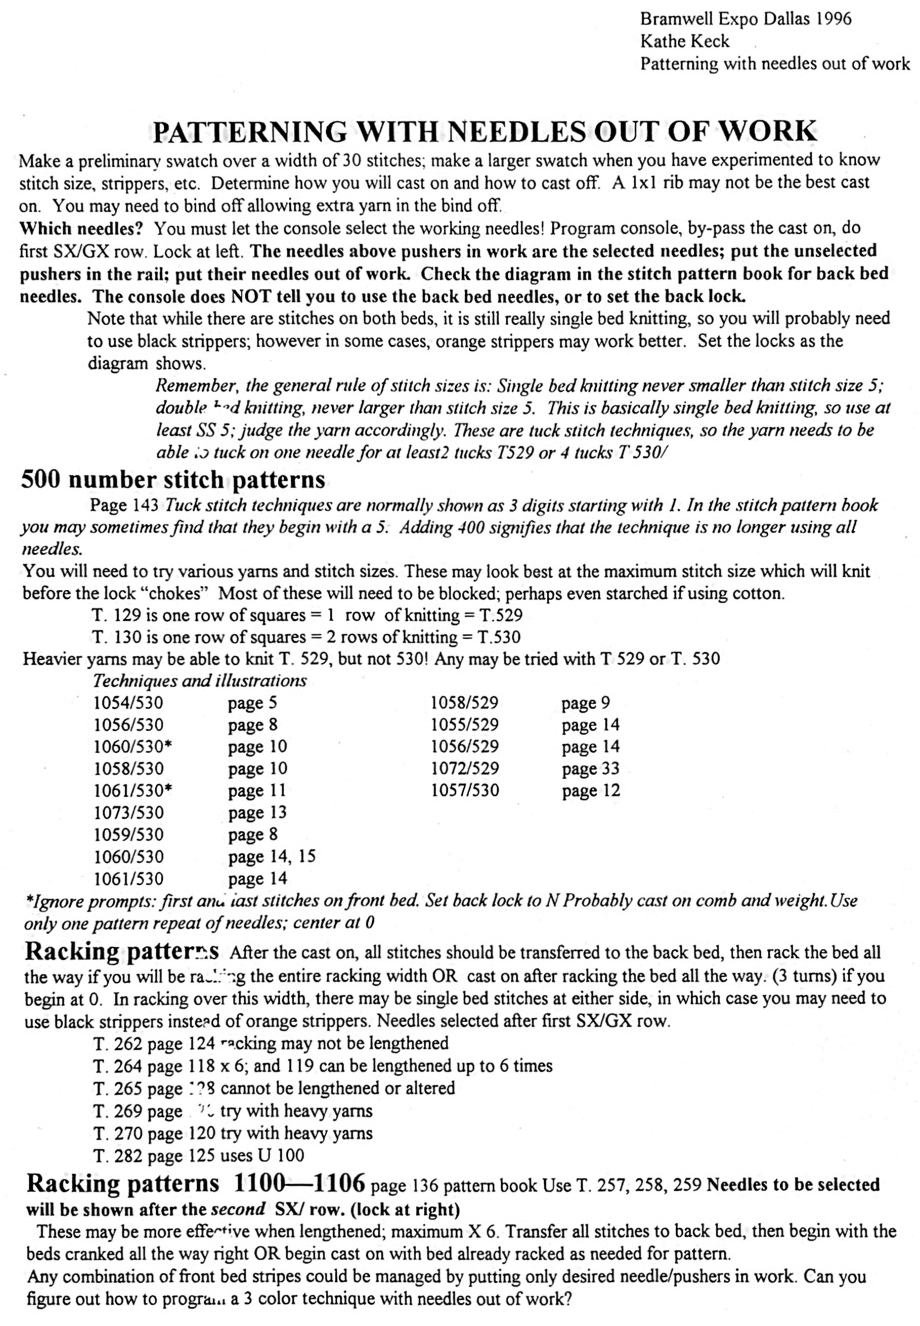 A swatch executed playing with needles out of work, NOOW, on both beds. On the front bed the needle selection is fixed, while on the back bed a shift in needle and pusher selection by one position results in the switch in color of the vertical solid color lines from light to dark.
 The library of built-in patterns and associated techniques in the E6 is huge, and associated with technique numbers. Any DIY designs often can be knit with familiarity with just a few technique numbers and disregarding the associated lock settings.
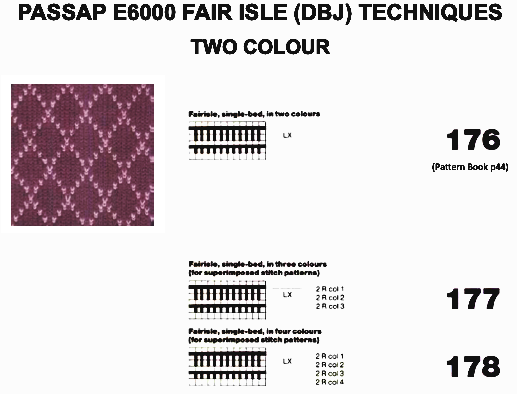
The knit commonly known as DBJ in many other brands is referred to as double bed 2 color or more fair isle, additional lock settings are suggested using specific technique numbers, but not those offered in the manual itself.
3 and 4-color knitting is appealing to many, the associated samples are evocative of industrial knitting. Thin yarns are a must, and for large pieces or garments, the number of lock passes is daunting let alone if combined with added settings and arrow changes and bleed through becomes a factor in the resulting color mix. On the whole, I have kept more than 2 color knitting out of my wheelhouse except occasional Brother swatches.
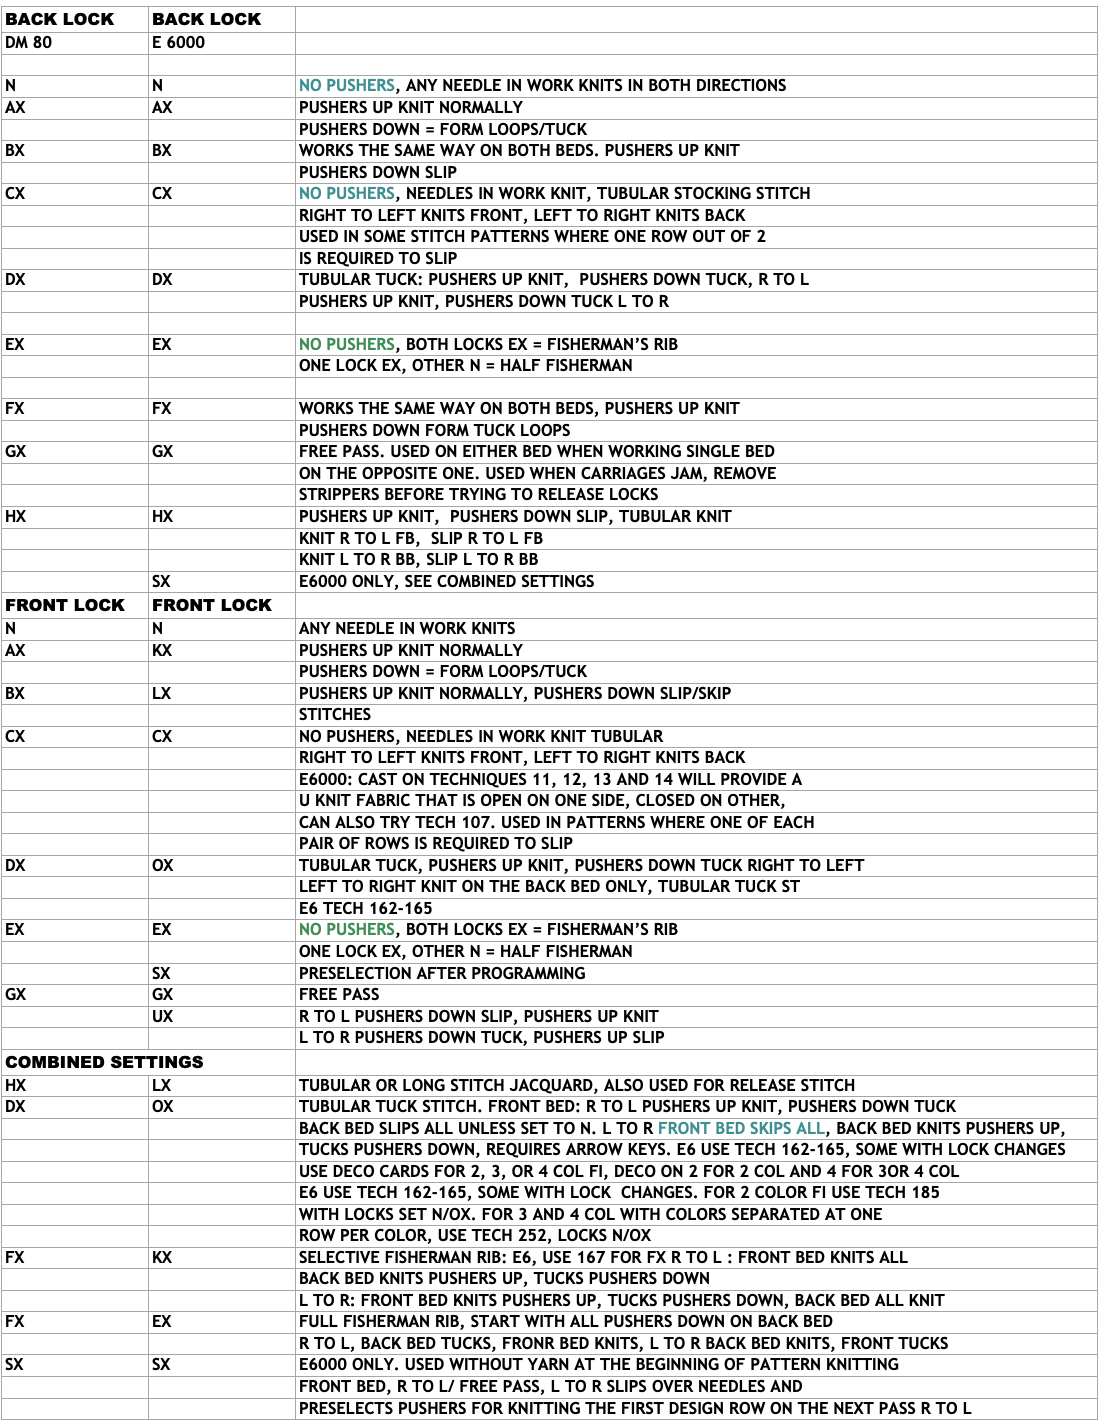
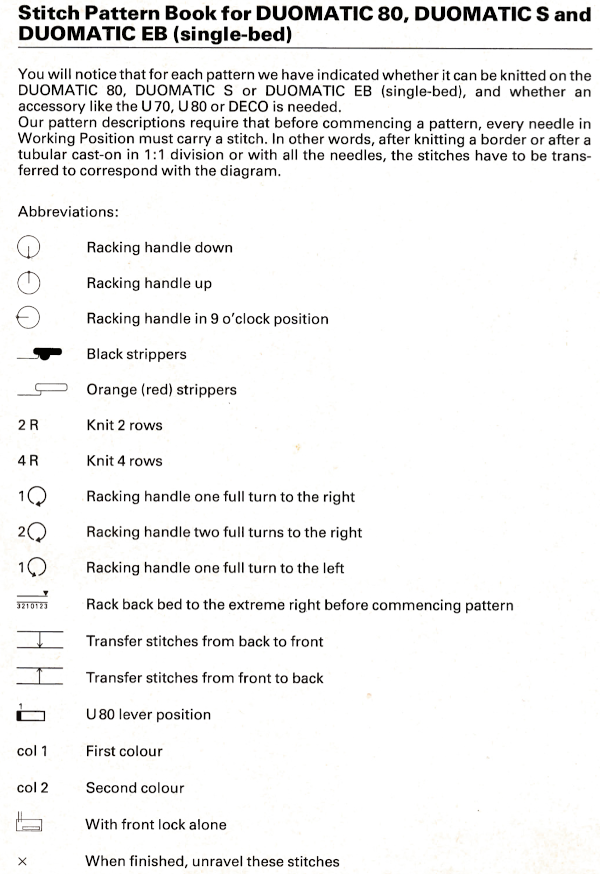
Abbreviations that are often encountered:
FB front bed
BB back bed
CC contrast color
col color
MC main color
L left
R right
ss stitch size
st stitch
pat pattern
<— left arrow key
—> right arrow key
<—> both arrow keys
0 no arrow keys
HP half pitch, racking handle down
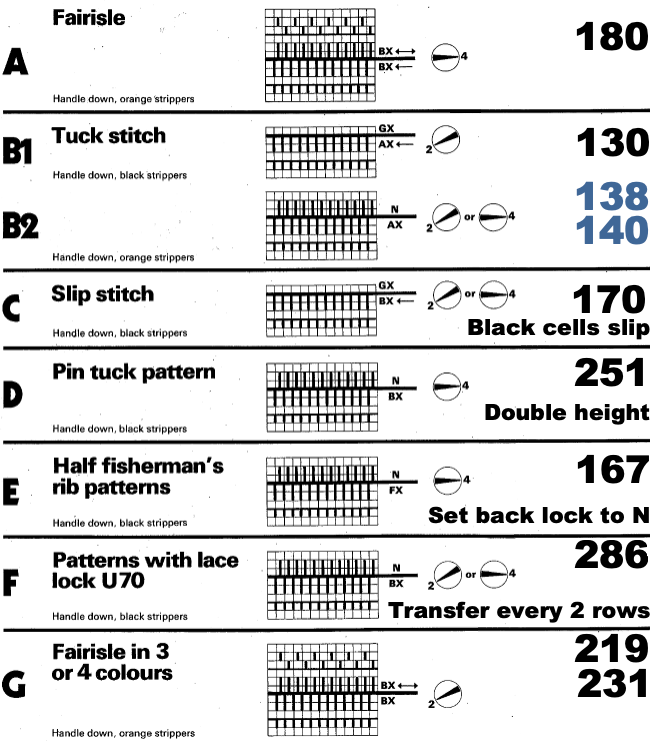
Semi-auto patterns require manual lock setting changes as often as every 2 knit rows
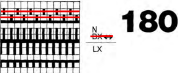
180 Birdseye double bed fair isle; UX can be tried as an alternative to LX
181 Birdseye double bed fair isle, the background color on reverse, “single blister”
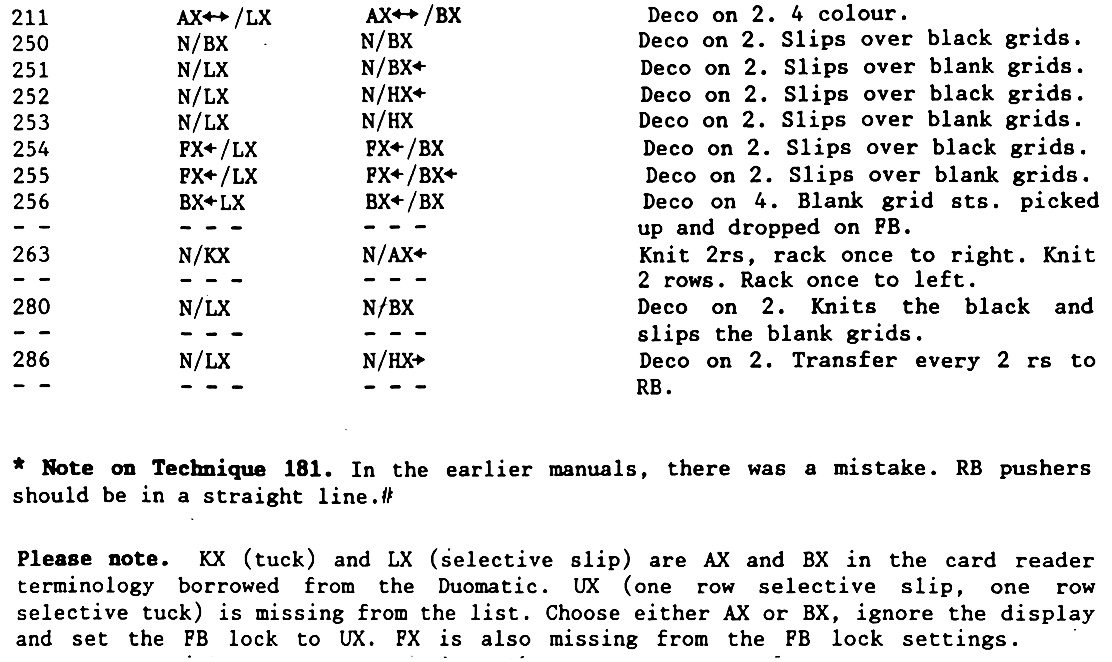
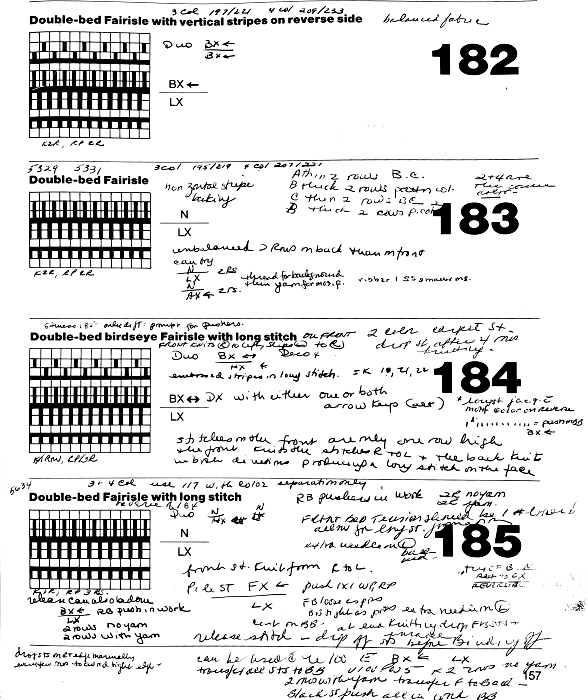
182 Double-bed fair isle, vertical stripes on the reverse
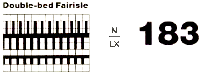
183 Double-bed fair isle, striper backing
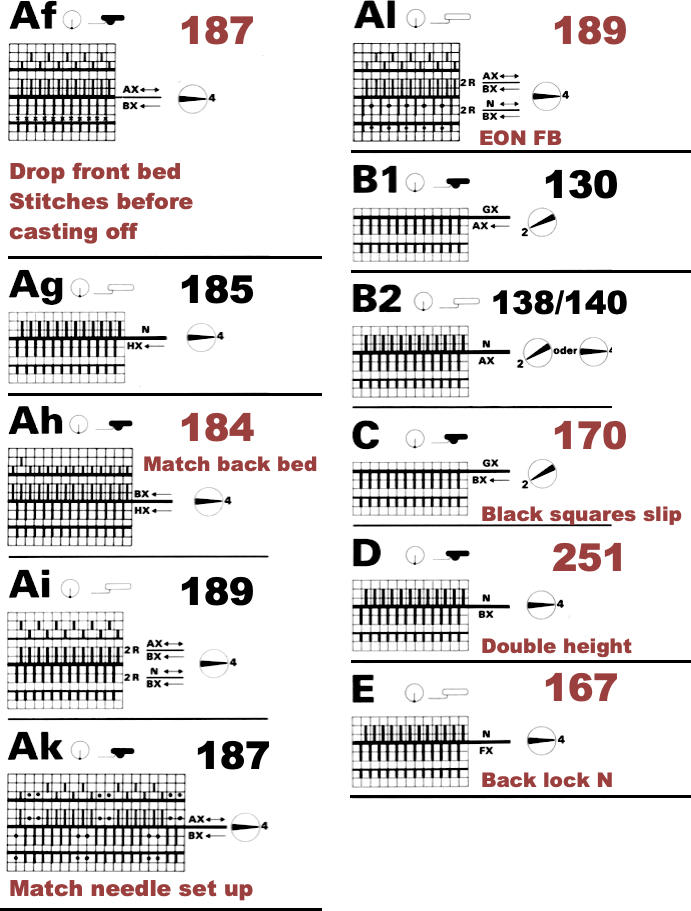
184 Double-bed birdseye fair isle with long-stitch
can be used for planning release stitches after casting on only the back bed,
or try N/OX for a tuck jacquard variation
185 Double-bed fair isle with long stitch, half Milano, may be used for drop stitch lace after casting on on the back bed only; knit 2 rows with yarn followed by 2 rows with no yarn to drop stitches. Other techniques may be used with a stitch ditcher, requiring fewer carriage passes
For Pile knitting: cast on the back bed, change setting to FX<— pushers 1X1 work, rest/LX, drop stitches from the front bed periodically
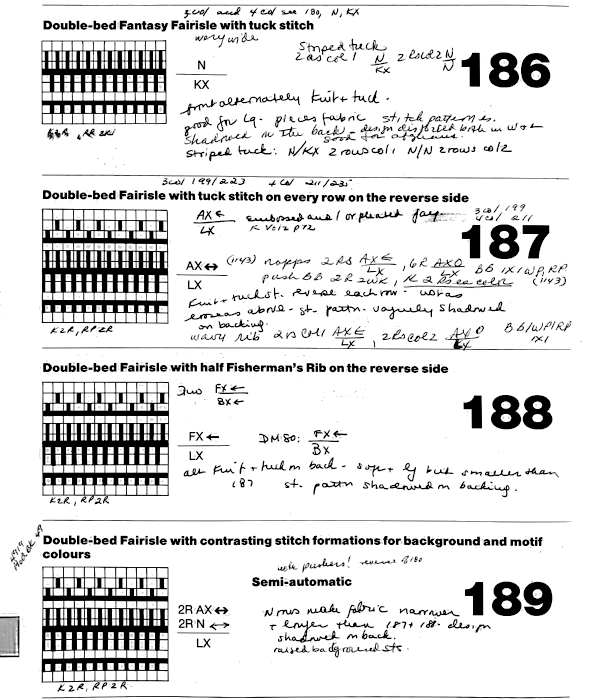
186 Double-bed fantasy fair isle striped tuck stitch, knit 2 rows N/KX, 2 rows N/N
187 Double-bed fair isle with alternating tuck st on every row on the reverse as per the manual, in addition:
For wavy rib, pushers back bed 1X1 work/rest, 2R col 1 AX <—/LX, 2R col 2 AX0/LX For nopps, pushers back bed 2X2 work/rest, change locks col 1 2R AX <—/LX, col 2 6 rows AX0/LX, but change color every 2 rows
188 Double-bed fair isle with half fisherman’s rib on reverse
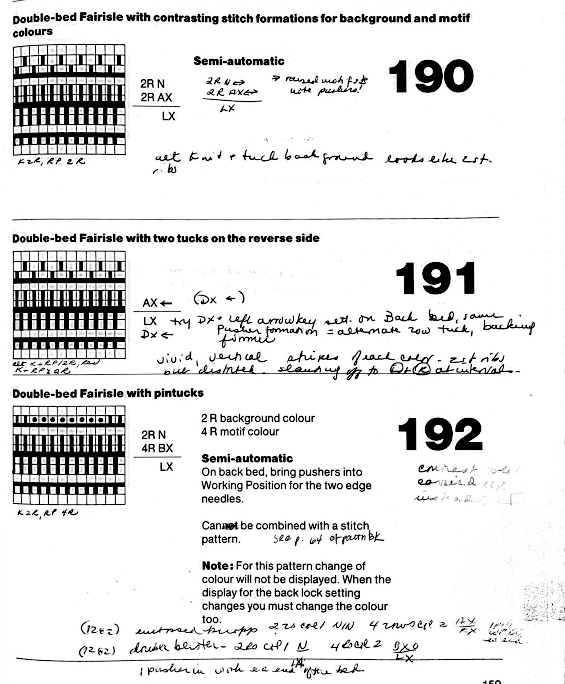
189 Double-bed fair isle with contrasting stitch formations in contrast and background (semi-automatic)
190 Double-bed fair isle with contrasting stitch formations for contrast and background (semi-automatic)
191 Double-bed fair isle with two tucks on the reverse side
192 Double-bed fair isle with pintucks (semi-auto, no combo), double blister, color 2 blisters 2R col 1 N/LX, 4R col 2 BX0/LX, BB 2 pushers in work for each of the 2 end needles
For nopps change settings from slip to tuck, 2 rows col 1 N/N, 4R col 2 AX/KX, 1 pusher work position each end BB
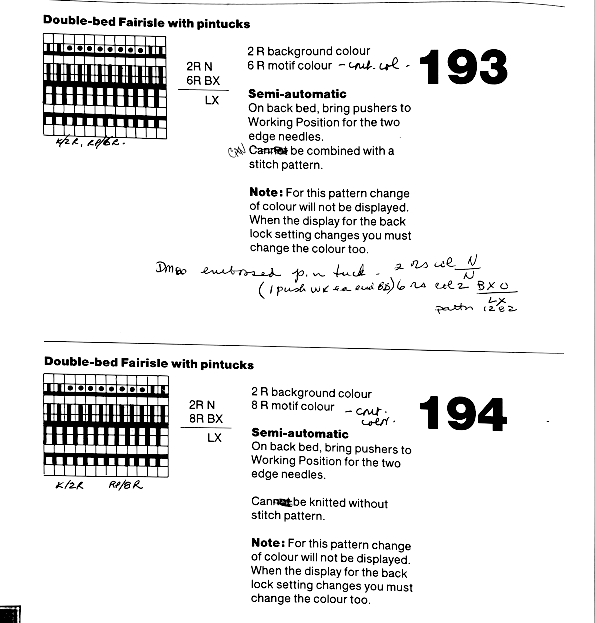
193 Double-bed fair isle with pintucks (semi-auto, combo), embossed pin tuck
194 Double-bed fair isle with pintucks (semi-auto, combo)
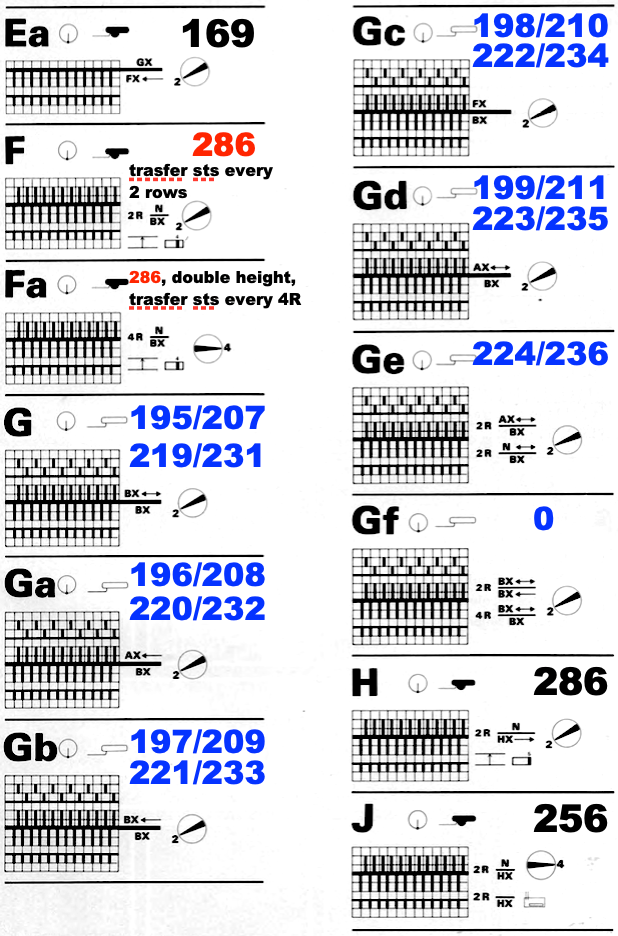
195 Double-bed fair isle in 3 cols 57,85,93,94,96,97,98,102,107,109
196 Double-bed fair isle in 3 cols, tucks on the reverse side
197 Double-bed fair isle in 3 cols, spotted effect
198 Double-bed fair isle in fisherman’s rib and 3 cols
199 Double-bed fair isle in 3 cols, tucks on every row reverse side
200 Double-bed fair isle in 3 cols, contrasting formations on BB
204 Double-bed fair isle in 3 cols, pintuck effect (semi-auto, combo)
205 Double-bed fair isle in 3 cols, pintuck effect (semi-auto, combo)
206 Double-bed fair isle in 3 cols, pintuck effect (semi-auto, combo)
207 Double-bed birds-eye fair isle in 4 cols
207 Change locks to N/KX for fantasy fair isle
208 Double-bed birds-eye fair isle in 4 cols, tucks on the reverse side
209 Double-bed birds-eye fair isle in 4 cols, spotted effect on the reverse side
210 Double-bed fair isle in Fisherman’s rib and 4 cols
211 Double-bed birds-eye fair isle in 4 cols, tucks on every row reverse side
212 Double-bed fair isle in 4 cols, contrasting st formations on BB (semi-auto)
216 Double-bed fair isle in 4 cols, pintuck effect (semi-auto)
217 Double-bed fair isle in 4 cols, pintuck effect (semi-auto)
218 Double-bed fair isle in 4 cols, pintuck effect (semi-auto)
243 Tubular fair isle in 2 cols, as alternative try back bed all pushers up, CX, no arrow key
245 Intarsia in 2 colors
246 Intarsia in 3 colors
248 Intarsia in 4 colors
250 Pintuck formed where there are black squares in st pat, can try for drop st after casting on BB only
251 Pintuck formed where there are white squares in st pat
252 Pintuck formed where there are black squares in st pat
253 Pintuck formed where there are black squares in st pat
254 Pintuck formed where there are black squares in st pat, pintuck with spotted effect
255 Pintuck formed where there are white squares in st pat, pintuck with spotted effect
What about expanding DIY designs for use on both single and double beds?
Analysis of these techniques will reveal that frequently the main difference between the Techbuque console prompts consists simply of the console providing the knitter with beeps or visual reminders of lock settings, and at times color changes or racking sequences.
The various technique numbers compensate for the lack of directional arrow keys in the front lock as seen in the Passap non-electronic models. This in turn is achieved by the machine altering the method of color separation.
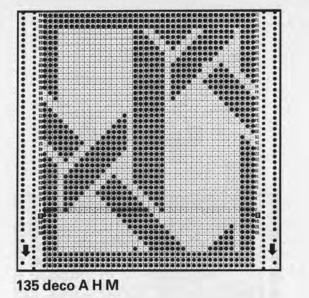
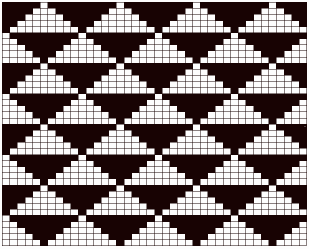
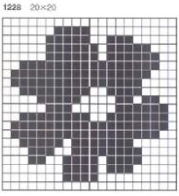
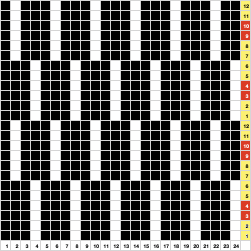
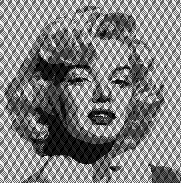
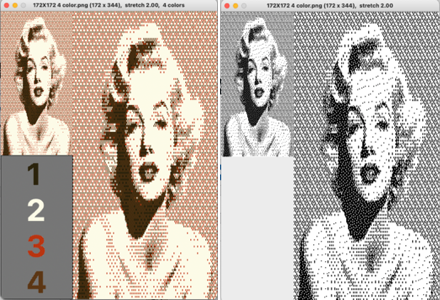
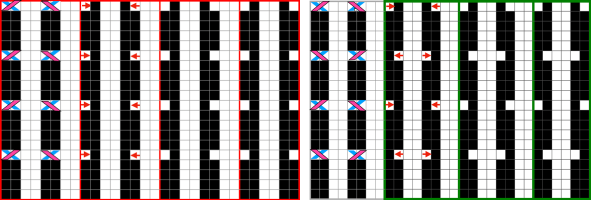
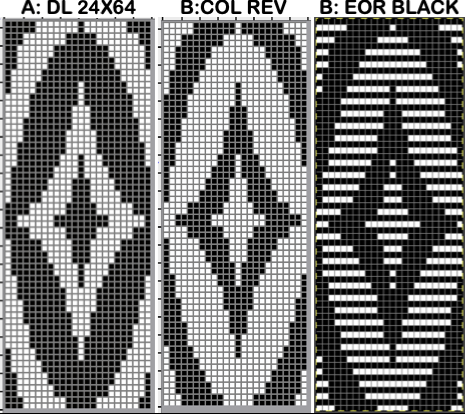
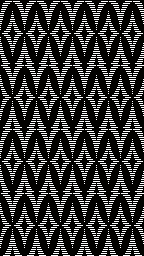
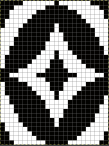
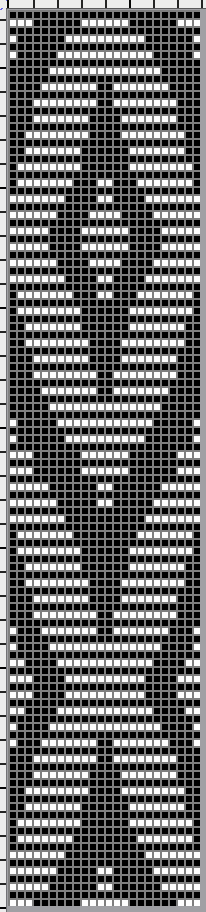
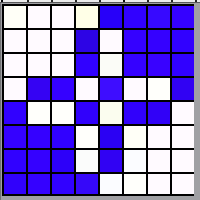
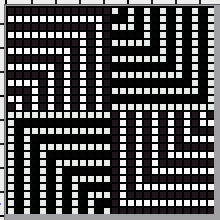
The ability to think of knit stitches as black pixels, or punched holes, or filled-in squares, and no holes or white pixels, unpunched or blank squares as tuck or slip stitches or specific colors frees us from any reliance on built-in techniques, or for that matter, from needing some of the specially drawn reader techniques.
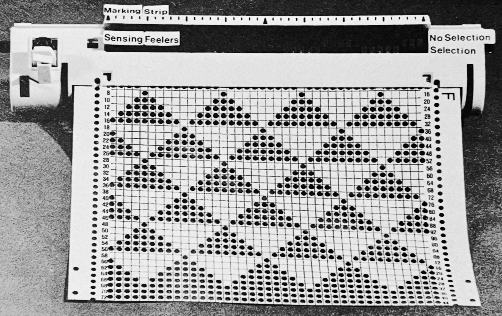
When the reader scans card patterns or downloads, it essentially “sees” black and white squares regardless of our intent for their end use.
KT (knitting technique) 179 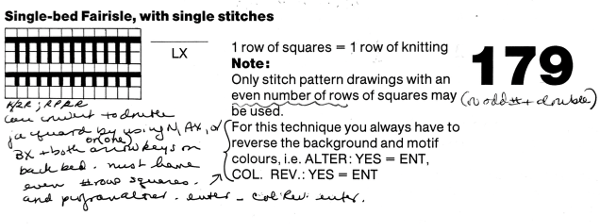 is intended for knitting single bed fair isle. Only designs composed of even numbers of rows may be used. As directed, the background and motif colors “always” have to be reversed, a requirement familiar to Brother knitters when using punchcard machines and fair isle patterns, along with the single bed color changer.
Depending on the design, floats may be a problem and are not managed as easily as in Japanese machines because of the fixed double beds and limited access for actions like latching up or wrapping with secondary yarn ends.
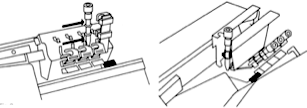
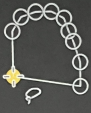
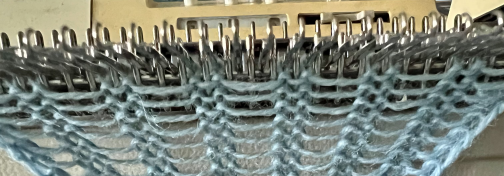
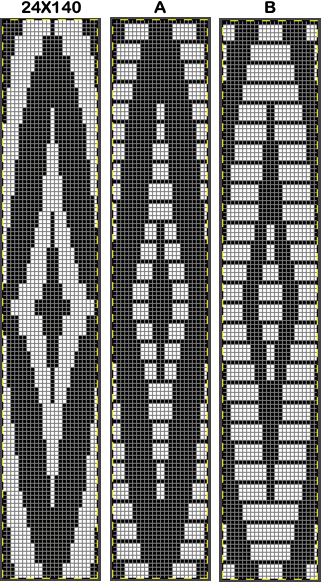
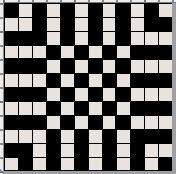
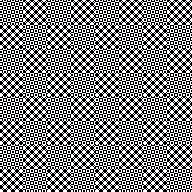
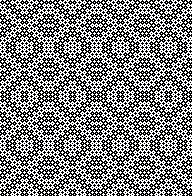
The back bed needles and pushers may be brought into work for converting to 2 color DBJ, with arrow keys and pusher selection set for birdseye or other backings, including ladder-back. A sample arrangement of needles and pushers for the latter set at BX, left arrow key, LX: 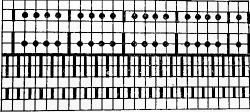 but arrangements can be varied to produce varied effects.
When arrow keys and settings other than N on the back bed, each needle in work will need a corresponding pusher in work. If needles are out of work, the corresponding pushers are placed back in the rail.
When switching to every needle double bed techniques, ignore the console directions for the racking handle position and remember to leave the handle down.
Susanna Lewis wrote knitting techniques that need to be entered separately from design motifs when they are planned for using three and four colors.
Such techniques were initially planned for card readers. Downloading them in the present day merits a separate discussion.
To start knitting do the SX/preselection rows as usual. The front bed pushers will be in the rest position. Set the locks as instructed, knit one row, and the back bed needles will knit. When locks are on the left, at the prompt on the console set the row counter on the lock to 000. The sequence of knitting always begins and ends with the locks at left when using these techniques. The same is true if the design needs to be split up to accommodate console memory. A method for doing so is reviewed at the bottom of the post on 2 color dbj using large, non-repetitive electronic repeats
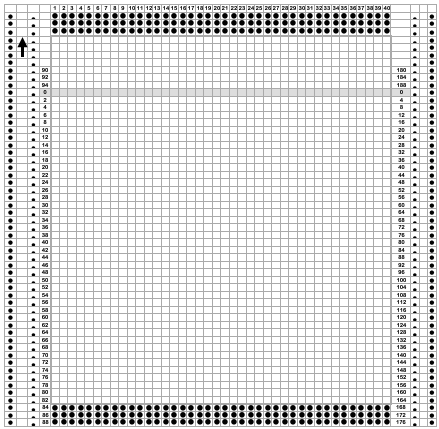
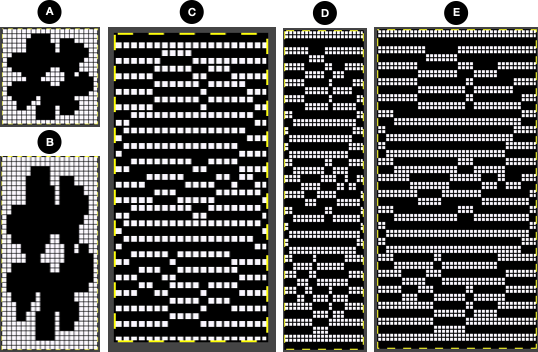
Both the Japanese automatic KRC selections and 179 begin with selections of white pixels in the first design row.
Joella Knitworks Newsletter was one of the many pubs available in the early 90s. After some email exchanges with the publisher, I was asked to share my method for accomplishing a similar result, the article was published in the May-June 1992 issue. At the present time, there are wonderful resources for easy downloads that include punchcard volumes with huge selections of published patterns for each stitch type.
Each can be converted for use in electronic downloads to any machine including the E6 with the aid of specific cables and software i.e. Wincrea, Journal 6, and DAK.
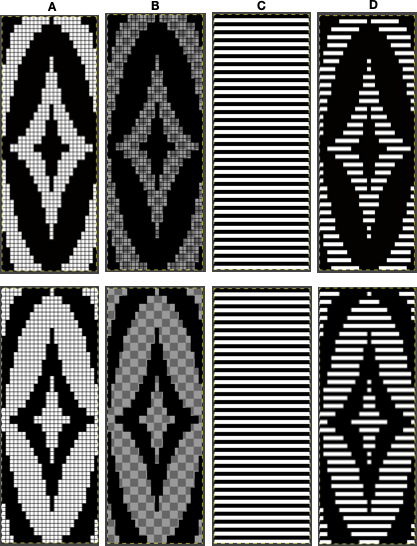
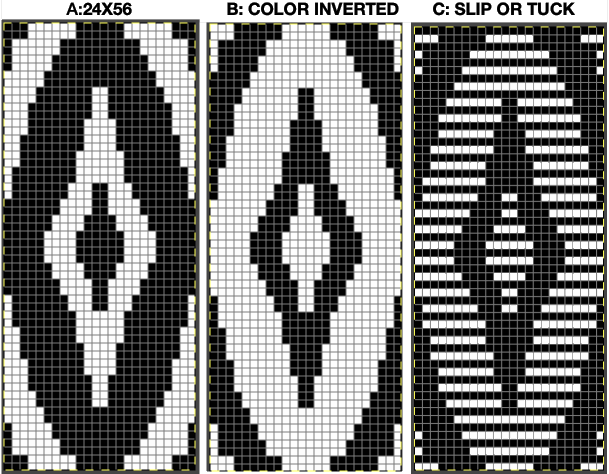
Beginning with any published punchcard design, duplicate black and white cell placements, whether for single bed or double bed color-separated fabrics, and follow with the entry of Tech 129 and color reverse, so that black squares knit, white squares tuck.  Technique 130 in turn, performs the same functions as 129, but for 2 consecutive rows, enabling it to duplicate any situation that in the Japanese machines would call for double length, or when using some of the Duomatic patterns that call for the DECO to be set on 2.
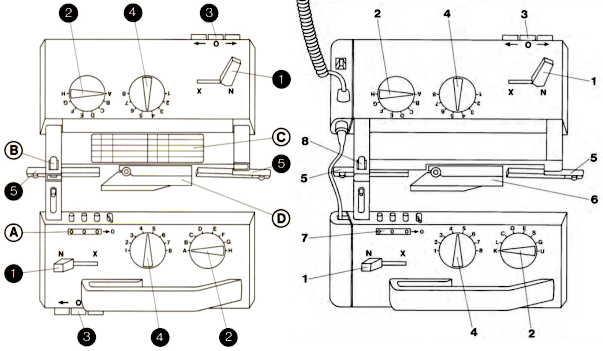
The console gives suggestions for lock settings based on factory programming.
Once a design is downloaded, suggested lock settings can be disregarded, i.e. Tech 129 and 130 can be used with the front lock set to LX instead of KX depending on the planned stitch type.
The back bed can be also brought into play with settings determined by the knitter rather than by console suggestions.
Pusher selection in Passap is akin to Brother needle preselection.
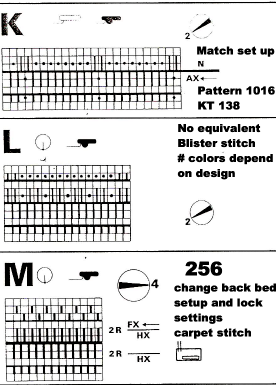
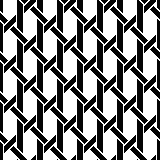
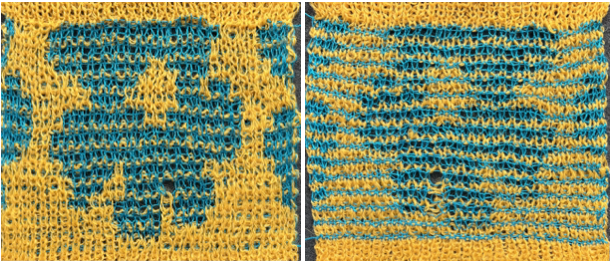
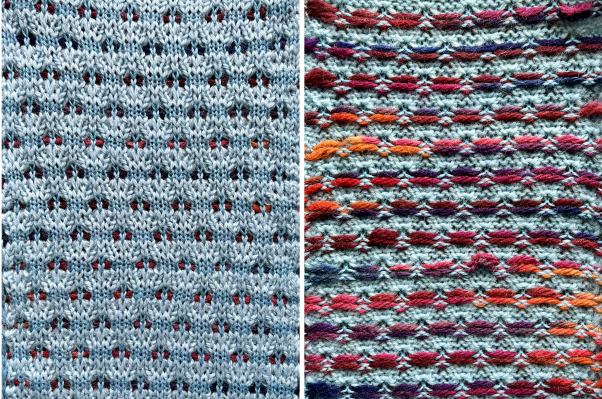
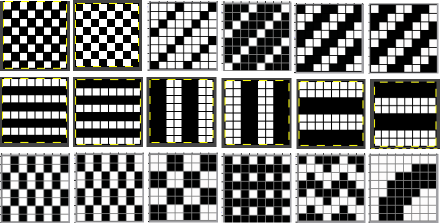
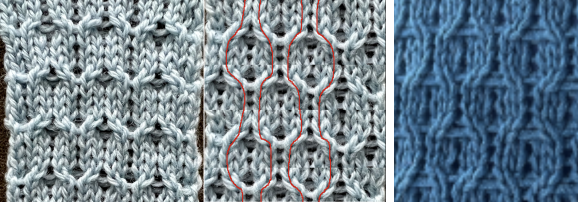
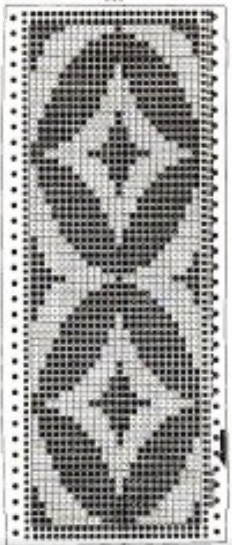
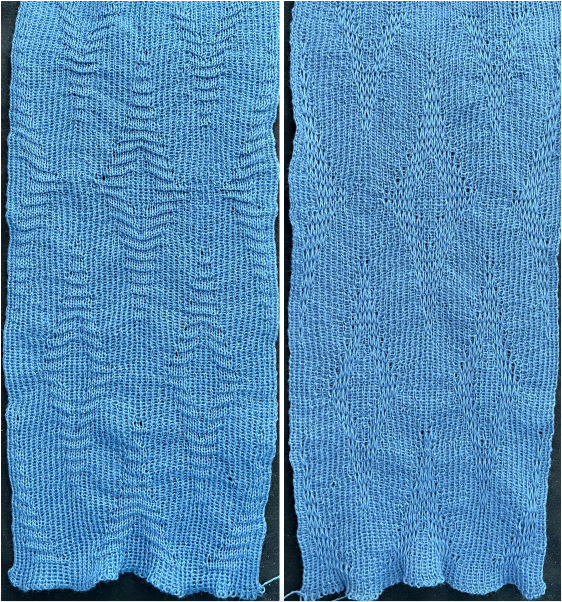
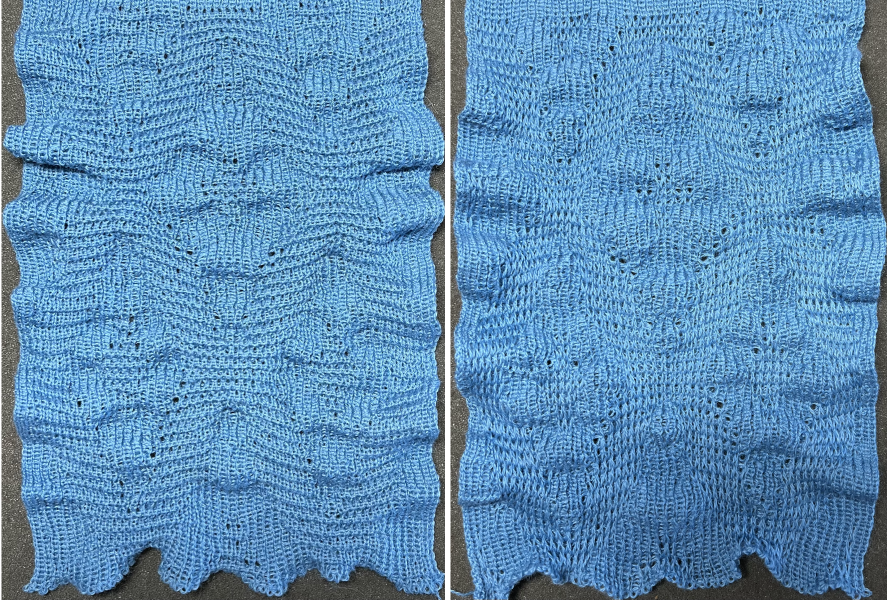
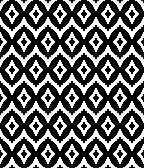
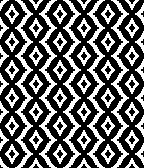
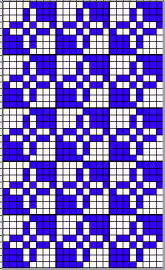
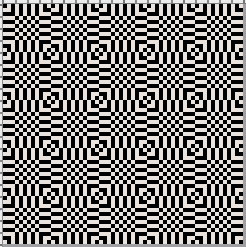
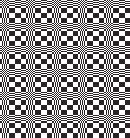
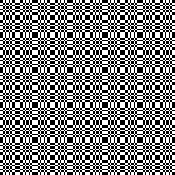
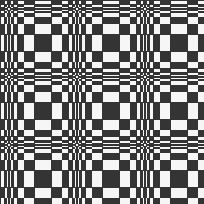
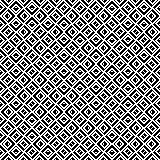
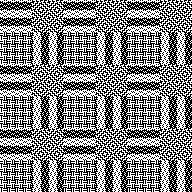
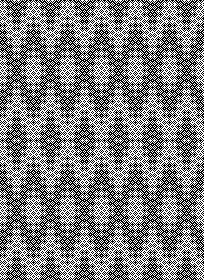
Brother punchcard volumes varied content based on trends at the time of publication. This particular one,  has a section at its back on patterns knit using opposite tuck/slip buttons on the main bed. There is a slight difference in appearance as to whether the carriage tucks first or slips first. Any pattern using pairs of rows recurring such as in these tuck examples, may be used.
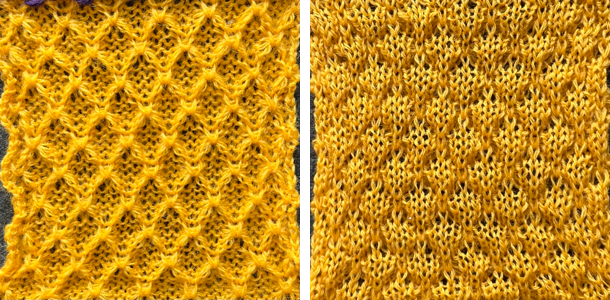
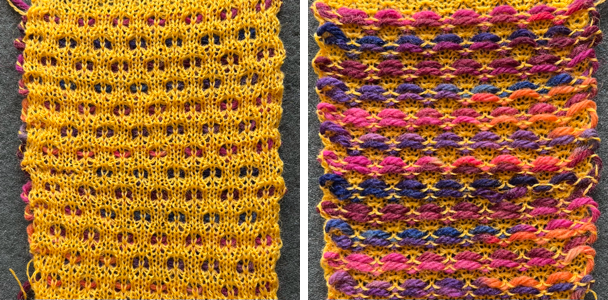
 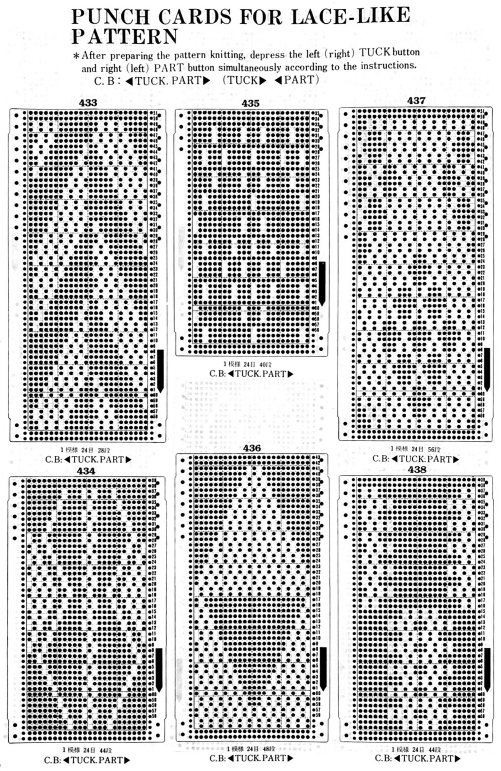 The E6 front lock has a UX setting. The function is one-row selective slip and one-row selective tuck. The lock will slip when knitting from right to left on the needles above pushers in rest and knit on those above pushers in work. When moving from left to right, it tucks on needles above pushers in rest, and knits on those above pushers in work. Because the locks stay together throughout any knitting, the back lock is set to GX. The same setting can be tested on any tuck design suitable for color changes every 2 rows.
OX is a combination setting of KX and CX, it is used in tech 162,63,64 and 65 and is always combined with DX –>on the back bed. The techniques cannot be combined with stitch patterns.
DX is the tubular setting for tuck on the back lock.


