The latest version of Gimp for Mac includes many small changes which come with no announcements and take a bit of sorting out to recognize or problem-solve.
There are good collections of Youtube videos intended for use on much larger files, with fewer color restrictions than images used for knitting.
A dock is a container that holds a collection of dialogs.
I work in single-window mode and had an issue a few times recently with the tool dock and dialogue disappearing from the left.
The method that worked for me:
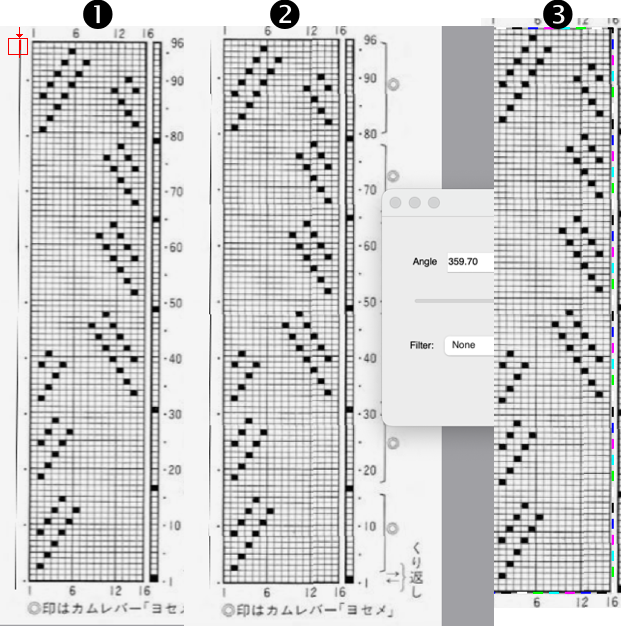
on a Mac, select the link to the Preferences/Settings window found in the GIMP application menu, next to the Apple menu. 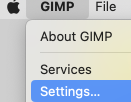 Scroll down in the left pane until you see the Windows Management entry. Click on it to open the relevant settings pane. Look for the giant button labeled Reset Saved Window Positions to Default Values, seen on the bottom right.
  Click on it, and GIMP will pop up a small notification box letting you know that the save will go into effect the next time GIMP loads.
Click OK there, and click OK again in the main Settings window.
Close GIMP and reload it, and familiar settings should be back.
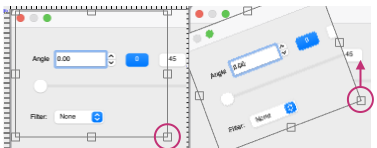
To prevent a reoccurrence of the issue, it is possible to lock the associated tab, permanently fixing the dialogue. To do so, click on the small shape next to the Tool Options Menu text on the top right, then select Lock Tab to Dock. 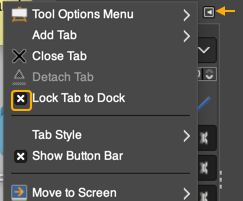 Tool icons are also changed at times, leading to puzzlement when steps used in the past do not work. An example,
 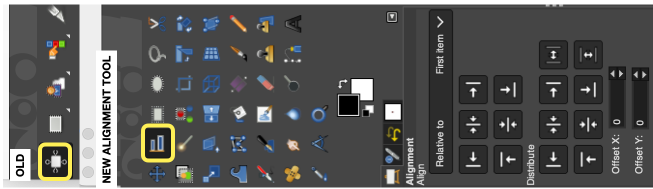 The layers menu no longer offers the difference mode used previously in custom color separations.
From the manual: “If you need to stay compatible with older GIMP versions or you need to use the legacy layer modes for other reasons, look for the icon to the right of the layer modes selection.
This drop-down menu will let you choose between Default and Legacy. If you choose the latter, the layer modes list will only show the legacy layer modes and all modes will have “(legacy)” behind their name (the selected mode will use the short version (l). ”
To make the dialog available: 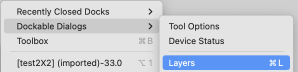 click on Legacy to switch mode selections.
 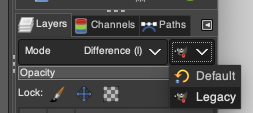 My posts are at times generated in response to questions I have received through forums or direct contact via my blog, but most often by my exploring whatever rabbit hole attracts my attention for a period of time before leaping into the next.
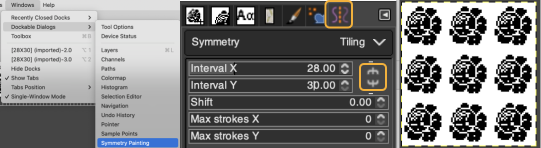
A quick way to fill with a design/ drawing in repeat is to choose and open an image, ie this rose, indexed B/W 28X30 pixels  Magnify ie to 800X, go to Edit, and Copy Visible to save it to the clipboard as long as the program is open
Choose File, New, in size that is a multiple of the original ie 84X90.
Select the brush tool  In the Windows menu choose Dockable Dialogues and select Symmetry Painting, then Tiling.
After entering the desired values, as you move onto the canvas, a brush icon and crosshair will appear, along with a square bordered with a dotted edge representing the clipboard brush in full size,  place it touching the left upper corner for a straightforward tiled repeat, an alternative to the familiar method using Filter, Map, Tile. Undo and repeat if needed.
 For a brick repeat
 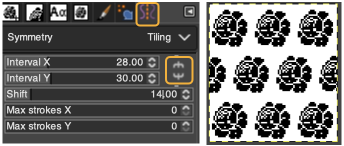 For easy and quick drawing in any repeat configuration including random, I recommend using ArahPaint.
For other tiling repeats, I have found Gimp offset limiting, offering this as an alternative method for, in this case, a half-drop design.
Work in matching magnifications as steps are advanced.
Begin with the rose, use filter, map, and tile it to twice its height, 28X60  Open a new file, twice its height and width, 56X60 pixels.
Using rulers as guides for the half drop, place a center vertical guide at 28, horizontal guides at 15, and 45 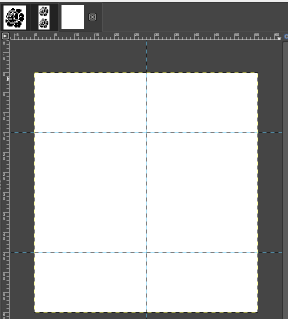 click on the 28X60 selection at the top of the work window, copy and paste it on the file marked with guides first on the left side, click on the rectangle tool to fix the layer
paste it again on the right, placing a full rose in the center square outlined in the column,
paste again and move the selection above or below to fill in the empty third of the column
select the rectangle tool again to fix the layer, save the 56X60 file,  filter, map, and tile again to test the alignment ie here, 168X80
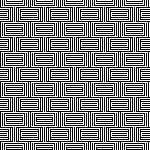
 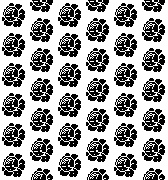 the icons selections at the top of the work windows change as steps are completed
 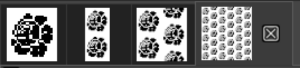 A visual summary of the 28X60 image placements
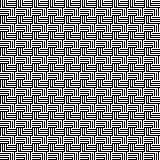
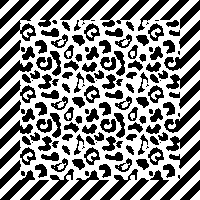
  A pattern is a small image that fills areas by placing copies side by side, while a brush is used for painting.
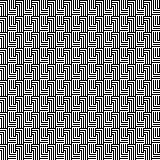
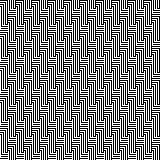
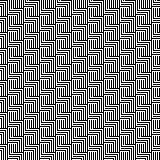
In drafting A collection of geometric design blocks built with squares, rectangles, and lines and considering optical design development, Gimp fill with pattern gained my focus once more.
Pattern fill was discussed in Gimp update for Mac 2
In developing pattern-fill libraries, and saving them, using larger pixel group pngs rather than the smallest repeat needed makes identifying them easier.
These suggestions are for drafts on 8X8 pixel grids.
They may be used to pattern fill from the clipboard while the program is open, or exported as .pat files, adding them to a “my pattern” folder through program settings, where they will be available after Gimp is quit and reopened.
Always tile/draw-in-repeats to check alignment prior to saving.
Color-reversed versions are also useful.
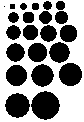
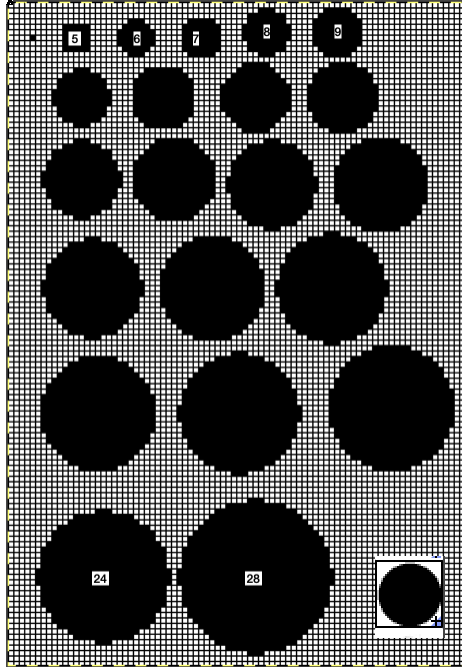
Once the basics are tested, one may begin to move towards shapes and more complex repeats, particularly if using electronic machines. 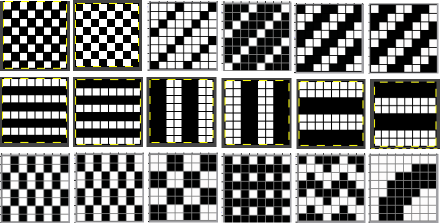 A library of circles, some in dimension used in developing truchet tiles, drawn using the built-in Gimp circle brush, from 5 to 24 and 28 pixels in size.
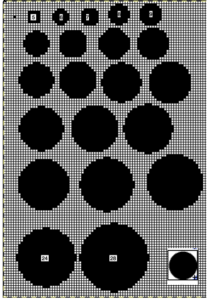
 Developing dot designs merit a separate thread as well as more on symmetry painting.
The patterns may be saved as color or black-and-white files.
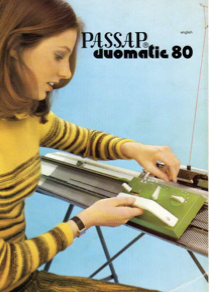
Passap users should know even though they may see this icon from some old company-shared files along with their own .cut ones,  they are not compatible with Gimp software or any other outside the DAK universe that I know of, where they were an earlier format later replaced by the stp format.
There are always many ways to approach DIY, staggered lines of equal size with alternate color starting points can fill in spaces between each other.
Gimp has offset and symmetry drawing functions.
As a long-time repeat builder, if working in Gimp alone, I prefer working with multiple images open to using layers, and visually making the drops or shifts in the repeats manually by copying and pasting on progressive-size canvases.
Starting out with colored squares in RGB mode allows for filling in each color with multiple different BW patterns, for these samples I am using only 2 linear pattern fills, beginning with a 40X40 design 
 tiled X5
 in brick repeat
  and in half drop
  Introducing other shapes, 16X16


 brick configuration, 32X32

 half drop, 32X16
 Keeping that black outline, but still rendered in B/W
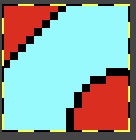

 Eliminating the outline, retaining a quarter circle, 16X16


 Using mirroring, and cropping the repeat using several canvases, eliminating double lines in the process, 30X30.
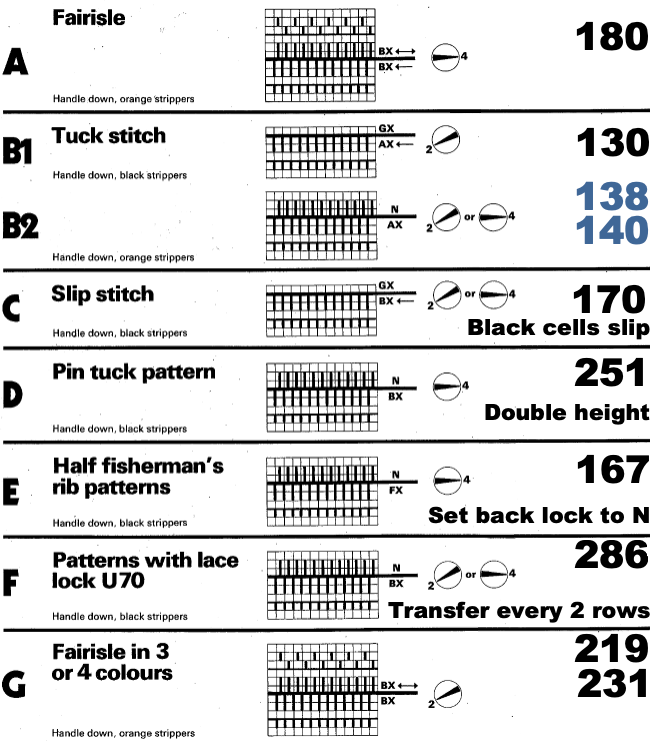
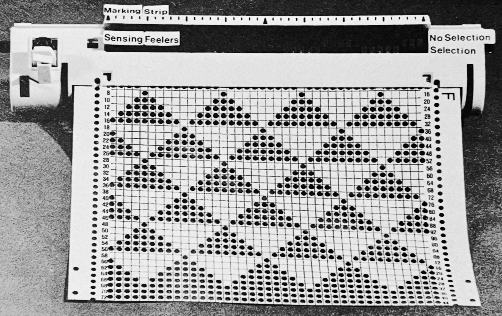
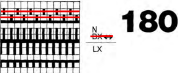
 The maximum size in width for large items in a single piece is generally between 180 and 200 stitches on 5 mm and 4.5 mm respectively.
Gimp comes with many built-in assorted patterns which can serve as a starting point. Here a 160X160 canvas is filled with a Gimp pattern, planning a 20 stitch border on all sides.  Convert image mode to greyscale,
  using Colors/Curves adjust values to an input of 47, and an output of 203,
 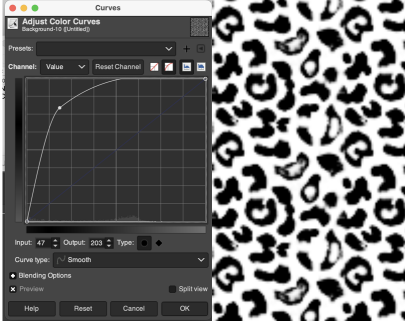 and if planning to knit the piece in only 2 colors, convert the result once more to indexed B/W mode
 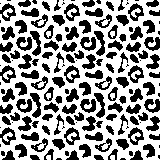 To add any desired border, open a new file, in this case, 200 by 200, working in RGB mode, and fill it with any color other than black.
Copy and paste the image above onto it, it will be automatically centered 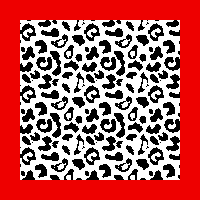 Choosing another built-in pattern, the red border is pattern filled
 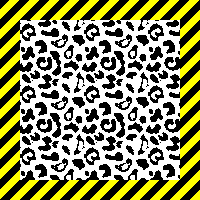 To eliminate the yellow, use fuzzy select by color, and check that the bucket fill tool is set to fill with the background or foreground color again.
Press the shift key, and replace the yellow with white.
Convert mode to indexed B/W once more, and export as png.
 If desired, using a grid view and pencil tool, additional black borders can be added.
The shift command keys on the Mac used in conjunction with the pencil tool help render straight pencil lines. 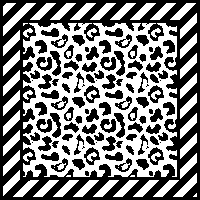 Any of the larger files developed as tiled designs can be cropped to different dimensions depending on preference and end-use.
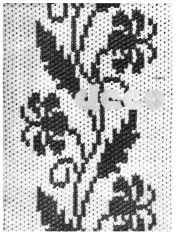
Decades ago, before software design aids, there was a knitting challenge circling around to include hidden language or undesirable language in a not necessarily easy-to-read format in knitting, beginning with hand-scripted text, which was then mirrored in width and height.
This was my version of DBJ vertical design, with the photo rotated and repeated to visualize what the appearance might be on a larger piece.
 There are some really interesting examples of hiding messages in textiles throughout history and even books written on the topic, it is referred to as steganography, which means hidden writing.
When I was teaching there were often as many as 15-20 students knitting in the studio at the same time, and I felt a need for an expletive outside the less civilized 4 letter word that came to mind when multiple emergency yell shouting my name for help occurred at a single time.
Hints on using text: Gimp to create text for knitting
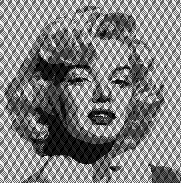
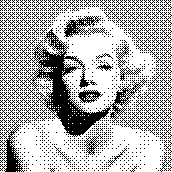
This image, rendered in Gimp with superimposed text and filled with patterns in both the text and in the background illustrates my answer to that problem.  I have often seen illustrations of artworks for sale online using portraits with superimposed all-over patterns.
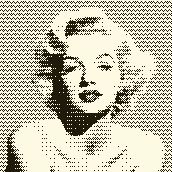
This concept for a possible knit began with an AI-generated foursome using Midjourney 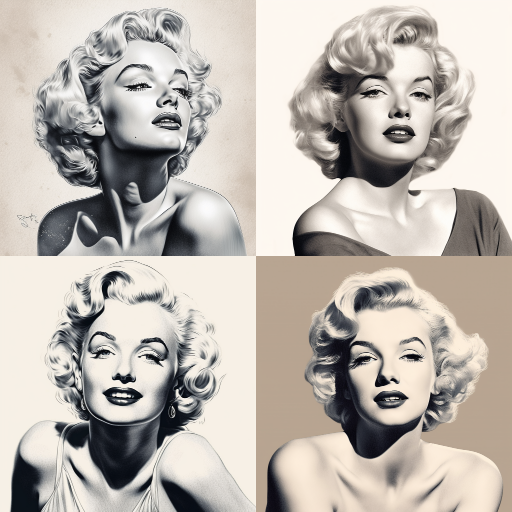 My chosen image, originally 700X700, with image mode changed from RGB to greyscale, indexed to 3 colors, scaled and trimmed to 181X183
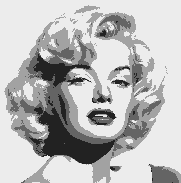 selecting a random brush for superimposed pattern, 30X40
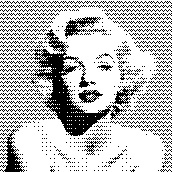
  file, new, exact dimensions as portrait, white ground, 181X183, fill with pattern,
 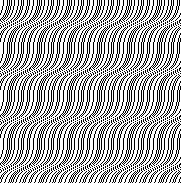 layer, transparency, color white to alpha,
 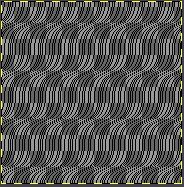 copy and paste on portrait file, fix layer, save .png
  Image ready for download using img2track
  For use on a 930, the design is broken down into multiple tracks by the software, each to be downloaded in sequence as a new pattern.
  The same repeat, with a few pixel changes
  Using a different punchcard pattern repeat
 with a different pattern fill, the portrait becomes more hidden
 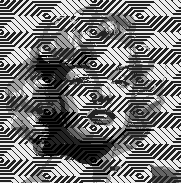 A video on achieving a similar effect using Arahpaint
 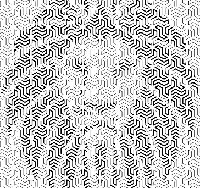 If the goal is only to change the background, there are several options for that as well.
One way to remove a background containing varied shapes, and return to an often-used of my old friend Rocco,
the file, 150X154, 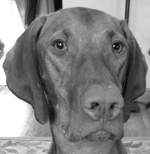 add an Alpha Channel
 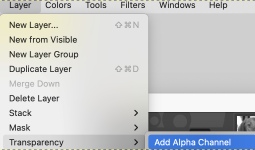 The Free Selection tool, or Lasso, allows for creating a selection by using a pointer.
Since GIMP-2.10.12, selection modes now, in 2.10.34, work differently.
Marching ants/dots come with a continuous line, meaning that the selection is not validated yet and that you can still change the selection shape (the mouse pointer comes with the Move icon) but keyboard commands may no longer work. When satisfied with the changes hit enter/ return key on Mac to validate the selection.  Enlarge the image to make following and marking its outline easier.
Freehand selection can be made in small segments at a time connecting short lines, or long, continuous strokes.
First, create a starting point by clicking on your image.
A yellow dot will appear. As you move along the edge of the image, the colored dot reappears every time you stop, with the previous locations turning into empty circles.
When it is reached, if you click on the endpoint, it turns filled and is accompanied by a moving cross. 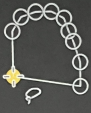 Use the return key to pause if needed.
Pressing and releasing the mouse pointer allows you to mix free-hand segments and polygonal segments.
If you click on the endpoint, dragging alters the shape.
When the endpoint is on top of the starting point, click to close the selection.
Double-clicking on the endpoint closes the selection with a straight line.
You can go outside the edge of the image display and come back in if you want to.
Escape cancels all continuous selection segments.
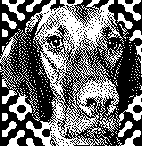
When the lasso selection is completed there will be visible dotted lines around the selection 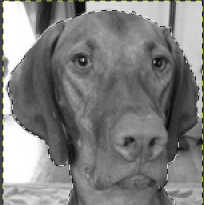 Color invert the result
 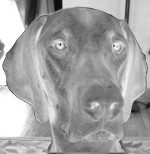 Open a new, white canvas of the same size and magnification, and copy and paste the color inverted one on it
 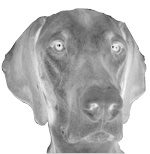 Use color invert once more, Rocco is now on a black ground
 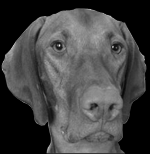 Using the result in online dithering programs provides a different result than when dithering the full greyscale image. This result is from using https://29a.ch/ditherlicious/
 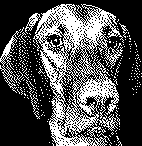 If the result is an instant favorite, and the goal is to fill the ground with a pattern, use the lasso tool again to eliminate the black more carefully than I did, repeat the steps to color invert, copy and paste on red,
 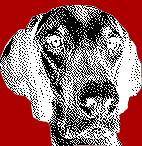 Color invert once more,
 Fill the background with a chosen pattern, convert image mode to indexed B/W, and export the resulting file

 If the image is to be knit using 3 (or more) colors per row, this is one of the myriad possible results using my favorite dithering option, https://app.dithermark.com.
  Returning to the greyscale image on the black ground, the latter can be bucket filled directly with any chosen pattern
 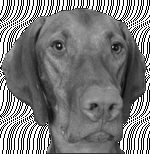 To superimpose a pattern on the whole image, fill a white canvas in the same dimensions with the pattern
  use Layer, transparency, color white to alpha
  Copy and paste the result on the original
 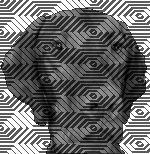 Full greyscale is not knittable.
What about using the AI portrait in B/W or 3-4 color knitting?
172X172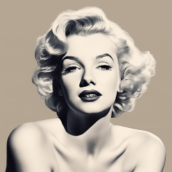 ditherlicious 2-color,
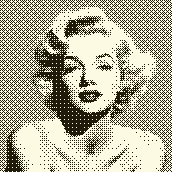
 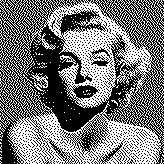 and dithermark using the built-in pattern selector for 4-color.
  The image will be elongated in actual knitting, this window from img2track on the left is set for 4 colors. Changing selection to 2 colors and opening the same image, it is converted to B/W
 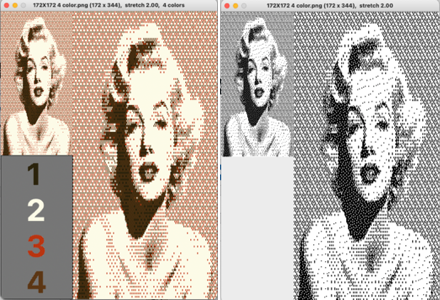 3-color with diagonal hatching
 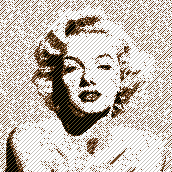 2-color
 Though visually some images may appear as though more than 2 colors are in use, here is the comparison using img2track between opening the above on the left, and, on the right, after changing the image mode to B/W indexed using Gimp
 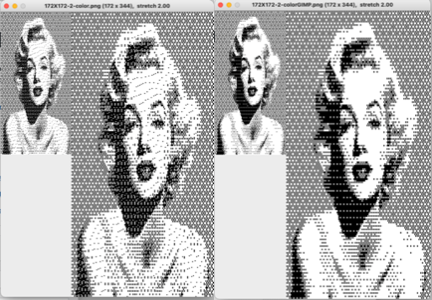 with added cross-hatching followed by image mode to B/W in Gimp simply to note visual differences
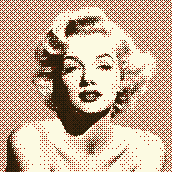
 and a different cross-hatch, with a value balance change, in B/W mode
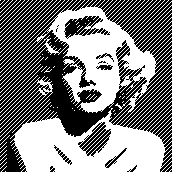
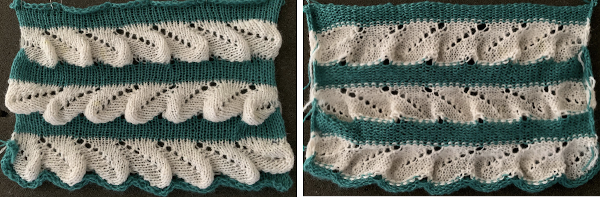
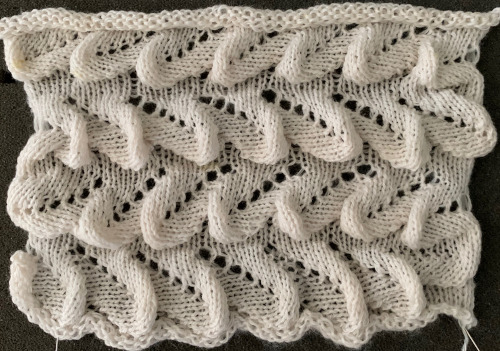
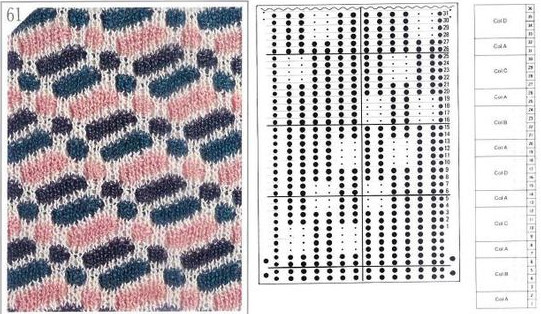
 based on an Armani sweater, followed by this group of shares, listed by creation date and beginning with the most recent
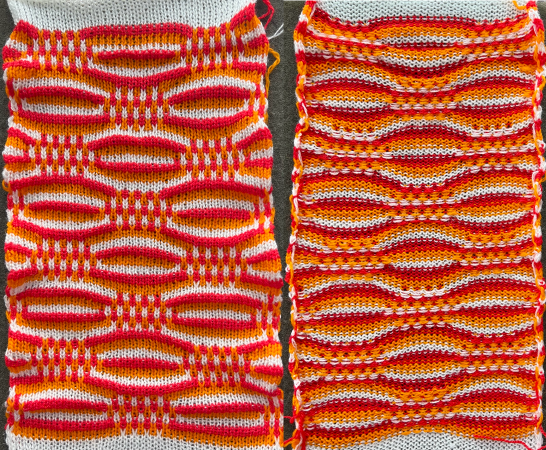
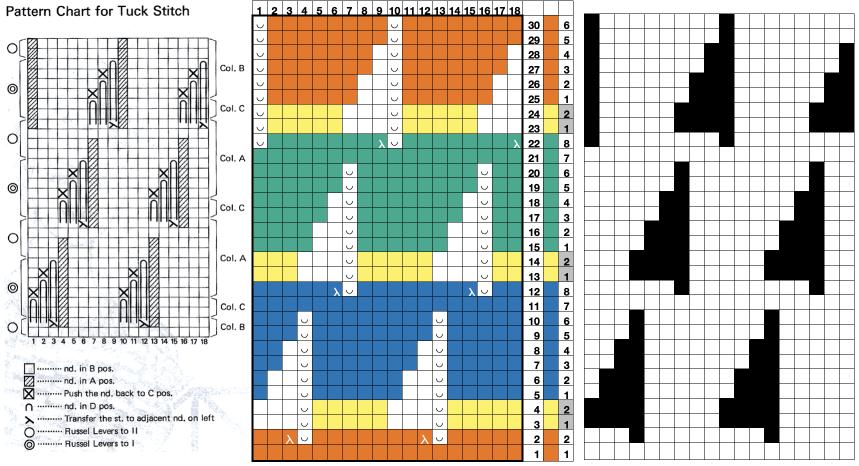
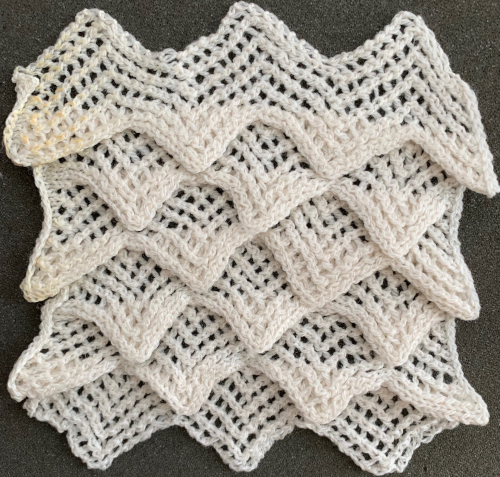 Single bed scales made with stitch transfers
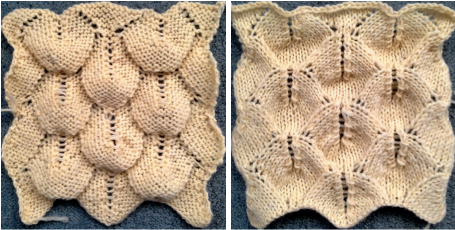
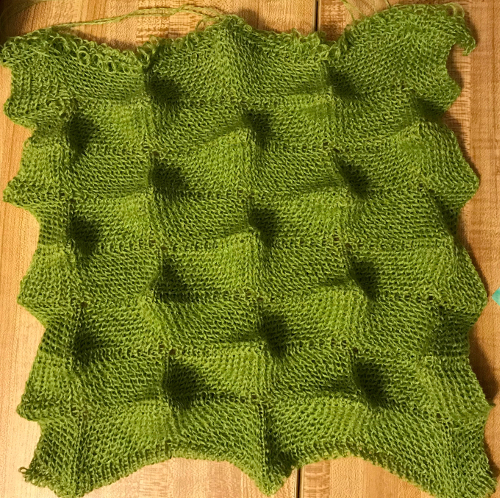 Hand-knit “dragon scales”
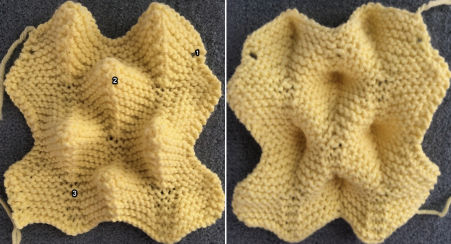
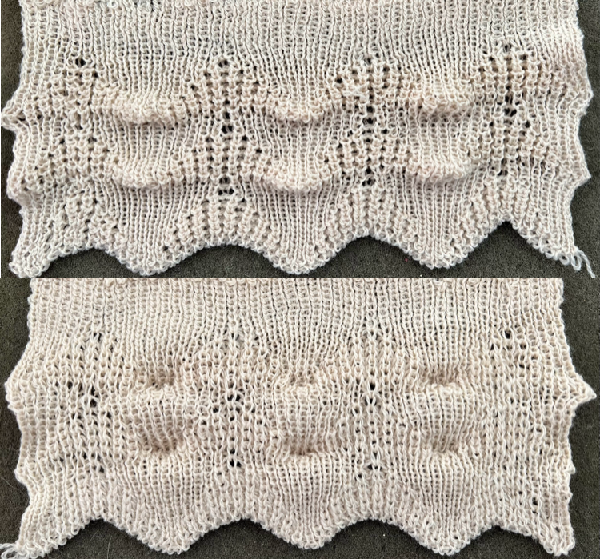
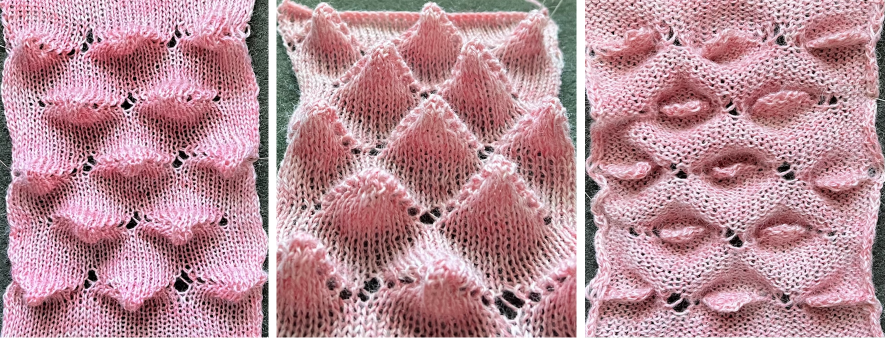
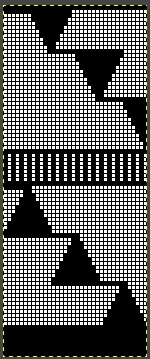
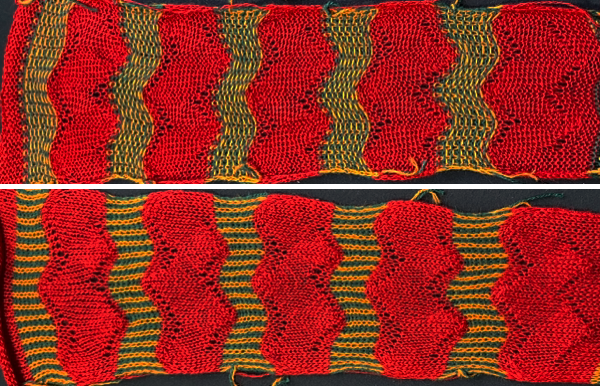
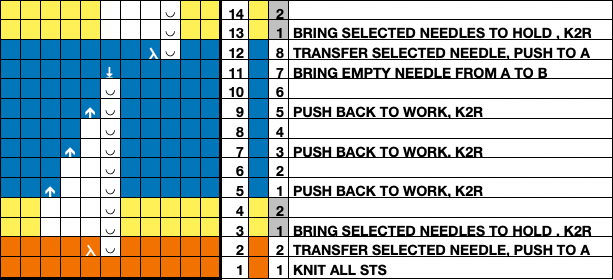
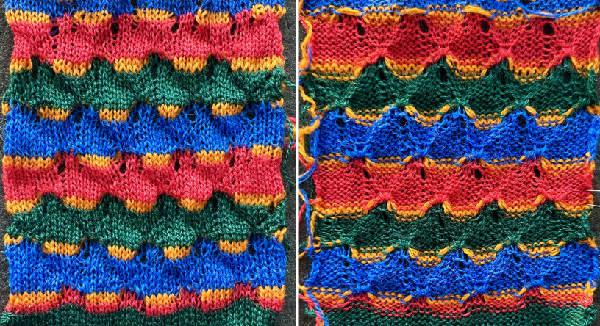
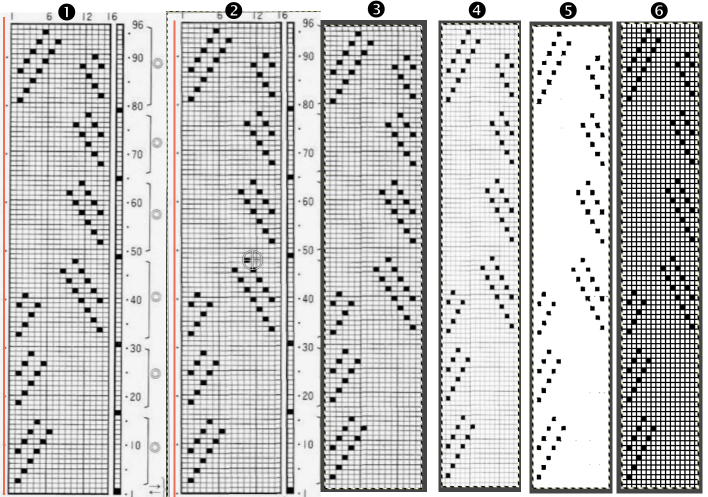
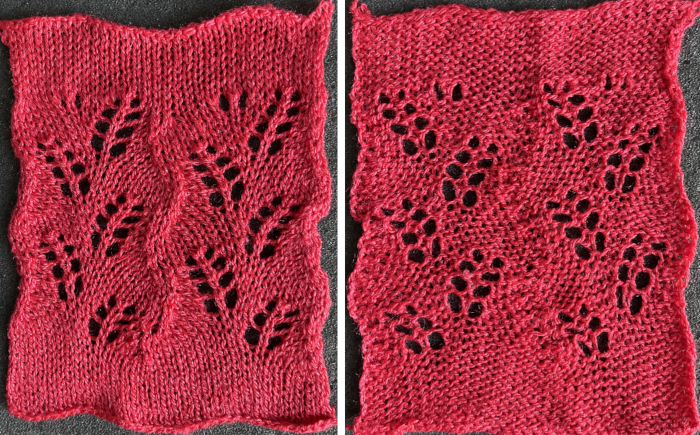
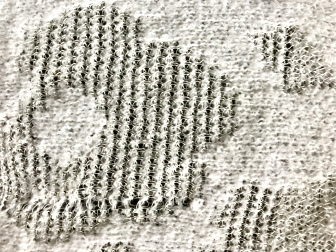
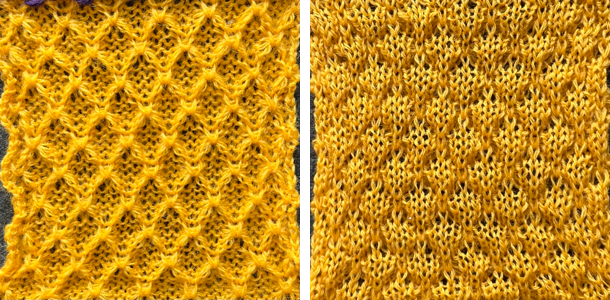
 Revisiting automated shell shapes
 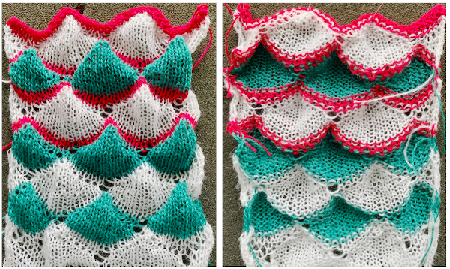 Automated shapes across rows of knitting using slip stitch only various designs
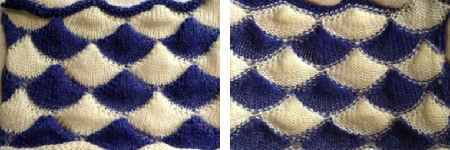 When the construction of the scale and shell shapes was proposed, I did not always share the repeats for the automated version.
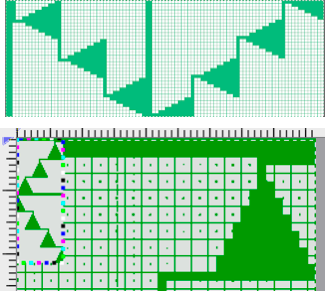
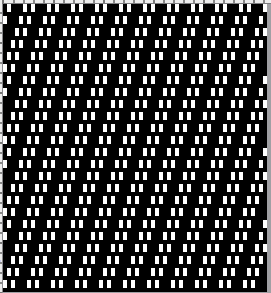
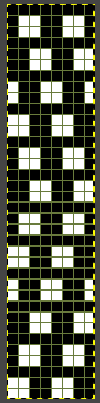
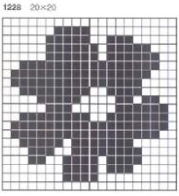
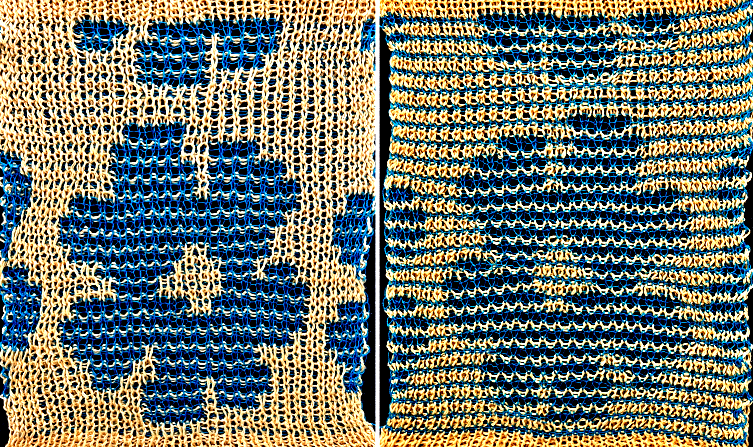
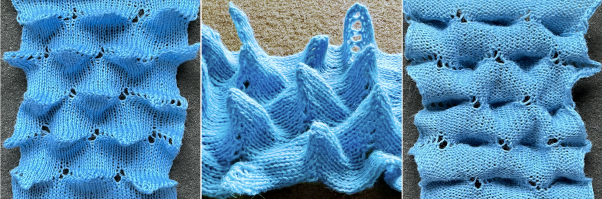 The edge half repeats are eliminated in an attempt to yield straight vertical side edges, with the repeat reduced in height to 36X124.
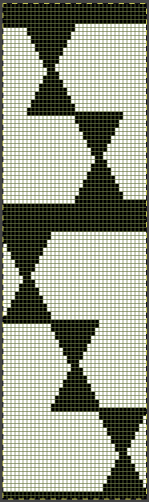
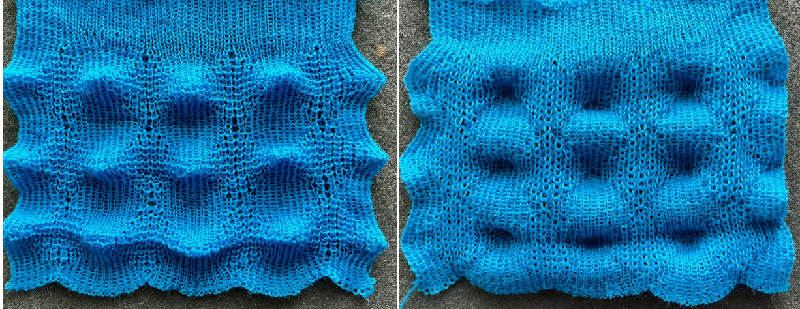
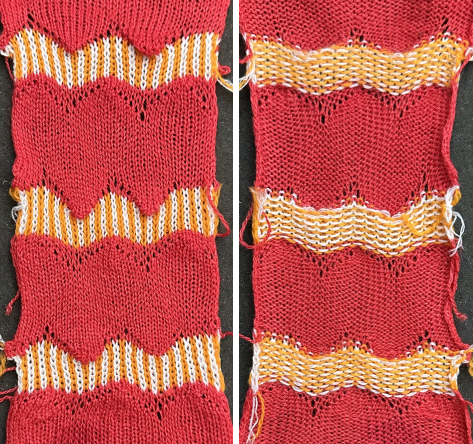
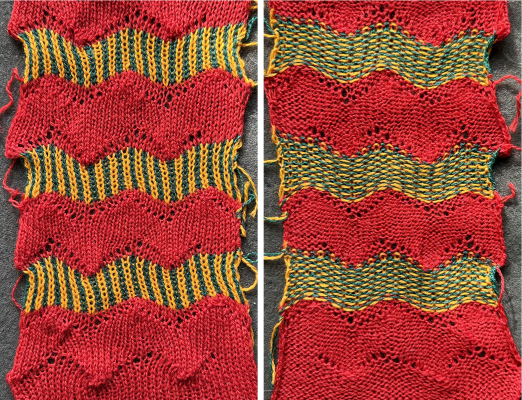
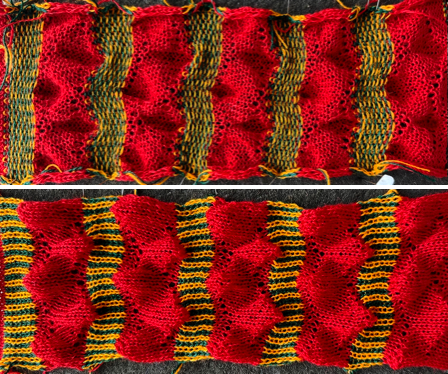
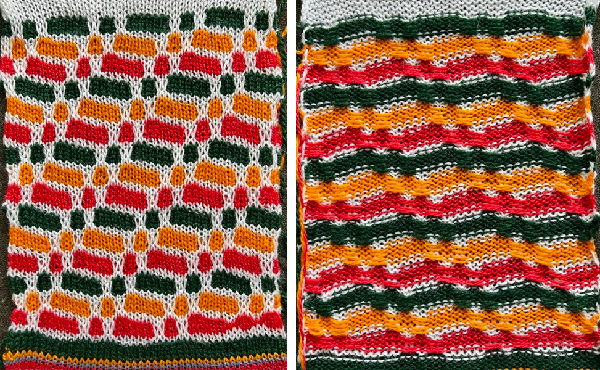
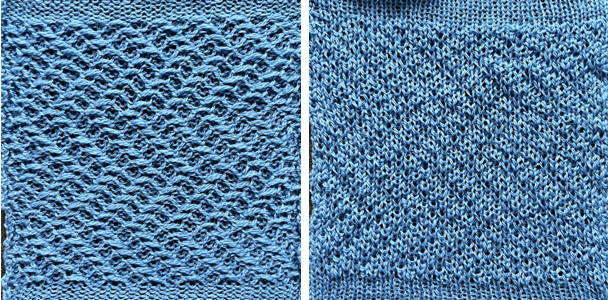
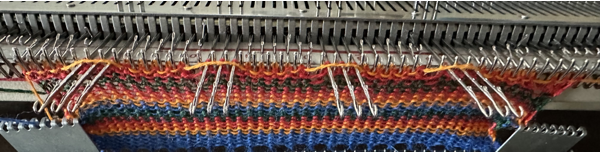
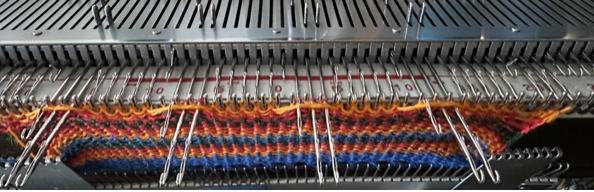
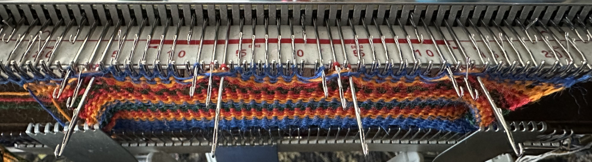
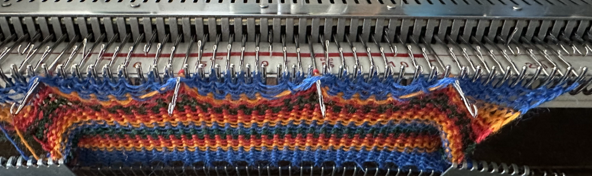
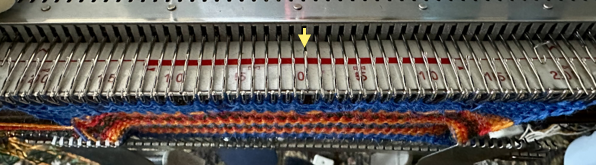
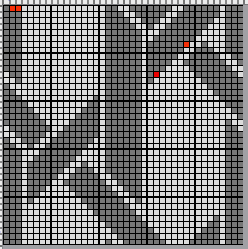
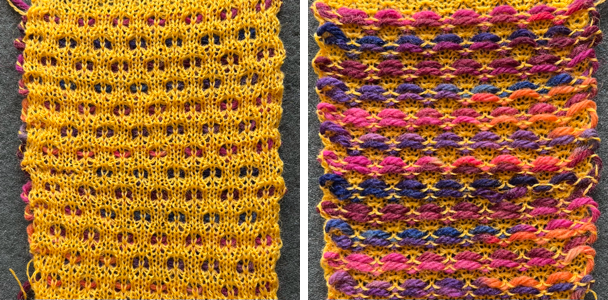
 Comparing the difference in the results when knitting the same number of stitches and rows in the pattern; the blue yarn is of a slightly different thickness than the pink.
 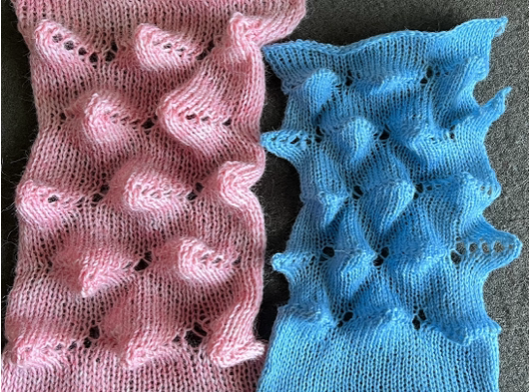 Seeking striping at the center of the triangular shapes, I found what appears to be a one-off error in the spreadsheet numbering of cell rows vs actual design rows, which initially resulted in issues with a correct conversion to PNG.
 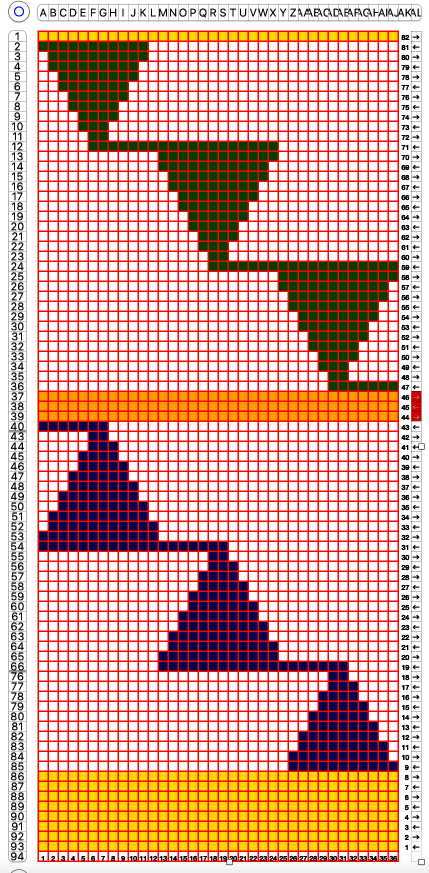 Transitions are made after odd numbers of rows to allow starts from the right for each pattern segment ie. Yellow/ 8+1 rows at the top of the repeat for plain knit segments, orange for the 3-row contrasting color stripe at the peak of the shapes. There will be cut yarn ends at each transition.
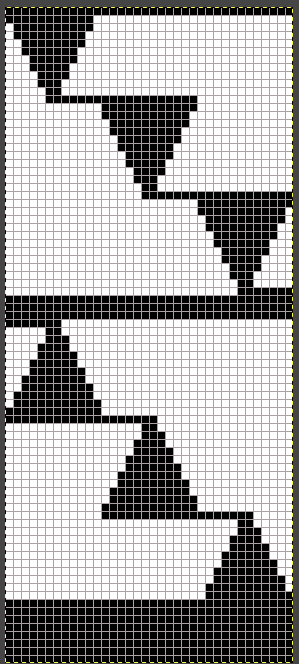 the 36X82 png
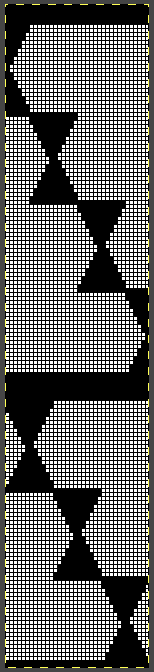
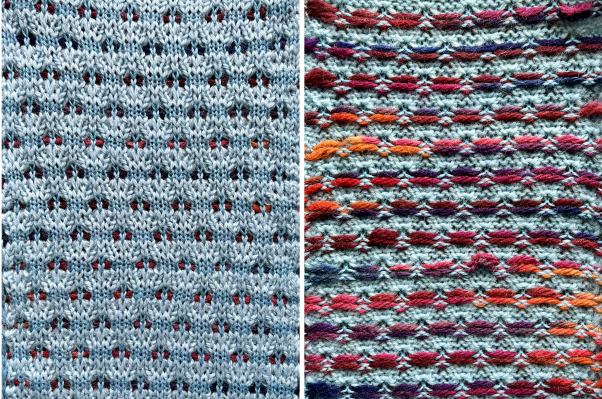
 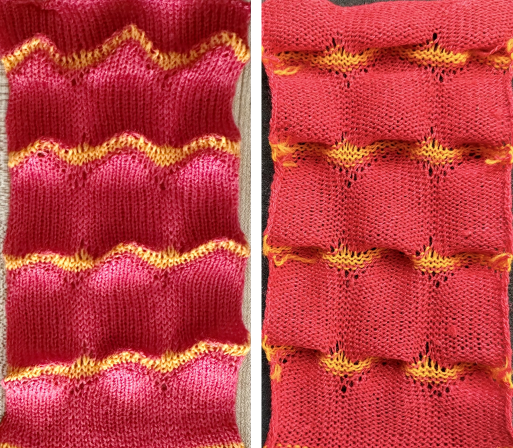 and to the purl, shown also after some pressing. A punchcard snap is inserted in one of the pockets in the last image on the lower right to hint at pocket size.
  Steamed, flattened shapes may also be coaxed in different directions, stitched in place or even together with a contrasting stripe behind them, or added beads at the join
 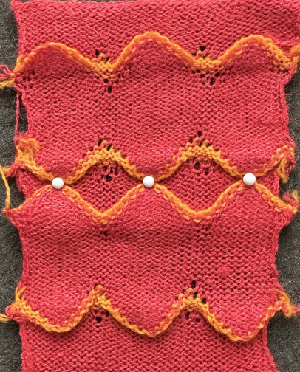 A first draft at adding a FI or slip stitch stripe at the center of the repeat still relies on some segments occurring for an odd number of rows, was rearranged in the later designs, measures 36X88 pixels.
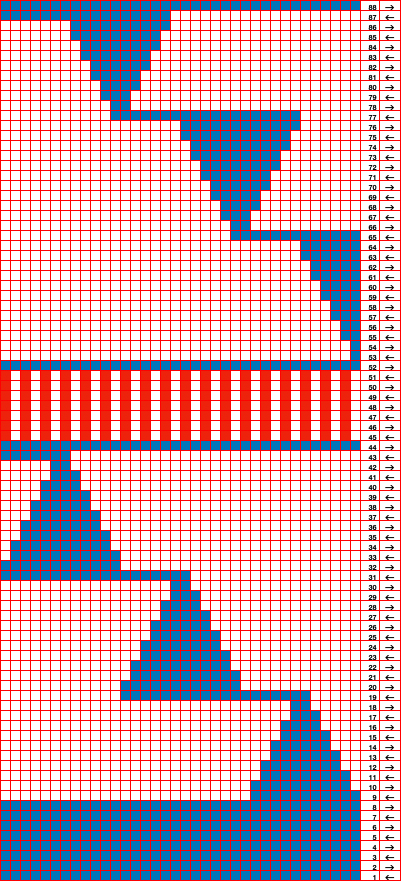
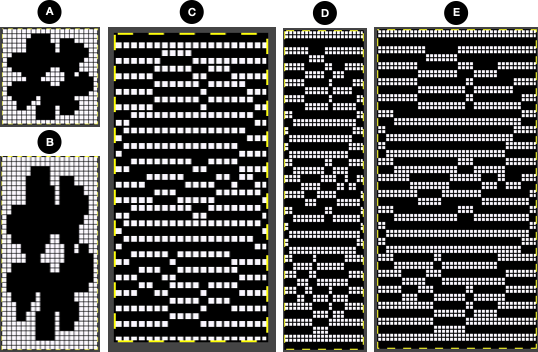
 Altering the design 1:
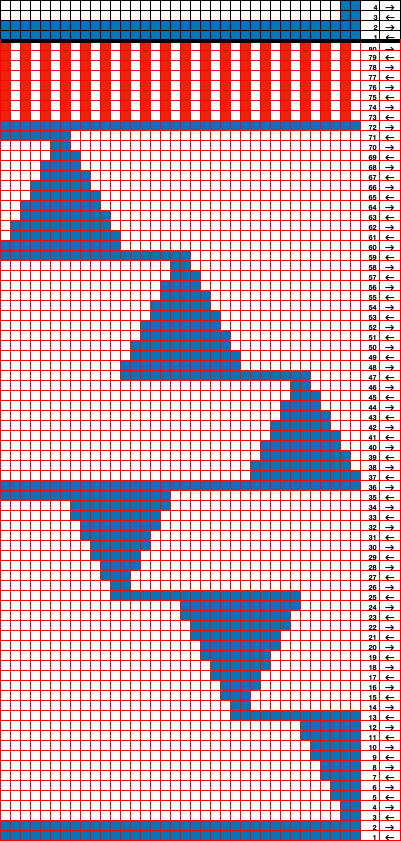 the 36X80 repeat:
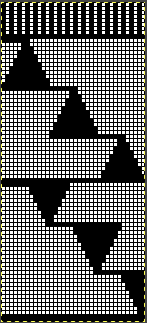
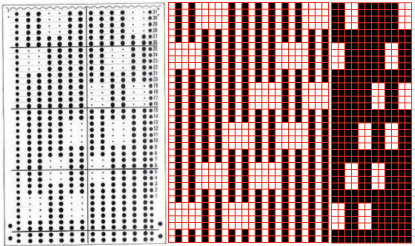
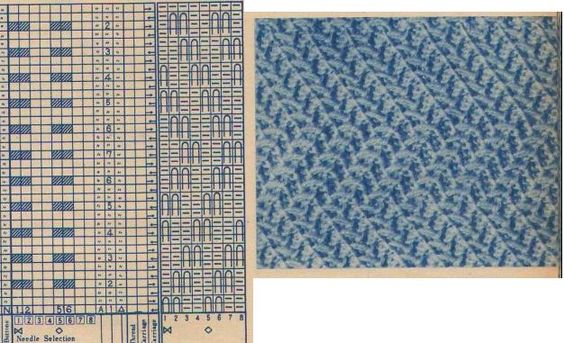
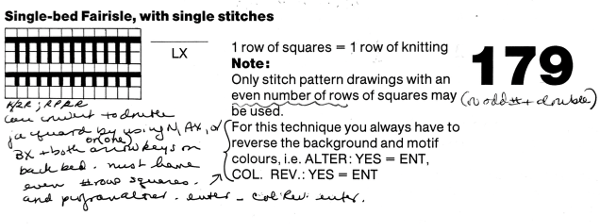
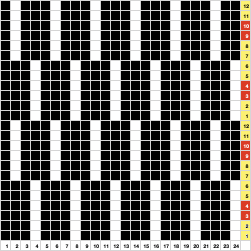
 Altering the design 2: whether executed with cam button changes with the knit carriage always operating from the right, or operating a second carriage selecting needles from the left, the fair isle band in this experiment needs to occur for an odd number of rows, the repeat is 36X68. The cells highlighted in yellow on the right of the chart follow the carriage movement from the right when switched from slip to FI, and the gray cells the movements for a second carriage selecting needles from the left.
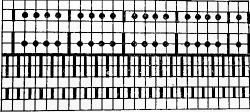
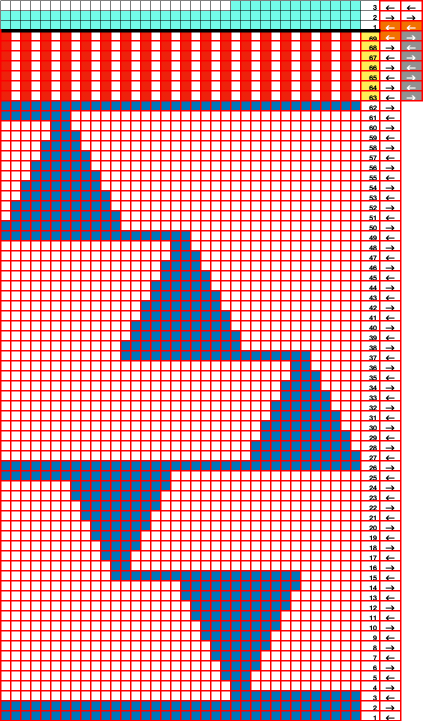 The 36X68 repeat
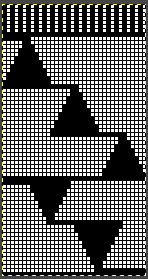

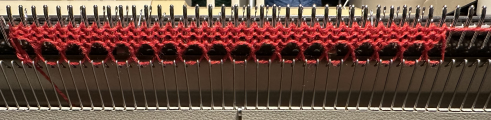
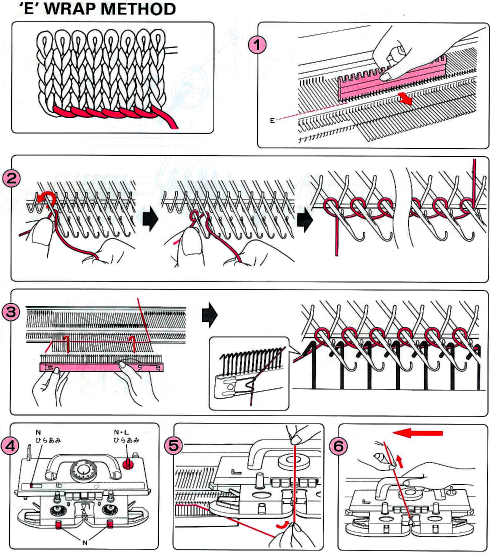
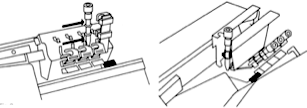
 Part/slip cast on: a single needle will be brought into work at a time opposite the carriage.


 the 60X74 png


