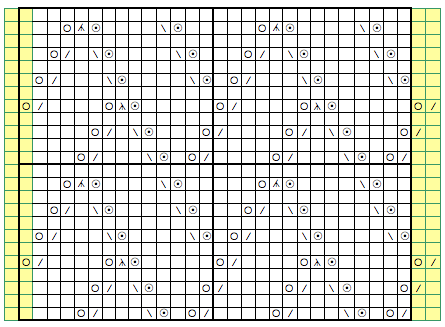
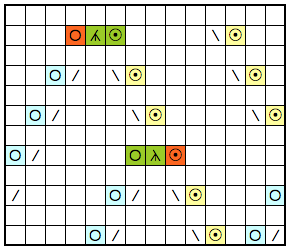
There are times in knitting when math becomes a necessity. With online libraries, tools, and fairly intuitive software, drafting angles and shapes is now much easier. I will be teaching a class that includes miters and spirals at a seminar next month, leading me to revisit the topic. Most published pattern instructions will give starting carriage locations, but shapes may be constructed counterclockwise or clockwise depending on preference. With an understanding of how the shapes are formed and stacked, they may in turn be automated (depending on their size and the type of km) using the slip stitch setting. Stitches that are to be knit on each row are programmed as pixels, black squares, or punched holes.
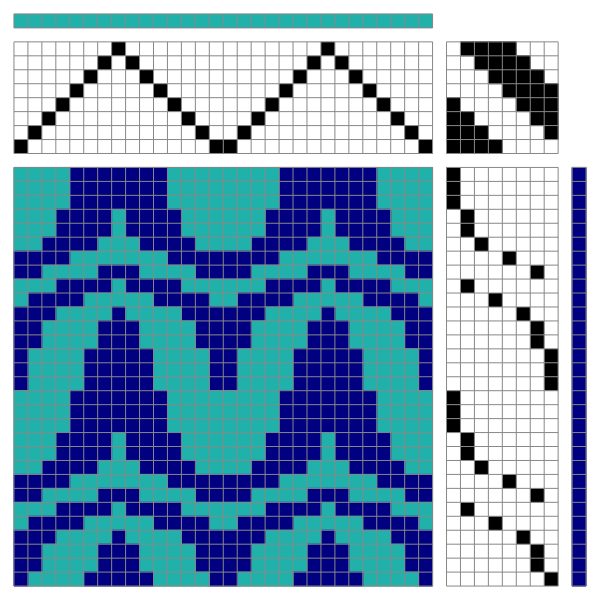
Miter shaping may occur on the side or in the center of each triangular shape; a minimum of 2 knit rows usually occur at designated spots. Adding more knit rows and playing with angles of triangles will create ruffling effects, other angular shapes, pleats, and more. I have returned to using Mac Numbers, their shapes, and charts to generate most of the images below. Here the colored areas represent knit stitches, white negative (white) spaces stitches in hold. Red lines represent all knit row(s)/ spots for seaming at the top and bottom of sequences. Seaming is easiest when done by joining all knit rows. Stitches are always brought into hold opposite the carriage side and returned to work on the carriage side. In the shaping guide, COL= carriage on the left, COR= carriage on right.
knitting each segment
COR COL
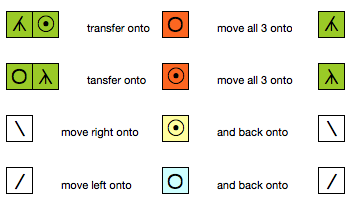
Yellow triangle segment: bring all needles out to hold, and push them back into work on the carriage side at the determined rate until all needles are back in work. Green triangle segment: with all the needles in work, begin to bring stitches into hold opposite the carriage at the determined rate until all the needles are in hold.
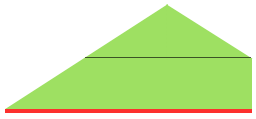
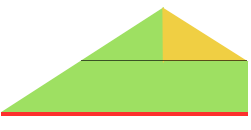
If seaming is desired in miter shaping with resulting eyelets at the sides of the triangle, the full wedge is split between the top (yellow segment) and the bottom of the piece (green segment). Knitting always starts with at least one or 2 rows of knitting (depending on whether the finished shape is to have a grafted seam. For the full wedge: * yellow segment, bring all needles out to hold, and push them back into work on the carriage side at the determined rate until all needles are back in work. Reverse shaping with green segment: with all the needles in work, begin to bring stitches into hold opposite the carriage at the determined rate until all the needles are in hold. End with knit rows (red line) across all stitches*. Repeat from * to * for the desired number of full segments, end at the top with a yellow segment if needed, followed by a knit row(s) (red line) before binding off or seaming.
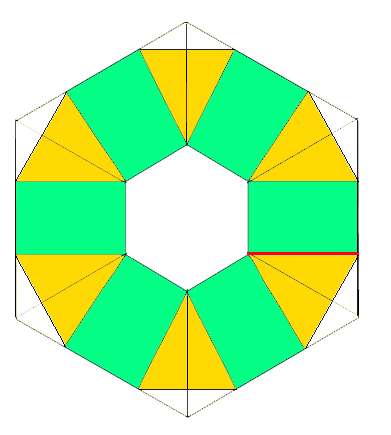
shaping with resulting eyelets at the sides of the triangle: the final shape COR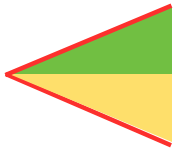 the knitting sequence with top/bottom 1/2 triangle segments shown
COR COL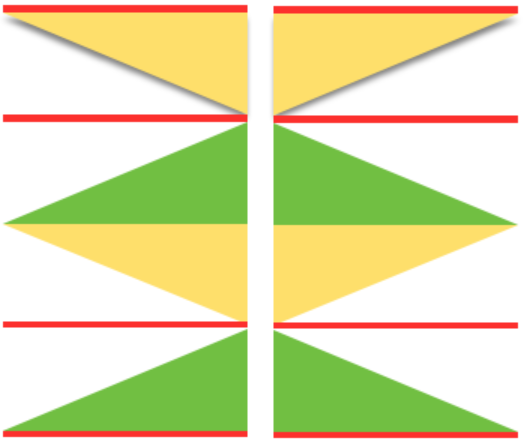
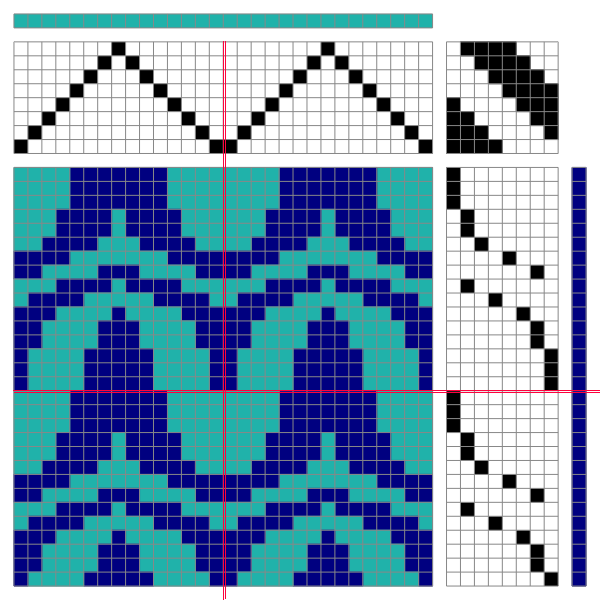
For miter with shaping and resulting eyelets at the center of the triangle: begin with all knit row(s) (red line) at the start. To shape a full wedge: *green segment is worked bringing stitches into hold opposite the carriage at the determined rate until all the needles are in hold. Shaping is next reversed with the yellow segment, pushing needles back at the determined rate until all needles are returned to work. End with all knit rows (red line) *. The sides of this miter are all knit rows, an easier place to seam/ graft joins if needed.
shaping with resulting eyelets at the center of the triangle: the final shape COR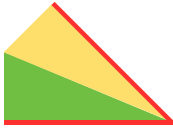 the knitting sequence
COR COL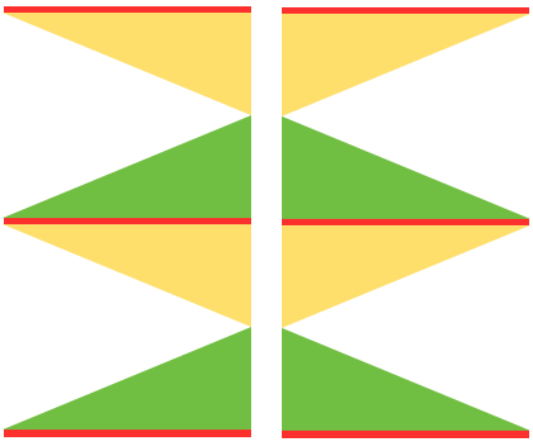 a tiny test shaping at side shaping at center
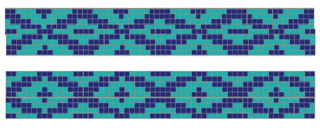
In the following images, the red or blue lines indicate seams or joins
segments composing a square shape
 adding squares or rectangles to alter the square
 adding triangular segments: hexagon
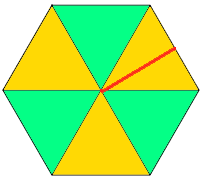 expanding it with rectangles, shaping at sides
 shaping at the center
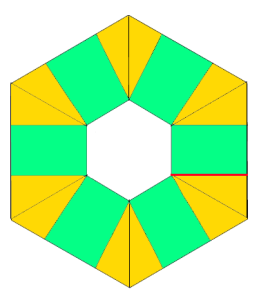 going 3D: triangular pocket with the point at the center
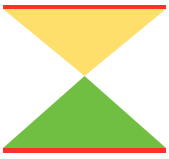
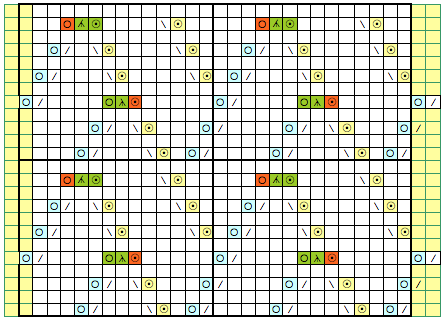
combining shapes: this one is often seen in tams (hats); bottom shaping is on only one side, and at the top, it occurs on both sides
 adding rectangles or squares to alter the shape
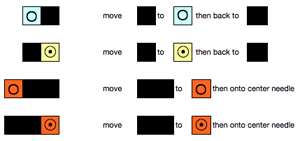
bringing needles out to hold opposite the carriage
Spiral stack 1/ green full triangle: knit row (s), *with all the needles in work begin to bring stitches into hold opposite the carriage at the determined rate until all the needles are in the hold position, end with all knit row(s) (red line).
COR COL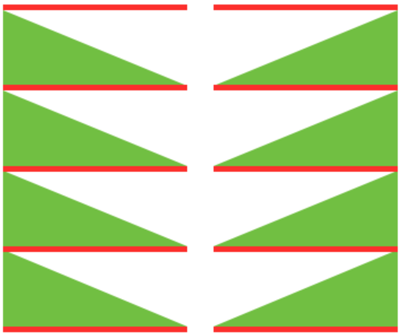
Spiral stack 2/ yellow full triangle: knit row (s), *bring all needles out to hold, push them back into work on the carriage side at the determined rate until all needles are back in work, end with all knit row(s) (red line).
COR COL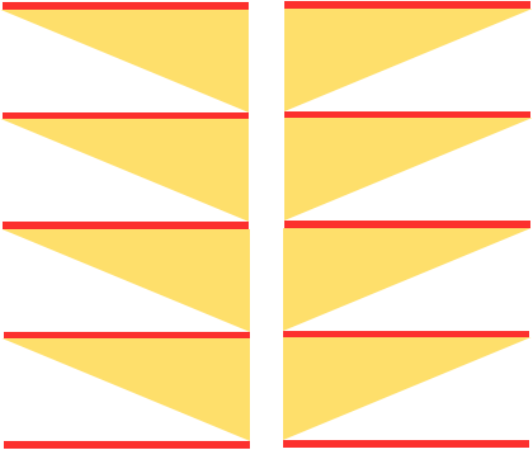
3D spiral 
If the object is to construct a circular shape, the greater the number of panels, the smoother the outer edge of the piece. Some of the pie-bilities: 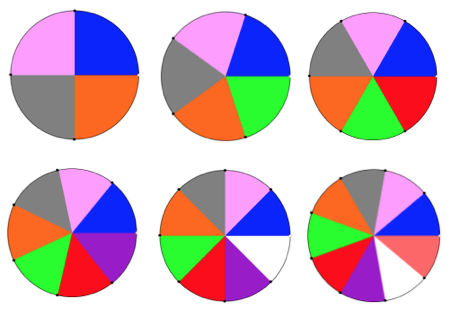
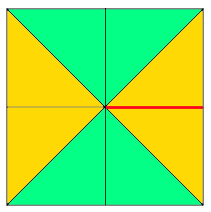
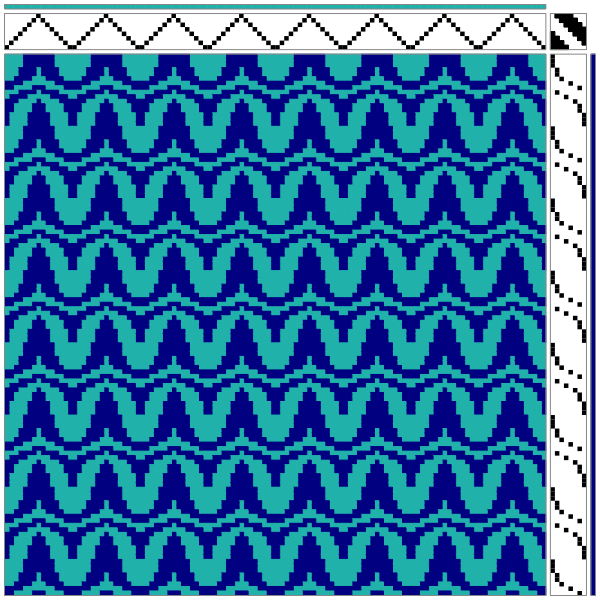
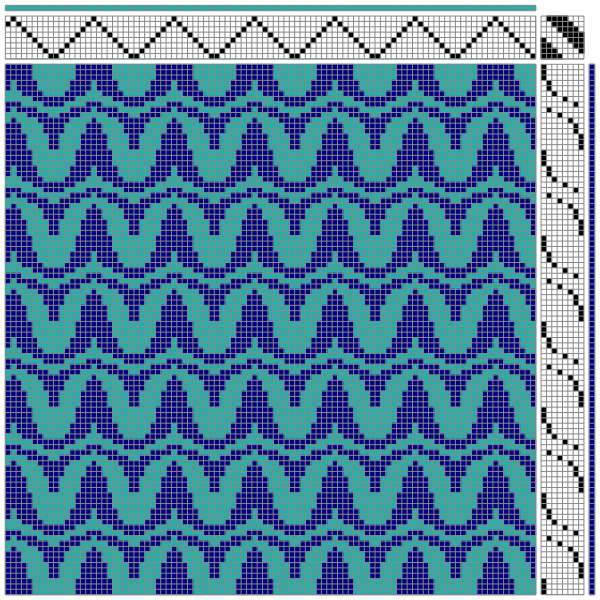
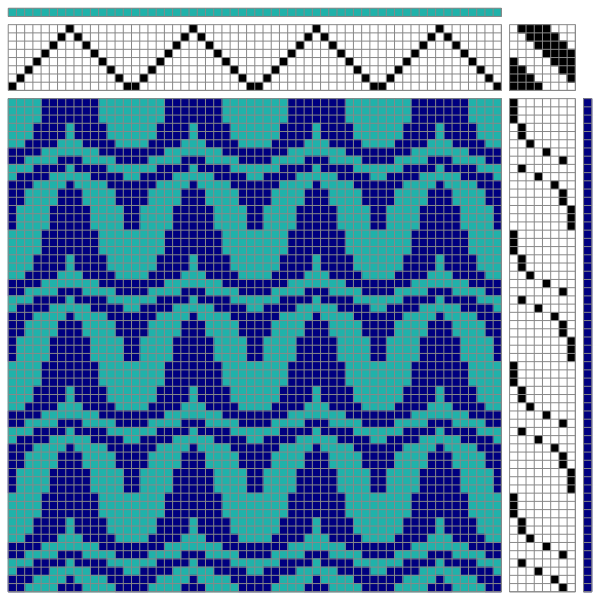
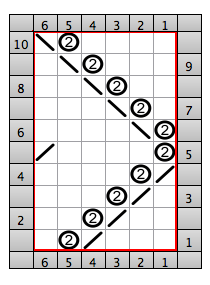
In all instances above the radius and therefore 2 sides of each wedge remain equal in size, and therefore are composed of the same number of stitches. The triangle knit to achieve these shapes are isosceles triangles, where 2 of 3 sides are equal in length and in this case, the number of stitches. The 2 equal sides are usually referred to as legs, the remaining one as the base. The 2 base angles are equal as well. The remaining angle is the vertex one. In knitting, this will be the pivot point for the wedges, the center point of the “pie” shape. In the illustrations below the vertex, angles are marked by blue dots. Its angle value is the first represented in the numbers immediately below each shape, with the other 2 numbers indicating the remaining, equal 2 angles. The sum of all 3 should equal 180 degrees. Taking it to a shape: octagon (half the total # of wedges shown). In colored shapes spiral, stacking equal triangles is shown on left; full triangle, divided into 2 segment shaping for miter on right.
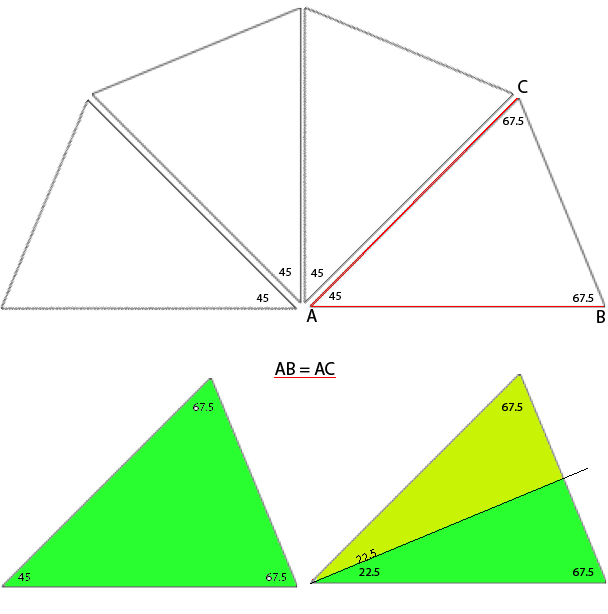
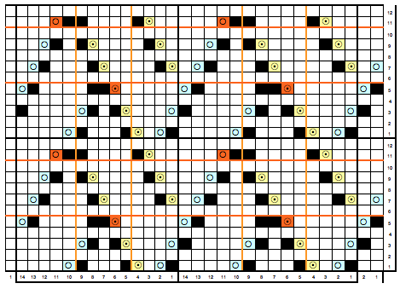
Oh, yes, the math! The desired shape may be drawn to scale using any number of tools. Wedges may in turn be shaped following the scale drawing on any charting device such as knit-leaders, or stitches and rows required may be calculated on actual full drawing measurements. In knitting, the equal sides (AC, AB) of the triangles are formed by stitches and the height of the triangle (CB) by rows. If the finished size matters, an accurate gauge is required. One approach to calculating the base (CB) is to think of the whole shape as a complete circle, in this case, divided into 8 “pie” wedges, with congruent sides (radius) measuring 10 inches each. To find the circumference of the circle, multiply the diameter (20) inches by pi 3.14 = the total in this case, of 62.8, rounded off to 63. Divide that number by the number of sections (8) = 7.85, rounded off to 8 inches (rows). If the stitch gauge is 6 stitches and 8 rows per inch, each triangle would be 60 stitches wide, and 64 rows high. Holding happens every other row, opposite the carriage, so the total number of rows is divided by 2 = 32 for knitting a spiral. The stitches are distributed along one edge over a total of 64 rows in height. The goal is to reduce the shape down to the next to the last group, followed by two rows knit over all the stitches at the end of each section. This will cause a small hole at the center of each completed pie due to extra rows knit. For a miter 2 triangular shapes are required for each wedge, so holding sequences are recalculated with shaping now occurring over 16 rows for knitting a miter. 
An online calculator is available to help calculate the number of stitches brought into hold opposite the carriage or into work on the carriage side, sequence preference should be tested on swatches where the gauge is significant
spiral 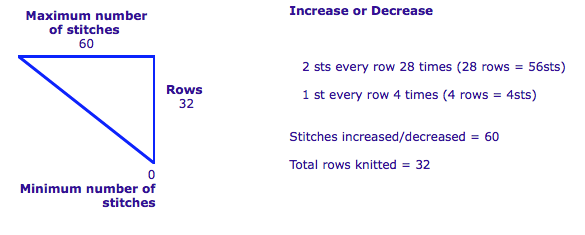 miter
miter 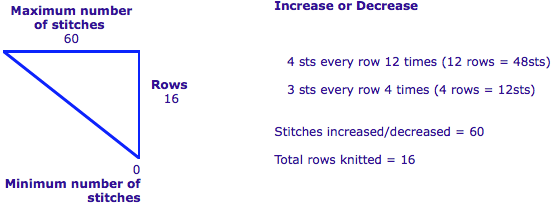
Magic formula (X represents times)
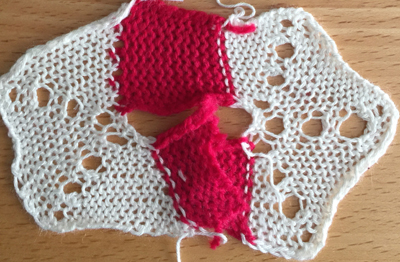
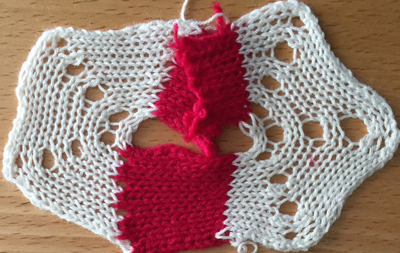
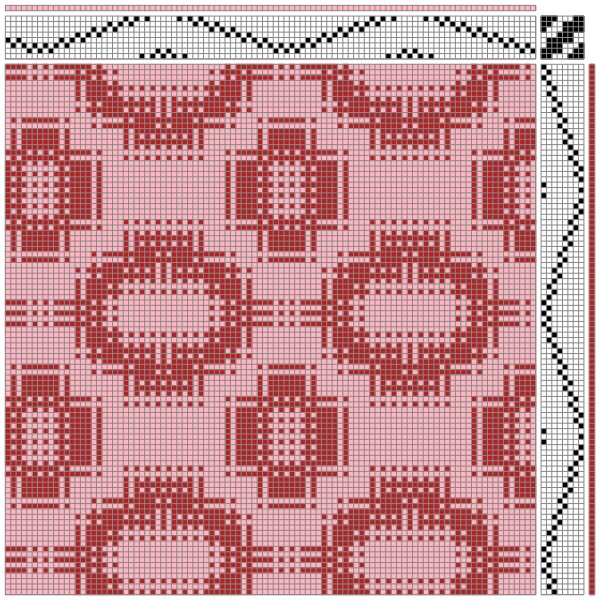
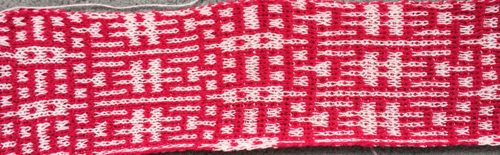
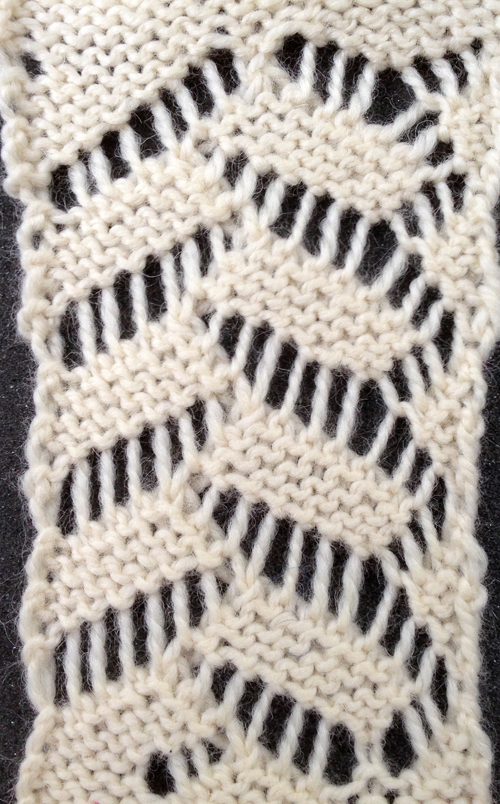
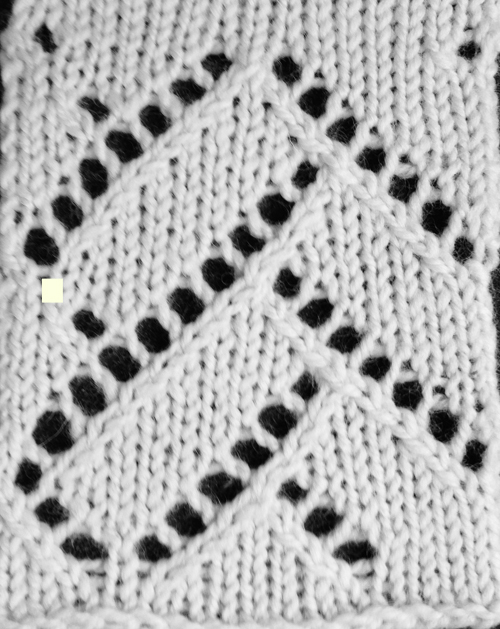
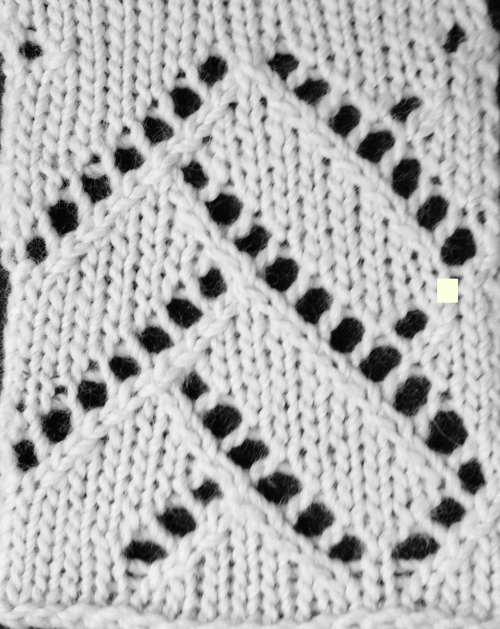
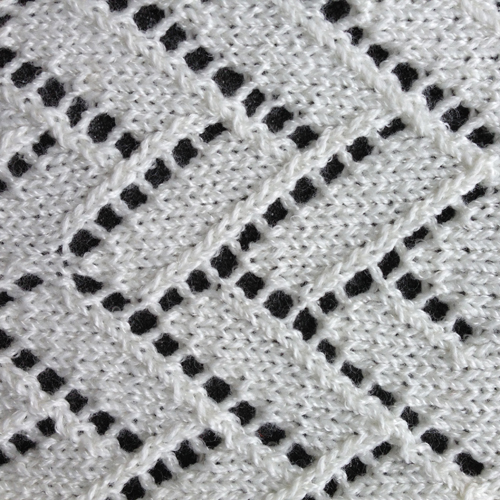
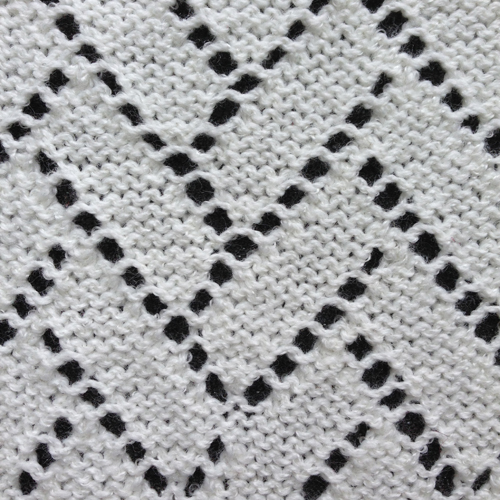
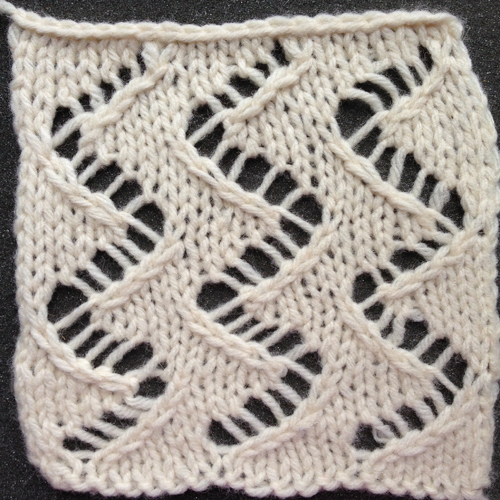
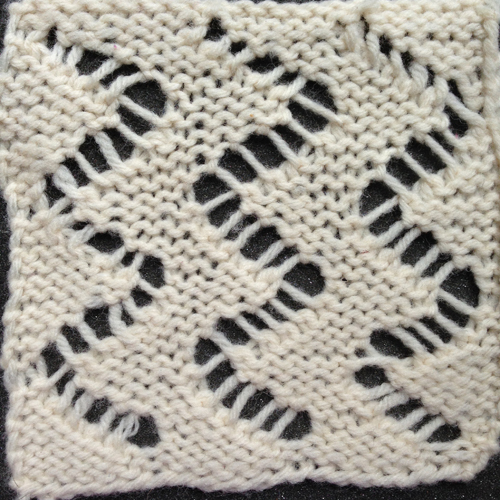
In the photo below I chose to start with all the needles out to hold, pushing them back into work across the knit for the spiral. For the miter again, I began with all needles in the hold position, pushing back the required needles into work; for the top half of each wedge needles were returned to hold opposite the carriage at the same rate, forming the upper half of the “pie slice”. The swatch is not worked at the same rate as the shapes calculated above. It is shown on its purl side with color changes to highlight the intersections where wedges begin to repeat. The yarns used are random acrylics, in different weights. 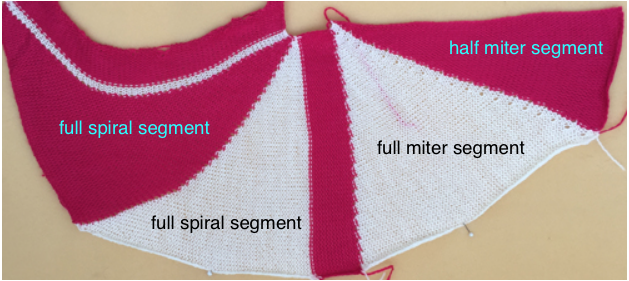
A previous post on short-row knitting with links to other online sources 2013/12/18/holding-stitches-short-rows/.
A category search in my blog roll for miters and spirals will link to blog posts including pies:
2011/06/18/knitting-math-and-pies1/
2011/06/22/back-to-that-pie-a-bit-of-holding/ breaking and mixing up pie wedges:
2014/07/21/miters-and-spirals-visualizing-charting-and-more-3/ .
A garter bar short row trim:
2013/02/28/garter-bar-short-row-trim/.
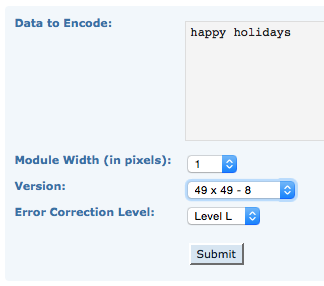
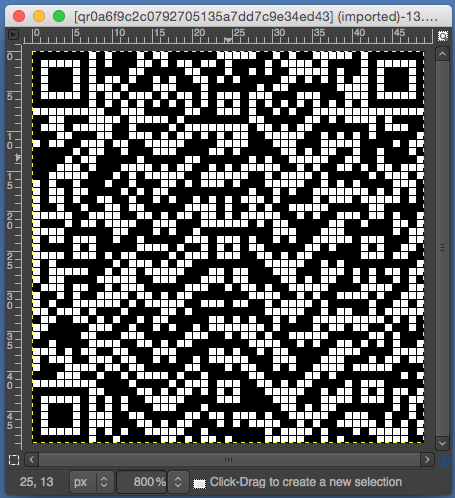
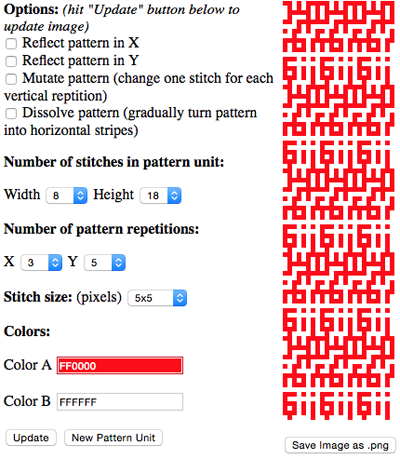
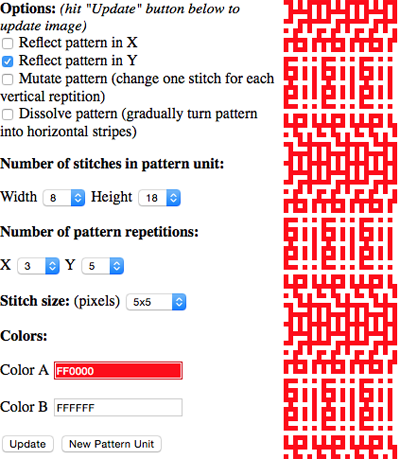
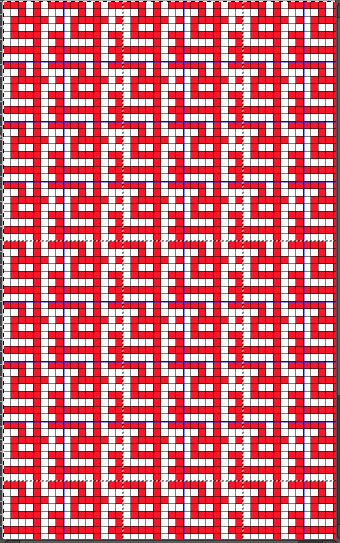
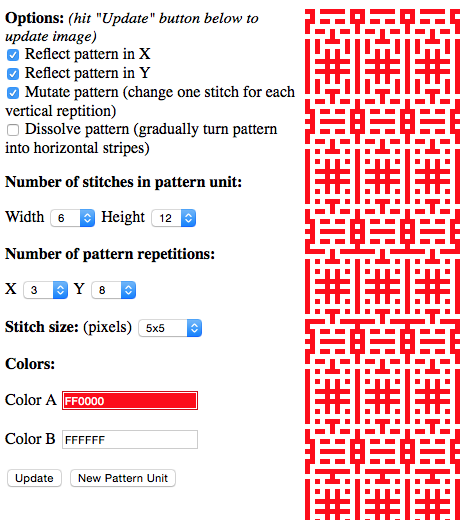
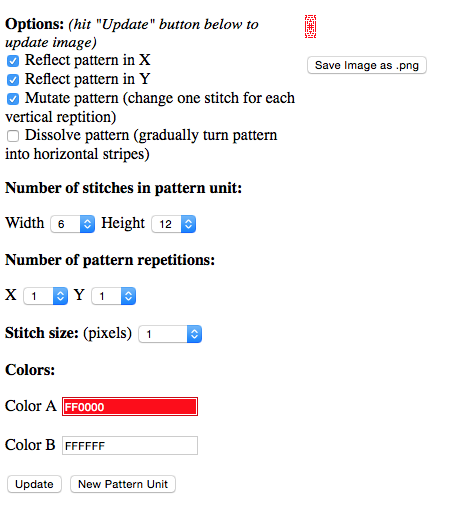
Charting shapes: using Gimp and Mac Numbers:
2014/07/14/miters-and-spirals-visualizing-charting-and-more-1/
Executable charts and shapes, automating them with slip stitch:
2014/02/24/holding/ short-rows-hand-tech-to-chart-to-automating-with-slip-stitch-1/
2014/02/20/wisteria-cousin-revisited-holding-using-slip-stitch/
2013/01/21/automating-pleating/ 2013/12/28/short-rows_-balls-tams-3d-rounds/ 2015/09/07/a-tale-of-2-donuts/
2011/03/29/lace-meets-hold-and-goes-round/
2011/03/29/the-doilies/


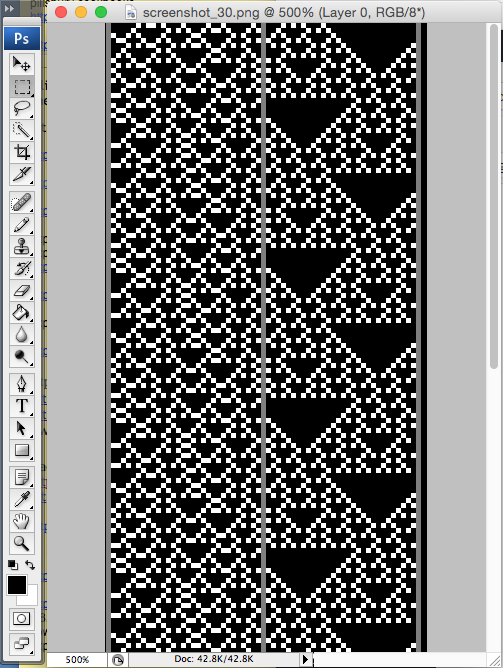
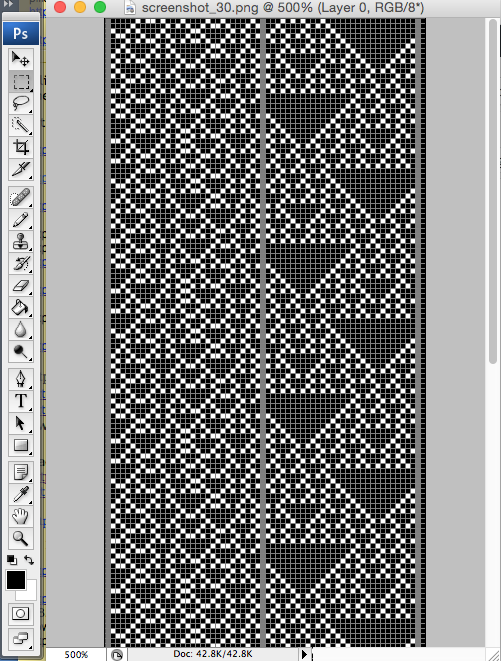
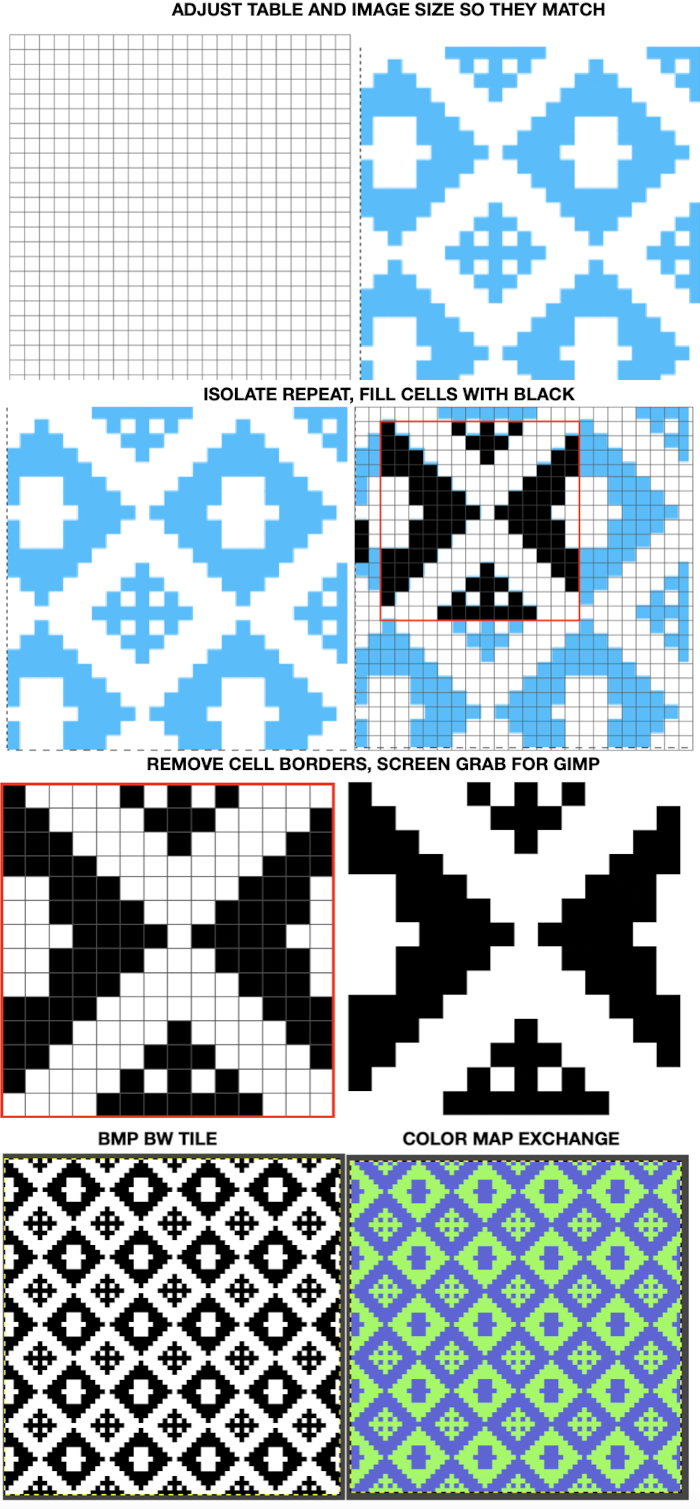
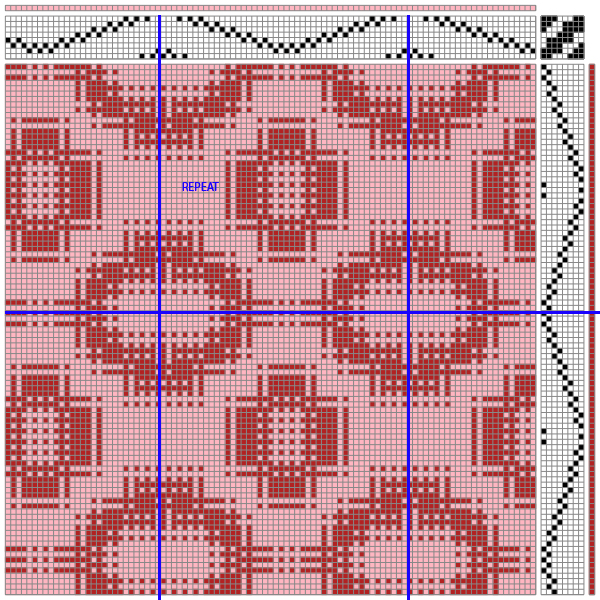
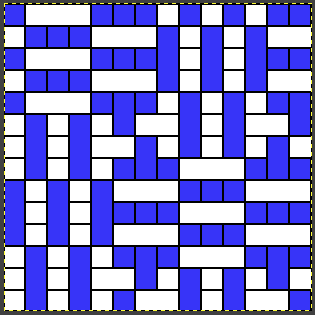
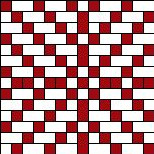


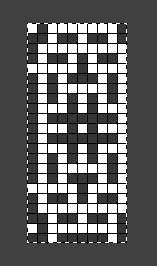
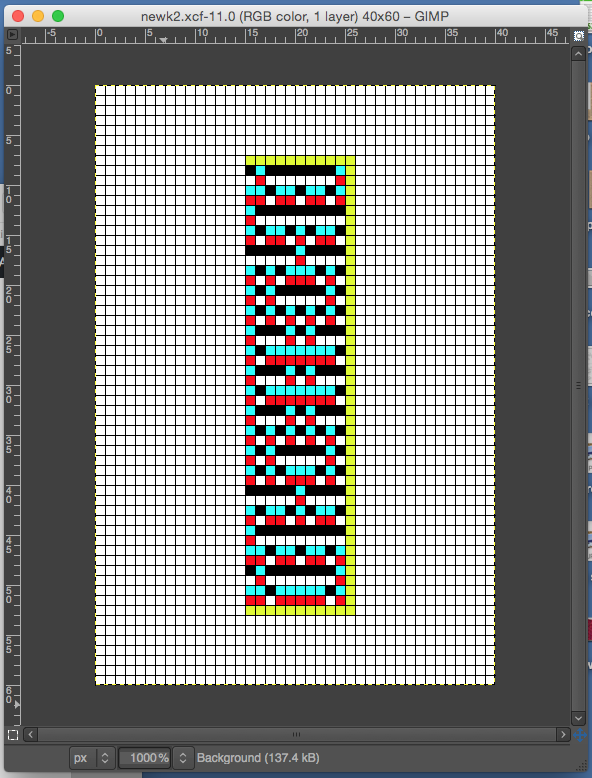
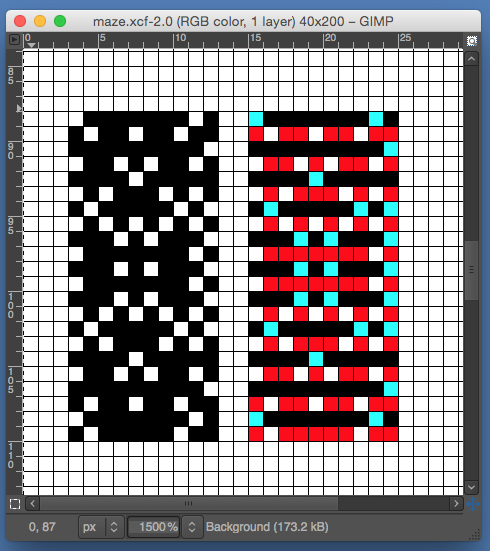
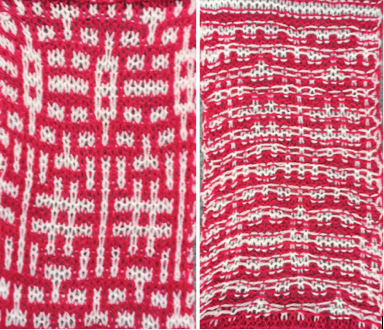
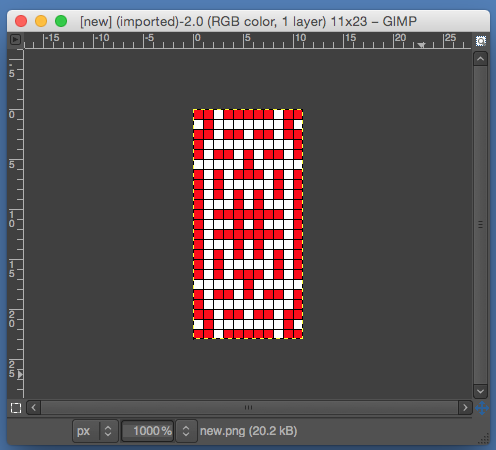
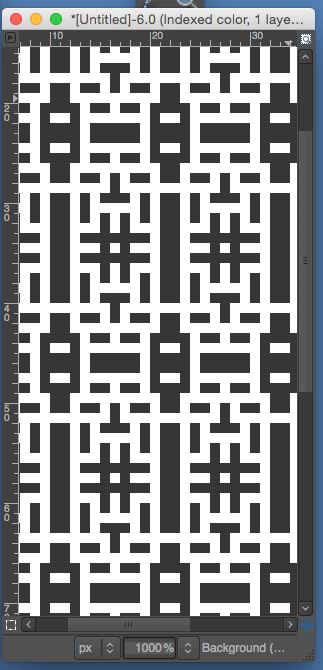
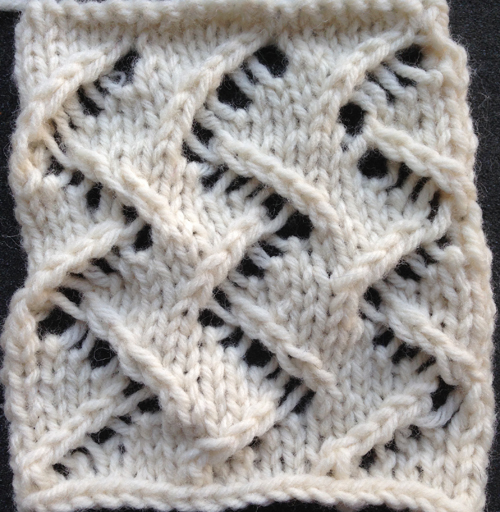
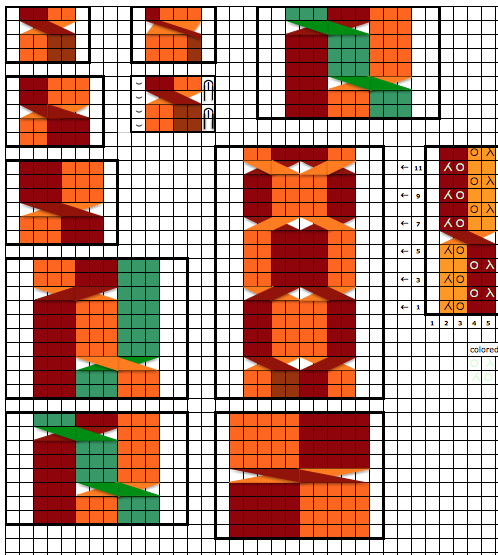
 the BMP in Gimp, explored in two renditions, eliminating double lines
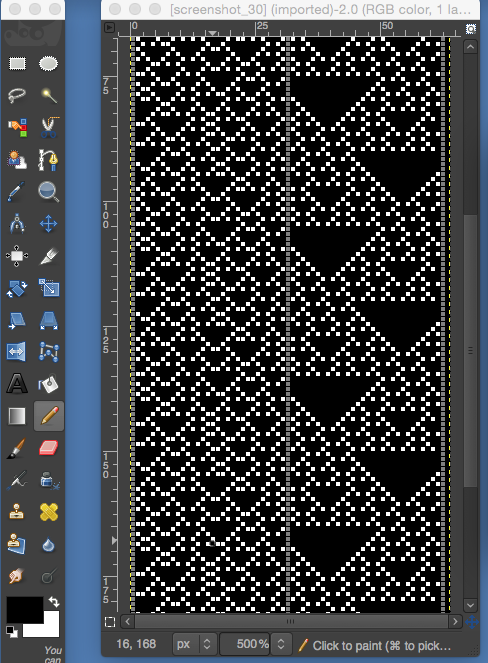
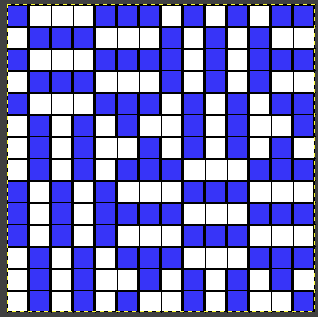
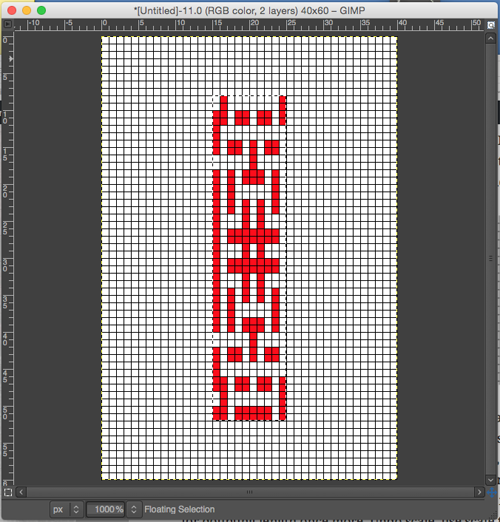
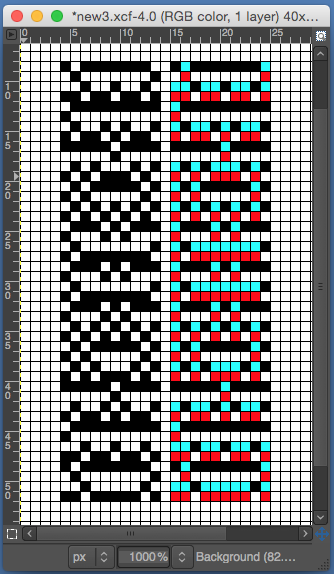
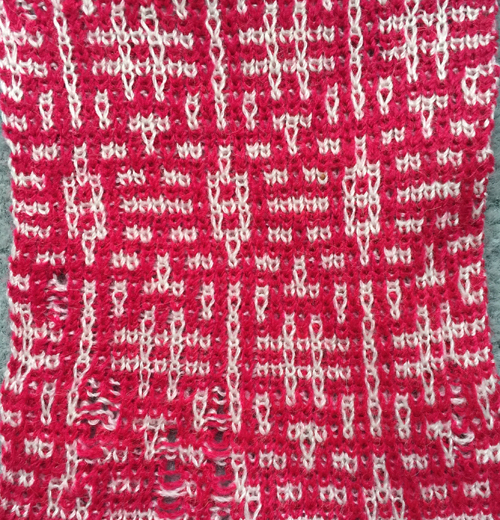
 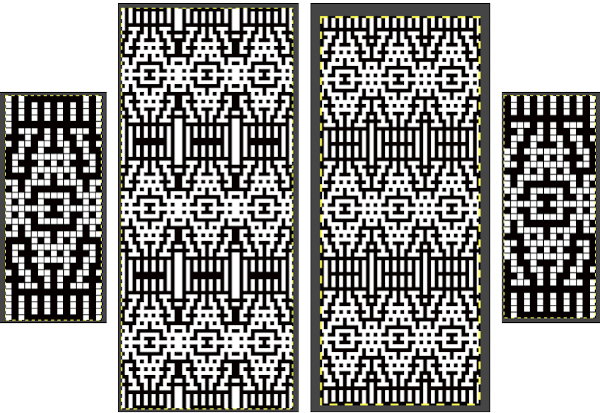 The proof of concept swatch for the version on the right and knit in tuck stitch
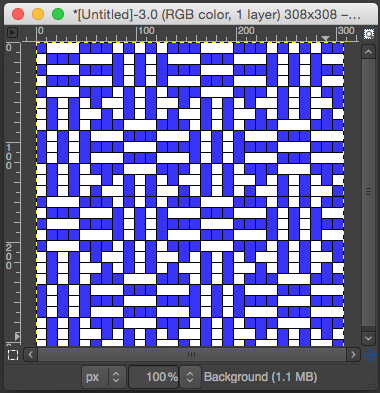
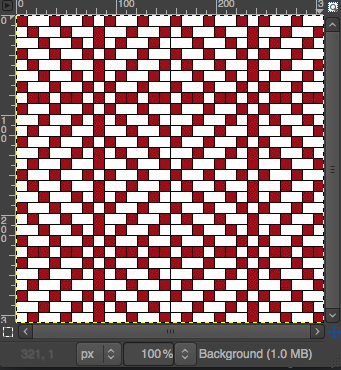
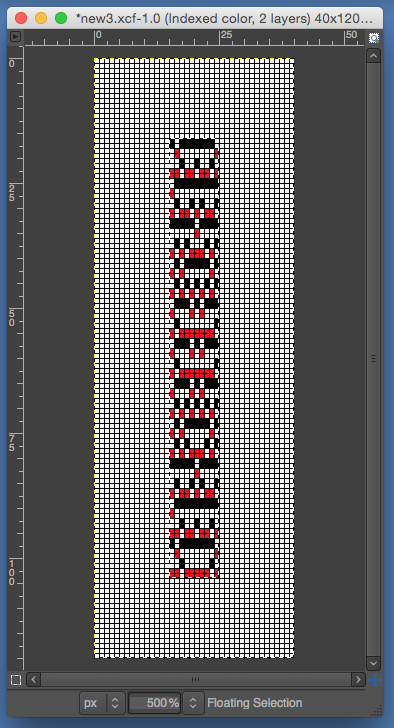
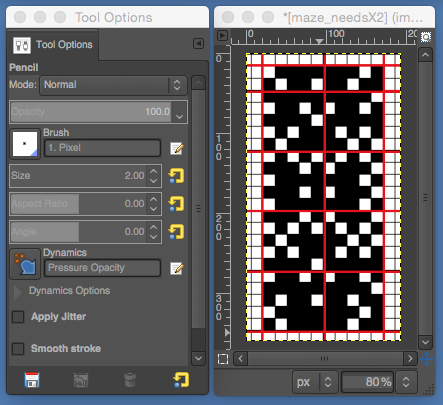
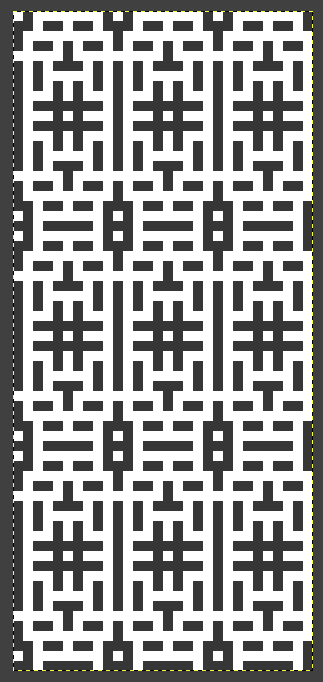
  the double-length BMP ready for knitting, 14X68

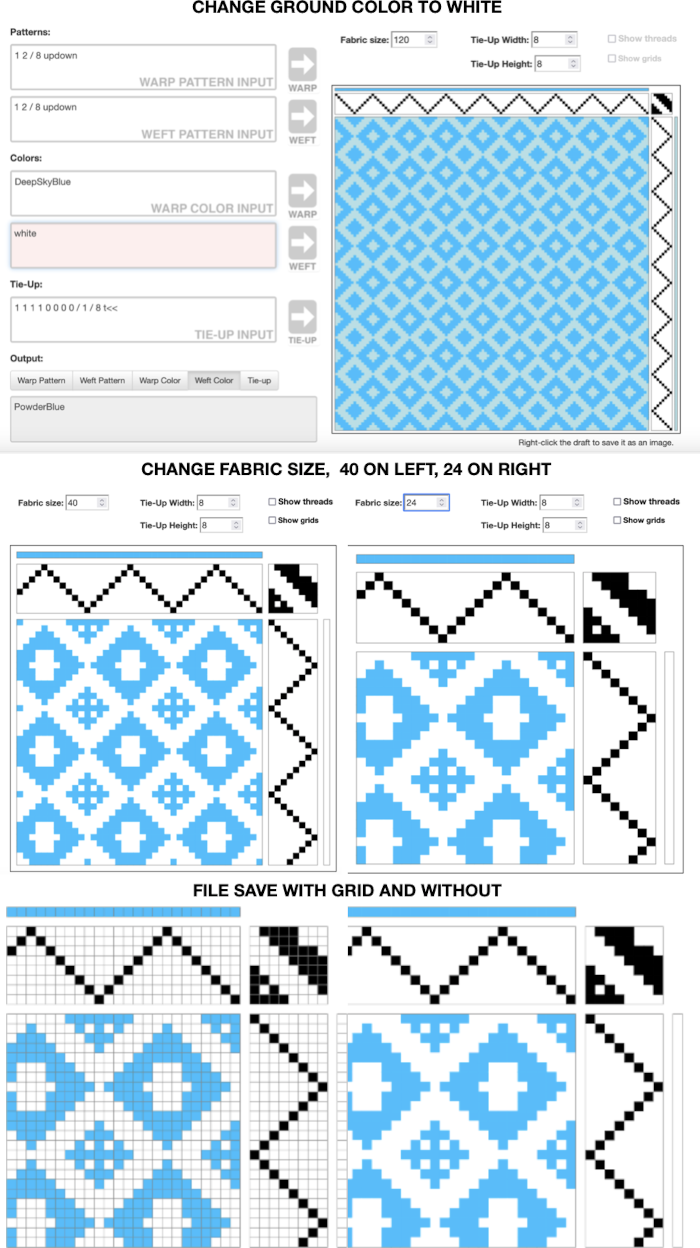
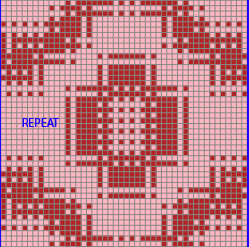
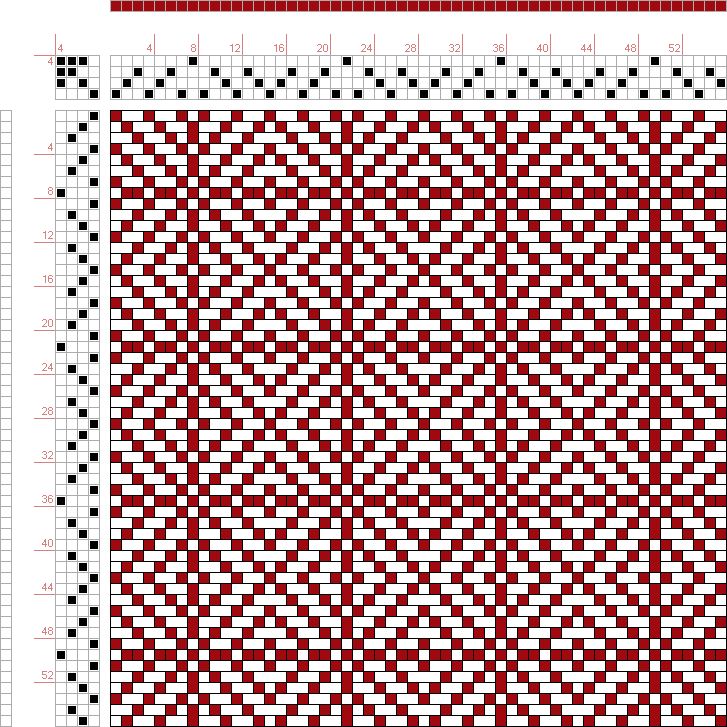
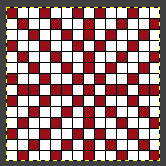
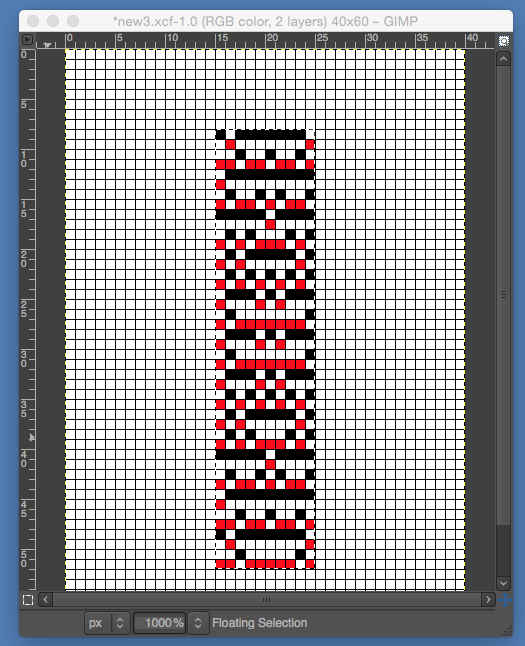
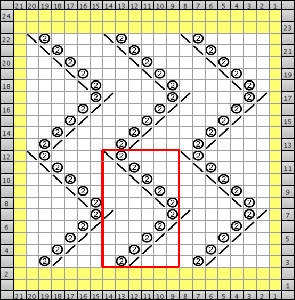
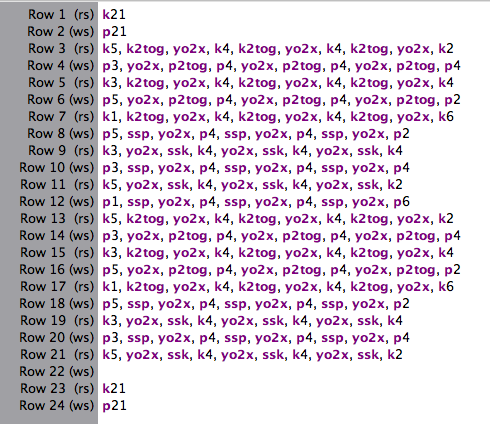
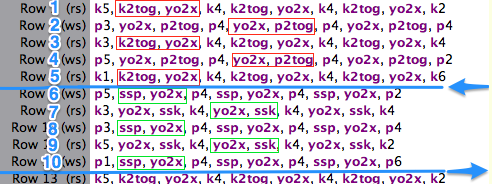
 looking at charting differently, back to Excel: single repeat
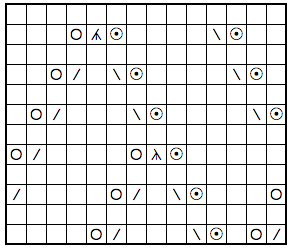